I What is LAMP?
LAMP environment is an abbreviation of (Linux+Apache+ MySQL+PHP). It is a group of open source software commonly used to build dynamic websites or servers. At the same time, LNMP(Linux+Nginx+ MySQL+PHP) environment architecture is most contacted. Different from it, Apache is used as web page service and Nginx is used as web page service. I will not elaborate on the differences and application scenarios between the two.
II LAMP construction:
(1). First, ensure that linux can access the Internet normally
(2). For convenience, I can turn off the firewall and selinux directly, which can be turned on later as required.
[root@localhost ~]# systemctl stop firewalld.service
[root@localhost ~]# setenforce 0
(3). Replace the YUM source. I use Alibaba source here.
(note here that if there is no wget tool, you can click the link below to view the installation method)
linux wegt installation method
[root@localhost ~]#wget -O /etc/yum.repos.d/CentOS-Base.repo http://mirrors.aliyun.com/repo/Centos-7.repo
(4). Install the Apache service and its expansion pack.
[root@localhost ~]#yum -y install httpd httpd-manual mod_ssl mod_perl mod_auth_mysql
(to ensure complete installation, it is recommended to execute the installation command at the same time)
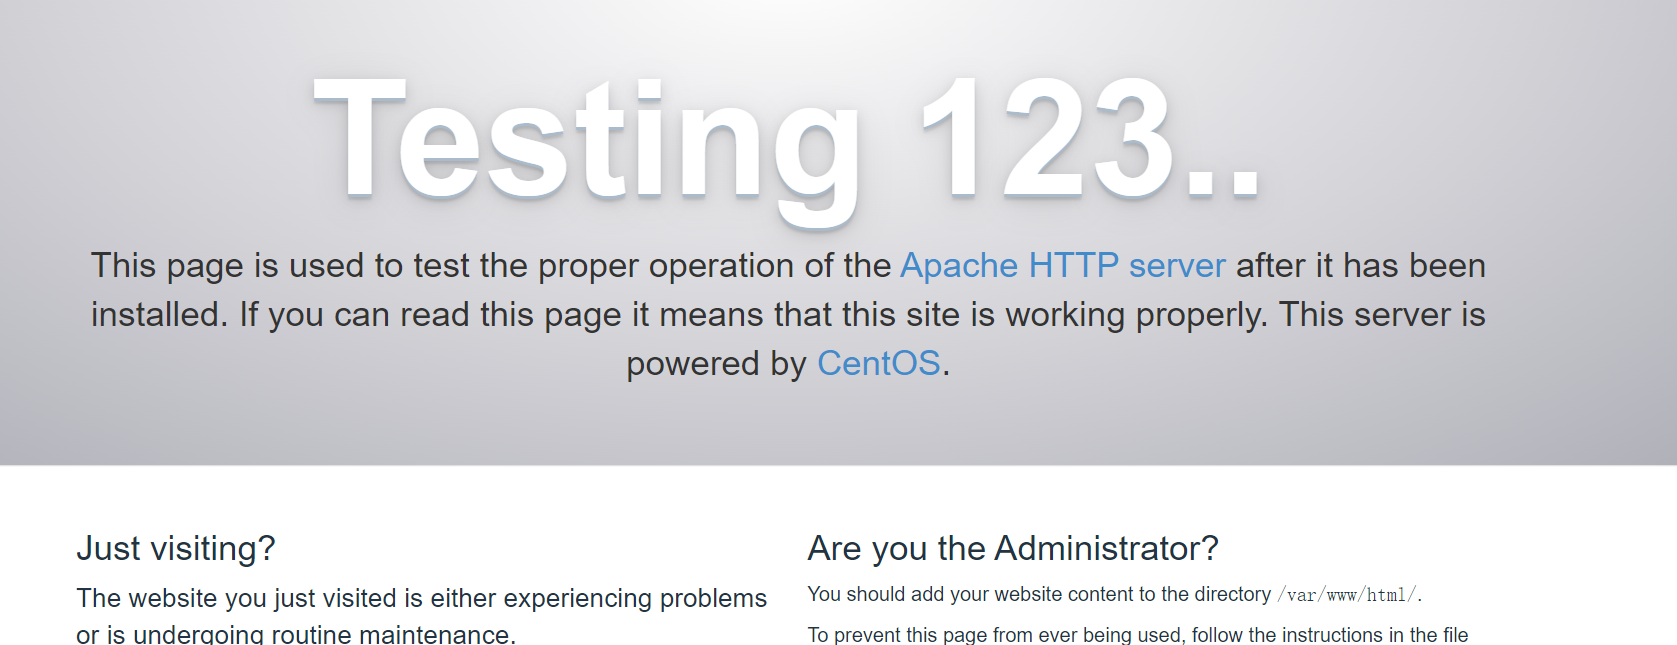
(5). Start the Apache service and test it.
[root@localhost ~]#systemctl start httpd.service
Enter on the browser“ http://ip The address "will display the following picture, which indicates that the Apache service installation and startup is successful
(6). Download and install the official Yum Repository of MySQL.
[root@localhost ~]#rpm -e mariadb-libs --nodeps   # Delete the original database
[root@localhost ~]#yum install -y https://mirrors.aliyun.com/mysql/MySQL-5.7/mysql-community-common-5.7.35-1.el7.x86_64.rpm
[root@localhost ~]#yum install -y https://mirrors.aliyun.com/mysql/MySQL-5.7/mysql-community-libs-5.7.35-1.el7.x86_64.rpm
[root@localhost ~]#yum install -y https://mirrors.aliyun.com/mysql/MySQL-5.7/mysql-community-libs-compat-5.7.35-1.el7.x86_64.rpm
[root@localhost ~]#yum install -y https://mirrors.aliyun.com/mysql/MySQL-5.7/mysql-community-client-5.7.35-1.el7.x86_64.rpm
[root@localhost ~]#yum install -y https://mirrors.aliyun.com/mysql/MySQL-5.7/mysql-community-server-5.7.35-1.el7.x86_64.rpm
Enter mysql -V to check whether the installation is successful. As shown below, the installation is successful

(7). View MySQL initial password and configure database related parameters:
[root@localhost ~]#systemctl start mysqld.service #Open database service
[root@localhost ~]#grep "password" /var/log/mysqld.log      #Xx+Q)4AWBUp)This is my initial password
2022-01-21T02:32:11.011259Z 1 [Note] A temporary password is generated for root@localhost: Xx+Q)4AWBUp)
Enter the random password above and log in to the database
[root@localhost ~]#mysql -uroot -p
password:
Configure the database root password (note the semicolon of each command;)
mysql> set global validate_password_policy=0;  #Modify password security policy to low
mysql>ALTER USER 'root'@'localhost' IDENTIFIED BY '12345678'; #The password I set here is 12345678
mysql>GRANT ALL PRIVILEGES ON *.* TO 'root'@'%' IDENTIFIED BY '12345678';  #Execute the following command to grant root User remote permission
mysql>exit  #sign out
Restart the database:
[root@localhost ~]#systemctl restart mysqld.service
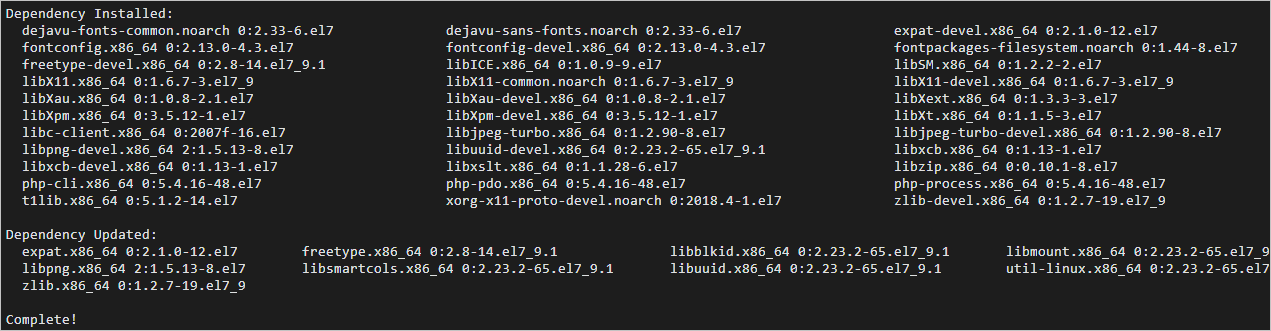
(8). Install the relevant PHP environment and test:
[root@localhost ~]#yum -y install php php-mysql gd php-gd gd-devel php-xml php-common php-mbstring php-ldap php-pear php-xmlrpc php-imap
Installation complete
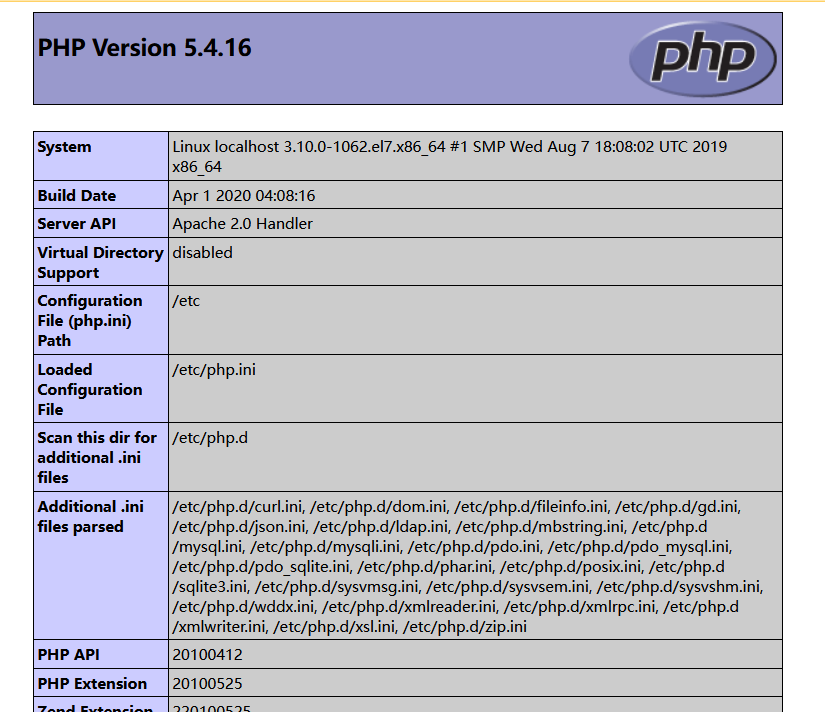
Execute the following command to create a PHP test page
[root@localhost ~]#echo "<?php phpinfo(); ?>" > /var/www/html/phpinfo.php
[root@localhost ~]#systemctl restart httpd  #Restart Apache service
In the address bar of the local browser, access http://IP Address / phpinfo PHP, the following page is displayed, indicating that the PHP locale has been successfully installed.
(9). Download and configure phpMyAdmin
Create phpMyAdmin data storage directory and download phpMyAdmin
[root@localhost ~]#mkdir -p /var/www/html/phpmyadmin
[root@localhost ~]#wget --no-check-certificate https://files.phpmyadmin.net/phpMyAdmin/4.0.10.20/phpMyAdmin-4.0.10.20-all-languages.zip
Unzip and configure phpMyAdmin
[root@localhost ~]#yum install -y unzip #install unzip Decompression tool
[root@localhost ~]#unzip phpMyAdmin-4.0.10.20-all-languages.zip #decompression
[root@localhost ~]#mv phpMyAdmin-4.0.10.20-all-languages/*  /var/www/html/phpmyadmin  #copy phpMyAdmin File to data storage directory
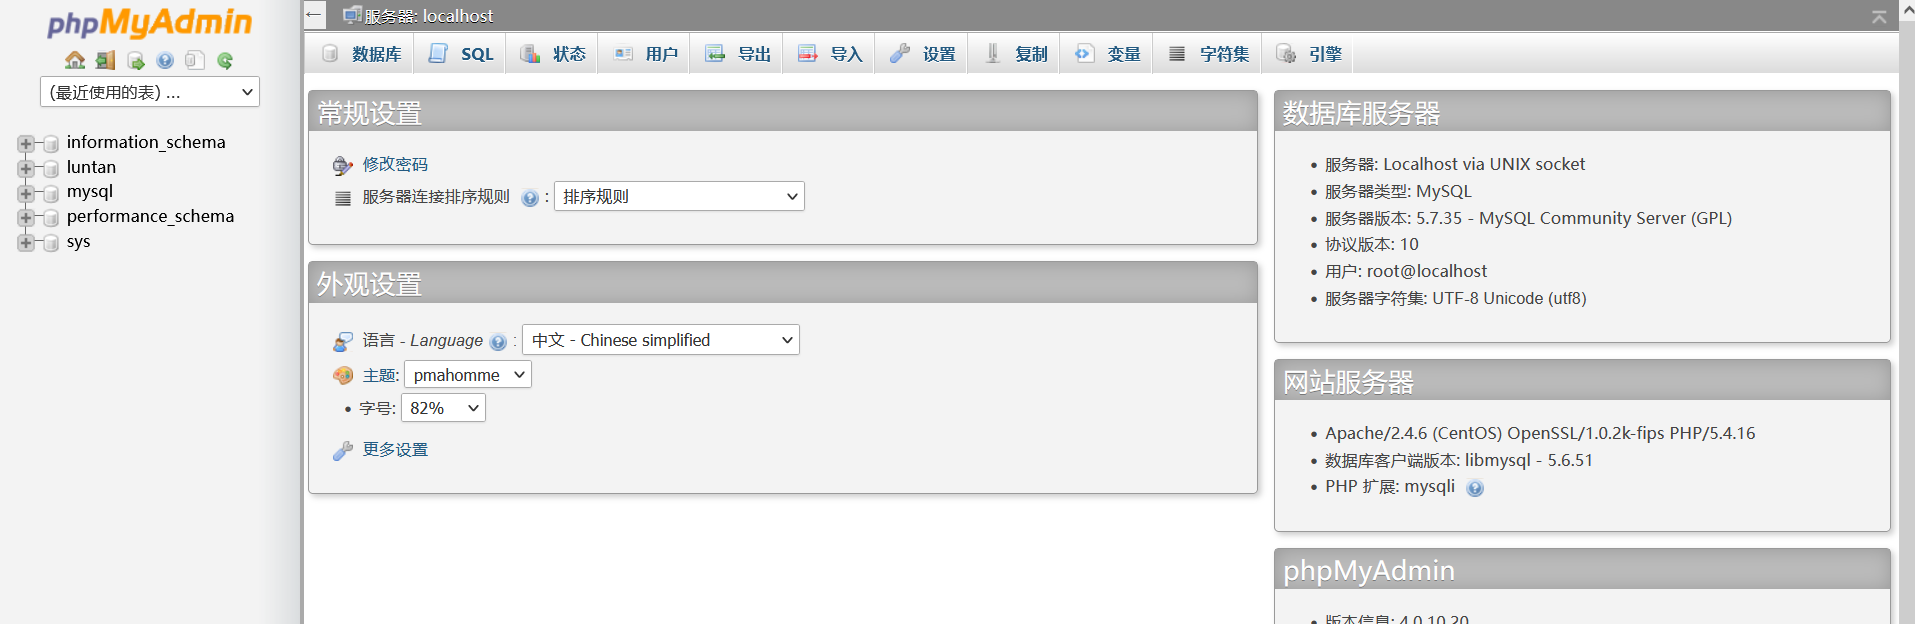
In the address bar of the local browser, enter http:// IP address / phpMyAdmin to access the phpMyAdmin return page, as shown in the following figure, indicating that phpMyAdmin has been successfully installed.
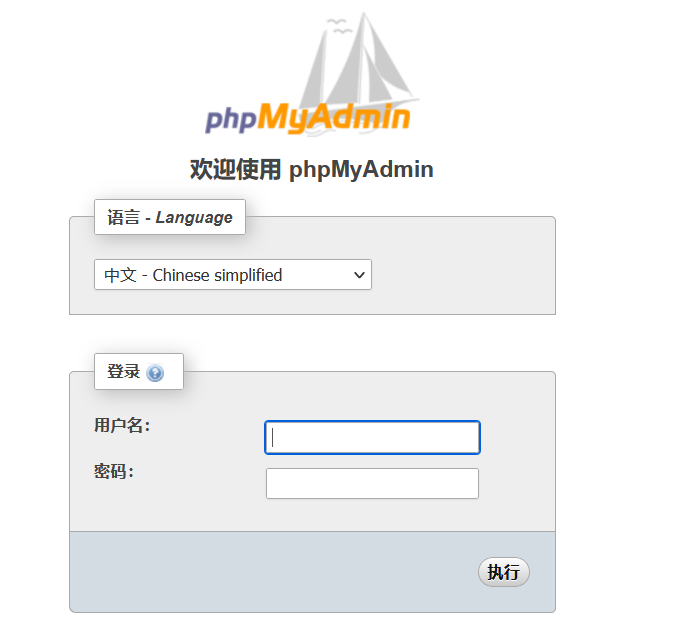
Enter the account and password of the database and log in as shown in the figure
 Here it is explained that the LAMP environment has been built. In the later stage, you can build forums, tomcat environment deployment, zabbix monitoring, etc. in the LAMP environment.