Linux (enterprise) - docker
1. Introduction to docker
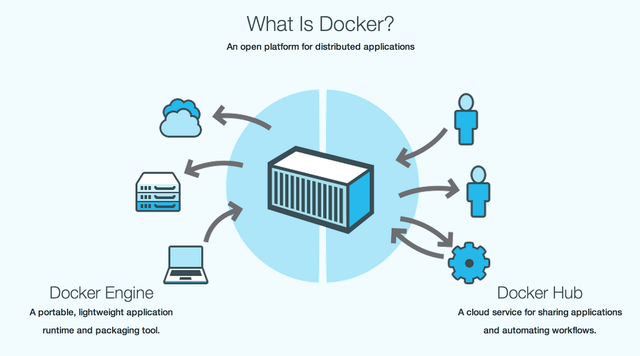
Docker is the engine for managing containers.
Docker is an application packaging and deployment platform, rather than a simple virtualization technology.
2. Installation and startup
After configuring the yum source, install and enable. Alibaba cloud image is recommended.
https://mirrors.aliyun.com/docker-ce/linux/centos/7/x86_64/
yum install -y docker-ce
systemctl start docker
systemctl enable docker
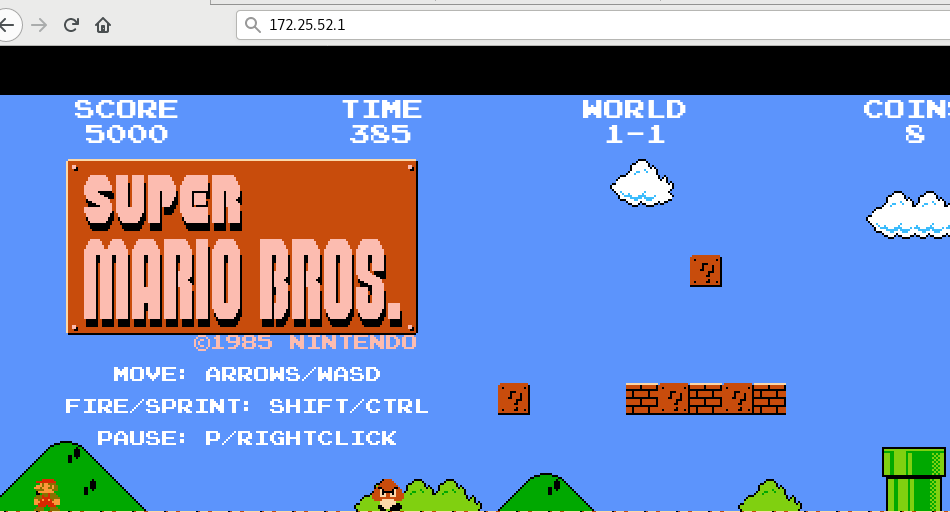
After downloading the game image, you can directly import and run it to access the host IP
docker load -i game2048
docker run -d --name game1 -p 80:80 game2048
3. Self built image
-
commit
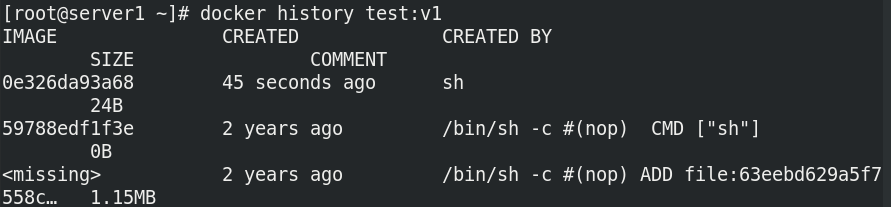
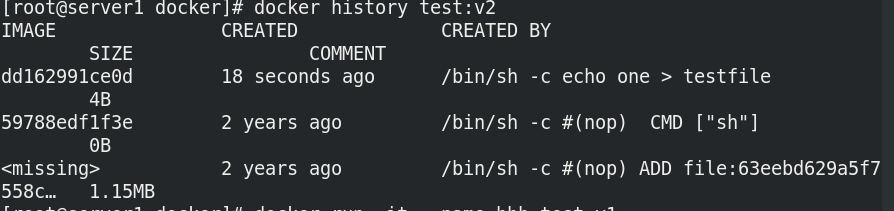
  #Run container
  docker run -it --name test busybox

  #Modify container
  / # echo one > testfile
  docker commit  test test:v1 # Modify the test submission to: v1

  #Save the container as a new mirror
  docker images test:v1
Viewing the mirror layered data, the content of the new layer cannot be audited:
-
Dockerfile
Create new content in dockerfile and build image; Each command will create a new layer in the image and display the modified content; When building an image, all contents in the dockerfile directory will be submitted.#Create Dockerfile cat Dockerfile FROM busybox RUN echo one > testfile #Build mirror docker build -t test:v2 .
Viewing the mirror layered data, you can see the contents of the new layer:
 Case: encapsulate nginx image into rhel7 base
First, import the base image of rhel7
 Create Dockerfile and prepare the corresponding yum source and nginx installation package;

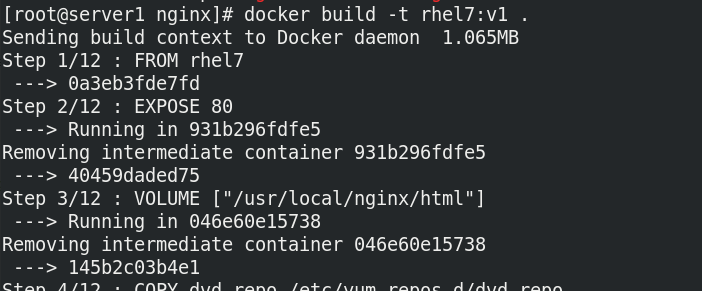
vim Dockerfile
FROM rhel7
EXPOSE 80
VOLUME ["/usr/local/nginx/html"]
COPY dvd.repo /etc/yum.repos.d/dvd.repo
RUN rpmdb --rebuilddb
ADD nginx-1.20.1.tar.gz /
RUN yum install -y gcc pcre-devel zlib-devel make
WORKDIR /nginx-1.20.1
RUN ./configure &> /dev/null
RUN make &> /dev/null
RUN make install &> /dev/null
CMD ["/usr/local/nginx/sbin/nginx","-g","daemon off;"]
Build the image and run it
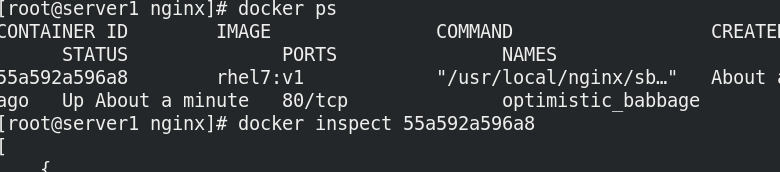
 Check the running container id and ip, add Web content for the mount point, and test the nginx service:

4. Optimize self built image
Based on the completion of nginx self built image in the previous section, make the encapsulated image as small as possible and optimize the image.
Select the thinnest base image
 Reduce the number of mirror layers
 Clean up the intermediate products of image construction
 Pay attention to optimizing network requests
 Try to build the cache with
 Use multi-stage to build mirrors
-
Reduce the number of layers, multi-stage construction and clear the cache
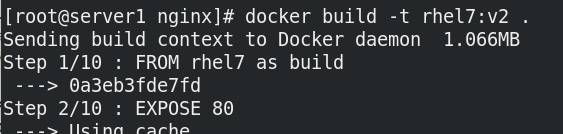
vim Dockerfile
FROM rhel7 as build
EXPOSE 80
VOLUME ["/usr/local/nginx/html"]
COPY dvd.repo /etc/yum.repos.d/dvd.repo
WORKDIR /nginx-1.20.1
ADD nginx-1.20.1.tar.gz /
RUN rpmdb --rebuilddb &&  yum install -y gcc pcre-devel zlib-devel make && sed -i 's/CFLAGS="$CFLAGS -g"/#CFLAGS="$CFLAGS -g"/g' auto/cc/gcc && ./configure &> /dev/null && make &> /dev/null && make install &> /dev/null && rm -fr /nginx-1.20.1 /var/cache*

FROM rhel7
COPY --from=build /usr/local/nginx /usr/local/nginx
CMD ["/usr/local/nginx/sbin/nginx","-g","daemon off;"]

-
Build using only the library files needed to run nginx
Import dependent Libraries

vim Dockerfile
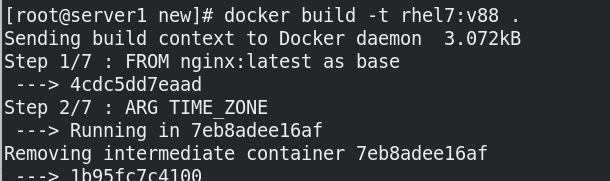
FROM nginx:latest as base
ARG TIME_ZONE

RUN mkdir -p /opt/var/cache/nginx && \
    cp -a --parents /usr/lib/nginx /opt && \
    cp -a --parents /usr/share/nginx /opt && \
    cp -a --parents /var/log/nginx /opt && \
    cp -aL --parents /var/run /opt && \
    cp -a --parents /etc/nginx /opt && \
    cp -a --parents /etc/passwd /opt && \
    cp -a --parents /etc/group /opt && \
    cp -a --parents /usr/sbin/nginx /opt && \
    cp -a --parents /usr/sbin/nginx-debug /opt && \
    cp -a --parents /lib/x86_64-linux-gnu/ld-* /opt && \
    cp -a --parents /lib/x86_64-linux-gnu/libpcre.so.* /opt && \
    cp -a --parents /lib/x86_64-linux-gnu/libz.so.* /opt && \
    cp -a --parents /lib/x86_64-linux-gnu/libc* /opt && \
    cp -a --parents /lib/x86_64-linux-gnu/libdl* /opt && \
    cp -a --parents /lib/x86_64-linux-gnu/libpthread* /opt && \
    cp -a --parents /lib/x86_64-linux-gnu/libcrypt* /opt && \
    cp -a --parents /usr/lib/x86_64-linux-gnu/libssl.so.* /opt && \
    cp -a --parents /usr/lib/x86_64-linux-gnu/libcrypto.so.* /opt && \
    cp /usr/share/zoneinfo/${TIME_ZONE:-ROC} /opt/etc/localtime

FROM gcr.io/distroless/base-debian10

COPY --from=base /opt /

EXPOSE 80 443

ENTRYPOINT ["nginx", "-g", "daemon off;"]
Build an image to view the size. This method can reduce most of the memory

5. Private image warehouse
- Private warehouse with certificate
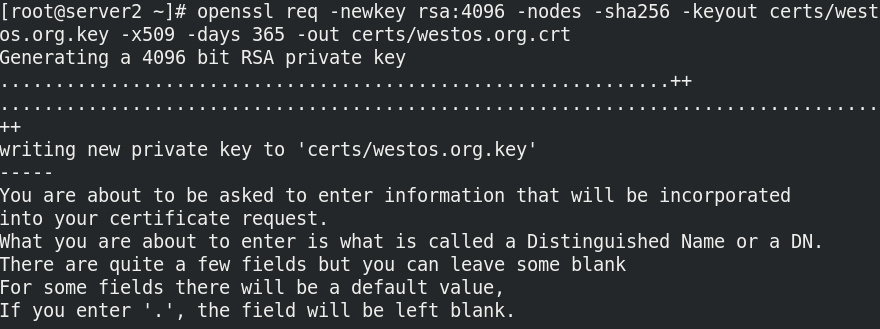
First, generate the certificate authentication file. Note that the servername or hostname must be consistent with the warehouse domain name when generating the certificate
mkdir -p certs
openssl req -newkey rsa:4096 -nodes -sha256 -keyout certs/westos.org.key -x509 -days 365 -out certs/westos.org.crt
 Download the official registry image and configure it to run:
docker pull registry
docker run -d   --name registry   -v /opt/registry:/var/lib/registry -v "$(pwd)"/certs:/certs   -e REGISTRY_HTTP_ADDR=0.0.0.0:443   -e REGISTRY_HTTP_TLS_CERTIFICATE=/certs/westos.org.crt   -e REGISTRY_HTTP_TLS_KEY=/certs/westos.org.key   -p 443:443  registry
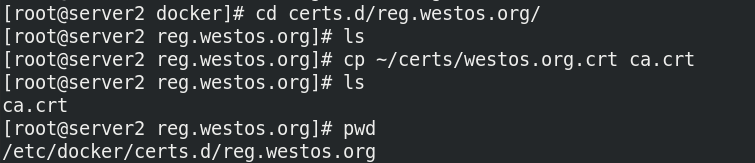
Configure docker to load certificate file:
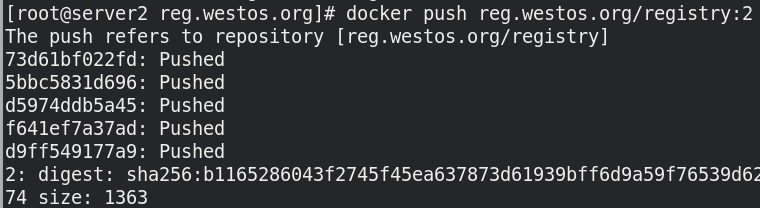
Test push:

- Add authentication for warehouse
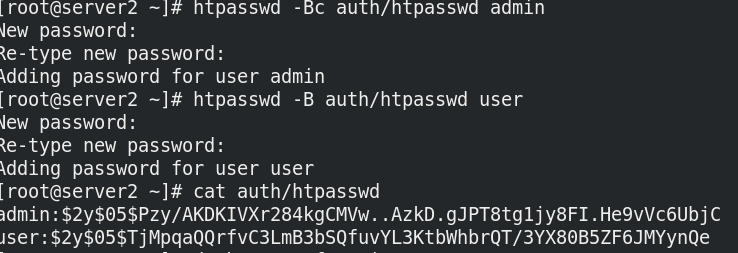
First, install the authentication httpd tools to generate the authentication file and add users.
yum install httpd-tools
mkdir auth
htpasswd -Bc auth/htpasswd admin
htpasswd -B auth/htpasswd user
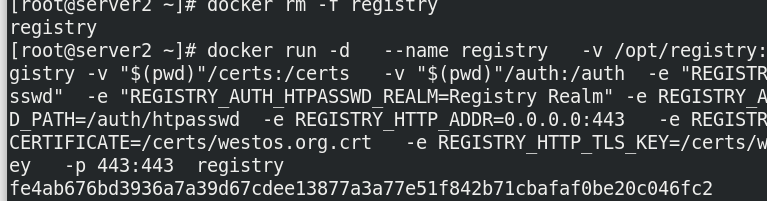
 Set the image to run with authentication file
docker rm -f registry
docker run -d --name registry  -v /opt/registry:/var/lib/registry -v "$(pwd)"/certs:/certs -v "$(pwd)"/auth:/auth  -e "REGISTRY_AUTH=htpasswd"  -e "REGISTRY_AUTH_HTPASSWD_REALM=Registry Realm" -e REGISTRY_AUTH_HTPASSWD_PATH=/auth/htpasswd  -e REGISTRY_HTTP_ADDR=0.0.0.0:443   -e REGISTRY_HTTP_TLS_CERTIFICATE=/certs/westos.org.crt   -e REGISTRY_HTTP_TLS_KEY=/certs/westos.org.key  -p 443:443  registry
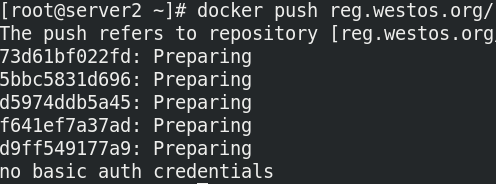
 Test push, upload failed before login:
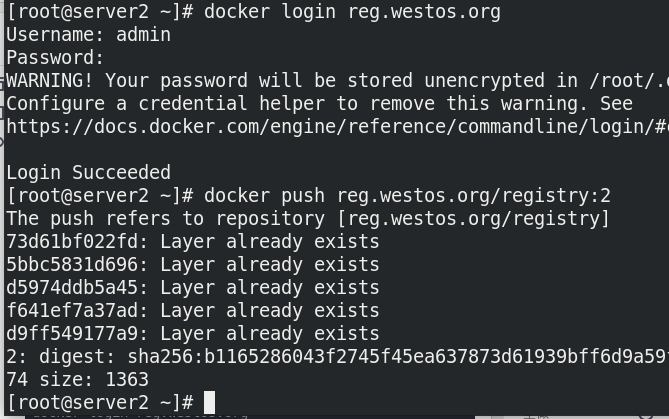
 Log in and upload again. Success:
docker login reg.westos.org
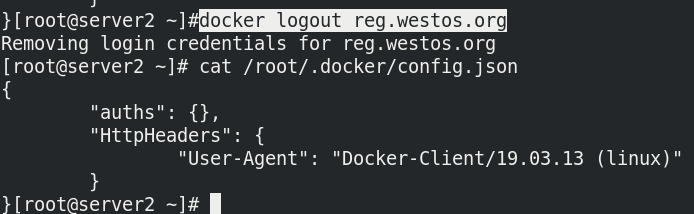
View login information and exit login:
cat /root/.docker/config.json

Exit the login and check the login information. The authorization has disappeared:
docker logout reg.westos.org