First, complete sub task 3: configure and install nginx. It's smooth and successful at one time
Step 1: installation environment
Note: before installing these environments, you can check whether you have installed them. If you have, you don't need to install them again
rpm -qa | grep gcc

We can find that we have it now
If not:
1, gcc installation. To install nginx, you need to compile the source code downloaded from the official website. The compilation depends on the gcc environment. If there is no gcc environment, you need to install:
yum install -y gcc-c++
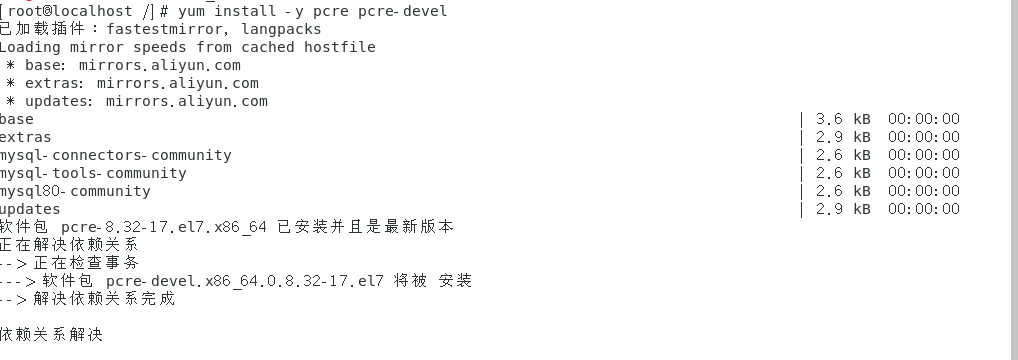
2, PCRE devel installation
PCRE(Perl Compatible Regular Expressions) is a perl library, including perl compatible regular expression libraries. The http module of nginx uses pcre to parse regular expressions, so it is necessary to install pcre library on linux. pcre devel is a secondary development library developed using pcre. Nginx also needs this library. Command:
yum install -y pcre pcre-devel
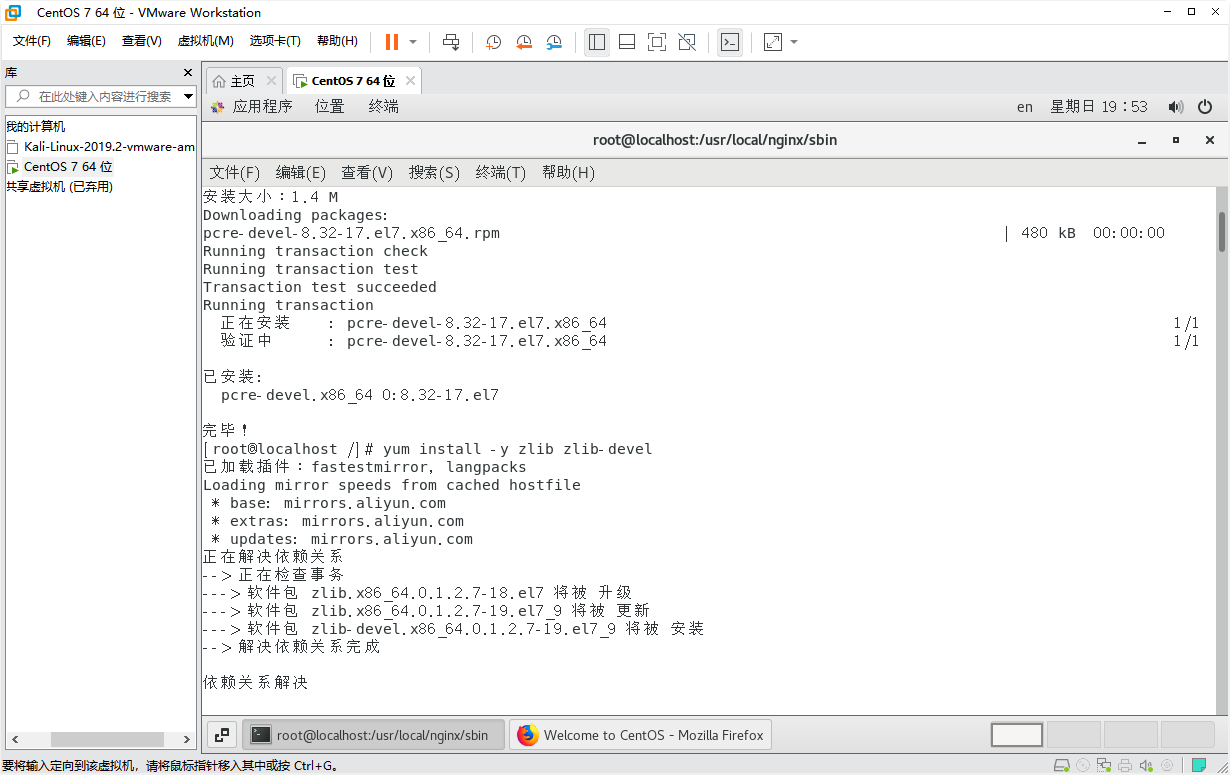
3, zlib installation
Zlib library provides many ways of compression and decompression. nginx uses zlib to gzip the contents of http package, so you need to install zlib library on Centos.
yum install -y zlib zlib-devel
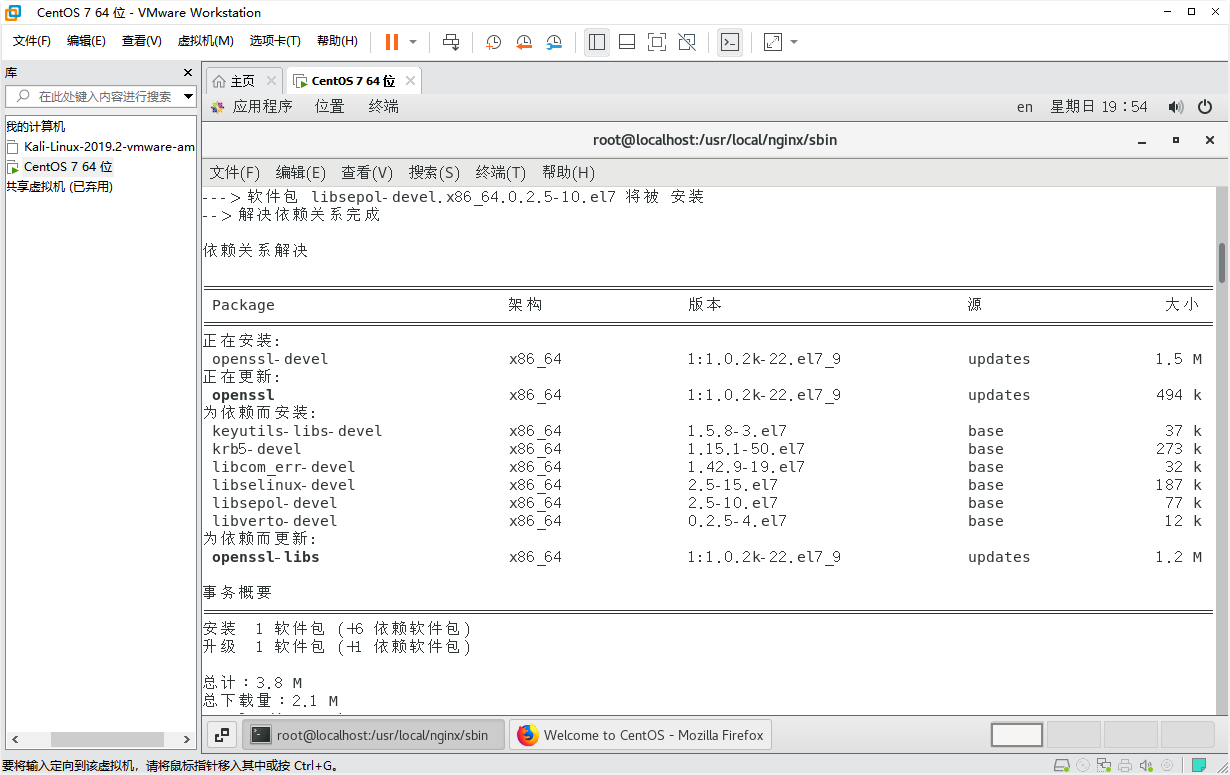
4, OpenSSL installation
OpenSSL is a powerful secure socket layer cryptographic library, including the main cryptographic algorithms, common key and certificate encapsulation management functions and SSL protocol, and provides rich applications for testing or other purposes.
nginx supports not only http protocol, but also https (that is, http is transmitted over ssl Protocol), so you need to install OpenSSL Library in Centos.
yum install -y openssl openssl-devel
Although we have the first gcc here, I still need to implement the following three:
Step 2: Download and unzip
1. Download nginx link: https://pan.baidu.com/s/1Wxvle1ZhWoLeyDddsccNlw
Extraction code: p9d5
– sharing from Baidu online disk super member V3
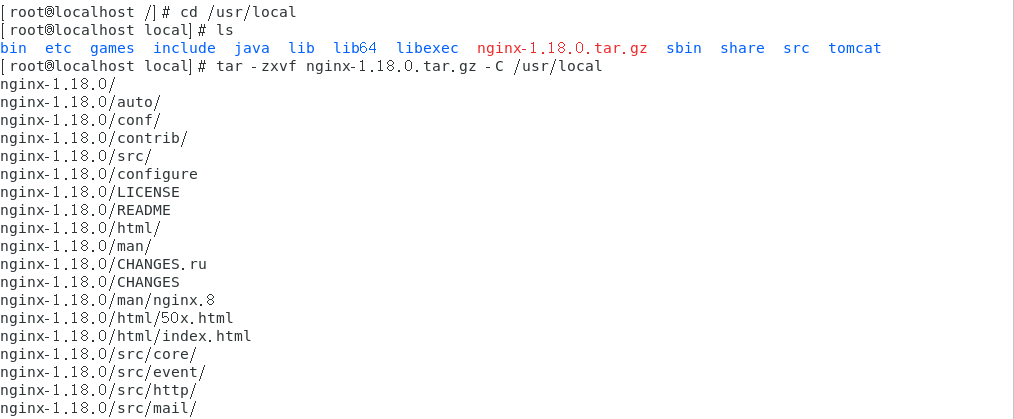
2. Unzip: tar -zxvf nginx-1.18.0.tar.gz -C /usr/local (unzip to C/user/local directory)
3. Rename
tar -zxvf nginx-1.18.0.tar.gz -C /usr/local
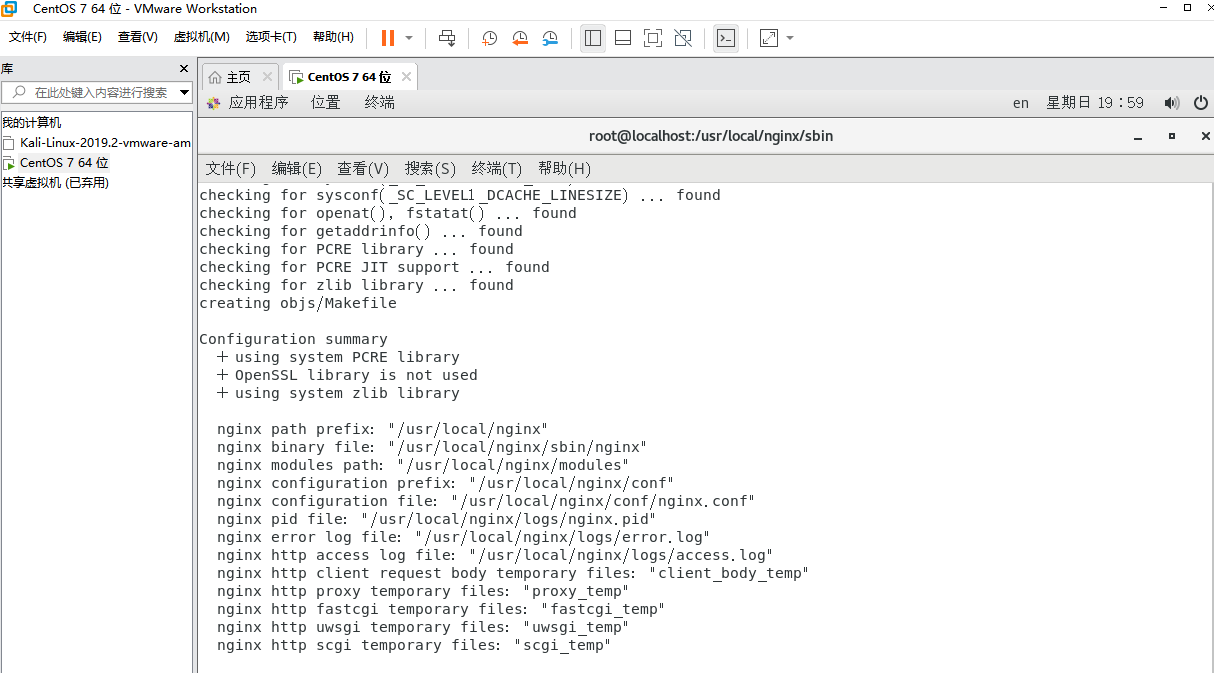
Step 3: Configure
cd /usr/local/nginx   Enter into nginx folder
./configure           Use default configuration

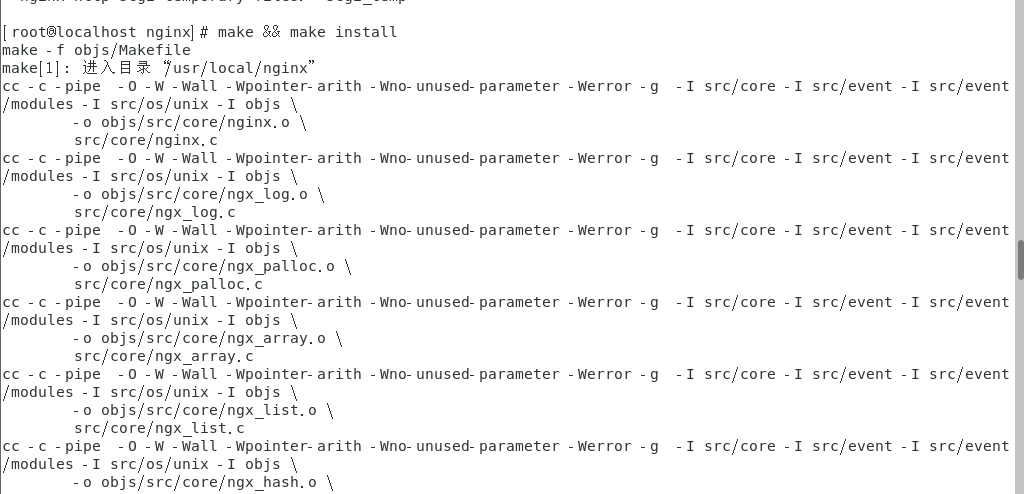
Step 4: compile and install
make && make install
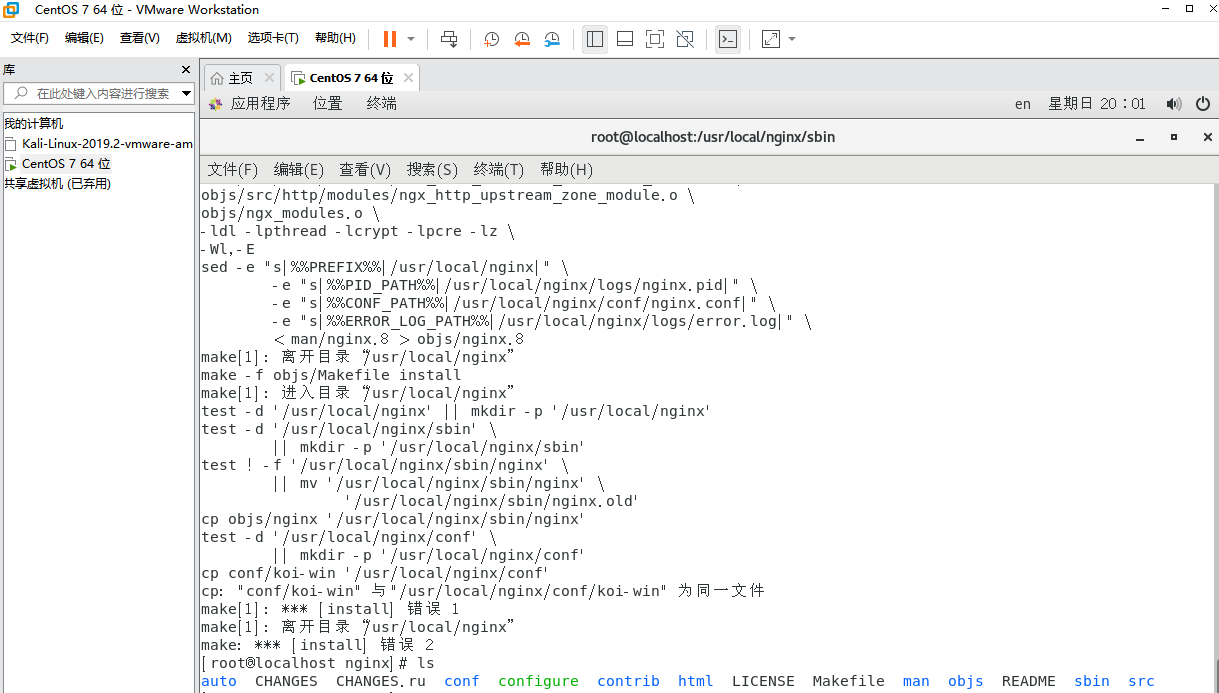
Step 5: start nginx (an error will be reported here)
cd /usr/local/nginx/sbin/      Enter into nginx of sbin catalogue
./nginx               start-up nginx

According to the error message, we can see that we do not have folders and files. Create new folders and files
mkdir /usr/local/nginx/logs     create folder
touch /usr/local/nginx/logs/error.log      create a file
touch /usr/local/nginx/logs/access.log     create a file
ls /usr/local/nginx/logs       see

Step 6: 1. Start nginx

View nginx process
ps -ef | grep nginx

3. Stop nginx
./nginx -s quit:   The stop step in this way is to wait nginx The process finished processing the task and stopped.
./nginx -s stop:   This method is equivalent to finding out first nginx process id Reuse kill The command forces the process to be killed.
./nginx -s reload  restart nginx(This method is not recommended. It is recommended to stop before starting)
Reload profile
After the configuration file nginx.conf of ngin x is modified, you need to restart nginx to make the configuration effective. Use. / nginx -s reload to make the configuration information effective in nginx without stopping nginx and then starting nginx
Step 7: open port 80 (the last article was written in detail here)
Last ip+80 access:
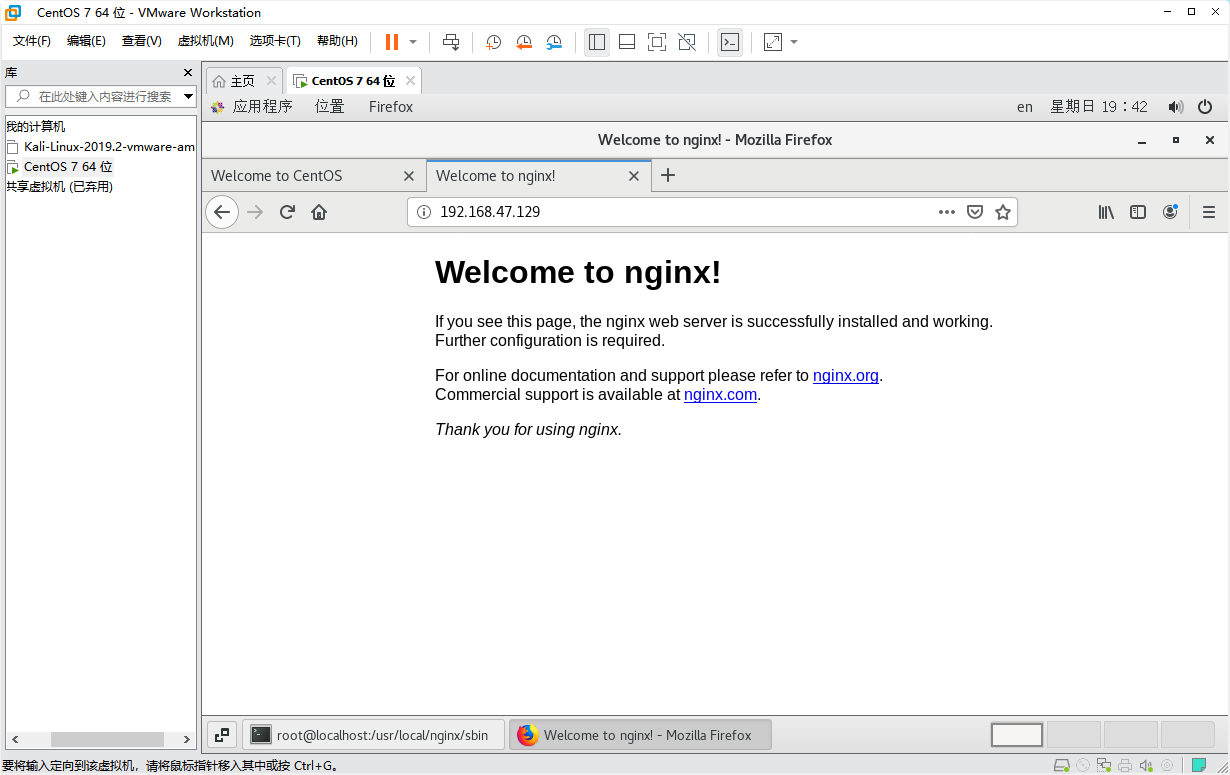
success!
Nginx configuration file nginx.conf description
#user  nobody;
worker_processes  1; #Work process: number. According to the hardware adjustment, it is usually equal to the number of CPUs or twice the number of CPUs.

#Error log storage path
#error_log  logs/error.log;
#error_log  logs/error.log  notice;
#error_log  logs/error.log  info;

#pid        logs/nginx.pid; # pid storage path of nginx process


events {
    worker_connections  1024; # Maximum number of connections for worker processes
}


http {
    include       mime.types; #Specifies the MIME type, which is defined by mime.type
    default_type  application/octet-stream;

    # Log format settings
    #log_format  main  '$remote_addr - $remote_user [$time_local] "$request" '
    #                  '$status $body_bytes_sent "$http_referer" '
    #                  '"$http_user_agent" "$http_x_forwarded_for"';

    #access_log  logs/access.log  main; #Use log_ After the format instruction sets the log format, you need to use access_log to specify the storage path of log files

    sendfile        on; #Specify whether nginx calls the sendfile function to output the file. For normal applications, on must be set.
            If the disk is used for downloading and other applications io Heavy load application, can be set off,To balance disk and network io Processing speed, reduce system uptime.
    #tcp_nopush     on; #This option allows or disables TCP using socket s_ The option of cork, which is only used when sendfile

    #keepalive_timeout  0;  #keepalive timeout
    keepalive_timeout  65;

    #gzip  on; #Open gzip compression service

    #Virtual host
    server {
        listen       80;  #Configure listening port number
        server_name  localhost; #Configure the access domain name. There can be multiple domain names separated by spaces

        #charset koi8-r; #Character set settings

        #access_log  logs/host.access.log  main;

        location / {
            root   html;
            index  index.html index.htm;
        }
        #Error jump page
        #error_page  404              /404.html;

        # redirect server error pages to the static page /50x.html
        #
        error_page   500 502 503 504  /50x.html;
        location = /50x.html {
            root   html;
        }

        # proxy the PHP scripts to Apache listening on 127.0.0.1:80
        #
        #location ~ \.php$ {
        #    proxy_pass   http://127.0.0.1;
        #}

        # pass the PHP scripts to FastCGI server listening on 127.0.0.1:9000
        #
        #location ~ \.php$ { #Request url filtering, regular matching, ~ is case sensitive, ~ * is case insensitive.
        #    root           html; #root directory
        #    fastcgi_pass   127.0.0.1:9000; #Request to turn to the defined list of servers
        #    fastcgi_index  index.php; # If the requested fastcgi_ The index URI ends with /, and the file set by the instruction will be appended to the URI and saved in the variable $fastcig_ script_ In name
        #    fastcgi_param  SCRIPT_FILENAME  /scripts$fastcgi_script_name;
        #    include        fastcgi_params;
        #}

        # deny access to .htaccess files, if Apache's document root
        # concurs with nginx's one
        #
        #location ~ /\.ht {
        #    deny  all;
        #}
    }


    # another virtual host using mix of IP-, name-, and port-based configuration
    #
    #server {
    #    listen       8000;
    #    listen       somename:8080;
    #    server_name  somename  alias  another.alias;

    #    location / {
    #        root   html;
    #        index  index.html index.htm;
    #    }
    #}


    # HTTPS server
    #
    #server {
    #    listen       443 ssl;  #Listening port
    #    server_name  localhost; #domain name

    #    ssl_certificate      cert.pem; #Certificate location
    #    ssl_certificate_key  cert.key; #Private key location

    #    ssl_session_cache    shared:SSL:1m;
    #    ssl_session_timeout  5m;

    #    ssl_ciphers  HIGH:!aNULL:!MD5; #Password encryption method
    #    ssl_prefer_server_ciphers  on; # ssl_prefer_server_ciphers  on; #


    #    location / {
    #        root   html;
    #        index  index.html index.htm;
    #    }
    #}
Remember to take a snapshot!!!!
Install and configure the Maven/Gradle running environment in the virtual machine. After the configuration is completed, run the "mvn -v" command in the terminal console to test whether the configuration is correct (this is also a one-time success)
1: First, import the Maven compressed package: Apache Maven official download address: https://maven.apache.org/download.cgi
Link: https://pan.baidu.com/s/11XPAjjbmtf0kw-_Nw4iRpA
Extraction code: csuc
--From Baidu online disk super member V3 Sharing
2: . unzip the downloaded Maven installation package (the location is arranged by yourself)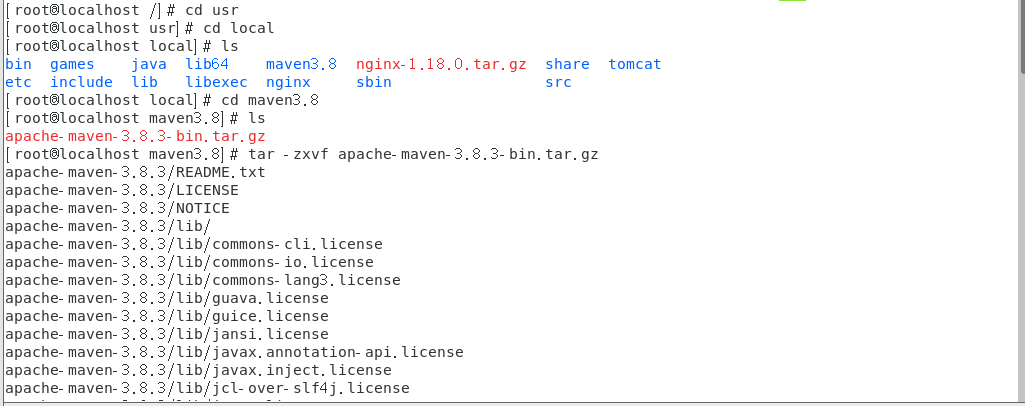
3. Set Maven's domestic image address (Alibaba cloud is used here)
Find the conf folder under the Maven folder (switch to the conf file directory: cd conf), open the settings.xml configuration file (open the settings.xml file: vim settings.xml), and add the following code (if there is no comment on the original image address, comment it out first): ), press [ESC] after adding, and then enter [: x] to save and exit editing:
     <mirror>
         <id>alimaven</id>
         <name>aliyun maven</name>
         <url>https://maven.aliyun.com/nexus/content/groups/public/</url>
         <mirrorOf>central</mirrorOf>
     </mirror>
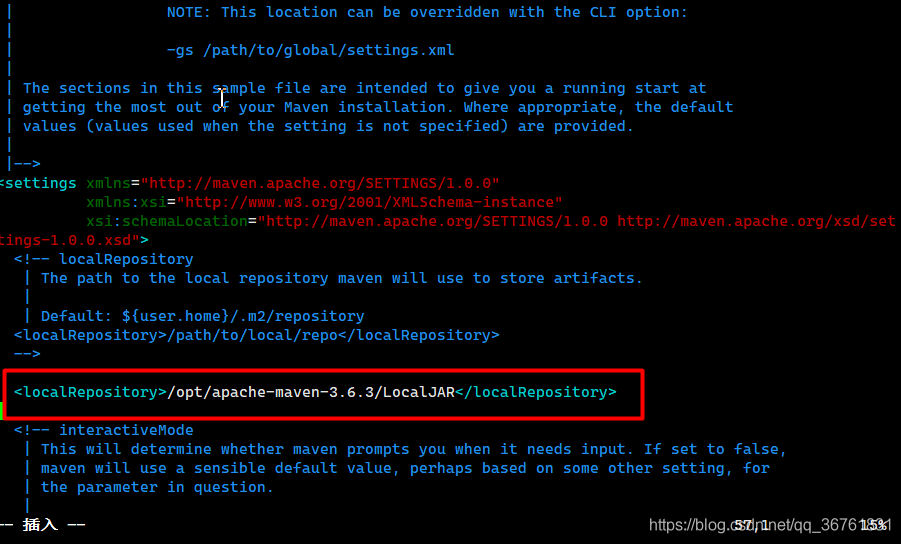
4. Set Maven local warehouse file directory (mainly used to save downloaded jar files)
First, determine where the jar is saved (here I save it in the / opt/apache-maven-3.6.3/LocalJAR directory, you can create a file directory through the mkdir command, and it is recommended to save it in the Maven directory), find the conf folder under the Maven folder (switch to the conf file directory: cd conf), open the settings.xml configuration file, and open the settings.xml file: vim settings.xml), Add the following code, press [ESC] after adding, and then enter [: x] to save and exit editing:
5. Specify the JDK Version (set the JDK version of the project created by Maven)
Add the following code:
    <profile>
      <id>jdk-1.8</id>
      <activation>
        <activeByDefault>true</activeByDefault>
        <jdk>1.8</jdk>
      </activation>
      <properties>
        <maven.compiler.source>1.8</maven.compiler.source>
        <maven.compiler.target>1.8</maven.compiler.target>
        <maven.compiler.compilerVersion>1.8</maven.compiler.compilerVersion>
      </properties>
    </profile>
6. Configure Maven environment variables
Open environment variable configuration file command: vim /etc/profile
Add the following configuration at the end of the file
#Your maven path
MAVEN_HOME=/usr/local/maven/apache-maven-3.6.1

export PATH=${MAVEN_HOME}/bin:${PATH}
Reload environment variables: source /etc/profile
7. View results: mvn -version
