1. Shared Files
2. Install TensorFlow
3. Install python3
1. Shared Folders
- Install vmware tools
- Virtual Machine
Turn off Ubuntu or you cannot add shared folders
In the VMware Virtual Machine window, select VM->Settings->Options->Shared Folders
Click Add on the right, click Next->Select the path to the Win7 shared directory, then click Next->Check Enable this share->Finish
To the right of the VM->Settings->Options->Shared Folders window, select Always enabled in the Folder sharing column
Point OK to confirm exit
But it's not done here. There's only a third step to file sharing.
TensorFlow Chinese Community
http://www.tensorfly.cn/tfdoc/get_started/os_setup.html
[TensorFlow Installation]
1. Essential python-pip and python-dev installations
$ sudo apt-get install python-pip python-dev
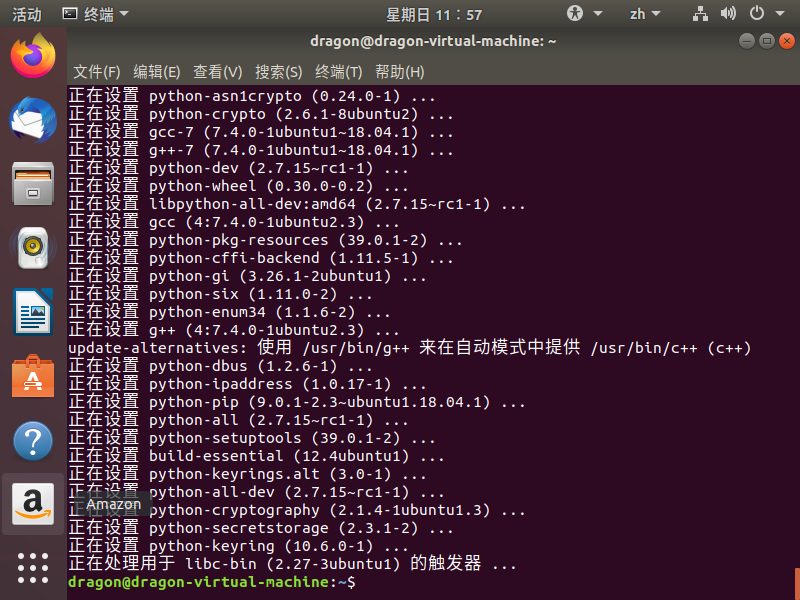
Explain this command: apt-get is a command to get software from the software repository, which is a common feature of all major Linux distributions: it is a series of servers or websites that store software, including packages and index files. Users can easily use commands to locate and install the software automatically without the hassle of searching everywhere. Install is the installation instructions, while python-pip and python-dev are the names of the two packages that need to be installed. Pip can be understood as a more advanced software installer that is used to install Tensorflow, while dev is an additional class library that is required for the installation and operation of Tensorflow. If everything goes well, after a long line of English, we will see the following interface

Install Tensorflow
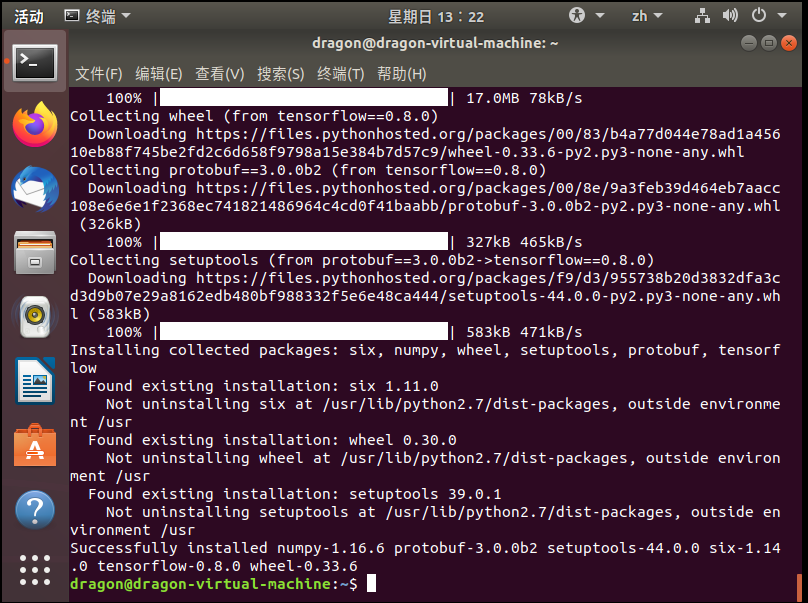
$ sudo pip install --upgrade https://storage.googleapis.com/tensorflow/linux/cpu/tensorflow-0.8.0-cp27-none-linux_x86_64.whl

python 3 installation
The Ubuntu 18.04 system has built-in versions of Python 3.6 and Python 2.7. The following is how to install Python 3.7 on the Ubuntu 18.04 system.
1. Perform all upgrades
# sudo apt update
# sudo apt upgrade -y
2. Install packages required to compile Python source programs
# sudo apt install build-essential -y
# sudo apt install libncurses5-dev libgdbm-dev libnss3-dev libssl-dev libreadline-dev libffi-dev -y
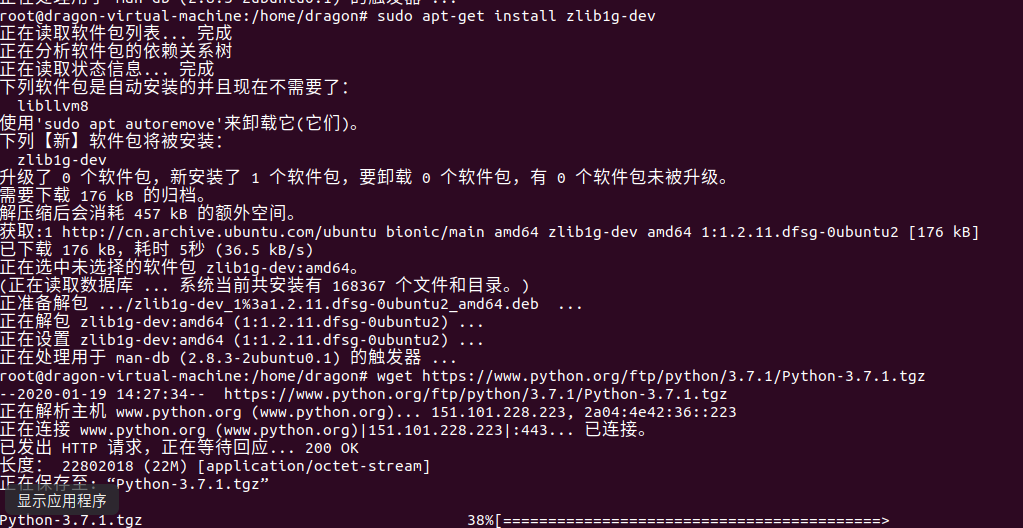
# sudo apt-get install zlib1g-dev
3. Download Python 3.7 Source Compressed Package
# wget https://www.python.org/ftp/python/3.7.1/Python-3.7.1.tgz

4. Decompression
# tar -xzvf Python-3.7.1.tgz
5. Configuration
# cd Python-3.7.1
# ./configure --enable-optimizations
Executing the above statement will enable the release version of the code and optimize binaries for better and faster operation
6. Compile and install Python 3.7
# sudo make
# sudo make install
Compiling takes some time (about half an hour)

7. View the Python version
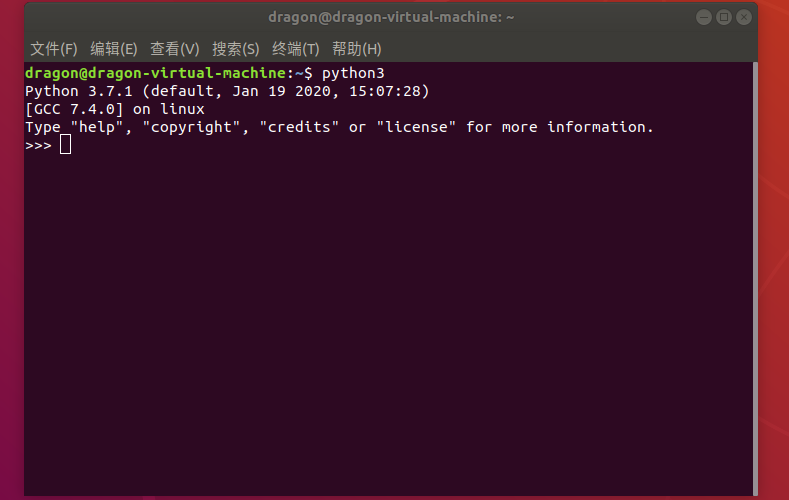
# python3
Python 3.7.1 (default, Nov 21 2018, 16:35:49)
[GCC 7.3.0] on linux
Type "help", "copyright", "credits" or "license" for more information.
>>>

The above statement indicates that the installation was successful.
8. Upgrade pip and change pip source
Install pip source
# sudo apt install python3-pip
# pip install --upgrade pip
Error replacing pip source
Tsinghua University Mirror File
# sudo pip config set global.index-url https://pypi.tuna.tsinghua.edu.cn/simple
# pip3 install --upgrade pip

ps:
Temporary use
pip install -i https://pypi.tuna.tsinghua.edu.cn/simple some-package
Note that simple can't be less, it's https, not http
Set as Default
Configure after upgrading pip to the latest version (>=10.0.0):
pip install pip -U
pip config set global.index-url https://pypi.tuna.tsinghua.edu.cn/simple
If you have poor network connectivity to the PIP default source, temporarily use this mirror to upgrade pip:
pip install -i https://pypi.tuna.tsinghua.edu.cn/simple pip -U