1. kvm installation conditions
1.inter cpu ----> vmx
2.amd cpu -------> svm
2. kvm virtualization installation
1,dnf group list Lists the software groups in the system
2,dnf group install "Virtualization Client" "Virtualization Hypervisor" "VirtualizationTools" -y  install
Virtualization Client Virtualized client
Virtualization Tools Virtualization tools
Virtualization Hypervisor Virtualization core Suite
3,[root@foundation50 yum.repos.d]# systemctl enable --now libvirtd.sevice turns on Virtualization services
3. How to make u disk as linux boot disk
1. Pl u g in the USB flash disk
2. df view unmount u disk and use umountmingl
3,[ root@foundation50 isos]# dd if=rhel-8.2-x86_ 64-dvd. ISO of = / dev / SDB write
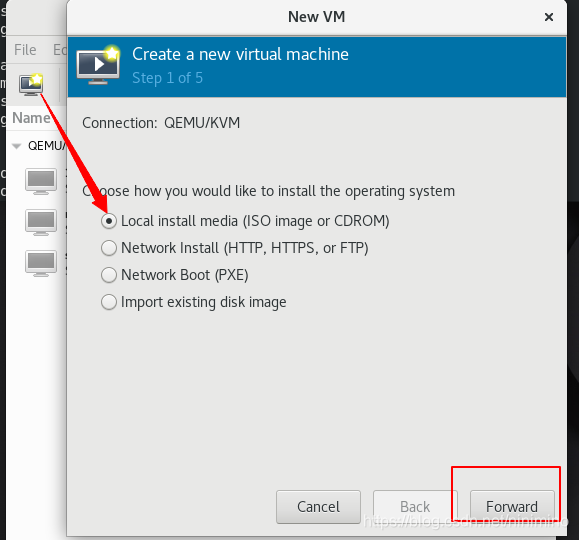
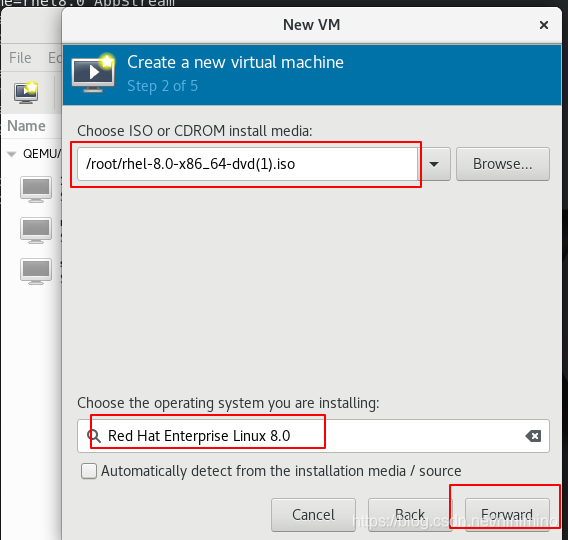
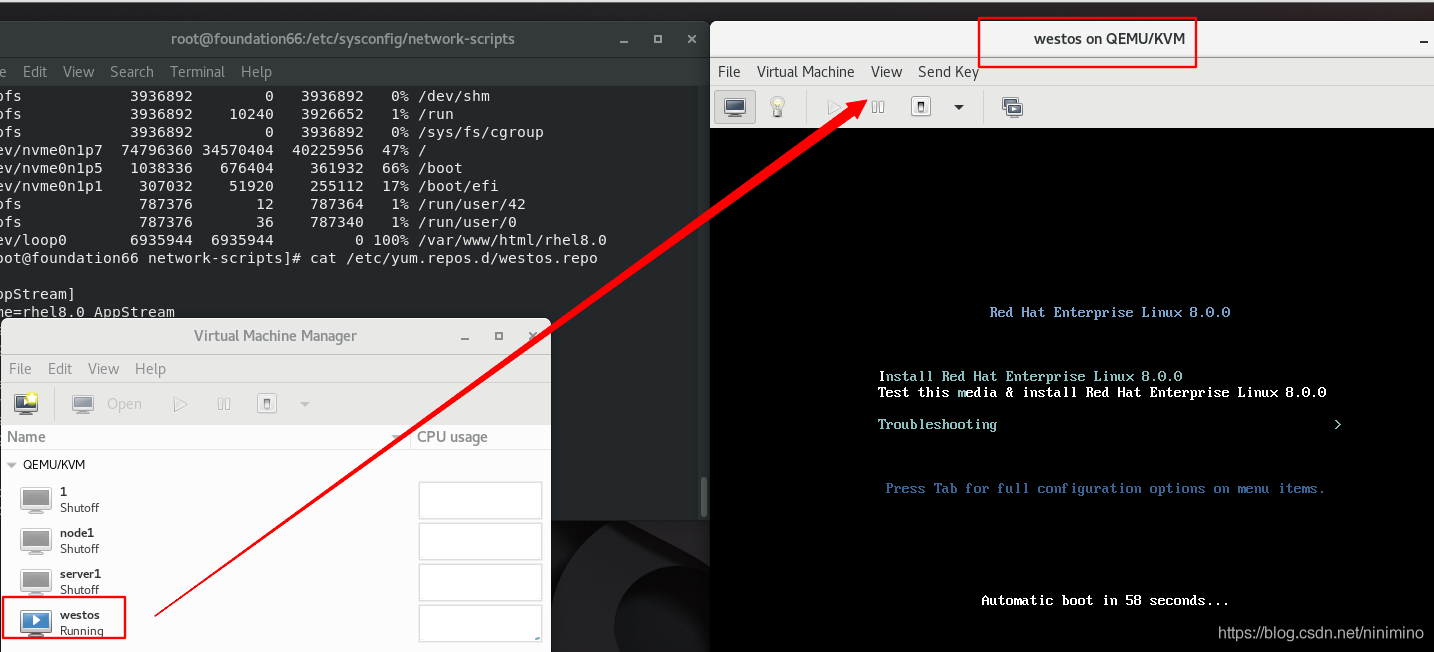
4. Installing virtual machines

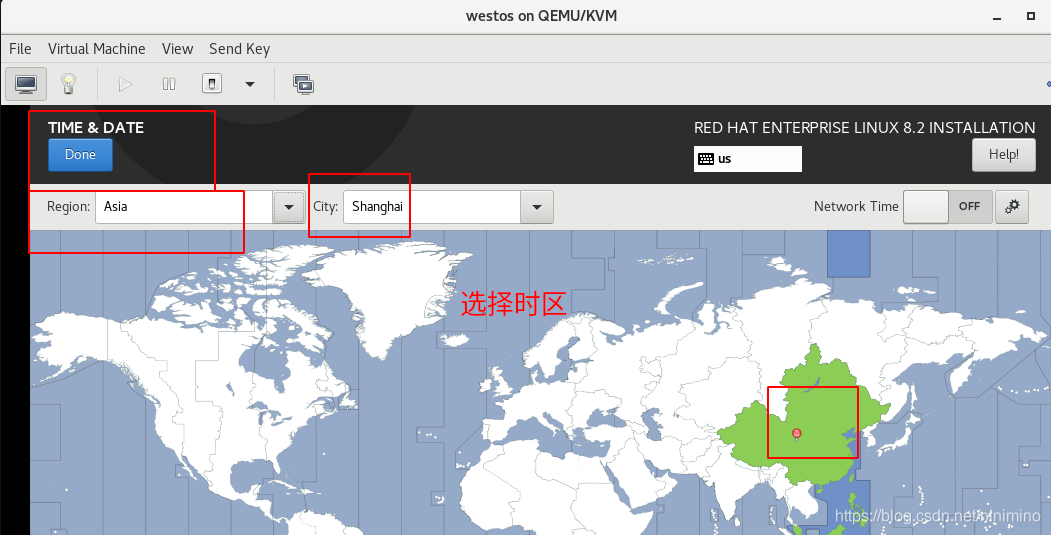
Select keyboard, time zone and disk partition in the installation interface
1 keyboard

2 time zone
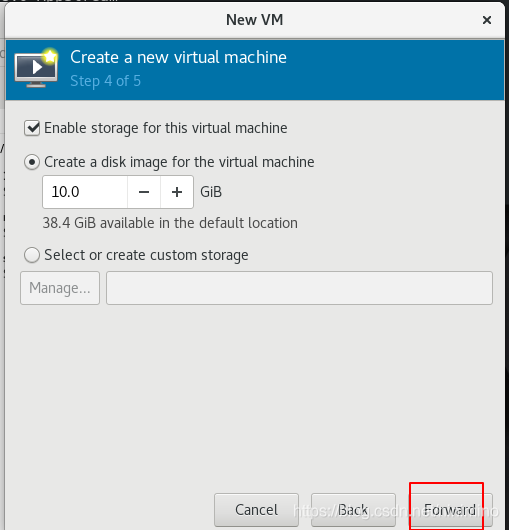
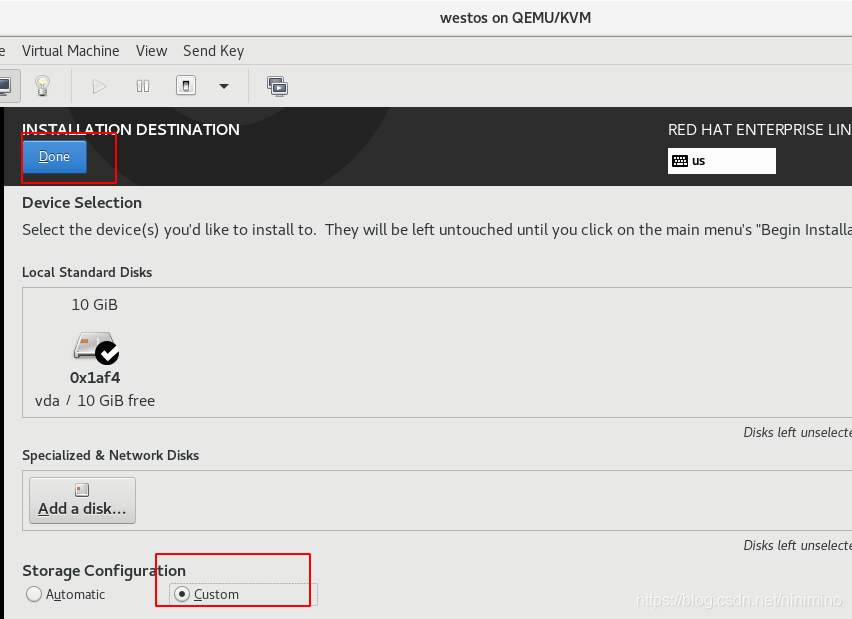
3. Disk partition


install

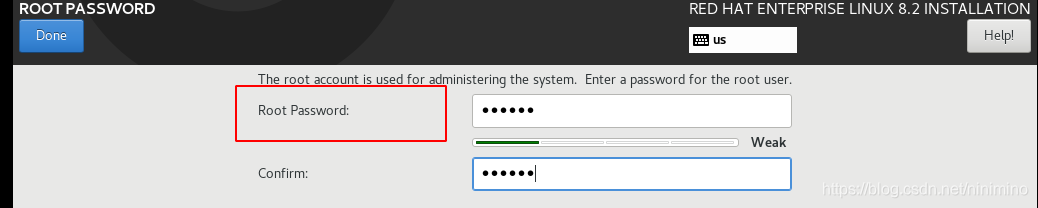
Set superuser password

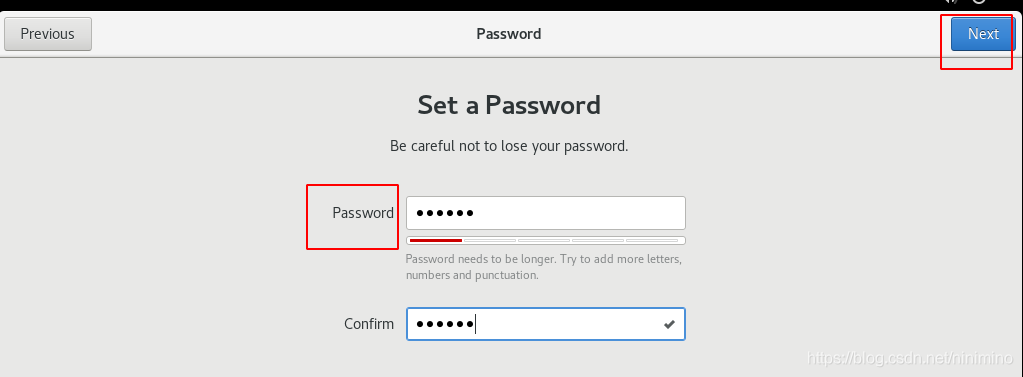
Create normal user
Restart after installation

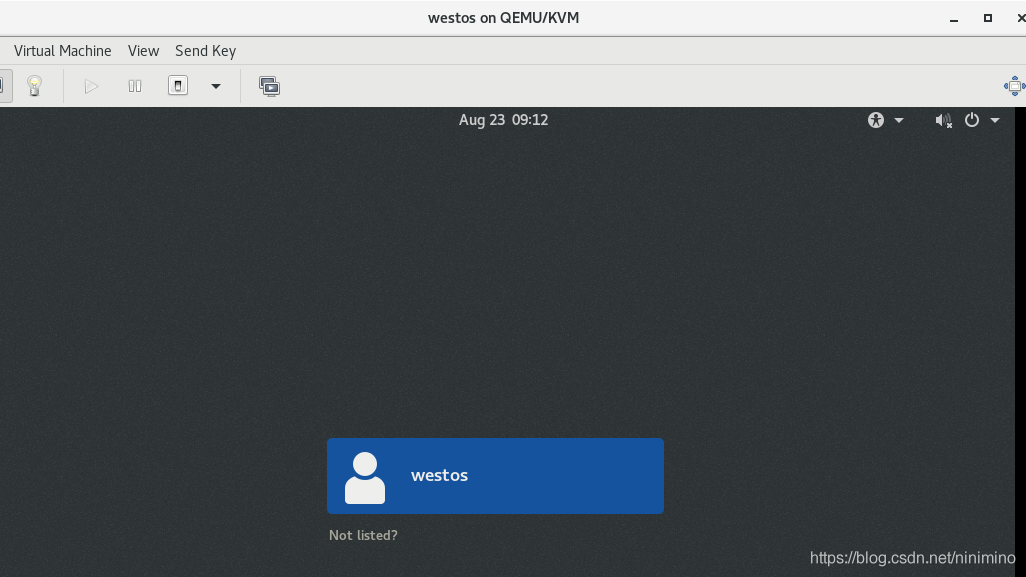
After restart, check the following information
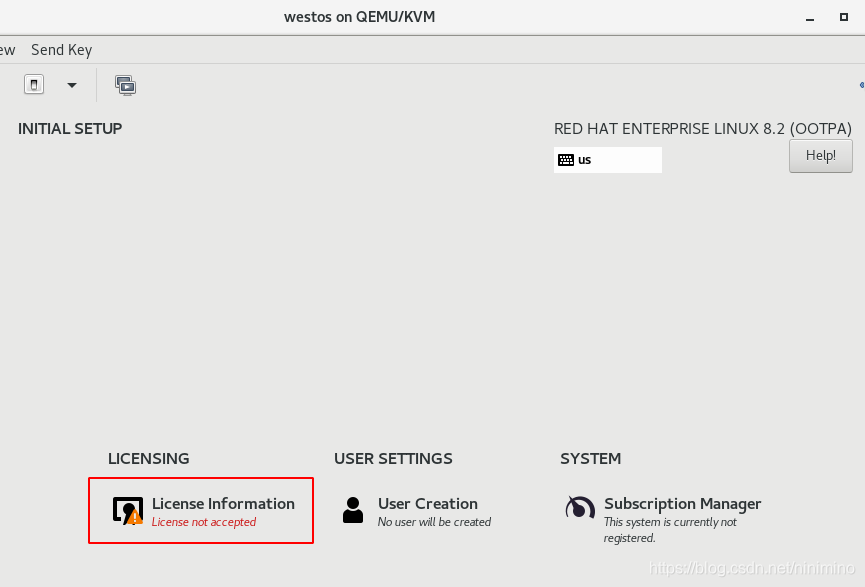

installation is complete
All you need to do is click next
Precautions during installation:
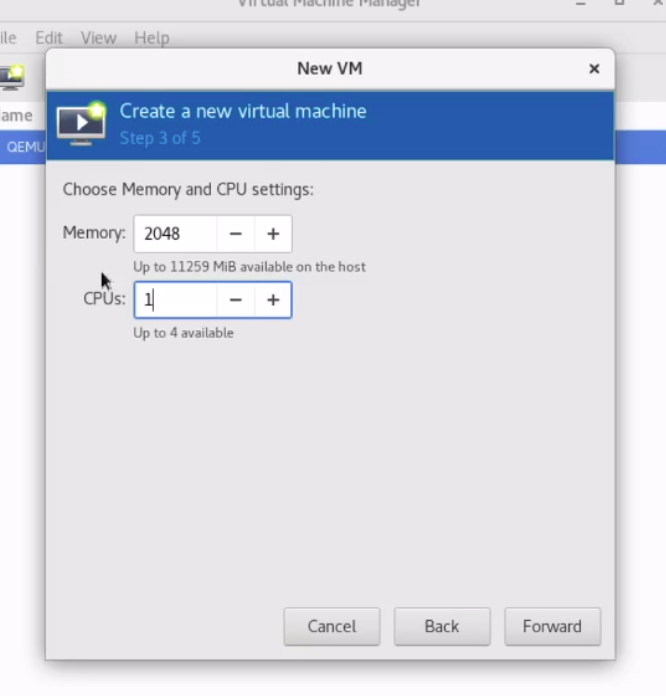
1.Long installation time
2.Memory greater than 2 G,Otherwise, the graphics cannot be opened
3.cpu  1
4.Hard disk selection 7 g Above, I often choose 8 G
5.When partitioning a disk
  custom
 /boot    500M
 /swap  500M
 /    All the space left
4. Virtual machine snapshot
Virtual machine snapshot is like a mirror. You can modify it on the mirror or view the original system through the mirror without damaging the original system. If the mirror is broken, you can take another look.
1. Delete hardware management file
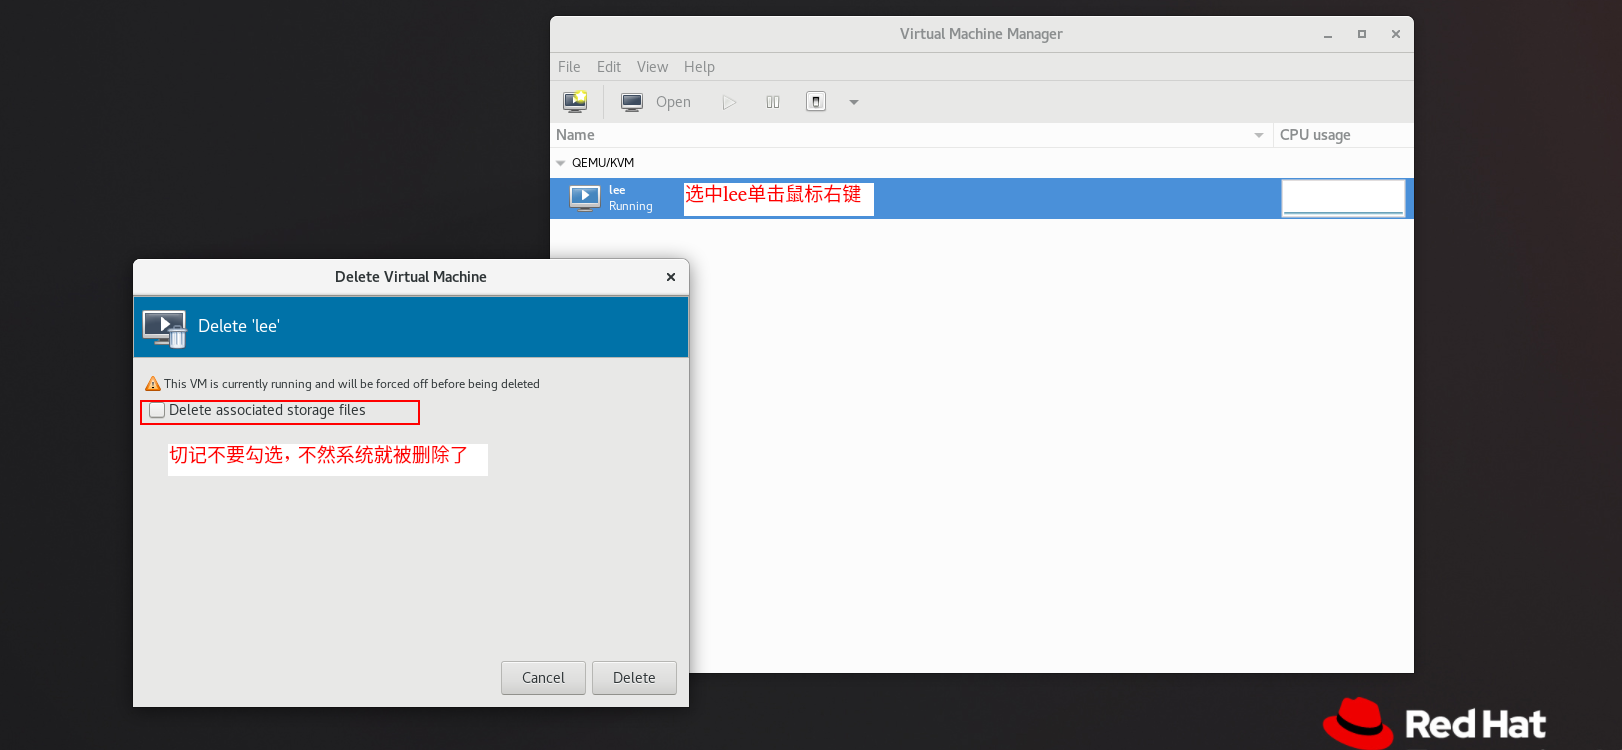
Execute the command to delete the hardware management file
[root@foundation50 isos]# virsh undefine lee
Domain lee has been undefined
Note: only the hard disk management files are deleted, not the hard disk files. The hard disk is located on cd /var/lib/libvirt/images
[root@foundation50 images]# ls
lee.qcow2
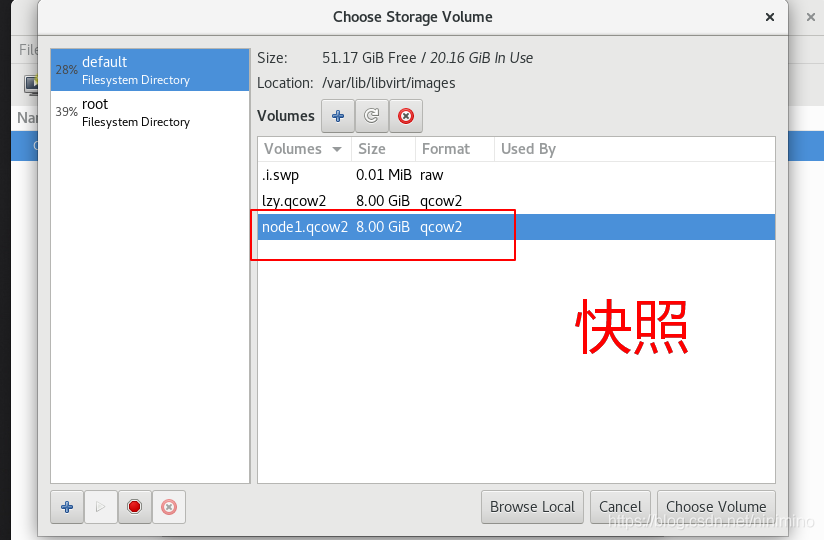
2 snapshot hard disk
[root@foundation50 images]# cd /var/lib/libvirt/images / enter the hard disk file storage location
[root@foundation50 images]# qemu-img create -f qcow2 -b lee.qcow2 node1.qcow2 where f represents the specified type and B represents the name of the specified backup
Formatting 'node1.qcow2', fmt=qcow2 size=8589934592 backing_file=lee.qcow2 cluster_size=65536 lazy_refcounts=off refcount_bits=16
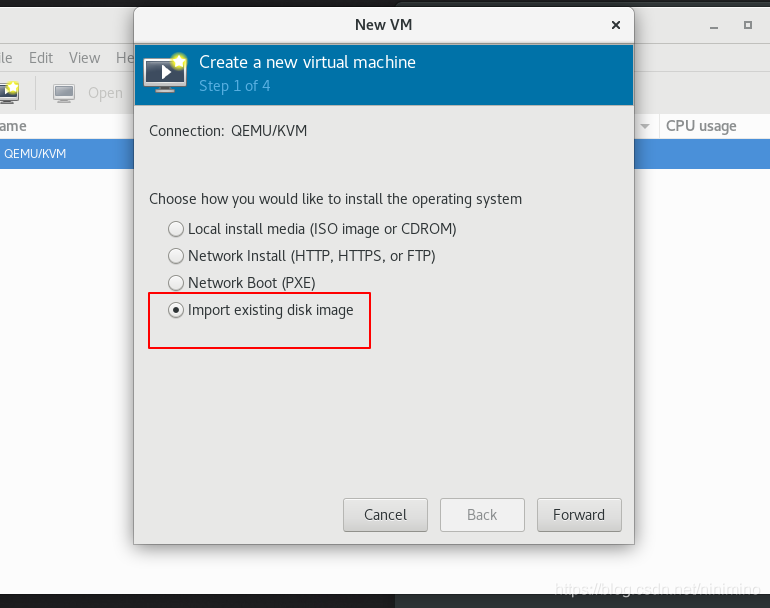
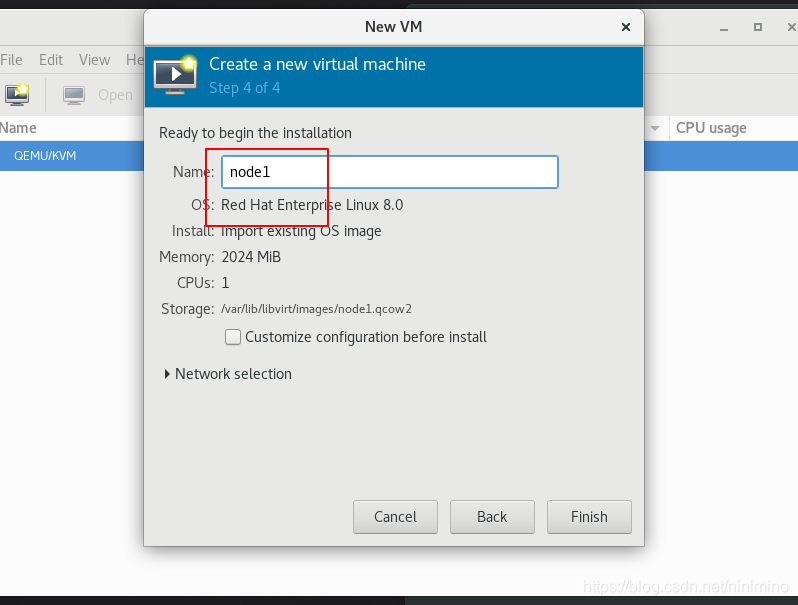
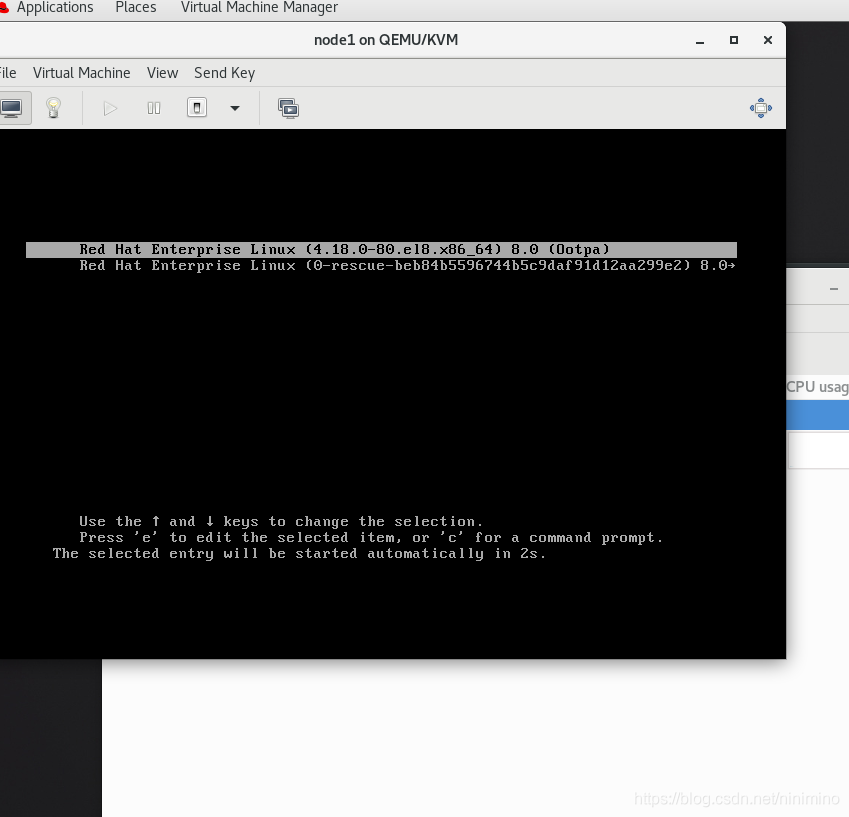
3. Installation

5. Virtual machine management commands
| command | function |
|---|---|
| virt-viewer westos | ##Show westos virtual machines |
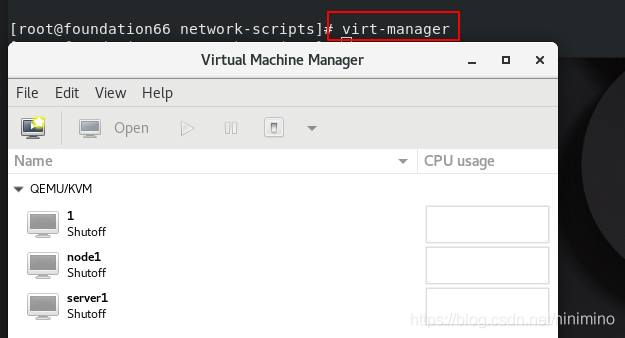
| virt-manager | ##Turn on the virtual machine controller |
| virsh list | ##List running virtual machine snapshots |
| virsh list --all | ##List all virtual machines |
| virsh start westos | ##Turn on the virtual machine |
| virsh shutdown westos | ##Shut down the virtual machine normally (sometimes it cannot be shut down when the virtual machine is not fully turned on) |
| virsh destroy westos | ##Powerdown westos virtual machine |
6. Virtual machine transfer in Linux system
Experimental environment:
westos_linux: 172.25.254.10 there is no virtual machine by default
westos_node1: 172.25.254.20 the westos virtual machine is installed by default
method:
stay westos_node1 Copy in westos Virtual machine files to wesots_linux in
scp /etc/libvirt/qemu/westos.xml         (Hardware information)    root@172.25.254.x:/var/lib/libvirt/images
scp /var/lib/libvirt/images/westos.qcow2 (Hard disk)        root@172.25.254.x:/var/lib/libvirt/images
 virsh define         westos.xml             ##Recover the permanent of the virtual machine through the hardware information file
 virsh create         westos.xml             ##Open the virtual machine through the hardware information file and disappear once the virtual machine is closed
virsh undefine        westos                  ##Delete the virtual machine hardware information (the hard disk information still exists and needs to be deleted manually)
7. Install virtual machine self running script
[root@foundation50 qemu]# Man virt install view help for installing virtual machines
[root@foundation50 Desktop]# cat create.sh script
#!/bin/bash
virt-install \
--cdrom /isos/rhel-8.2-x86_64-dvd.iso \  Hard disk location
--memory 2048 \  Memory
--vcpus 1 \    cpu
--disk /var/lib/libvirt/images/$*.qcow2,size=8,bus=virtio \    Hard disk size, hard disk reading mode
--name $*  name  $*Indicates that any character can be followed
[root@foundation50 Desktop]# sh create.sh westos execution script
8. Snapshot self running script
[root@foundation50 Desktop]# cat snapshoot_vm.sh
#!/bin/bash
qemu-img create \
-f qcow2 \
-b /var/lib/libvirt/images/lee.qcow2 \
/var/lib/libvirt/images/$*.qcow2


virt-install \
--memory 2048 \
--vcpus 1 \
--name $* \
--disk /var/lib/libvirt/images/$*.qcow2 \
--import
9. Snapshot corruption recovery self running script
[root@foundation50 Desktop]# cat reset.sh
#!/bin/bash
virsh destroy $*
rm -fr /var/lib/libvirt/images/$*.qcow2

qemu-img create \
-f qcow2 \
-b /var/lib/libvirt/images/lee.qcow2 \
/var/lib/libvirt/images/$*.qcow2

virsh start $*
virt-viewer &> /dev/null &  Display into the background
[root@foundation50 Desktop]# sh reset.sh node1 running
10. Bridge settings
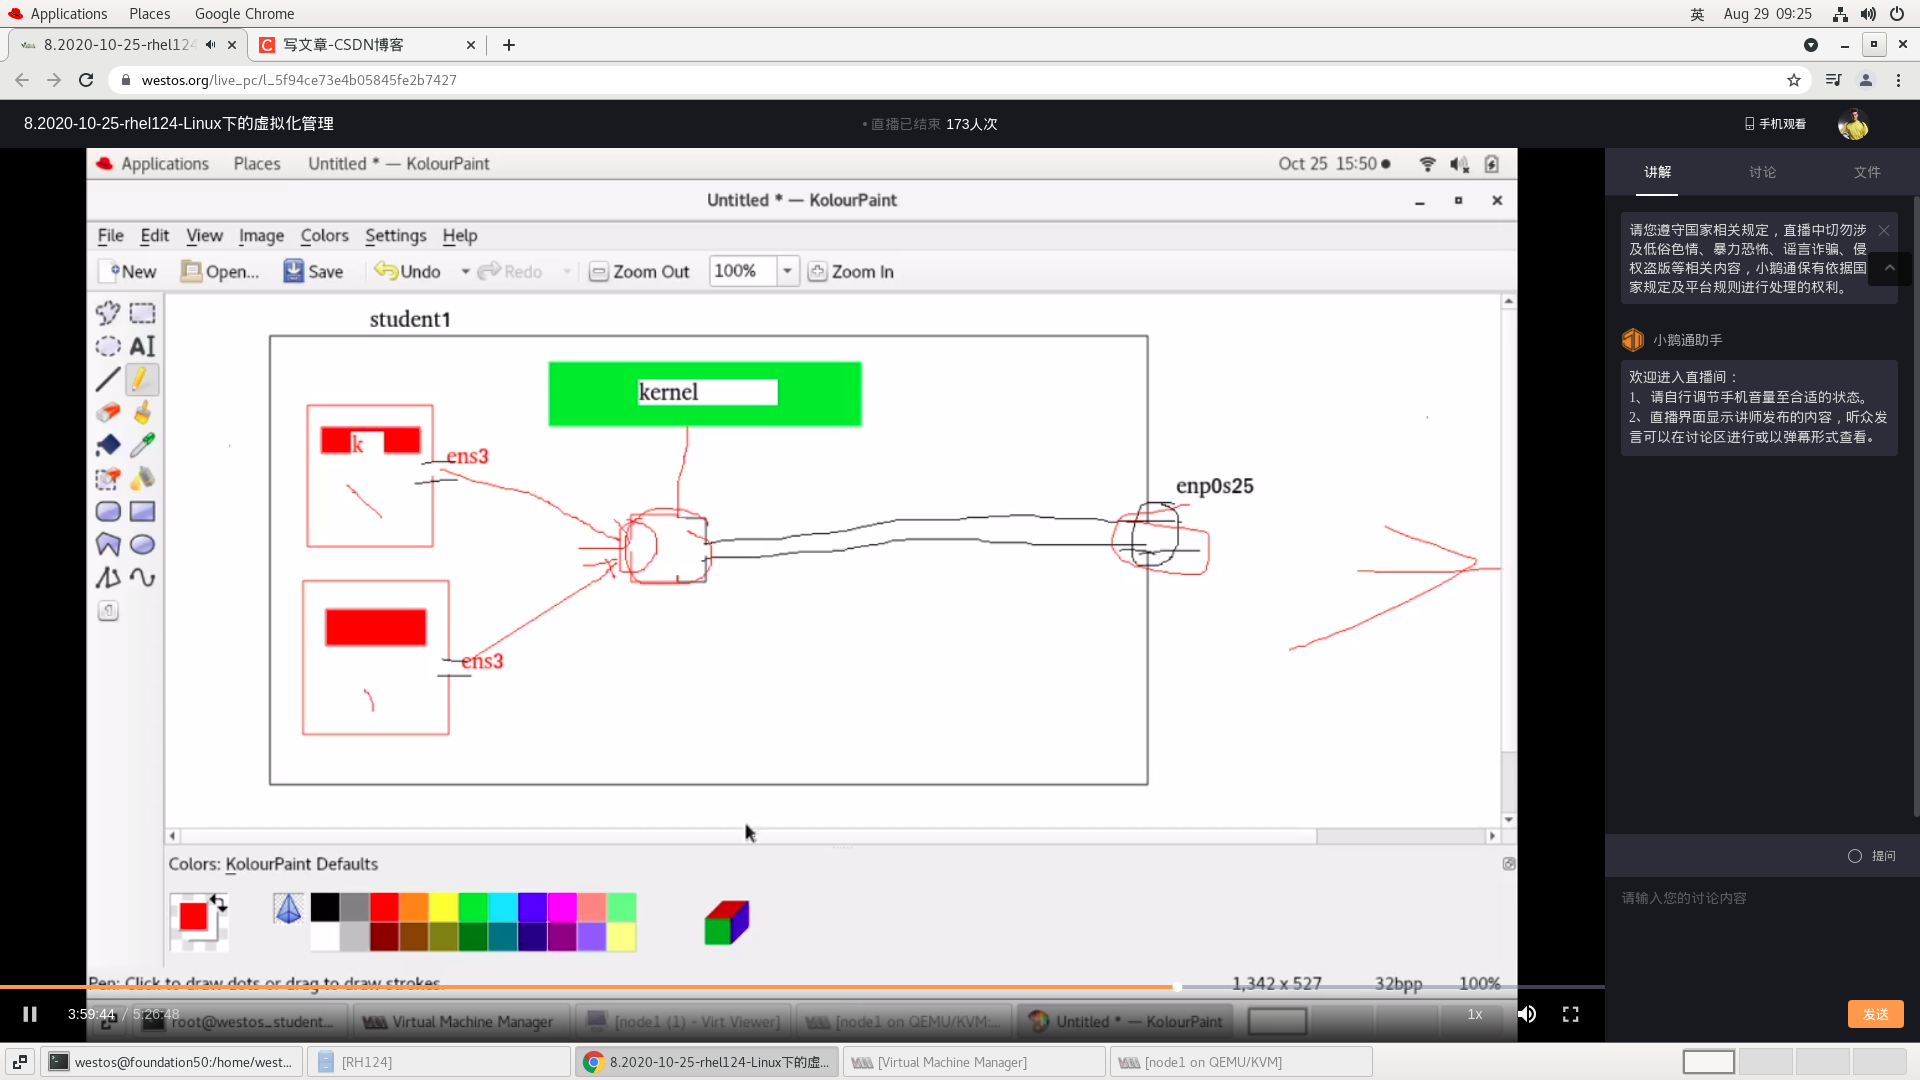
1. Default communication method between virtual machine and real host network:
The real host kernel will generate a virbr0 interface, which is equivalent to a virtual route. While connecting the virtual machine, it connects the host network card. The virtual machine transmits data to the virtual route, communicates with the host network card through address forwarding, and then goes out.
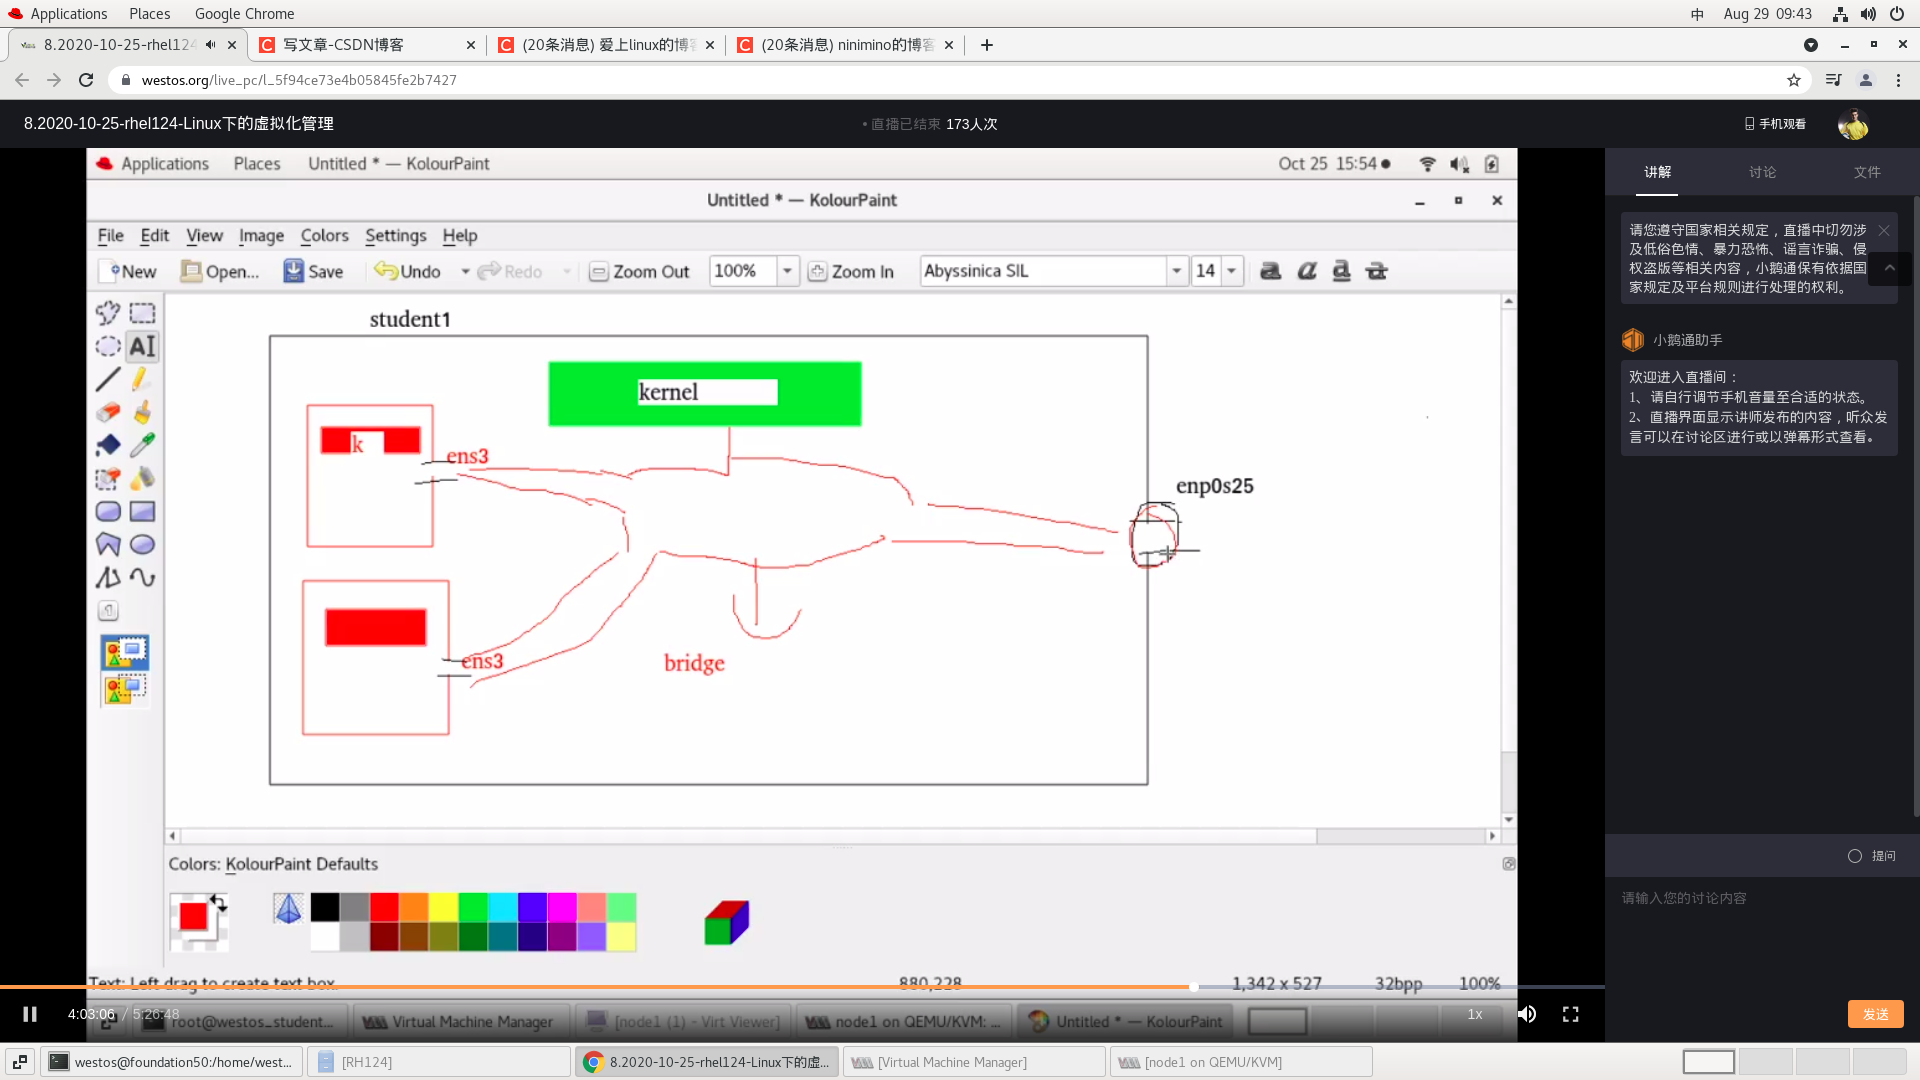
Communication method between virtual machine and real host:
The kernel builds a bro interface to allow the virtual machine to communicate directly with the host without communication through the router and will not be affected by the calculation of the router.
2. Bridge settings
Operate on a real host
[root@foundation50 Desktop]# cd /etc/sysconfig/network-scripts/
[root@foundation50 network-scripts]# ls
ifcfg-br0        ifcfg-enp4s0f1          ifcfg-Wired_connection_1
ifcfg-CMCC-ckx7  ifcfg-I-SHAANXI-XiXian
[root@foundation50 network-scripts]# rm -fr ifcfg-CMCC-ckx7 ifcfg-Wired_connection_1 ifcfg-I-SHAANXI-XiXian
 take wifi Delete irrelevant network configuration files
[root@foundation50 network-scripts]# cat ifcfg-enp4s0f1 write ifcfg-enp4s0f1 file ifcfg - generally followed by the network card name
DEVICE=enp4s0f1  Device name
BOOTPROTO=none  The working mode of the network card is static
ONBOOT=yes The network card is automatically activated when the network starts the service
BRIDGE=br0  Bridge interface br0
[root@foundation50 network-scripts]# Cat ifcfg-br0edit br0
DEVICE=br0
BOOTPROTO=none
IPADDR=172.25.254.50
PREFIX=24   Subnet mask
ONBOOT=yes
TYPE=Bridge
[root@foundation50 network-scripts]# reboot restart
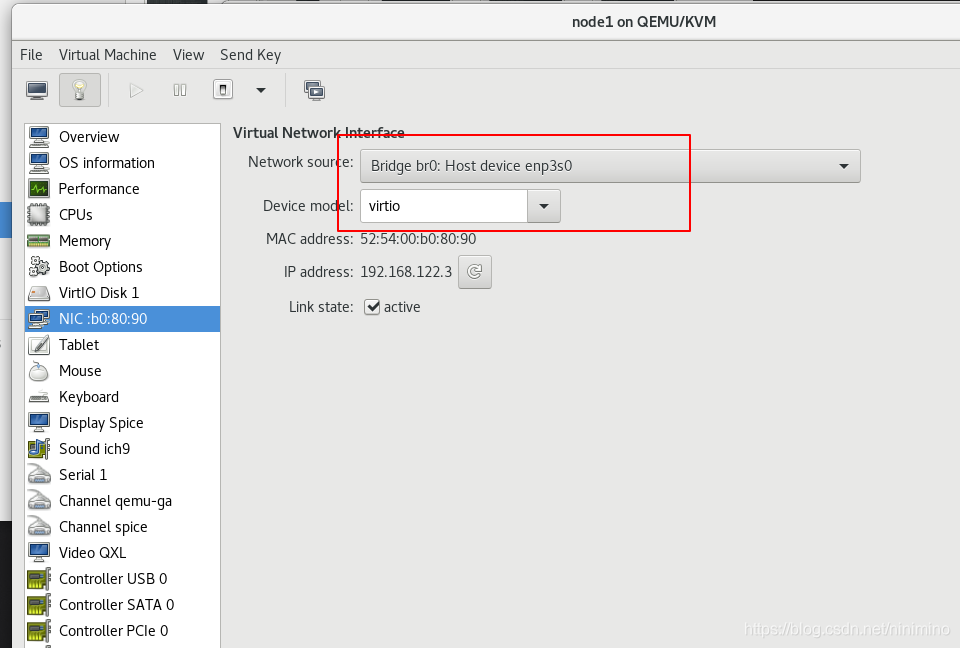
Configuring a network on a virtual machine
Select as shown in the figure
[ root@localhost Open desktop]# nm connection editor to set ip and subnet mask