Functions realized
1. Implement dynamic display and hide the Item part View of ListView. The effect is as follows: 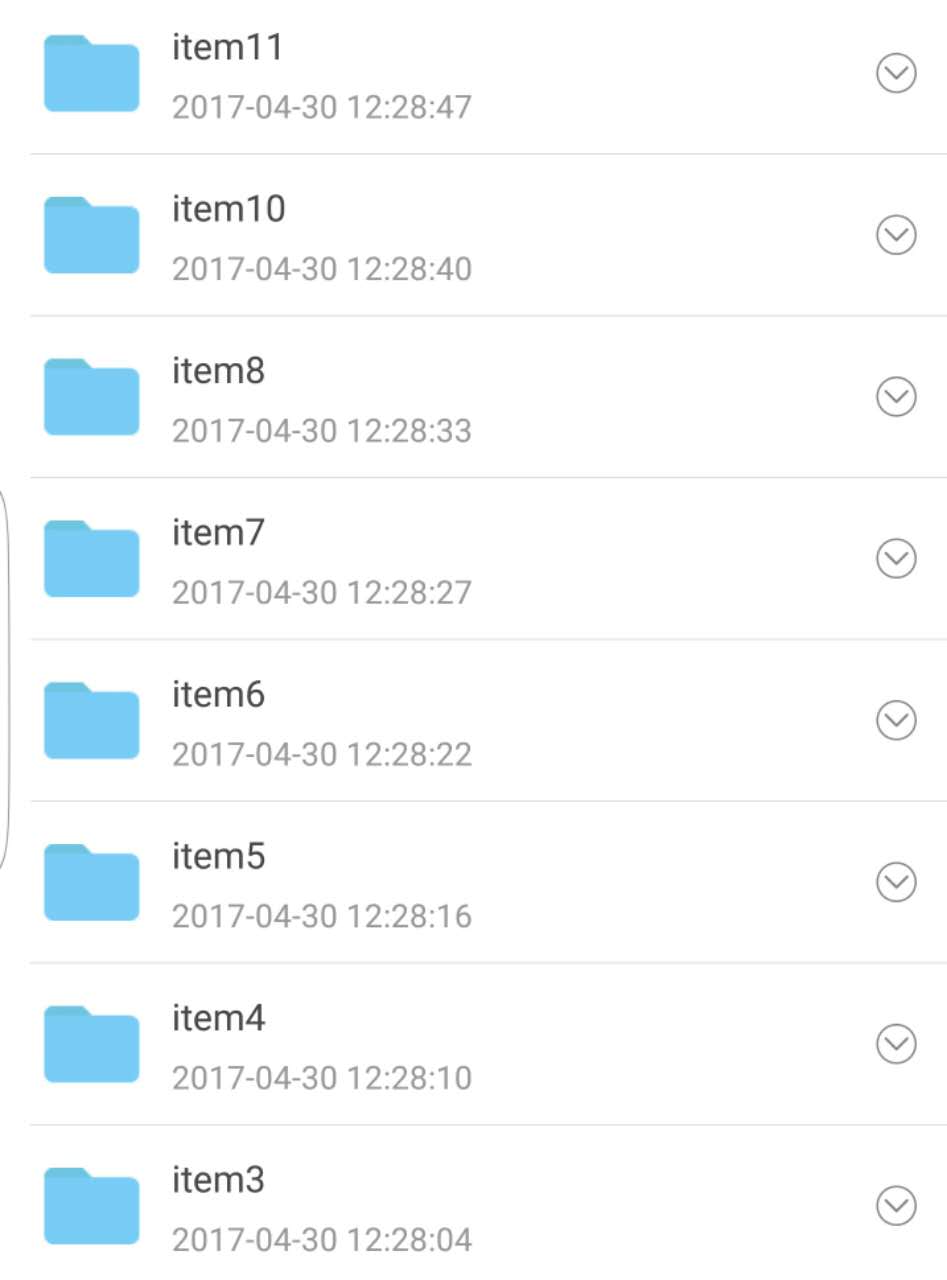
Click on the button on the right to display or hide the operation layout at the bottom to realize the dynamic display of part of the layout of Item.
Knowledge points involved
1. The meanings and functions of different parameters of inflate method.
2. The rendering process of View includes onMeasure, onLayout and onDraw.
3. Customize View.
4. How to control the display and hiding of part layout of Item.
How to control the display and hiding of part layout of Item
The idea is to mark a global variable to record which Item is currently being operated (the right button is clicked), and the initialization position is - 1, which means that all bottom operation layouts are hidden.
/***
     * Mark the location of the table below: Start at 0
     */
    public int mShowBottomPosition = -1;
At the same time, a state is needed to mark the status (hidden or displayed) of the Item currently being operated on.
/**
     * Represents the status of the current position
     */
    public int mCurrentPositionStatus = HIDE_BOTTOM;
    public static final int SHOW_BOTTOM = 1;
     public static final int HIDE_BOTTOM = 0;
Add a click event to the right button of Item, change the value of mShowBottomPosition to the position currently clicked. Modify the status of mCurrentPositionStatus Status. If the bottom layout of the Item being clicked is hidden before, mCurrentPositionStatus = SHOW_BOTTOM, otherwise mCurrentPositionStatus = HIDE_B OTTOM. Then execute the notifyDataSetChanged method to redraw the layout.
Add a click event for the button on the right. The code is as follows:
holder.mGoImage.setOnClickListener(new OnClickListener()
            {
                @Override
                public void onClick(View v)
                {
                    showOrHideBottom(holder, position);
                }
            });
/**
* Display or hide the bottom controller
*
* @param position position
*/
private void showOrHideBottom(ViewHolder holder, int position)
{
LogUtils.i(TAG, "mShowBottomPosition111 :" + mShowBottomPosition + " position : " + position);
if (mShowBottomPosition != position)
{
mShowBottomPosition = position;
mCurrentPositionStatus = SHOW_BOTTOM;
} else
{
mShowBottomPosition = position;
if (mCurrentPositionStatus == HIDE_BOTTOM)
{
mCurrentPositionStatus = SHOW_BOTTOM;
} else
{
mCurrentPositionStatus = HIDE_BOTTOM;
}
}
mAdapter.notifyDataSetChanged();
}
Then the setBottomStatusByPosition() method is called in the getView method, which is the real code to control the display and hiding of the bottom layout of Item. The code is as follows:
/**
     * Set the state of the bottom operation
     *
     * @param position
     */
    private void setBottomStatusByPosition(final View convertView, ViewHolder holder, final int position)
    {
        ((MeasureViewHeightLayout)convertView).setOnMeasureAfterInterface(null);
        LogUtils.i(TAG, "mShowBottomPosition2222 :" + mShowBottomPosition + "   position : " + position);
        if (mShowBottomPosition == position)
        {
            int status = mCurrentPositionStatus;
            LogUtils.i(TAG, "mShowBottomPosition22 status :" + status);
            if (status == SHOW_BOTTOM)
            {
                holder.bottom_action_bar.setVisibility(VISIBLE);
                holder.statusArrorImg.setImageResource(R.mipmap.close_bottom_operation_icon);
                if(mFileList.get(position).isDir())
                {
                    holder.op_shared.setVisibility(GONE);
                }
                else
                {
                    holder.op_shared.setVisibility(VISIBLE);
                }
                if(convertView != null)
                {
                    MeasureViewHeightLayout.onMeasureAfterInterface onMeasureAfterInterface
                            = new MeasureViewHeightLayout.onMeasureAfterInterface()
                    {
                        @Override
                        public void operation()
                        {
                            Log.i("coordinate","convertView to String :"+convertView.toString()+" x :"+convertView.getX()+"  Y :"+convertView.getY()
                                    +"   bottom :"+convertView.getBottom() + " top :"+convertView.getTop());
                            Rect rect = new Rect();
                            boolean visible = convertView.getLocalVisibleRect(rect);
                            LogUtils.i("coordinate", " visible :"+visible +" position :"+ position+" top :"+rect.top +"  left :"+rect.left
                                    +"  bottom :"+rect.bottom +"  right :"+ rect.right);
                            mList.getRefreshableView().smoothScrollBy(measureSmoothLength(rect.bottom),500);
                        }
                    };
                    ((MeasureViewHeightLayout)convertView).setOnMeasureAfterInterface(onMeasureAfterInterface);
                }
            } else
            {
                holder.bottom_action_bar.setVisibility(GONE);
                ((MeasureViewHeightLayout)convertView).setOnMeasureAfterInterface(null);
                holder.statusArrorImg.setImageResource(R.mipmap.pull_bottom_operation_icon);
            }
        } else
        {
            holder.bottom_action_bar.setVisibility(GONE);
            ((MeasureViewHeightLayout)convertView).setOnMeasureAfterInterface(null);
            holder.statusArrorImg.setImageResource(R.mipmap.pull_bottom_operation_icon);
        }
    }
The above code is designed into a custom View. The purpose of this code and the scrolling operation of ListView are described below. When controlling the scrolling of ListView, it is necessary to calculate the distance needed to scroll. The code is as follows:
  /****
     * /**
     * 70Representation: Fixed Display Height (dp) for each Item
     *68: Represents the height of the part of the View that needs to be displayed and hidden (dp)
     * @param bottom
     * @return
     */

    private int measureSmoothLength(int bottom)
    {
        float density = mContext.getResources().getDisplayMetrics().density;
        int height = (int) ((70 + 68) * density);
        int smoothHeigth = height - bottom;
        return smoothHeigth;
    }
Custom View
1. If you look carefully at the setBottomStatusByPosition method above, you must see that convertView is forced to convert to MeasureViewHeightLayout, which is a class I have customized, then you must be very curious. Now that the above effect has been achieved, why do you customize View, and do anything else? Come here and look at GIF. I'm sure you'll understand. 
When the screen slides to the last item or the last item on the screen doesn't show the bottom operation view, and you click the button on the right, you click the expansion button on the right, and you can't see the bottom operation part. At this time, you can slide the ListView to see the bottom part. The question is, we need to decide whether the Item we want to display is fully displayed. At first, I think of measuring the height of the Item directly to determine whether it is fully displayed, but I find it difficult because when we measure the height of the View in the setBottom StatusByPosition method, the Item has not yet been measured. At this point, we need to customize View. After the onMeasure method is executed by View, we call back. Then we get the upper left and lower right coordinates of Item by getLocalVisibleRect method, and get the height of Item. Then we can get the height of Item according to the visible height of View and the height of our expected View. Whether the Item is fully displayed or not, the method used above is measureSmoothLength().
/**

 */

public class MeasureViewHeightLayout extends LinearLayout
{
    private onMeasureAfterInterface onMeasureAfterInterface;
    public MeasureViewHeightLayout(Context context)
    {
        super(context);
    }

    public MeasureViewHeightLayout(Context context, @Nullable AttributeSet attrs)
    {
        super(context, attrs);
    }

    public MeasureViewHeightLayout(Context context, @Nullable AttributeSet attrs, int defStyleAttr)
    {
        super(context, attrs, defStyleAttr);
    }

    @TargetApi(21)
    public MeasureViewHeightLayout(Context context, AttributeSet attrs, int defStyleAttr, int defStyleRes)
    {
        super(context, attrs, defStyleAttr, defStyleRes);
    }

    @Override
    protected void onDraw(Canvas canvas)
    {
        LogUtils.i("coordinate","on draw ");
        super.onDraw(canvas);
    }

    @Override
    protected void onMeasure(int widthMeasureSpec, int heightMeasureSpec)
    {
        LogUtils.i("coordinate","on measure ");

        super.onMeasure(widthMeasureSpec, heightMeasureSpec);
    }

    @Override
    protected void onLayout(boolean changed, int l, int t, int r, int b)
    {
        LogUtils.i("coordinate","on layout ");
        if(onMeasureAfterInterface != null)
        {
            onMeasureAfterInterface.operation();
        }
        super.onLayout(changed, l, t, r, b);
    }

    public void setOnMeasureAfterInterface(onMeasureAfterInterface onMeasureAfterInterface)
    {
        this.onMeasureAfterInterface = onMeasureAfterInterface;
    }
    public interface onMeasureAfterInterface
    {
        void operation();
    }
}
Drawing process of View
Measurements are measurements, so the onMeasure() method, as its name implies, is used to measure the size of a view. The rendering process of the View system starts with the performance Traversals () method of the ViewRoot and calls the measure() method of the View internally. The measure() method receives two parameters, widthMeasureSpec and heightMeasureSpec, which are used to determine the size and size of the width and height of the view, respectively.
The value of MeasureSpec consists of specSize and specMode, where specSize records size and specMode records specification. There are three types of specMode, as follows:
- EXACTLY
Represents that the size of the parent view expects the child view to be determined by the value of specSize. By default, the system will set the size of the child view according to this rule. Of course, developers can also set the size as they wish.
- AT_MOST
Representation sub-views can only be of the size specified in specSize at most. Developers should set this view as small as possible and ensure that it does not exceed specSize. By default, the system will set the size of the sub-view according to this rule. Of course, developers can also set it to any size according to their own wishes.
- UNSPECIFIED
Represents that a developer can set a view to any size, without any restrictions, as he or she wishes. This situation is relatively rare and not very useful.
In order not to introduce too much here, the information on the Internet is very complete. Here are some good blog s:
https://my.oschina.net/xwy/blog/203198
http://blog.csdn.net/qinjuning/article/details/7110211/
http://blog.csdn.net/guolin_blog/article/details/17045157
getLocalVisibleRect method
Rect rect = new Rect();
boolean visible = convertView.getLocalVisibleRect(rect);

LogUtils.i("coordinate", " visible :"+visible +" position :"+ position+" top :"+rect.top +"  left :"+rect.left
                                    +"  bottom :"+rect.bottom +"  right :"+ rect.right);
Coordinat can be seen from the log that this method is relative to View itself as long as it is the coordinates of the upper left corner and the lower right corner of View. As for the problem of View coordinates, there are also the addresses of other blog s posted here, which readers can study by themselves. There is no need to expand too much here.
http://blog.csdn.net/lvxiangan/article/details/19971509
http://www.cnblogs.com/ai-developers/p/4413585.html
Matters needing attention
1. In the getView method, the convertView is initialized by the inflate method, but the three parameters of the inflate are really useful.
The inflate() method generally receives two parameters, the first parameter is the layout id to be loaded, and the second parameter is to nest a layer of parent layout outside the layout, and pass null directly if not needed. This successfully creates an instance of the layout and then adds it to the specified location to show it.
The third parameter here must be false, otherwise the returned object is not the MeasureViewHeightLayout object.
convertView = layoutInflater.inflate(R.layout.file_item, parent,false);http://blog.csdn.net/guolin_blog/article/details/12921889
2. According to the reuse mechanism of ListView, it is necessary to set the callback to null where no callback is needed, so as to avoid multiple callbacks to operation() method, which results in multiple executions of smoothScrollBy method in ListView and errors.
smoothScrollBy(heigth, time); / / smoothness height, within time (milliseconds).