1, Installing and configuring iTerm2
1. View the terminal
Check whether the terminal is Zsh. The M1 version of Mac uses Zsh as the shell by default
Open the built-in terminal software to check whether it is zsh. If not, please set and install it yourself.

2. Install iTerm2
Go to the official website of iTerm2 and download it
https://iterm2.com/

After decompressing the compressed package directly, drag the app into the application to complete the installation.
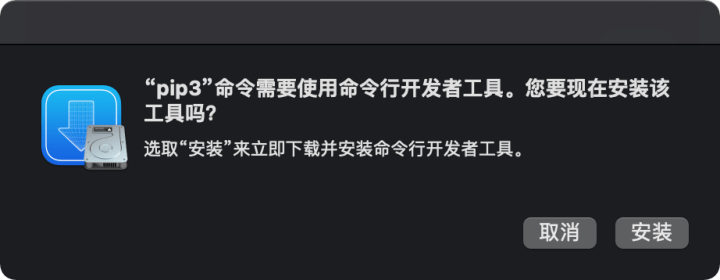
The following prompt may appear when opening iTerm2 for the first time. Click Install.
3. Install oh-my-zsh
Oh my zsh is a zsh collection toolkit, which can be used to add some practical functions (such as command prompt completion and various special topics) to a terminal
Homebrew and Wget need to be installed before installing oh-my-zsh.
Enter the Homebrew official website and install according to the installation prompt
https://brew.sh/index_zh-cn

After installing Homebrew, use the command to install wget
brew install wget
After installation, enter the oh-my-zsh official website
Install it
sh -c "$(wget https://raw.github.com/ohmyzsh/ohmyzsh/master/tools/install.sh -O -)"


This indicates that the installation is complete
4. Install the plug-in
Install command completion and command highlighting plug-ins
Download plug-ins
Enter at the terminal:
cd ~/.oh-my-zsh/custom/plugins
git clone https://github.com/zsh-users/zsh-autosuggestions.git
git clone https://github.com/zsh-users/zsh-syntax-highlighting.git
to configure. zshrc file
Enter at the terminal:
vi ~/.zshrc

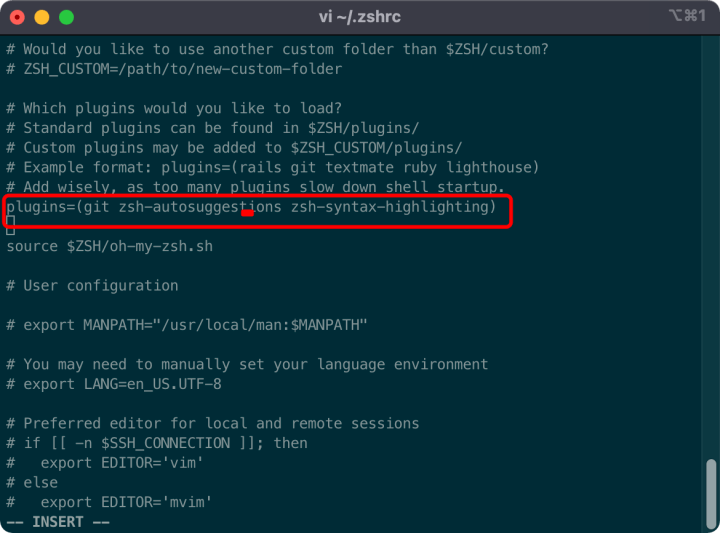
Save the changes and reload the configuration to make the plug-in take effect
source ~/.zshrc
2, Installing and configuring VS code
1. Visit the official website of Visual Studio Code
https://code.visualstudio.com/
2. Click download and select Apple Silicon

After decompressing the compressed package directly, drag the app into the application to complete the installation.
3. Install Chinese plug-in
If the Chinese environment is running for the first time, a prompt will pop up directly. Whether to install the Chinese plug-in, click Install.

If there is no pop-up window, you can also use the shortcut key [Cmd+Shift+P] to call out the search box, search [configure language] and select the Chinese package to download and install.
3, Installing the Golang program
1. Download the Golang program
https://www.gomirrors.org
Select the apple arm version to install

2. Install go program
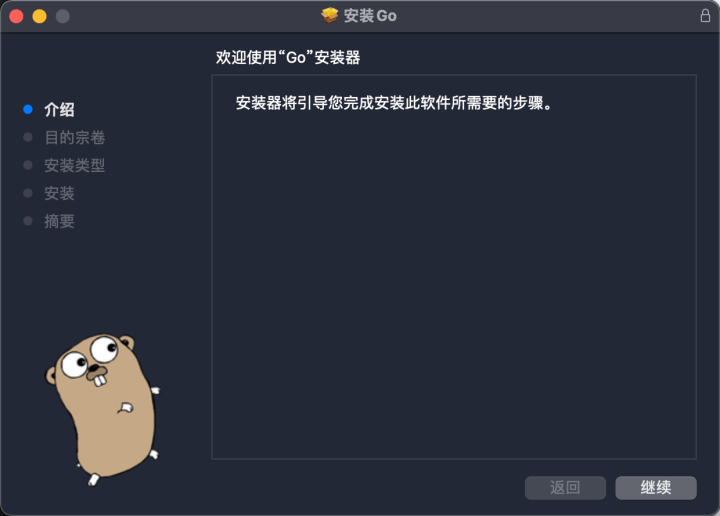
Click the program to run and install all the way
3. Configure go environment variables
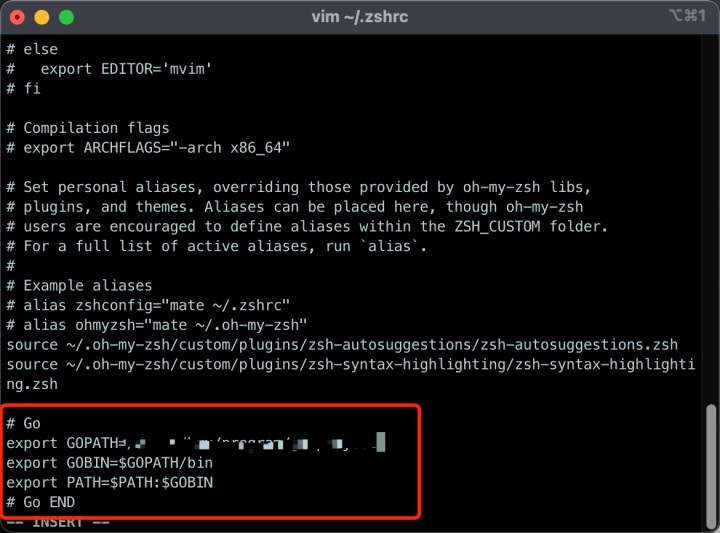
Yes The environment variable configuration of go is appended to the zshrc file
vim ~/.zshrc
# Go
export GOPATH=/(Your own path)
export GOBIN=$GOPATH/bin
export PATH=$PATH:$GOBIN
# Go END
Reload profile
source .zshrc
# Verify that the installation was successful
go version
# View environment variable configuration information
go env
4. Configure go module
Go officially introduced go module to solve the dependency management problem. At least the version after 1.11. Secondly, GO111MODULE and GOPROXY are configured in different systems
Yes Append configuration to zshrc file
vim ~/.zshrc
Write the following code to the configuration file
#GO module
export GO111MODULE=on
export GOPROXY=https://mirrors.aliyun.com/goproxy/
Reload profile
source .zshrc
# Verify that the installation was successful
go version
# View environment variable configuration information
go env

When the above figure appears, it will be opened successfully
4, Run the first Go program
1. Open Visual Studio Code and create the first Go file
Create a new test folder under the GoPath path, and then create a new main Go file
Enter the following
package main

import  "fmt"

func  main()  {
        fmt.Println("hello world!")
}
2. Run the first Go program
Open terminal input
go run main.go

The appearance of hello world indicates that the program runs successfully

5, Possible errors
The main error encountered during the whole installation process may be that the program times out and the program cannot be downloaded. The main reason is that the address is caused by the wall. There are many solutions, such as manual installation, replacing the domestic address and so on.
But I think the easiest way is to use proxy download.
1. Method of iterm2 setting agent
Directly enter the following code in iTerm2
Set temporary agent (the agent will expire after the current iTerm2 exits)
export http_proxy=http://127.0.0.1:7890
export https_proxy=$http_proxy
export socks5_proxy="socks5://127.0.0.1:7890"
You can set up two functions to turn the agent on and off each time
# Start agent
proxy () {
  export http_proxy=http://127.0.0.1:7890
  export https_proxy=$http_proxy
  export socks5_proxy="socks5://127.0.0.1:7890"
  echo "HTTP Proxy on"
}

# Close agent
noproxy () {
  unset http_proxy
  unset https_proxy
  unset all_proxy
  echo "HTTP Proxy off"
}
Reload profile
source .zshrc
# Open agent
proxy
# Close agent
noproxy
2.visual studio code configuration agent
Click code to enter the setting item.
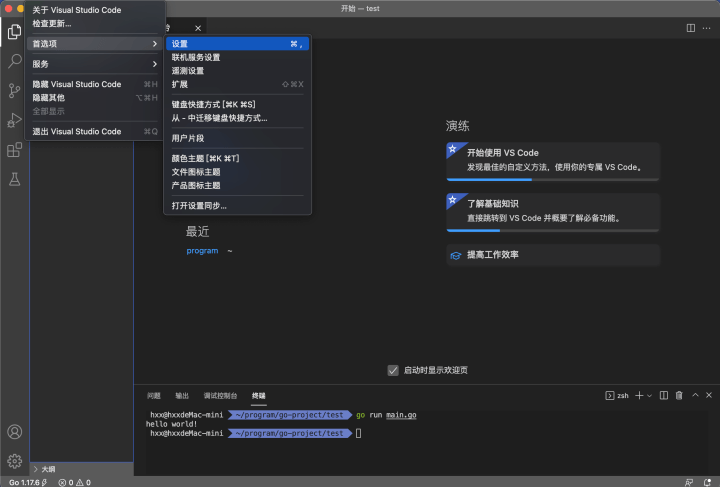
Click application - proxy server - settings
