Mask-Rcnn Data Annotation Detailed Tutorial (labelme version)
abstract
Hello! Starting with data annotation, this paper will elaborate on each step until the Mask-Rcnn model is successfully trained.
1. Data Set Making
This paper chooses labelme software to label data sets. The download link of labelme is as follows:
Links: link.
1. Installation and use of labelme
The installation and use of labelme is very simple. You can refer to the following links:
Links: link.
2. Tagging Pictures and Batch Conversion
Each tagged data will have a corresponding json file, as shown in the following figure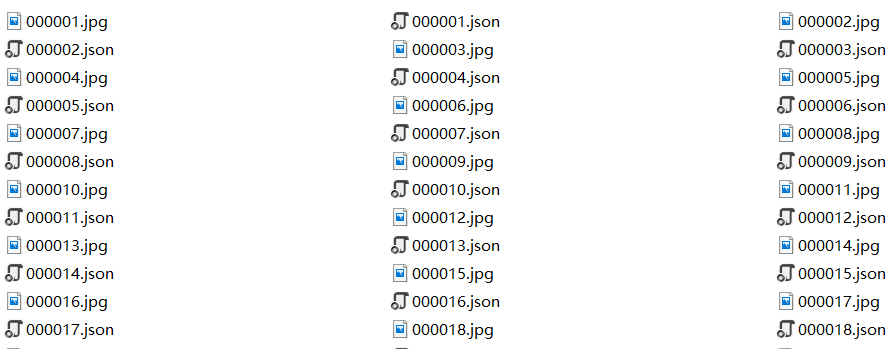
The files needed for Mask-Rcnn training set are converted from the json file above. First, find your labelme installation path. For example, I installed it in Anaconda. Then my operation path is C: PersonalApp Anaconda3 Scripts. The path is modified according to the actual situation of the individual. Enter win+r on the keyboard and go into operation. Enter cmd and click Enter to enter command line mode, as shown in the following figure: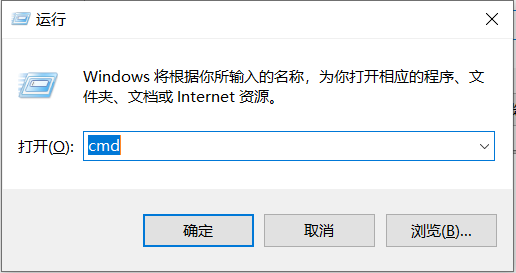
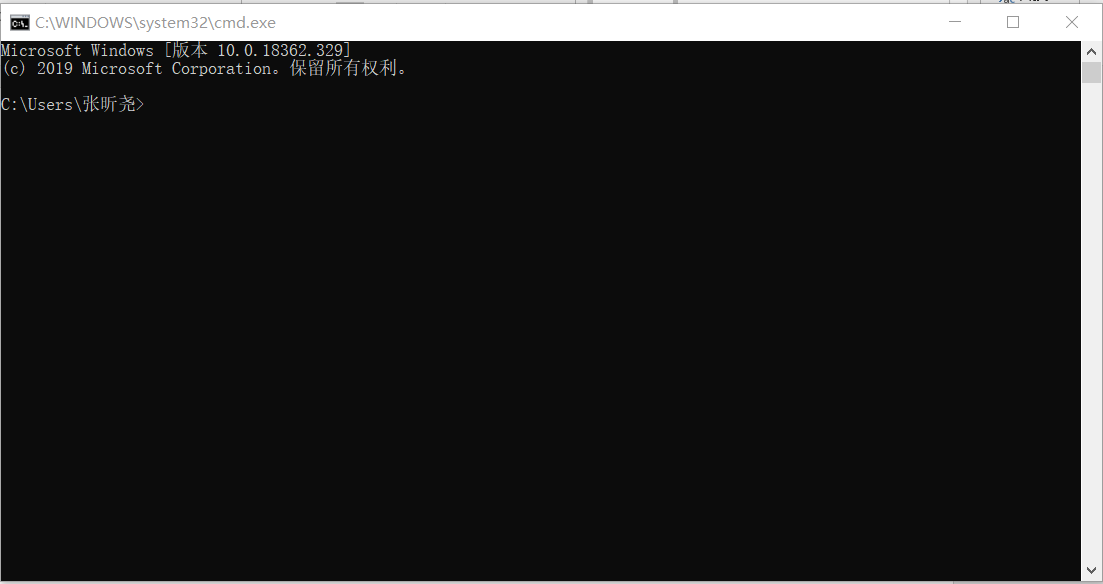
Enter CD C: PersonalApp Anaconda3 Scripts to enter the folder. You need to use the labelme_json_to_dataset.exe file in the folder and input labelme_json_to_dataset < filename >.json on the command line to generate the required five files, as shown in the following figure: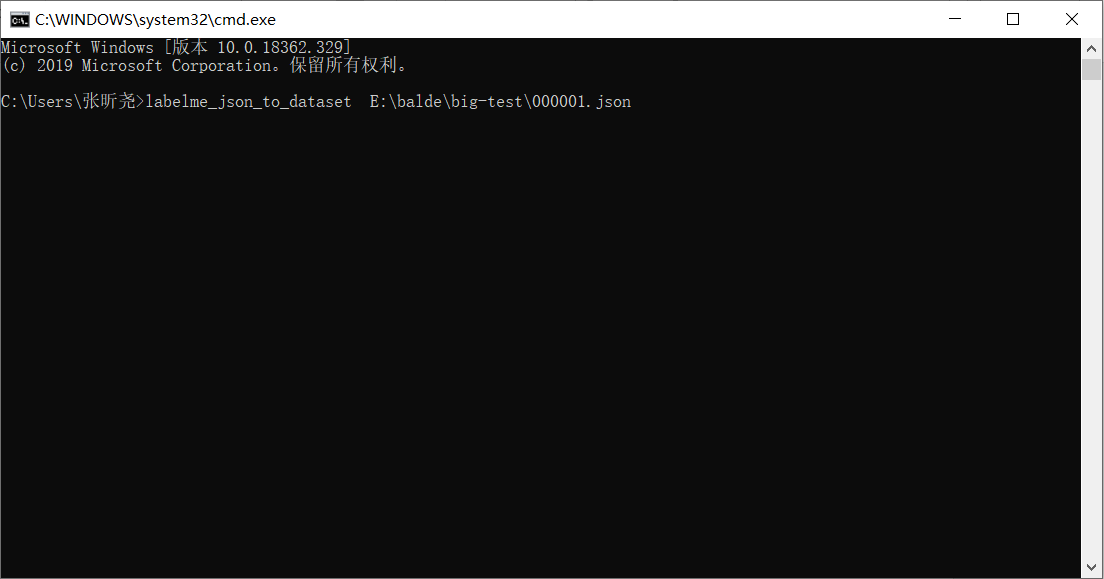

The most important of these five files is the labelme.png file. Many Mask-Rcnn articles turn it into 8-bit depth images. But notice that the label.png generated by the current version of labelme itself is 8-bit and does not need to be converted. This is the most important step in data production. It must be noted that the image depth can be mouse-like. Right-click to see the details of the properties, as shown in the following figure: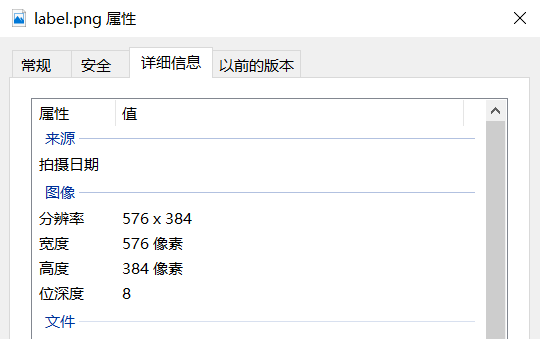
The above command line can convert a picture and the corresponding JSON file, but when we make the training set, it is too cumbersome to convert one by one. In this paper, we use a method of batch conversion of JSON file. First, find the Lib folder of the installation path, such as mine is C: PersonalApp Anaconda3, go into the site-packages folder, find the labelme folder, go into the cli folder, find the json_to_dataset.py file, modify the file as follows:
(where the path is changed to your json file path)
// json_to_dataset.py
import argparse
import base64
import json
import os
import os.path as osp
import warnings

import PIL.Image
import yaml

from labelme import utils
###############################################Additional statement,Change the path.##############################
import glob
json_list = glob.glob(os.path.join('C://Users////Desktop//1','*.json'))
###############################################   end    ##################################


def main():
    # warnings.warn("This script is aimed to demonstrate how to convert the\n"
    #               "JSON file to a single image dataset, and not to handle\n"
    #               "multiple JSON files to generate a real-use dataset.")

    parser = argparse.ArgumentParser()
    ###############################################  Deleted statement  ##################################
    # parser.add_argument('json_file')
    # json_file = args.json_file
    ###############################################    end       ##################################
    parser.add_argument('-o', '--out', default=None)
    args = parser.parse_args()

    ###############################################Additional statement##################################
    for json_file in json_list:
    ###############################################    end       ##################################

        if args.out is None:
            out_dir = osp.basename(json_file).replace('.', '_')
            out_dir = osp.join(osp.dirname(json_file), out_dir)
        else:
            out_dir = args.out
        if not osp.exists(out_dir):
            os.mkdir(out_dir)

        data = json.load(open(json_file))

        if data['imageData']:
            imageData = data['imageData']
        else:
            imagePath = os.path.join(os.path.dirname(json_file), data['imagePath'])
            with open(imagePath, 'rb') as f:
                imageData = f.read()
                imageData = base64.b64encode(imageData).decode('utf-8')
        img = utils.img_b64_to_arr(imageData)

        label_name_to_value = {'_background_': 0}
        for shape in data['shapes']:
            label_name = shape['label']
            if label_name in label_name_to_value:
                label_value = label_name_to_value[label_name]
            else:
                label_value = len(label_name_to_value)
                label_name_to_value[label_name] = label_value
        # lbl = utils.shapes_to_label(img.shape, data['shapes'], label_name_to_value)
        #
        # label_names = [None] * (max(label_name_to_value.values()) + 1)
        # for name, value in label_name_to_value.items():
        #     label_names[value] = name
        # lbl_viz = utils.draw_label(lbl, img, label_names)
                # label_values must be dense
        label_values, label_names = [], []
        for ln, lv in sorted(label_name_to_value.items(), key=lambda x: x[1]):
            label_values.append(lv)
            label_names.append(ln)
        assert label_values == list(range(len(label_values)))

        lbl = utils.shapes_to_label(img.shape, data['shapes'], label_name_to_value)

        captions = ['{}: {}'.format(lv, ln)
                    for ln, lv in label_name_to_value.items()]
        lbl_viz = utils.draw_label(lbl, img, captions)

        PIL.Image.fromarray(img).save(osp.join(out_dir, 'img.png'))
        utils.lblsave(osp.join(out_dir, 'label.png'), lbl)
        PIL.Image.fromarray(lbl_viz).save(osp.join(out_dir, 'label_viz.png'))

        with open(osp.join(out_dir, 'label_names.txt'), 'w') as f:
            for lbl_name in label_names:
                f.write(lbl_name + '\n')

        warnings.warn('info.yaml is being replaced by label_names.txt')
        info = dict(label_names=label_names)
        with open(osp.join(out_dir, 'info.yaml'), 'w') as f:
            yaml.safe_dump(info, f, default_flow_style=False)

        print('Saved to: %s' % out_dir)


if __name__ == '__main__':
    main()
Of course, you can download it directly and replace it (where the path is changed to your json file path). The connection is as follows:
Links: link.
After replacement, open the json_to_dataset.py file and execute it directly. The corresponding folders will be converted in batches, as shown in the following figure:
At this point, Mask-Rcnn data production is basically completed, after which only the converted files can be allocated to the corresponding folders.