
MongoDB
- MongoDB is written in C + +, a non relational database (NoSQL) for document storage.
- Homepage: https://www.mongodb.com/2
1. Download
Mode 1:
Download address of official website: https://www.mongodb.com/try/download/community
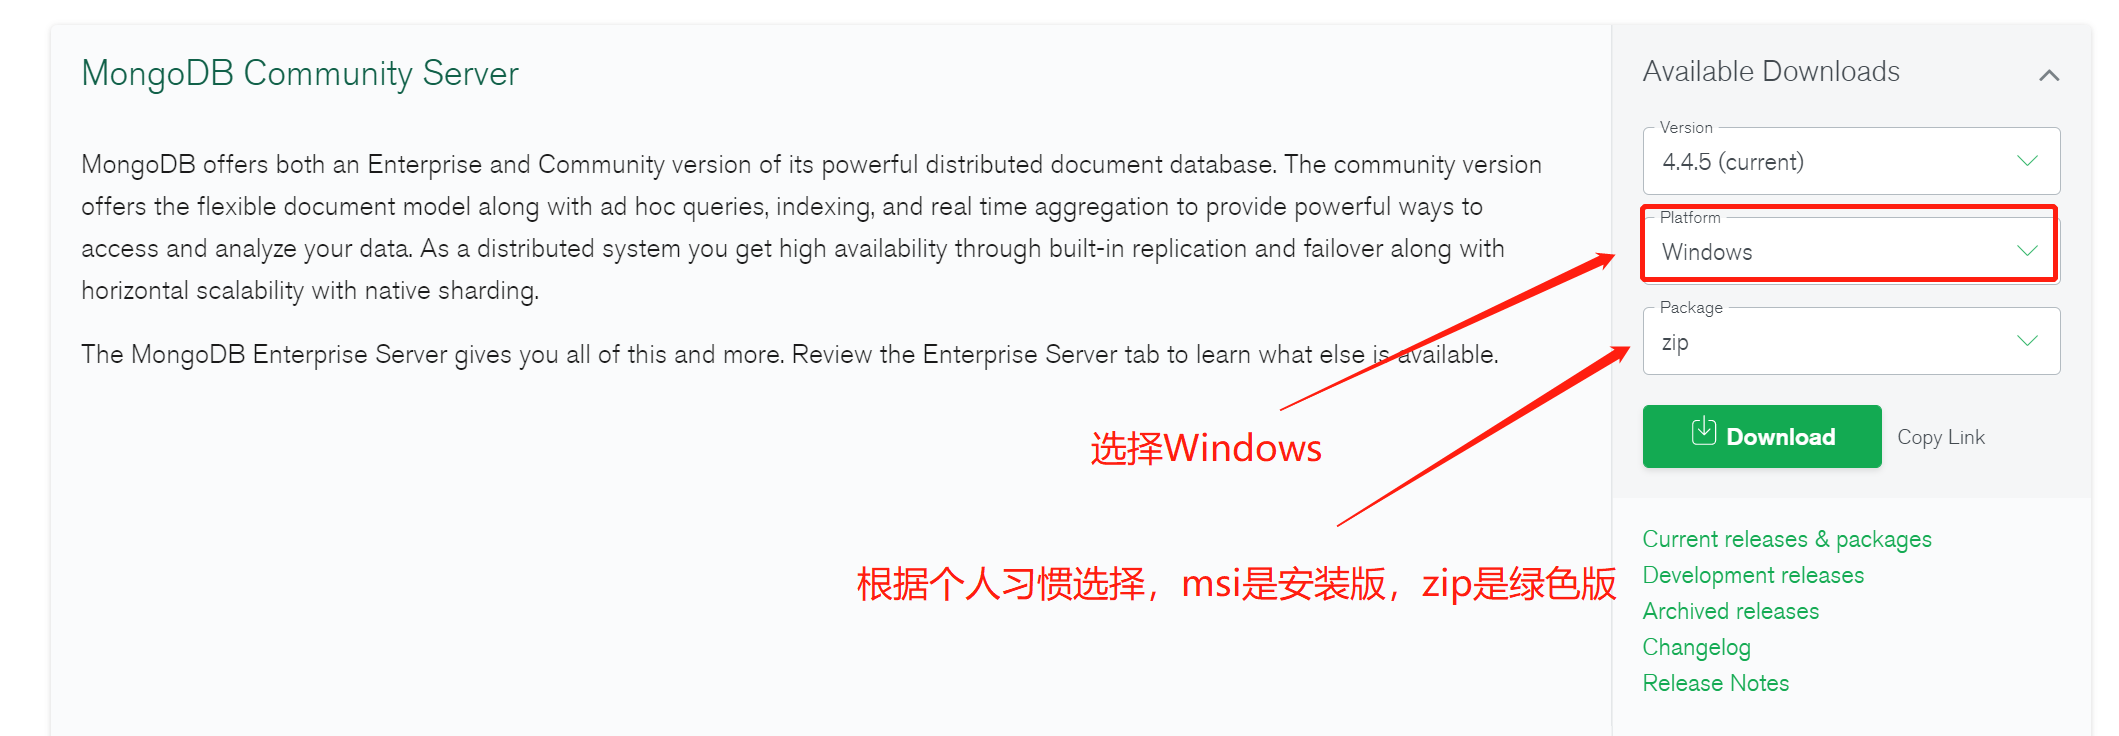
Mode 2:
Download address of official website: http://dl.mongodb.org/dl/win32/x86_64

(the version with debugsymbols is the debug version, do not download it)
2. Installation (zip version)
(it's too intrusive to install the zip version here.)
The first step is to decompress
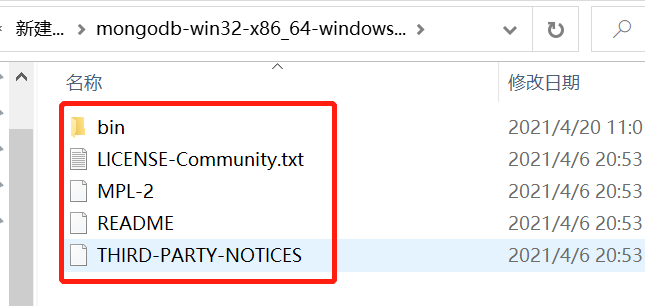
After downloading, unzip it to the current directory. The directory structure should be like this. If not, it means that it is wrong.
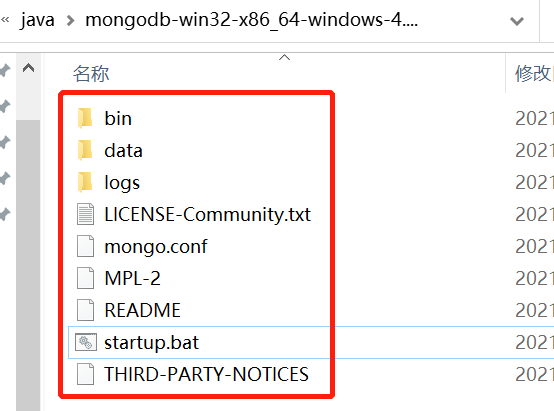
Step 2: create a new file:
-
A data folder;
-
A logs folder;
-
A Mongo Log file, in the logs folder, the content can be empty;
-
A Mongo Conf file, the contents are as follows: (fill in the path according to your own path)
# Database path
dbpath=D:\java\mongodb-win32-x86_64-windows-4.4.5\data
# Log output file path
logpath=D:\java\mongodb-win32-x86_64-windows-4.4.5\logs\mongo.log
# The error log adopts the append mode
logappend=true
# Enable log file, enabled by default
journal=true
#This option can filter out some useless log information. If you need to debug, please set it to false
quiet=true
#The default port number is 27017
port=27017
-
A startup Bat file, the contents are as follows: (fill in the path according to your own path)
CALL mongod --dbpath "D:\java\mongodb-win32-x86_64-windows-4.4.5\data"
After all are created, the folder should look like this:
Step 3: set environment variables
New environment variable:
Variable name: MONGODB_HOME
Variable value: D:\java\mongodb-win32-x86_64-windows-4.4.5
(fill in the path according to your own path)

Step 4: specify the configuration
Ctrl+R, enter cmd, call up the console, and enter the following command: (fill in the path according to your own path)
mongod --config "D:\java\mongodb-win32-x86_64-windows-4.4.5\mongo.conf"
# Or - f is short for -- config
mongod -f "D:\java\mongodb-win32-x86_64-windows-4.4.5\mongo.conf"
The results are as follows: the specified configuration is successful and the current window can be closed.

Step 5: start
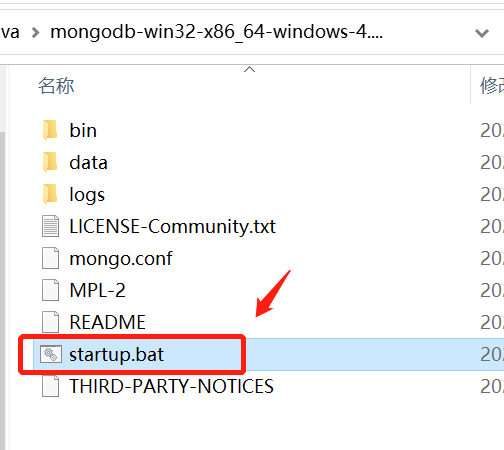
Double click the startup.exe file created under the previously extracted directory Bat file to start.
(be sure to close the setting window of the previous step and start it again, otherwise it will flash back)
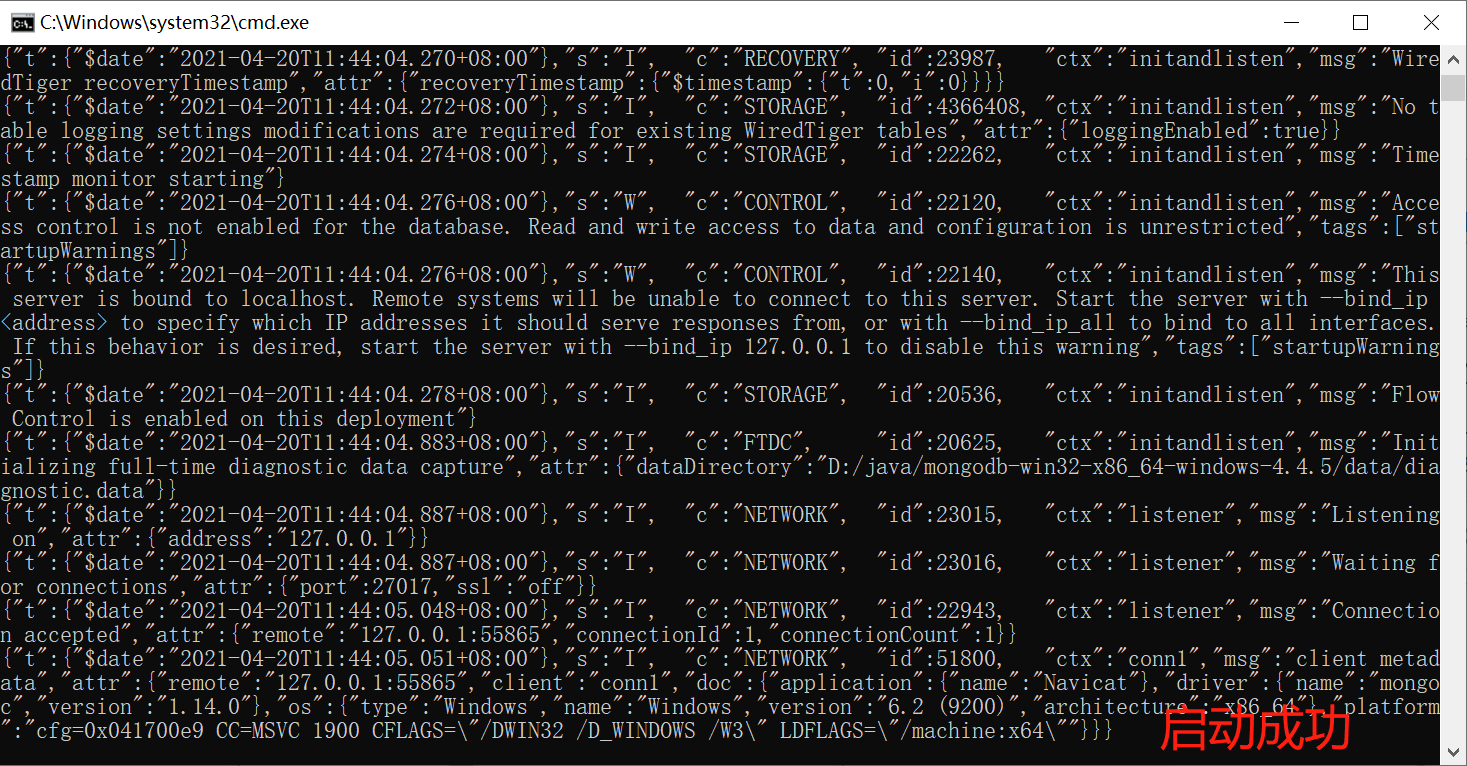
Successful startup interface:
(this interface is the background of mongodb. Close the interface, then close mongodb)
Step 6: console connection
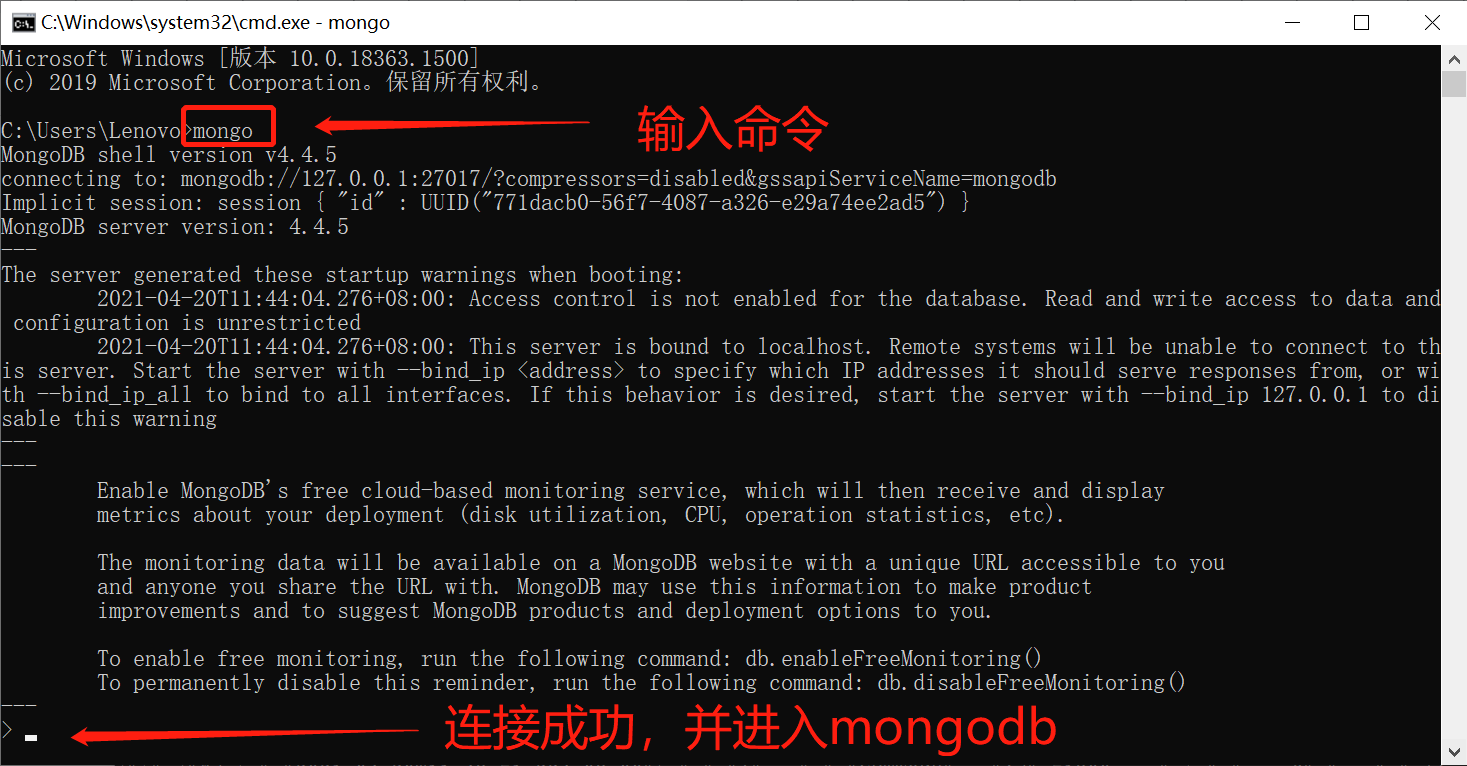
Ctrl + R, enter cmd, open a new console, and enter mongo:
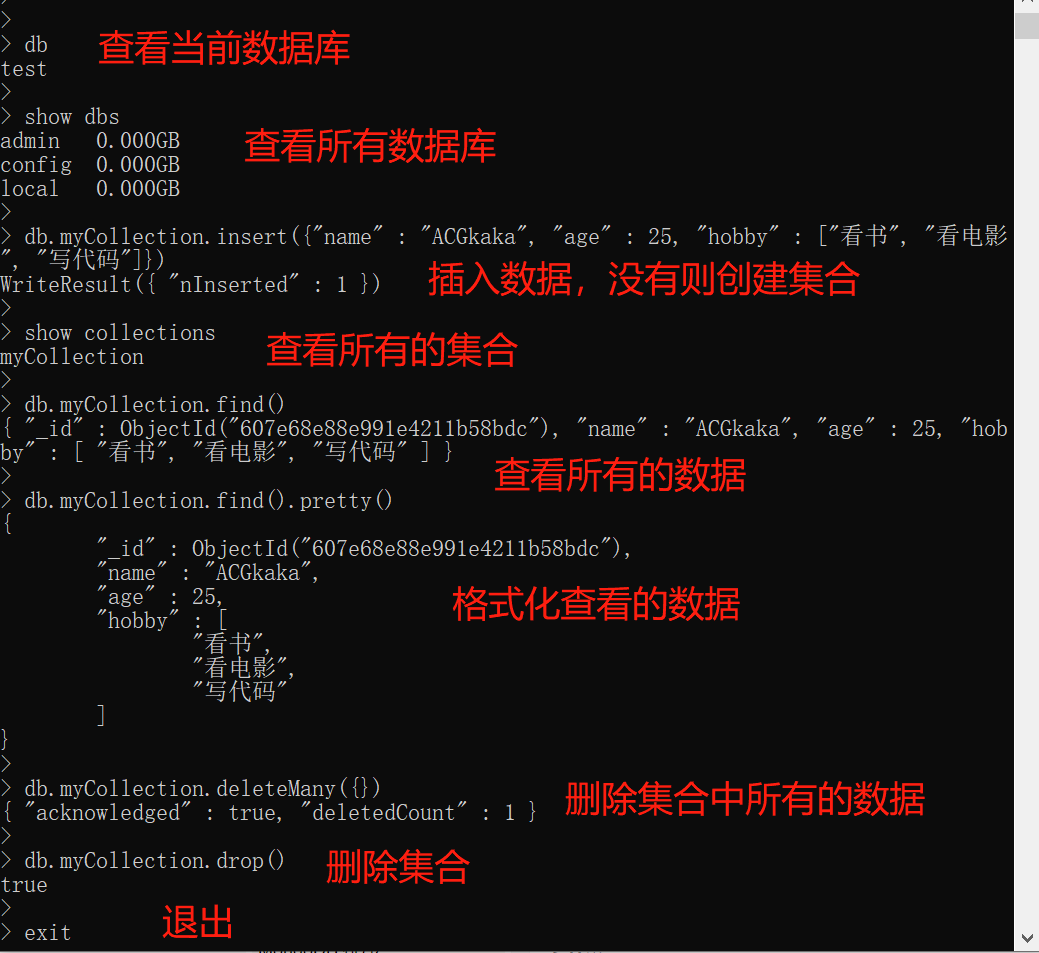
We can enter the following commands to perform some basic operations:
# View the current database
db
# View all databases (only those with data)
show dbs

# Create a 'myCollection' set, merge and insert a piece of data
db.myCollection.insert({"name" : "ACGkaka", "age" : 25, "hobby" : ["read a book", "watch movie", "Write code"]})
# View all collections in the current database
show collections
# find() - view all data in the 'myCollection' collection
db.myCollection.find()
# pretty() - format and display the data (if the amount of data is small, it will not be formatted)
db.myCollection.find().pretty()

# Delete all data in the 'myCollection' collection
db.myCollection.deleteMany({})
# Delete 'myCollection' collection
db.myCollection.drop()

# sign out
exit
Execution result:
3.Robot 3T download and connection
Official download address: https://robomongo.org/download
The official downloaded compressed package will be bundled with Studio-3T. We only need Robot 3T.

(the installation is very simple, so I won't talk about it.)
Step 1: after startup, a connection window will pop up by default and click "Create"

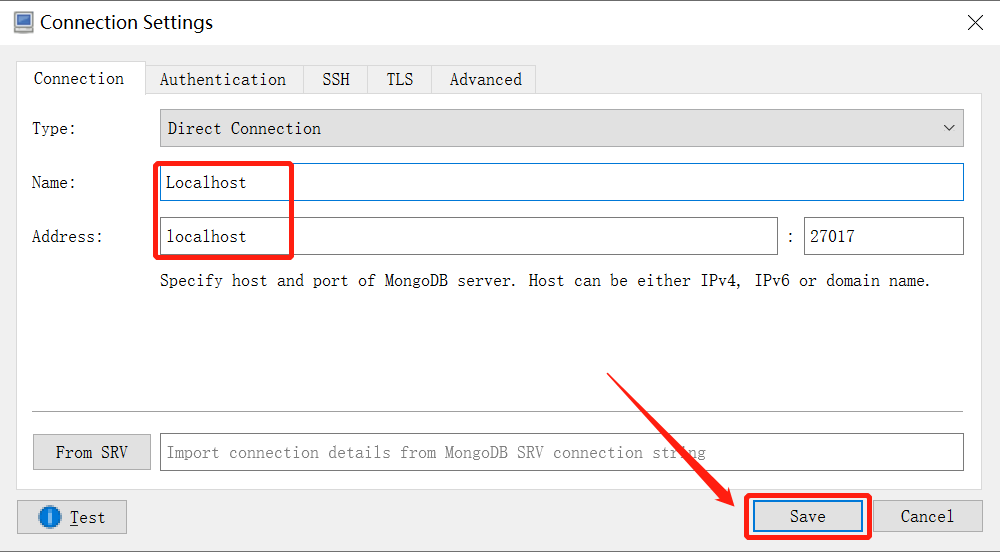
Step 2: after naming, click "Save" and double-click the connection to open it

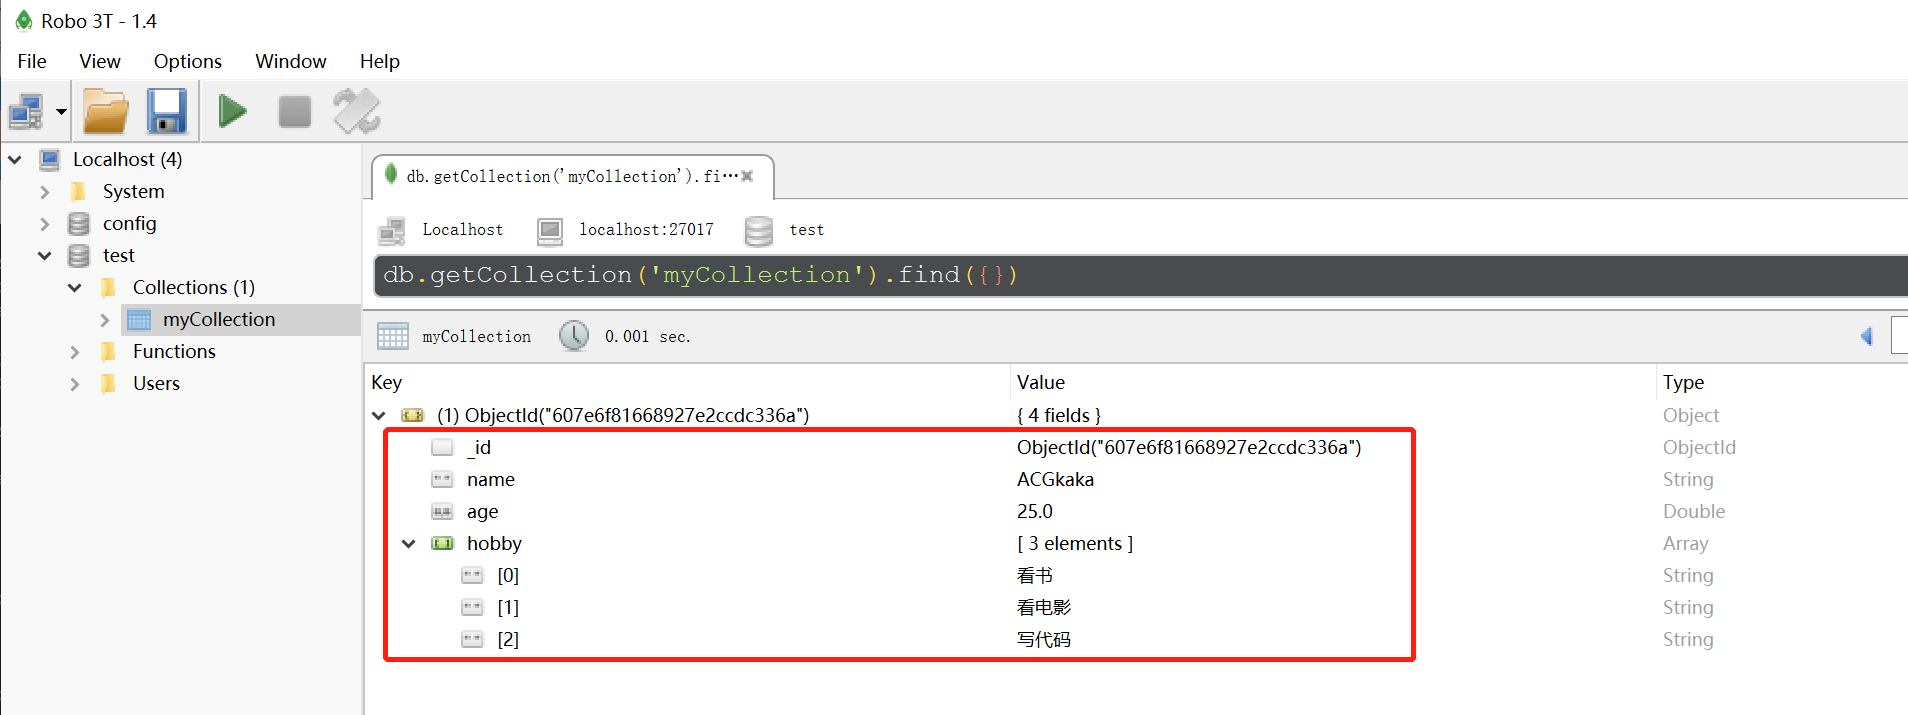
Step 3: insert a record to see the data:
# Create a 'myCollection' set, merge and insert a piece of data
db.myCollection.insert({"name" : "ACGkaka", "age" : 25, "hobby" : ["read a book", "watch movie", "Write code"]})

After finishing, sprinkle flowers after finishing~