catalogue
(1) Tomographic structure (directory tree)
(2) Store file properties (permissions, access, and modification time)
(3) Support special files (block device, character device, pipeline)
(5) Access to the file system can be restricted by IP address or password
(6) High reliability (multiple copies of data are stored on different computers)
(7) The dynamic expansion of capacity can be realized by adding a new computer or hard disk
(8) Deleted files can be retained according to a configurable time period
(9) Consistent snapshots of files unaffected by access and writing
3. Application scenario of moosefs (application scenario of distributed file system)
(1) Large scale and highly concurrent data storage and access (small file, large file)
(2) Large scale data processing, such as log analysis
4. Official website of moosefs: https://moosefs.com
6. Composition of MFS file system
(1) Processing of MFS reading data
(4) The process of renaming files by MFS
2, Construction of MooseFS (source code installation)
2. Install the compiler and toolkit on each node and turn off the firewall
4. Set up a meta logger server
5. Set up Chunk Server (the steps for setting up three Chunk Server hosts are the same)
7. Start monitoring on the Master host
1, Foreword
1. Introduction to moosefs
Moose fs (moose moose) is a network distributed file system. It distributes the data on multiple servers, but for users, what they see is only one source. Like other UNIX like file systems, MFS includes a hierarchical structure (directory tree), which stores file attributes (permissions, last access and modification time), common and special files (block devices, character devices, pipes, sockets), symbolic links and hard links
2. Characteristics of moosefs
(1) Tomographic structure (directory tree)
(2) Store file properties (permissions, access, and modification time)
(3) Support special files (block device, character device, pipeline)
(4) Symbolic link
(5) Access to the file system can be restricted by IP address or password
(6) High reliability (multiple copies of data are stored on different computers)
(7) The dynamic expansion of capacity can be realized by adding a new computer or hard disk
(8) Deleted files can be retained according to a configurable time period
(9) Consistent snapshots of files unaffected by access and writing
3. Application scenario of moosefs (application scenario of distributed file system)
(1) Large scale and highly concurrent data storage and access (small file, large file)
(2) Large scale data processing, such as log analysis
4. Official website of moosefs: https://moosefs.com
5. Software package address of moosefs: Baidu network disk, please enter the extraction code Extraction code: pxup
6. Composition of MFS file system
Metadata server (Master): responsible for managing the file system and maintaining metadata in the whole system.
Metadata log server (MetaLogger): back up the change log file of the Master server. The file type is changelog_ml.*.mfs. When the Master server data is lost or damaged, you can get the file from the log server for repair.
Chunk Server: a server that really stores data. When storing files, files are saved in blocks and copied between data servers. The more data servers, the greater the "capacity" that can be used, the higher the reliability and the better the performance.
Client: the MFS file system can be mounted like NFS, and the operation is the same.
7. Workflow of MFS
(1) Processing of MFS reading data
The client sends a read request to the metadata server
The metadata server informs the client of the location where the required data is stored (the IP address and the Chunk number of the Chunk Server)
The client requests to send data to a known Chunk Server
Chunk Server sends data to clients
(2)MFS write data processing
The client sends a write request to the metadata server
The metadata server interacts with the Chunk Server (only when the required Chunks exist), but the metadata server only creates new Chunks on some servers. After the creation is successful, the metadata server informs the client which Chunks of which Chunk Server can write data
The client writes data to the specified Chunk Server
The Chunk Server synchronizes data with other chunk servers. After the synchronization is successful, the Chunk Server informs the client that the data is written successfully
The client informs the metadata server that this write is complete
(3)MFS file deletion process
When the client has a deletion operation, first send the deletion information to the Master
The Master locates the corresponding metadata information for deletion, and adds the deletion operation on the chunkserver to the queue for asynchronous cleanup
Respond to the signal that the client deletes successfully
MFS process of modifying file content
When the client modifies the file content, it first sends the operation information to the Master
The Master applies for a new block swp file
After the client closes the file, it will send the closing information to the Master
The Master will check whether the content is updated. If so, apply for a new block to store the changed file, and delete the original block and swp file block
If not, delete it directly swp file block.
(4) The process of renaming files by MFS
When the client renames a file, it will send operation information to the Master;
The Master directly modifies the file name in the metadata information; Return the renaming completion information;

2, Construction of MooseFS (source code installation)
1. Planning node
| Host type | IP address | host name |
| Master | 192.168.32.127 | Server1 |
| Metalogger | 192.168.32.128 | Server2 |
| Chunkserver1 | 192.168.32.130 | Server3 |
| Chunkserver2 | 192.168.32.132 | Server4 |
| Chunkserver3 | 192.168.32.131 | Server5 |
| Client | 192.168.32.133 | Server6 |
2. Install the compiler and toolkit on each node and turn off the firewall
[root@server ~]# setenforce 0

[root@server ~]# systemctl stop firewalld

[root@server ~]# systemctl disable firewalld

Removed symlink /etc/systemd/system/multi-user.target.wants/firewalld.service.

Removed symlink /etc/systemd/system/dbus-org.fedoraproject.FirewallD1.service.

[root@server ~]# yum  install gcc gcc-c++ make   zlib-devel  fuse-devel -y

[root@server ~]# yum install -y lrz*

[root@server ~]# yum install -y unzip

[root@server ~]# yum install -y net-tools
3. Build master server
[root@server1 ~]# useradd -M -s /sbin/nologin mfs / / create process user

[root@server1 ~]# unzip moosefs-master.zip -d /opt / / unzip to the / opt directory

[root@server1 ~]# CD / opt / moosefs master / / enter this directory

[root@server1 moosefs-master]# ./ Configure -- prefix = / usr / local / MFS -- with default user = MFS -- with default group = MFS / / compile

[root@server1 moosefs-master]# Make & & make install / / install

[root@server1 moosefs-master]# cd /usr/local/mfs/etc/mfs/

[root@server1 mfs]# cp mfsexports.cfg.sample mfsexports.cfg            #Output directory configuration file, define mount and permission setting file

[root@server1 mfs]# cp mfsmaster.cfg.sample mfsmaster.cfg               #Master profile

[root@server1 mfs]# cp mfstopology.cfg.sample mfstopology.cfg        #Metadata log file

[root@server1 mfs]# cd /usr/local/mfs/var/mfs/

[root@server1 mfs]# cp metadata.mfs.empty metadata.mfs                #master metadata file

[root@server1 mfs]# chown  -R mfs.mfs / usr/local/mfs / / authorization

[root@server1 mfs]# ln -s /usr/local/mfs/sbin/* /usr/local/bin / / / optimize directory

[root@server1 mfs]# mfsmaster start / / start the service

open files limit has been set to: 16384

working directory: /usr/local/mfs/var/mfs

lockfile created and locked

initializing mfsmaster modules ...

exports file has been loaded

topology file has been loaded

loading metadata ...

master <-> metaloggers module: listen on *:9419

master <-> chunkservers module: listen on *:9420

main master server module: listen on *:9421

mfsmaster daemon initialized properly

[root@server1 mfs]# netstat -anpt | grep mfs / / view port

tcp        0      0 0.0.0.0:9419            0.0.0.0:*               LISTEN      1457/mfsmaster

tcp        0      0 0.0.0.0:9420            0.0.0.0:*               LISTEN      1457/mfsmaster

tcp        0      0 0.0.0.0:9421            0.0.0.0:*               LISTEN      1457/mfsmaster

Edit startup script

[root@server1 mfs]# echo "/usr/local/mfs/sbin/mfsmetalogger start" >> /etc/rc.d/rc.local

[root@server1 mfs]# chmod +x /etc/rc.d/rc.local
4. Set up a meta logger server
[root@server1 ~]# useradd -M -s /sbin/nologin mfs / / create process user

[root@server2 ~]# unzip moosefs-master.zip -d /opt / / unzip to the / opt directory

[root@server2 ~]# cd /opt/moosefs-master/

[root@server2 moosefs-master]# ./ Configure -- prefix = / usr / local / MFS -- with default user = MFS -- with default group = MFS / / compile

[root@server2 moosefs-master]# Make & & make install / / install

[root@server2 mfs]# cp mfsmaster.cfg.sample mfsmaster.cfg

[root@server2 mfs]# cp mfsexports.cfg.sample mfsexports.cfg

[root@server2 mfs]# cp mfsmetalogger.cfg.sample mfsmetalogger.cfg

[root@server2 mfs]# cd /usr/local/mfs/var/mfs/

[root@server2 mfs]# cp metadata.mfs.empty metadata.mfs

[root@server2 mfs]# cd /usr/local/mfs/etc/mfs/

[root@server2 mfs]# vi mfsmetalogger.cfg / / edit the configuration file

Modify the following:

MASTER_HOST = 192.168.32.127           #Execute the ip address of the master server and remove the comment symbol

META_DOWNLOAD_FREQ = 24               #Backup frequency and time

[root@server2 mfs]# chown  -R mfs.mfs / usr/local/mfs / / authorization

[root@server2 mfs]# ln -s /usr/local/mfs/sbin/* /usr/local/bin / / / optimize directory

[root@server2 mfs]# Mfsmetaloger start / / start the service

open files limit has been set to: 4096

working directory: /usr/local/mfs/var/mfs

lockfile created and locked

initializing mfsmetalogger modules ...

mfsmetalogger daemon initialized properly

[root@server2 mfs]# Netstat - anpt | grep mfsmetaloger / / view port

tcp        0      0 192.168.32.128:33614    192.168.32.127:9419     ESTABLISHED 9068/mfsmetalogger

[root@server2 mfs]# echo "/usr/local/mfs/sbin/mfsmetalogger start" >> /etc/rc.d/rc.local

[root@server2 mfs]# chmod +x /etc/rc.d/rc.local
5. Set up Chunk Server (the steps for setting up three Chunk Server hosts are the same)
When installing chunkservers, the disks of these machines should have appropriate free space, and the operating system should follow the POSIX standard. When chunkserver stores data, chunks or fragments are stored as files on an ordinary file system, such as ext4. You can't see complete files on chunkserver.
[root@server3 ~]# useradd -M -s /sbin/nologin mfs / / create process user

[root@server3 ~]# unzip moosefs-master.zip -d /opt / / unzip to the / opt directory

[root@server3 ~]# cd /opt/moosefs-master/

[root@server3 moosefs-master]# ./ Configure -- prefix = / usr / local / MFS -- with default user = MFS -- with default group = MFS / / compile

[root@server3 moosefs-master]# Make & & make install / / install

[root@server3 moosefs-master]# cd /usr/local/mfs/etc/mfs/

[root@server3 mfs]# cp mfschunkserver.cfg.sample mfschunkserver.cfg

[root@server3 mfs]# cp mfshdd.cfg.sample mfshdd.cfg

[root@server3 mfs]# vi mfschunkserver.cfg

Modify the following:

MASTER_HOST  =  192.168.32.127       #Point to the ip address of the master server and remove the comment symbol

[root@server3 mfs]#vi mfshdd.cfg / / edit the configuration file

Add a row:

/data      #This is a partition for MFS. It's best to use an independent partition or mount the disk to this directory

[root@server3 ~]# mkdir /data / / create / data directory

[root@server3 ~]# chown -R mfs:mfs /data / / authorization

[root@server3 ~]# chown -R mfs.mfs /usr/local/mfs / / authorization

[root@server3 ~]# ln -s /usr/local/mfs/sbin/* /usr/local/bin/

[root@server3 ~]# mfschunkserver start / / start the service

open files limit has been set to: 16384

working directory: /usr/local/mfs/var/mfs

lockfile created and locked

setting glibc malloc arena max to 4

setting glibc malloc arena test to 4

initializing mfschunkserver modules ...

hdd space manager: path to scan: /data/

hdd space manager: start background hdd scanning (searching for available chunks)

main server module: listen on *:9422

no charts data file - initializing empty charts

mfschunkserver daemon initialized properly

[root@server3 ~]# netstat -anpt | grep mfschunkserver / / view port

tcp        0      0 0.0.0.0:9422            0.0.0.0:*               LISTEN      9850/mfschunkserver

tcp        0      0 192.168.32.132:42066    192.168.32.127:9420     ESTABLISHED 9850/mfschunkserver

[root@server3 ~]# echo "/usr/local/mfs/sbin/mfschunkserver start" >> /etc/rc.d/rc.local

[root@server3 ~]# chmod +x /etc/rc.d/rc.local
6. Configure Client
[root@server6 ~]# useradd -M -s /sbin/nologin mfs / / create process user

[root@server6 ~]# unzip moosefs-master.zip -d /opt / / unzip to the / opt directory

[root@server6 ~]# cd /opt/moosefs-master/

[root@server6 moosefs-master]# ./ Configure -- prefix = / usr / local / MFS -- with default user = MFS -- with default group = MFS -- enable mfsmount / / compile

[root@server6 moosefs-master]# Make & & make install / / install

[root@server6 moosefs-master]# ln -s  /usr/lcoal/mfs/bin/* /usr/local/bin

[root@server6 ~]# mkdir /opt/mfs                                                              #Create mount point

[root@server6 ~]# tar zxf fuse-2.9.2.tar.gz -C /usr/src

[root@server6 ~]# cd /usr/src/fuse-2.9.2/

[root@server6 fuse-2.9.2]# ./configure && make && make install

[root@server6 moosefs-master]# mkdir /opt/mfs

[root@server6 ~]# vim /etc/profile

export PKG_CONFIG_PATH=/usr/local/lib/pkgconfig:$PKG_CONFIG_PATH  #Add at the end

[root@server6 ~]# source /etc/profile

[root@localhost ~]# modprobe fuse                                                        # Load fuse into kernel

[root@localhost ~]# ln -s /usr/local/mfs/sbin/* /usr/local/sbin/

[root@localhost ~]# mfsmount /opt/mfs -H 192.168.1.10 / / mount the mount point to the master machine and map it back to the root directory

[root@localhost ~]# df -hT | grep mfs / / view the mount point

192.168.32.127:9421       fuse.mfs   83G     0   83G   0% /opt/mfs
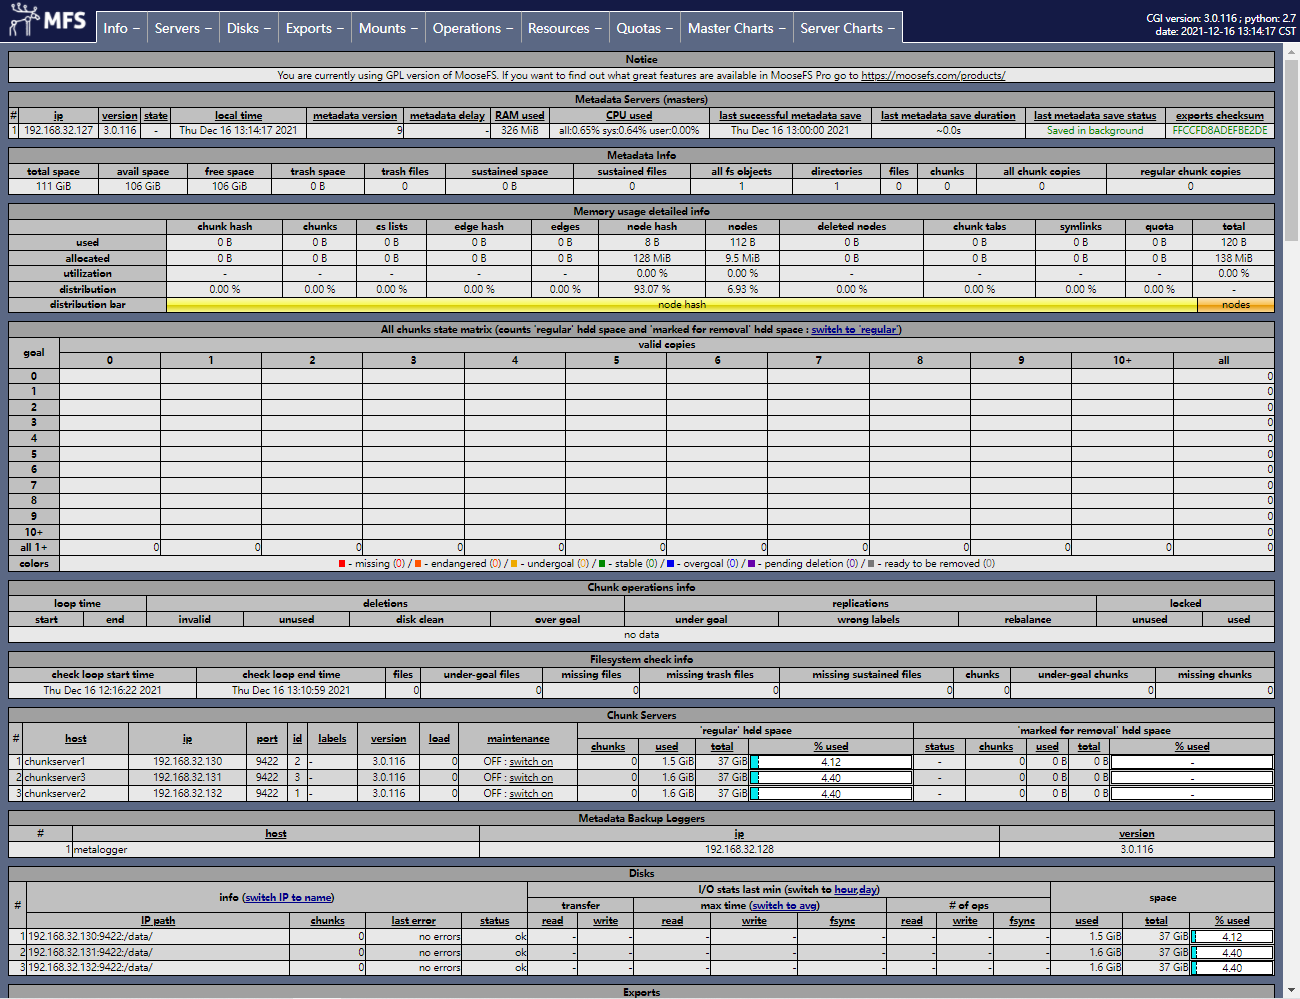
7. Start monitoring on the Master host
[root@server1 ~]# mfscgiserv
8. Visits http://192.168.32.127:9425
3, Application of MFS
1. File backup
[root@server6 ~]# cd /opt/mfs

[root@server6 mfs]# mkdir data1 / / create a test file directory

[root@server6 mfs]# mkdir data2

[root@server6 mfs]# mfsgetgoal data1/#If an error is reported, you can exit this directory, re-enter it, and then create a new directory

data1/: 2

[root@server6 mfs]# mfsgetgoal data2 / / indicates that both directories save two copies

data2/: 2

[root@server6 mfs]# mfssetgoal -r 1 data1 / / change the number of backups to one

data1/:

 inodes with goal changed:                       1

 inodes with goal not changed:                   0

 inodes with permission denied:                  0
Now you can see that data1 has been saved as one copy and start copying the test file.
[root@server6 mfs]# mfsgetgoal data1/

data1/: 1

[root@server6 mfs]# mfsgetgoal data2/

data2/: 2

[root@server6 mfs]# cp /etc/passwd data1/

[root@server6 mfs]# cp /etc/fstab data2/

[root@server6 mfs]# mfsfileinfo data1/passwd / / view the copied file information

data1/passwd:

                  chunk 0: 0000000000000001_00000001 / (id:1 ver:1)

                           copy 1: 192.168.32.130:9422 (status:VALID)

[root@server6 mfs]#  mfsfileinfo data2/fstab

data2/fstab:

                  chunk 0: 0000000000000002_00000001 / (id:2 ver:1)

                           copy 1: 192.168.32.131:9422 (status:VALID)

                           copy 2: 192.168.32.132:9422 (status:VALID)
Now you can find that data1 is in Server3 and data2 is in server4 and server5
When we turn off server3 to access data1, we will find that the access fails.
[root@server3 ~]# chunkserver stop

[root@server6 mfs]# mfsfileinfo data1/passwd

data1/passwd:

         chunk 0: 0000000000000001_00000001 / (id:1 ver:1)

                  no valid copies !!!
Next, conduct the segmentation experiment. The default chunk size is 64M. When the file is larger than 64M, it will be segmented:
[root@server6 mfs]# cd data1/

[root@server6 data1]# dd if=/dev/zero of=bigfile bs=1M count=100  #Create a 100M file in data1

Recorded 100+0 Read in

Recorded 100+0 Writing

104857600 byte(105 MB)Copied, 1.16746 Seconds, 89.8 MB/second

[root@server6 data1]# mfsfileinfo bigfile / / view the information of this file

bigfile:

                  chunk 0: 0000000000000003_00000001 / (id:3 ver:1)

                          copy 1: 192.168.32.131:9422 (status:VALID)

                  chunk 1: 0000000000000004_00000001 / (id:4 ver:1)

                          copy 1: 192.168.32.130:9422 (status:VALID)
It can be seen that it is divided into two chunk s to ensure the speed of writing and reading, which is the meaning of distributed file system.
2. Data recovery
[root@server6 data1]# mfsgettrashtime . / / 86400 seconds or 24 hours

.: 86400

[root@server6 data1]# ls

bigfile  passwd

[root@server6 data1]# rm -rf passwd / / delete the file

[root@server6 opt]# mkdir mfsmeta / / create the metadata mount directory

[root@server6 opt]# cd

[root@server6 ~]# mfsmount -m /opt/mfsmeta/

mfsmaster accepted connection with parameters: read-write,restricted_ip

[root@server6 ~]# cd /opt/mfsmeta/

[root@server6 mfsmeta]# ls

sustained  trash

[root@server6 mfsmeta]# find -name *passwd * / / find the deleted file

./trash/004/00000004|data1|passwd

[root@server6 mfsmeta]# cd trash/

[root@server6 trash]# cd 004

[root@server6 004]# ls

00000004|data1|passwd  undel

[root@server6 004]# mv 00000004\|data1\|passwd undel/                         #To recover data, you need to move the deleted files to the undel directory

[root@server6 004]# cd /opt/mfs/data1/

[root@server6 data1]# ls / / the data has been recovered

bigfile  passwd

[root@server6 data1]# cat passwd

root:x:0:0:root:/root:/bin/bash

bin:x:1:1:bin:/bin:/sbin/nologin

daemon:x:2:2:daemon:/sbin:/sbin/nologin

adm:x:3:4:adm:/var/adm:/sbin/nologin

lp:x:4:7:lp:/var/spool/lpd:/sbin/nologin

sync:x:5:0:sync:/sbin:/bin/sync

shutdown:x:6:0:shutdown:/sbin:/sbin/shutdown

halt:x:7:0:halt:/sbin:/sbin/halt

mail:x:8:12:mail:/var/spool/mail:/sbin/nologin

operator:x:11:0:operator:/root:/sbin/nologin

games:x:12:100:games:/usr/games:/sbin/nologin

ftp:x:14:50:FTP User:/var/ftp:/sbin/nologin

nobody:x:99:99:Nobody:/:/sbin/nologin

systemd-network:x:192:192:systemd Network Management:/:/sbin/nologin

dbus:x:81:81:System message bus:/:/sbin/nologin

polkitd:x:999:998:User for polkitd:/:/sbin/nologin

sshd:x:74:74:Privilege-separated SSH:/var/empty/sshd:/sbin/nologin

postfix:x:89:89::/var/spool/postfix:/sbin/nologin

chrony:x:998:996::/var/lib/chrony:/sbin/nologin

mfs:x:1000:1000::/home/mfs:/sbin/nologin