This record is messy. I want to write something, but I feel there is nothing to write. So I put the two contents together briefly
(1) Multi camera correlation
(1) The UI camera works with Gamma and the scene camera works with Linear:
Blending under Gamma:
Blending under Linear:  (2) Separate the camera resolution and FrameBuffer, and you can set the camera resolution manually
The scene uses the scaled resolution, and the UI uses the normal resolution
Application of multi camera
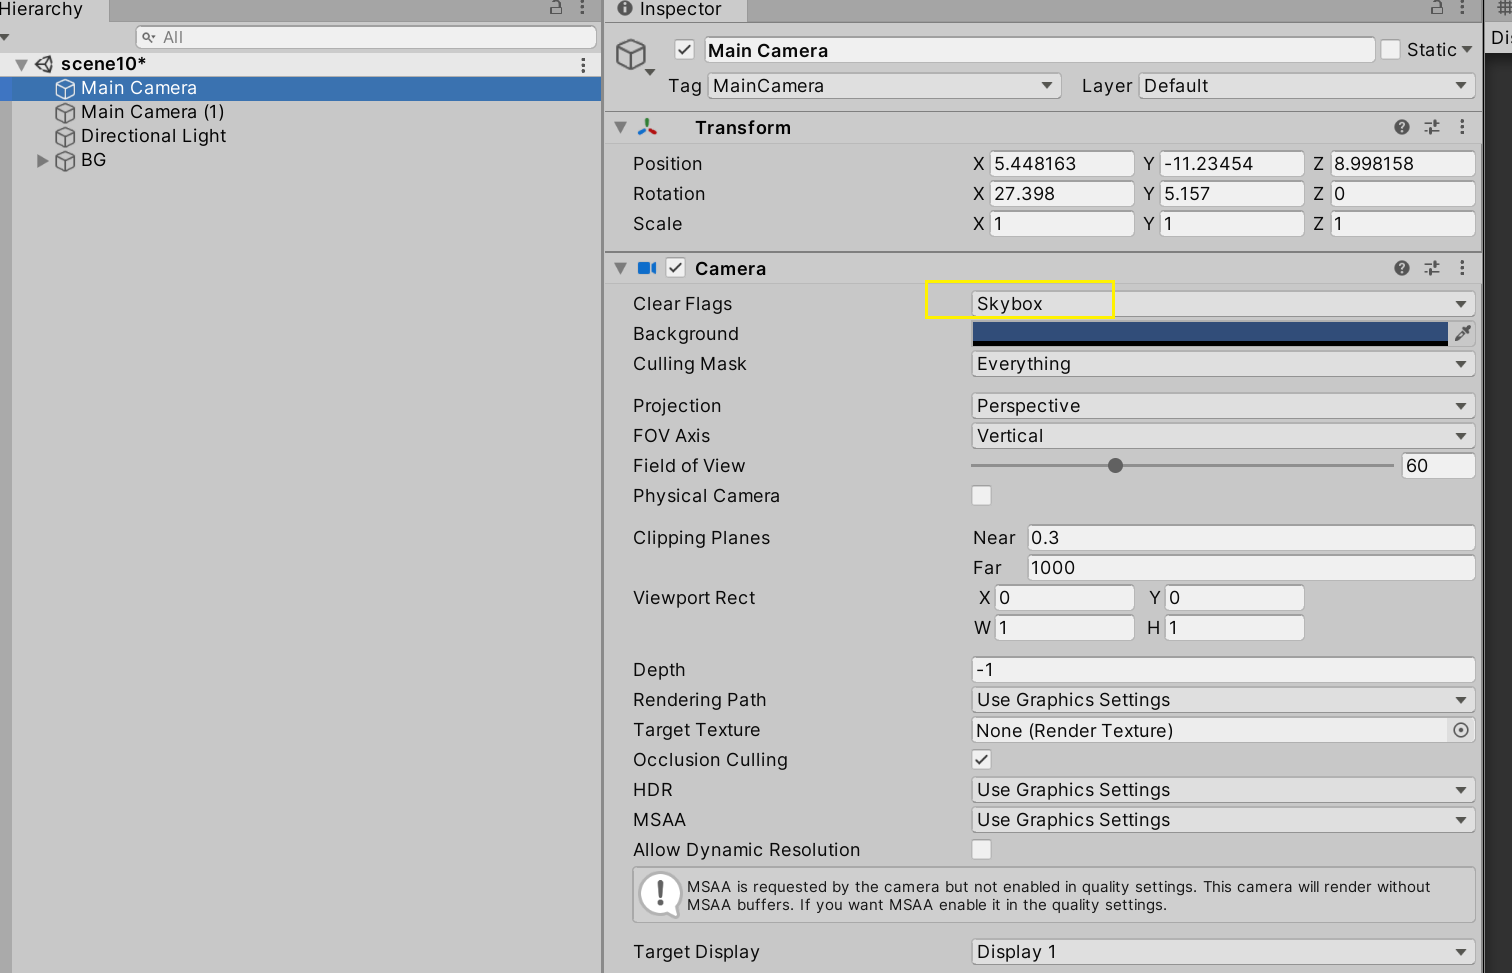
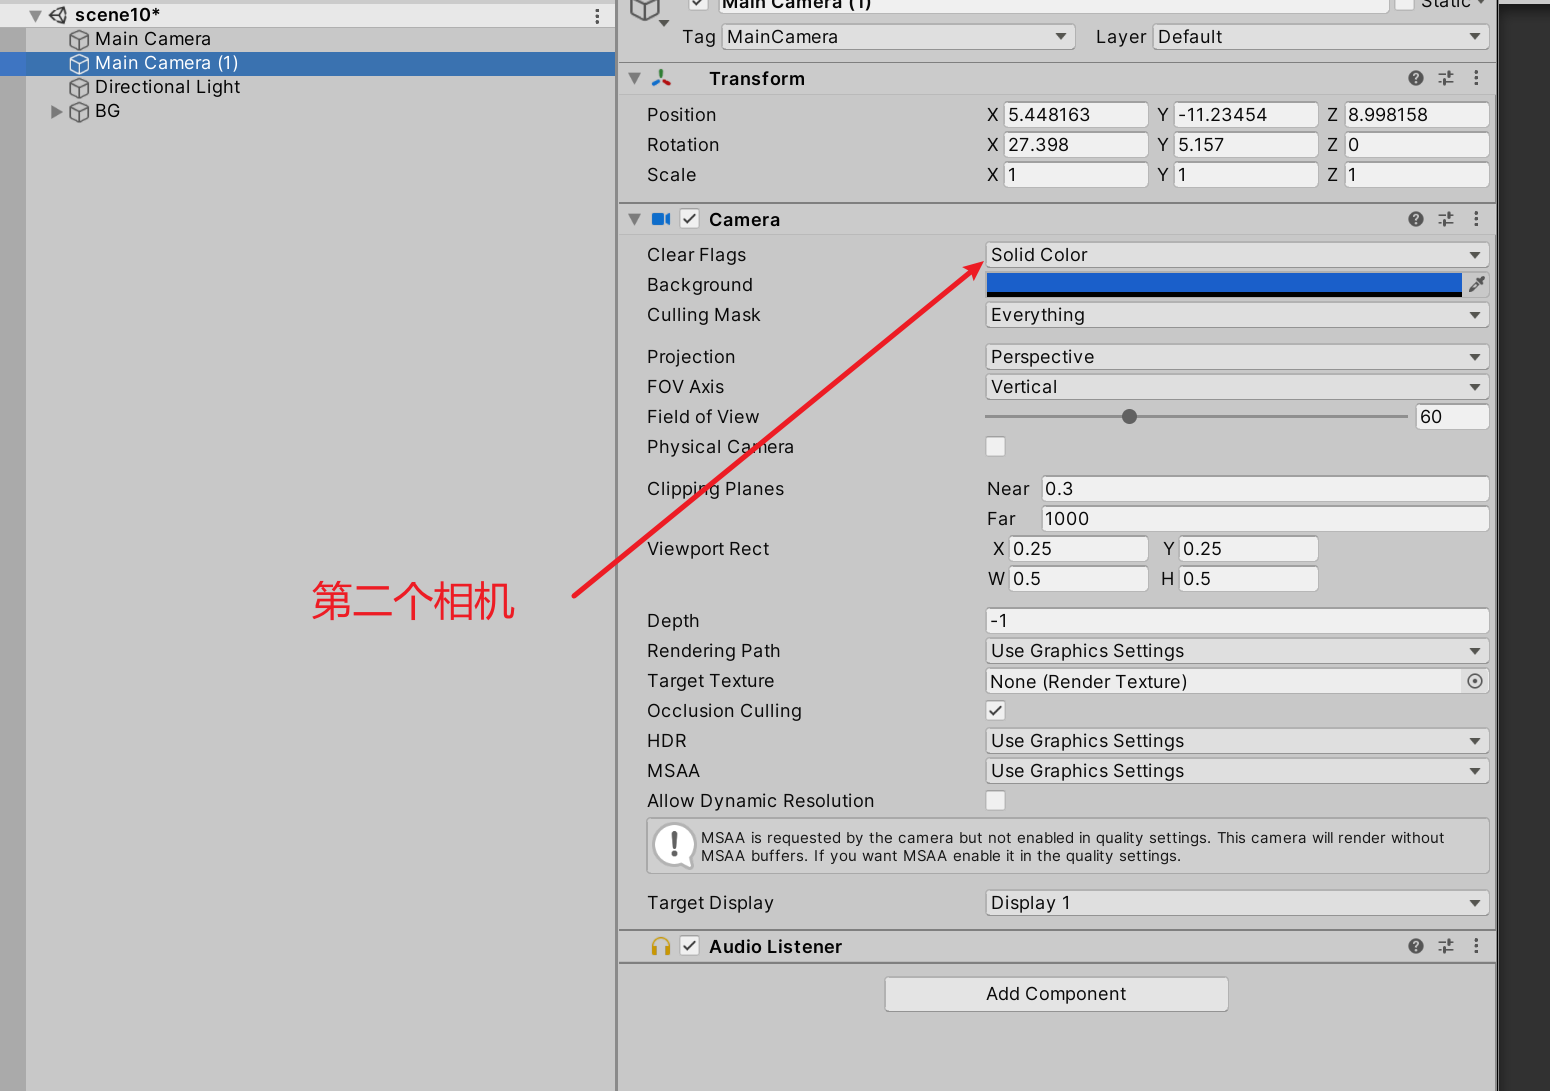
 (2)
(2)
DepthOnly is highlighted here:
Depth here refers to the depth of the camera: (in fact, only the depth is cleared)
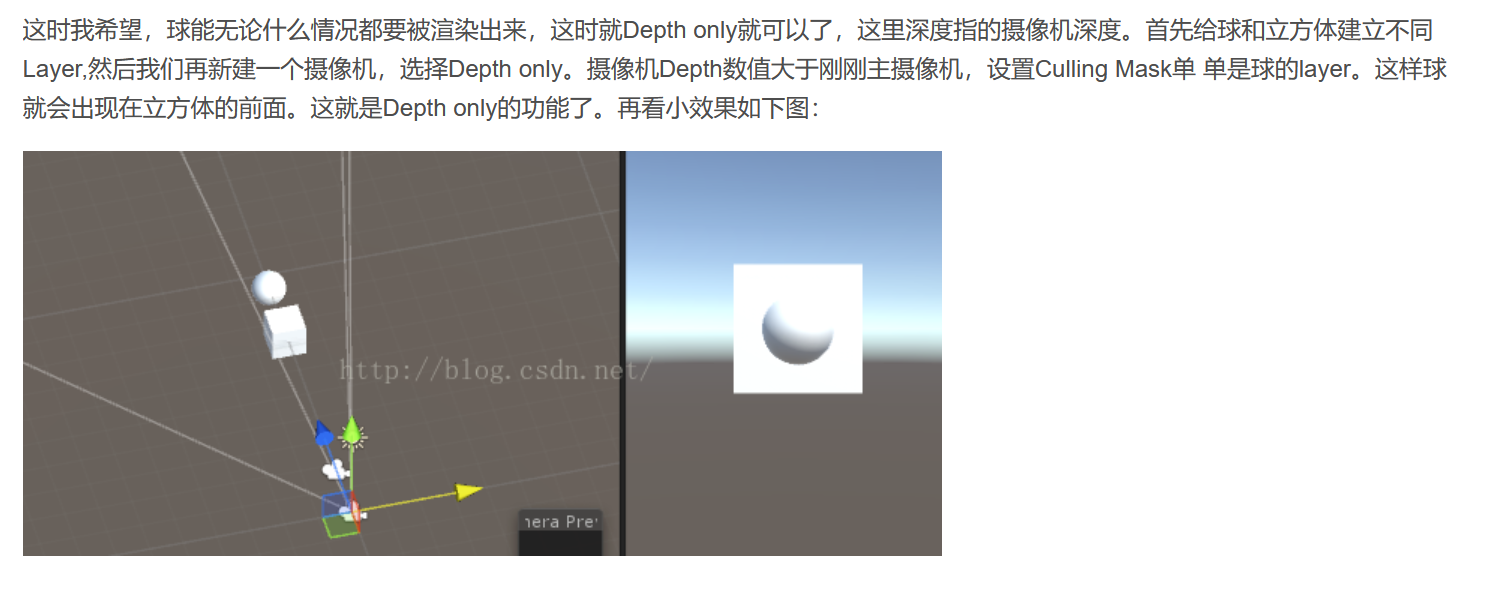
At this time, I hope that the ball can be rendered in any case. At this time, Depth only is OK. Here, Depth refers to the Depth of the camera. First create different layers for the ball and cube, then create a new camera and select Depth only. The Depth value of the camera is greater than that of the main camera just now, and the Culling Mask is only the layer of the ball. So the ball will appear in front of the cube. This is the function of Depth only. See the small effect below:
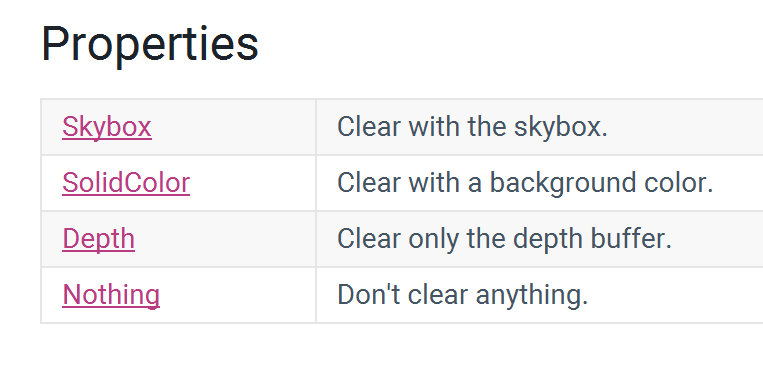
(3) Don clear: continue drawing based on the previous frame without clearing any data:
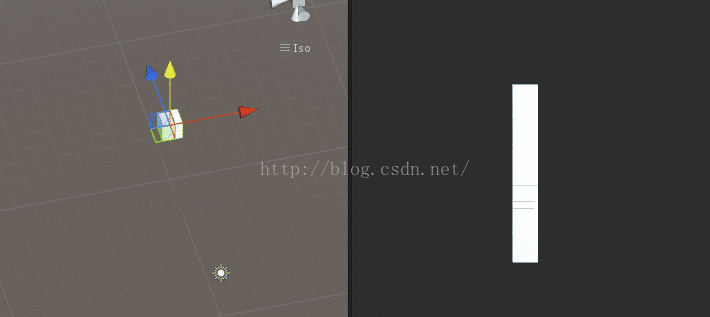
(4) The camera's rendered object and object shadow are separated: you can render the object's shadow separately without rendering the object
Custom pipelines are a group with strong control
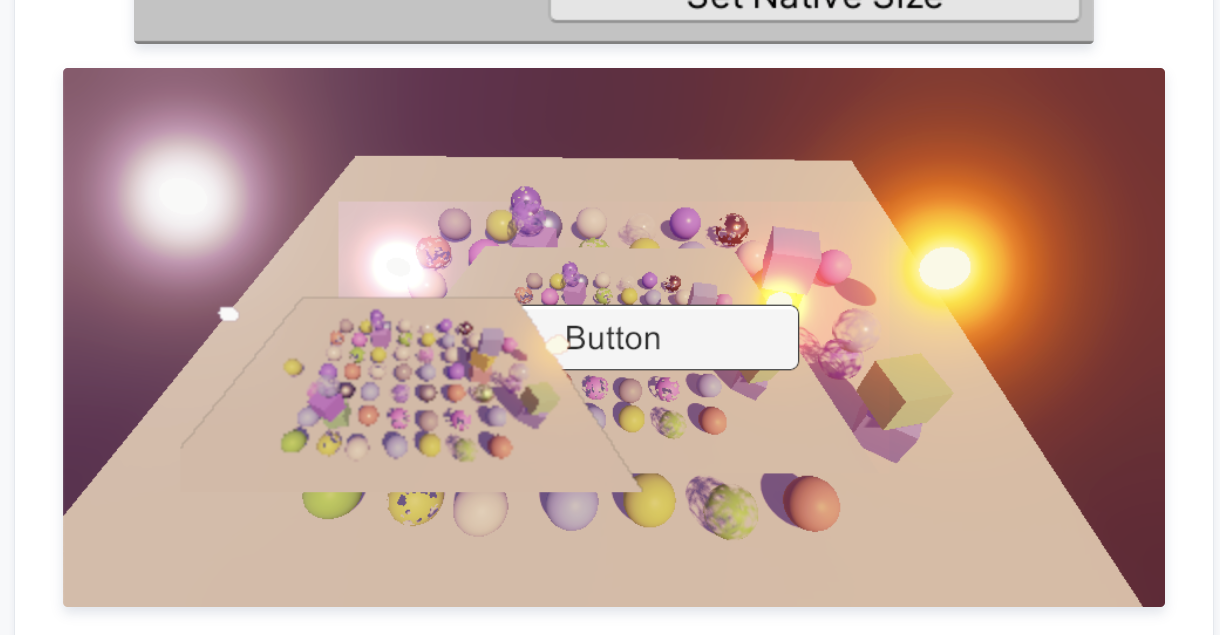 Apply the camera results to rendertexture, which is set to the blending mode on the UI,
From the original srclapha oneminus srclapha, formula: final color = source color * source transparency value + target color * (1 - source transparency value)
Change to one oneminussrcaalpha formula: final color = source color + target color * (1 - source transparency value)
When it comes to mixing between cameras: I think of two different processing methods to mix the scene camera in Linear space and the UI camera in Gamma space. Let's talk about it next time
(2) Custom particle shader:
(1) The user-defined parameters are used to control the effect. The parameters act on the life cycle of particles

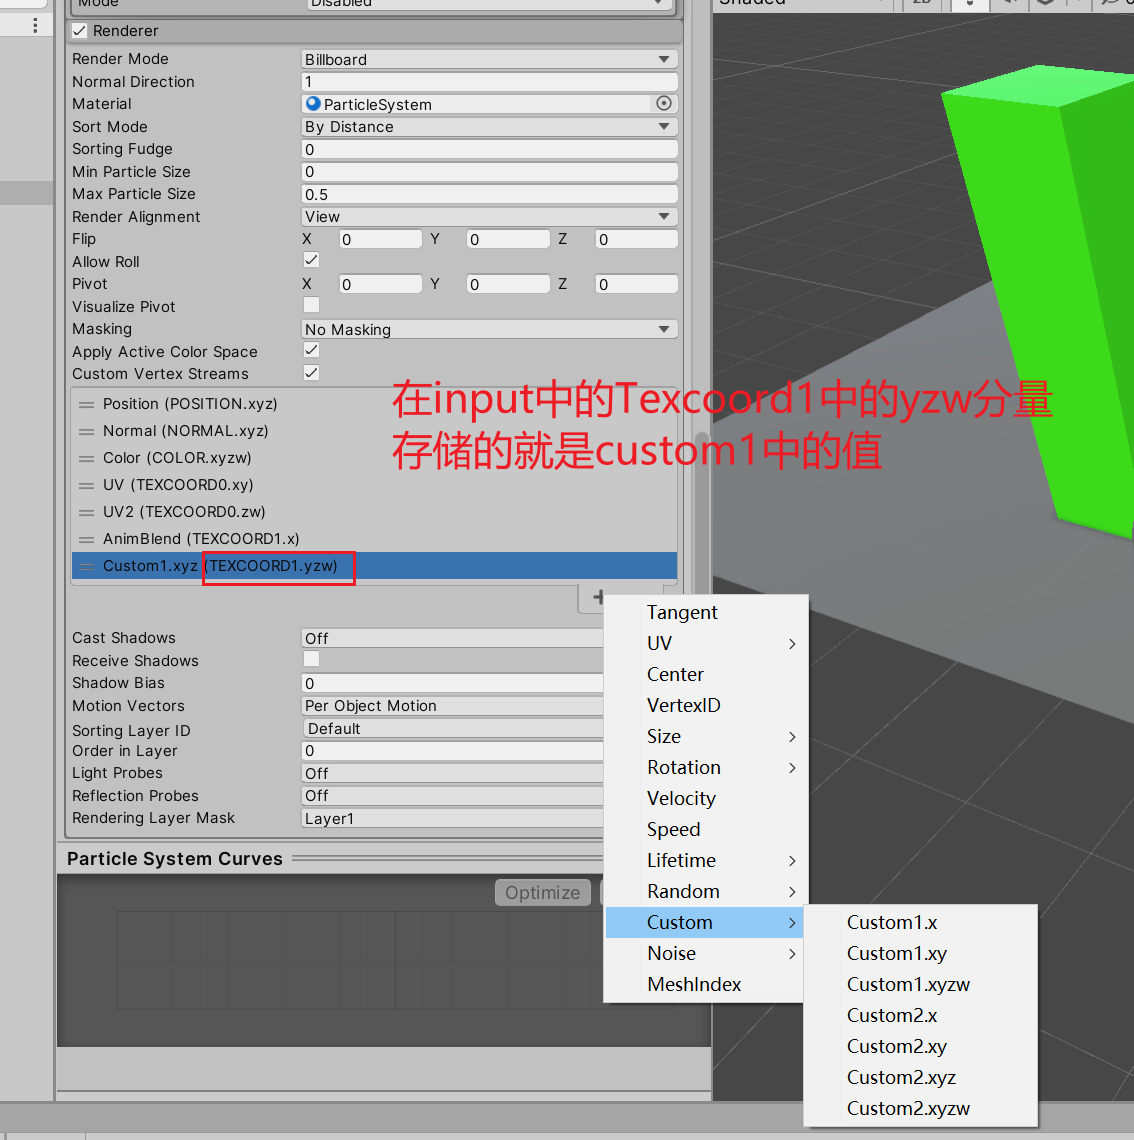
Therefore, in the above process of initializing Input:
struct Attributes
{
    // Vertex color
    float4 color : COLOR;
    #if defined(_FLIPBOOK_BLENDING)
        float4 baseUV : Texcoord0;
        float4 flipbookBlend : Texcoord1;
        //float3 custom1 = Texcoord1.yzw;
    #else
        float2 baseUV : Texcoord0;
    #endif

    float3 positionOS : POSITION;

    // Provides an index of the rendered object through vertex data
    UNITY_VERTEX_INPUT_INSTANCE_ID
};
struct Varyings
{
#if defined(_VERTEX_COLORS)
    float4 color : VAR_COLOR;
#endif

#if defined(_FLIPBOOK_BLENDING)
    float3 flipbookUVB : VAR_FLIPBOOK;
    float3 custom1 : VAR_CUSTOM;
#endif
    float4 positionCS : SV_POSITION;
    float2 baseUV : VAR_BASE_UV;
    UNITY_VERTEX_INPUT_INSTANCE_ID
};
Varyings UnlitPassVertex(Attributes input)
{
    Varyings output;
    // The index of the rendered object is extracted and stored in the global static variables that other instance macros depend on
    UNITY_SETUP_INSTANCE_ID(input);
    // Convert the index into storage, which is also applicable in the slice
    UNITY_TRANSFER_INSTANCE_ID(input,output);
    float3 positionWS = TransformObjectToWorld(input.positionOS);
    output.positionCS = TransformWorldToHClip(positionWS);
    output.baseUV = TransformBaseUV(input.baseUV.xy);

    #if defined(_FLIPBOOK_BLENDING)
        output.flipbookUVB.xy = TransformBaseUV(input.baseUV.zw);
        output.flipbookUVB.z = input.flipbookBlend.x;
        output.custom1 = input.flipbookBlend.yzw;
    #endif


#if defined(_VERTEX_COLORS)
    output.color = input.color;
#endif
    return output;
}
In this way, the variable of custom1 is transferred to the fragment
More importantly: the value of custom1 can change with the life cycle of particles!!!
It depends on what format you pass in:
 This will enrich the variation of particles
Reference reading