- Software installation
- software configuration
- terminal installation
- Auxiliary tools
- Start writing code
Let's have a cup of health tea first

Software installation
Previously: Zero configuration front-end development environment - Mac
Installation approach
- The app store downloads some commonly used free software, even if it is not connected for more than 10s
- MacWk Five star recommendation
- Tencent lemon (for reference)
28 commonly used software
- Download 12 from the app store or Baidu search official website:
- Google browser, Firefox, wechat, QQ, enterprise wechat, Tencent conference, vscode, wechat developer tool, HBuilderX
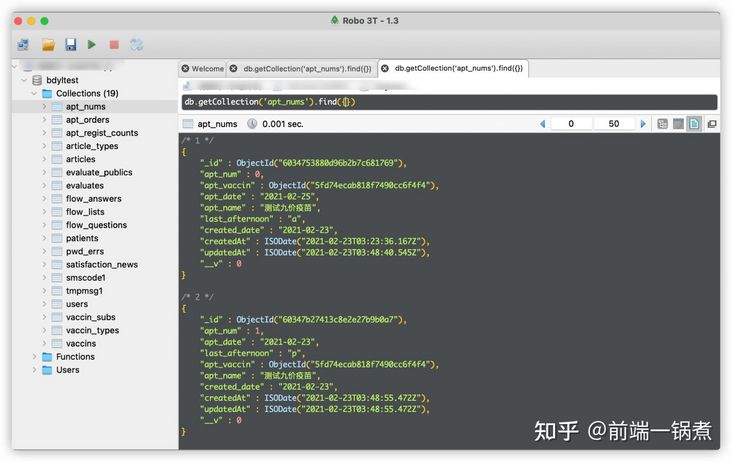
- Robo 3T, a classic and easy-to-use mongodb database viewing tool
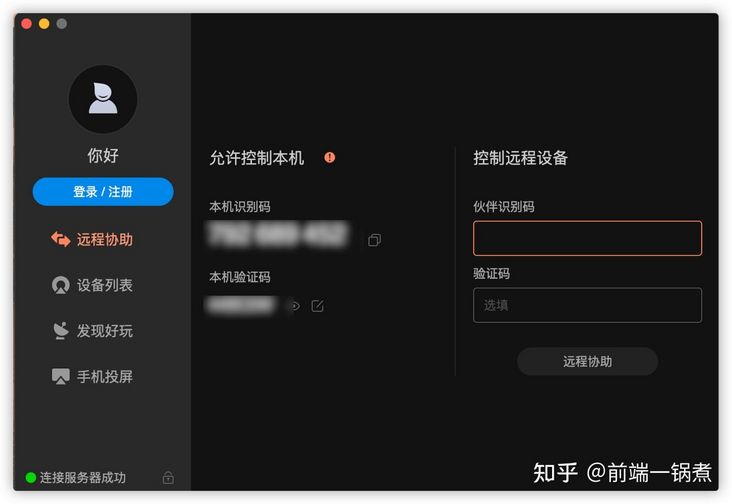
- Sunflower remote control, can remotely control other windows or mac computers, stable and reliable, high quality
- ApiPost, a simple and easy-to-use interface document tool, is Chinese friendly, simple to operate, with few steps, and automatically generates good-looking online interface documents
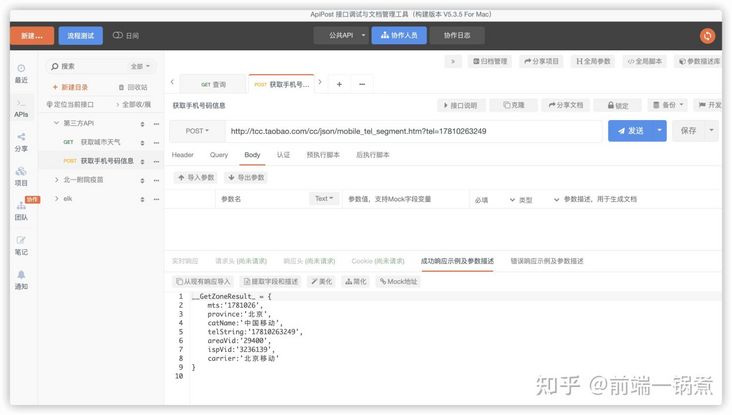
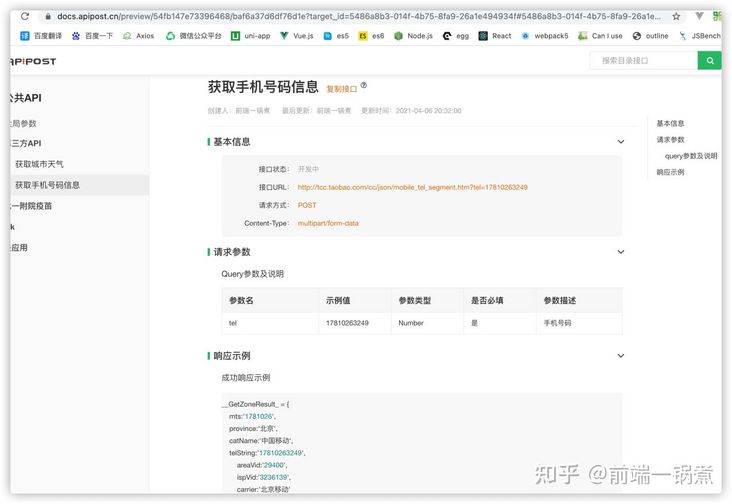
Analogy with Swagger, Apizza, YApi, see the cloud, Showdoc, Postman
- Download 16 models on MacWk platform:
- Axure, Ps, Microsoft Word suite, Sourcetree, SnailSVN, iTerm2, Charles
- PPDuck image fidelity compression, ColorSnapper2 color suction, iShot screenshot, CheatSheet view shortcut command
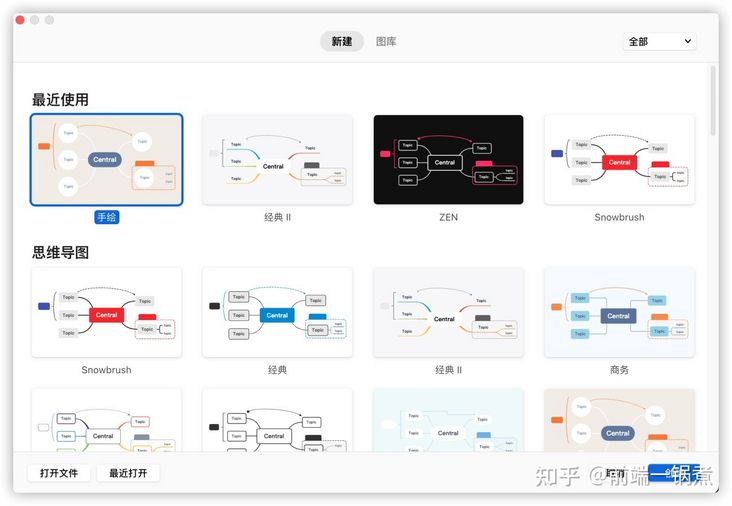
- XMind
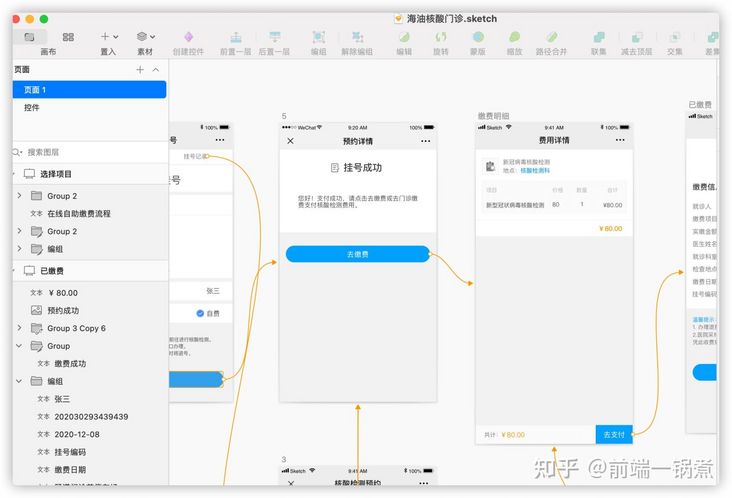
- Sketch
- SwitchHosts - modify host

- RDM - redis database viewing tool

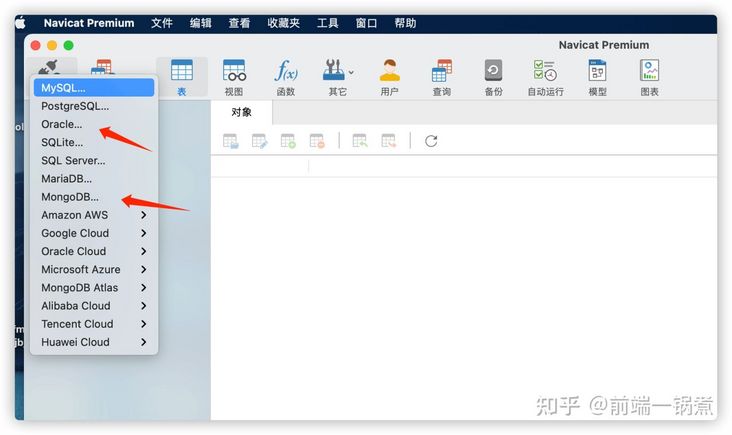
- Navicat Premium - viewing various databases
Don't use Baidu online disk. Choose Tianyi cloud disk to download quickly
software configuration
Google browser configuration
Bookmarks: Download bookmarks from the original computer and then transfer them to the new computer, or log in and synchronize the account
Google browser extensions: forage QR code, Vue.js devtools, React Developer Tools, Proxy SwitchyOmega, Google access assistant (Baidu search corresponding extensions if the app store is not connected)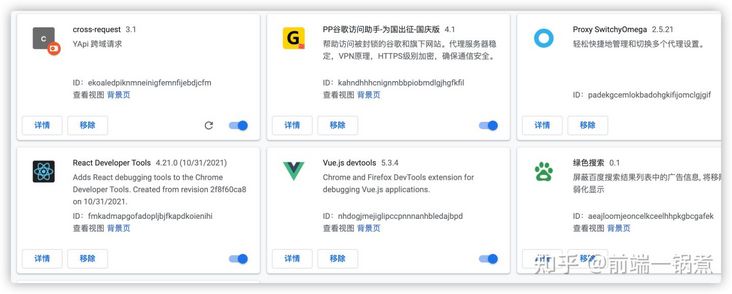
vscode configuration
Previously: VS Code usage guide
- 26 plug-ins installed
Chinese Language Pack for VS Code - Chinese language pack
Monokai Theme - color theme
Vscode icons - icon plugin
Debugger for Chrome - debug JavaScript code running in Google Chrome from vscode
EditorConfig for Visual Studio Code - overwrite vscode configuration
File size - displays the current file size in the status bar. After clicking, you can also see the detailed creation and modification time
Import Cost - calculates the size of the imported file
Image Preview - displays a preview of the image in space and on hover
Path Intellisense - autofill file name
Auto Rename Tag - automatically completes the synchronous modification of the tag on the other side
Code Runner shortcut to run code
koroFileHeader - a plug-in used in vscode to generate file header comments and function comments
HTML Snippets - complete HTML code tips, including HTML5
JavaScript (ES6) snippets - ES6 syntax, smart tips, and quick input
Apollo graphql - highlight Apollo graphql
Vetur - vue syntax highlighting, IntelliSense, Emmet, etc
Prettify JSON - Format json
JSON Tools - JSON formatting tools
JSON Viewer - JSON viewing
ESLint - check javascript syntax errors and prompts
Prettier code formatter - format code tool
Minify - compress the current HTML, CSS and JS to generate. min files
Open in Browser - opens the file in the browser
Todo tree - annotation tags such as todo and FIXME
View Node Package - use this extension to quickly view the Node package source, allowing you to open the Node package warehouse / document directly from vscode.
Sass/Less/Stylus/Pug/Jade/Typescript/Javascript Compile Hero Pro
- Adjust settings
Open a new file instead of overwriting the Workbench enablePreview - true
Selected files do not automatically expand Auto Reveal - false
comd + n file format when creating a new file defaultLanguage - html
Trim Trailing Whitespace - true when saving files
Fix the problem that git.exe uses too much memory caused by vscode
git.enabled: false
git.autorefresh: false
Collapse empty folders Compact Folders - false
Trigger Expansion On Tab - true
includeLanguages - "javascript": "javascriptreact"
Other settings
  Auto Save - onFocusChange
  Tab Size - 2
  Cursor Blinking - smooth
  Cursor Style - line-thin
  Word Wrap - on
  Auto Indent - advanced Paste retention format
  Folding Strategy - indentation Indent by space
  Highlight Active Indent Guide - false
  Match Brackets - never Highlight matching parentheses
  Max Tokenization Line Length - 100000
  Render Control Characters - true
  Render Whitespace - none

  Tree: Indent - 10
  Tree: Render Indent Guides - none
  Initial Indent - true
  Use Tabs - true

  Minimap: Enabled - false
  Update Imports On File Move: Enabled - never
  Surveys: Enabled - false
  Breadcrumbs: Enabled - true
  Enable Crash Reporter - false
  Enable Telemetry - false
  Eslint: Enable - false

  Max Column - 40
  Activity Bar: Visible - true
  Side Bar: Location - left
  Confirm Delete - false
  Confirm Drag And Drop - false
  Integrated: Split Cwd - initial
  Page Size - 0
  Show Scan Mode Button - false
  Package Manager - yarn
  Autorefresh - false
  Validate: Scripts - false
  Prettier: Semi - false
  Prettier: Single Quote - true
  Quote Style - single
  Default Formatter: HTML - prettyhtml
  Default Formatter: JS - prettier-eslint
  Save File Before Run - true
  Ignore Project Warning - true
  Dont Show New Version Message - true
  JS Official - true
terminal installation
- Homebrew installation
Allow all access: sudo spctl --master-disable

Terminal execution /bin/bash -c "$(curl -fsSL https://raw.githubusercontent.com/Homebrew/install/master/install.sh)"
If the network connection fails, change the domestic address /bin/zsh -c "$(curl -fsSL https://gitee.com/cunkai/HomebrewCN/raw/master/Homebrew.sh)"
View version brew -v

switch brew Download source to improve download speed
  brew.git:
    cd "$(brew --repo)"
    git remote set-url origin https://mirrors.ustc.edu.cn/brew.git
  homebrew-core.git:
    cd "$(brew --repo)/Library/Taps/homebrew/homebrew-core"
    git remote set-url origin https://mirrors.ustc.edu.cn/homebrew-core.git
  replace Homebrew Bottles source
    cd ~
    echo 'export HOMEBREW_BOTTLE_DOMAIN=https://mirrors.ustc.edu.cn/homebrew-bottles' >> ~/.bash_profile
    source ~/.bash_profile

brew install git
brew install nginx- Xcode select installation
xcode-select --install Download and install
xcode-select -p View installation directory
xcode-select -v View version

delete xcode-select
sudo rm -rf $(xcode-select --print-path)
rm -rf /Library/Developer/CommandLineTools
- nvm installation
wget -qO- https://raw.githubusercontent.com/nvm-sh/nvm/v0.38.0/install.sh | bash

touch ~/.bash_profile

vim ~/.bash_profile Three lines of input prompt
  export NVM_DIR="$HOME/.nvm"
  [ -s "$NVM_DIR/nvm.sh" ] && \. "$NVM_DIR/nvm.sh"  # This loads nvm
  [ -s "$NVM_DIR/bash_completion" ] && \. "$NVM_DIR/bash_completion"  # This loads nvm bash_completion

source ~/.bash_profile

nvm Source change: export NVM_NODEJS_ORG_MIRROR=https://npm.taobao.org/mirrors/node

**New computers are installed globally by default v16 Version, uninstall it first**

nvm install v12.22.6         Install the specified version
nvm use v12.22.6             switch node edition
nvm alias default v12.22.6   Set default version

install cnpm
  npm install -g cnpm --registry=https://registry.npm.taobao.org
  cnpm config get registry // View cnpm source
  cnpm set registry https://registry.npm.taobao.org / / use Taobao

download pm2
  cnpm install -g pm2
- zsh installing oh my zsh plug-in
zsh After installation, exit the current session and reopen a terminal window
wget https://github.com/robbyrussell/oh-my-zsh/raw/master/tools/install.sh -O - | sh
- Global variable settings
. bashrc: read by non logged in user
.bash_profile: it can only be read by the logged in user. After modification, execute source ~/.bash_profile takes effect
. zshrc: both login and non login users can read, modify the environment variables, save the modifications and restart the terminal
Terminal.app of Mac OS X actually runs "login shell" instead of "non login shell". It calls. Bash by default_ Profile instead of. bashrc
After omyzsh is installed on Mac, terminal init will not execute ~ /. bash_profile, ~ /. bashrc and other scripts. The default startup and execution script is changed to ~ /. zshrc
For unified management, make the following settings:
Add this code source ~ /. Bash to the last line of. zshrc_ profile
Then all variables are added to. Bash_ In profile
.bash_profile variable reference:
# nvm path
export NVM_DIR="$HOME/.nvm"
[ -s "$NVM_DIR/nvm.sh" ] && \. "$NVM_DIR/nvm.sh"  # This loads nvm
[ -s "$NVM_DIR/bash_completion" ] && \. "$NVM_DIR/bash_completion"  # This loads nvm bash_completion

# deno path
export DENO_PATH="/Users/qianduanyiguozhu/.deno"
export PATH="$DENO_PATH/bin:$PATH"

# mongodb path
export PATH="/usr/local/mongodb/bin:$PATH"

# redis path
export PATH="/usr/local/opt/redis/bin:$PATH"

# homebrew
export HOMEBREW_BOTTLE_DOMAIN=https://mirrors.ustc.edu.cn/homebrew-bottles

# Previously: Mac Set startup https://cjm0.github.io/blog/page/list/maclist.html#%E5%88%9B%E5%BB%BA-plist-%E6%96%87%E4%BB%B6
# mongod start, stop, restart alias
alias mongod.start='launchctl load -w ~/Library/LaunchAgents/org.mongodb.mongod.plist'
alias mongod.stop='launchctl unload -w ~/Library/LaunchAgents/org.mongodb.mongod.plist'
alias mongod.restart='mongod.stop && mongod.start'

# redis start, stop and restart alias
alias redis.start='launchctl load -w ~/Library/LaunchAgents/org.redis.plist'
alias redis.stop='launchctl unload -w ~/Library/LaunchAgents/org.redis.plist'
alias redis.restart='redis.stop && redis.start'

# nginx start, stop, restart alias
alias nginx.start='launchctl load -w ~/Library/LaunchAgents/org.nginx.plist'
alias nginx.stop='launchctl unload -w ~/Library/LaunchAgents/org.nginx.plist'
alias redis.restart='nginx.stop && nginx.start'
Auxiliary tools
If a worker wants to be good at his work, he must first sharpen his tools
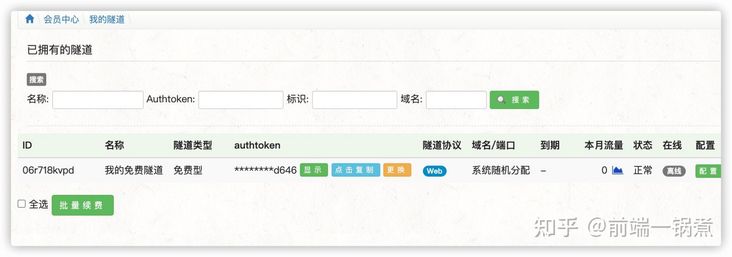
- NATAPP ip mapping tool, back-end temporary domain name, front-end temporary domain name
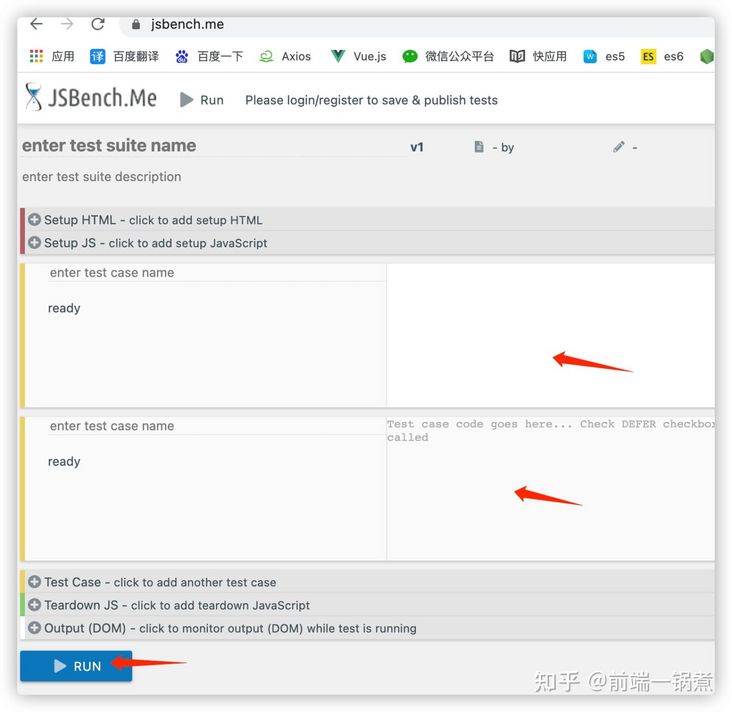
- JSBench Code testing tool
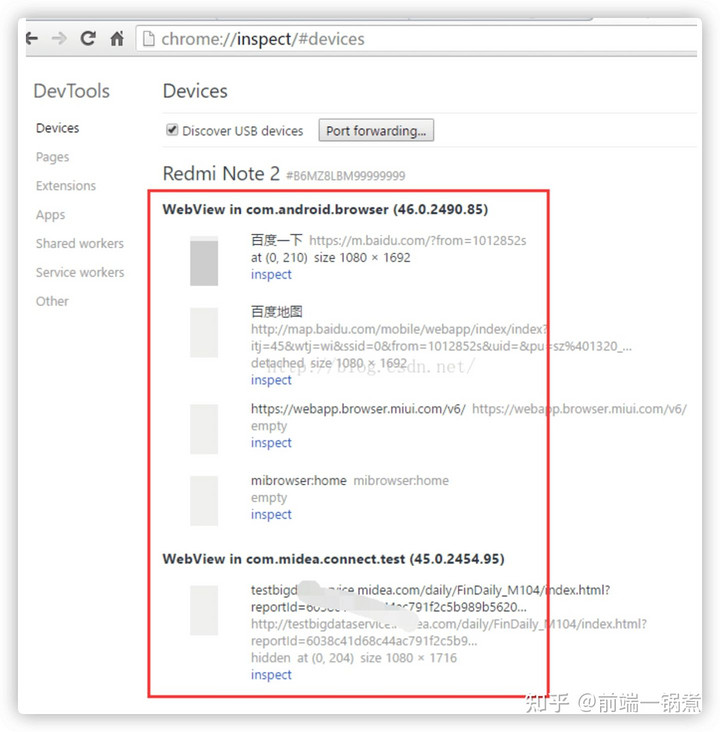
- Debugging mobile web pages with Chrome browser
outline page element all border tool
javascript: (function() { var elements = document.body.getElementsByTagName('*'); var items = []; for (var i = 0; i < elements.length; i++) { if (elements[i].innerHTML.indexOf('html * { outline: 1px solid #F9CC9D }') != -1) { items.push(elements[i]); } } if (items.length > 0) { for (var i = 0; i < items.length; i++) { items[i].innerHTML = ''; } } else { document.body.innerHTML += '<style>html * { outline: 1px solid #F9CC9D }</style>'; } })();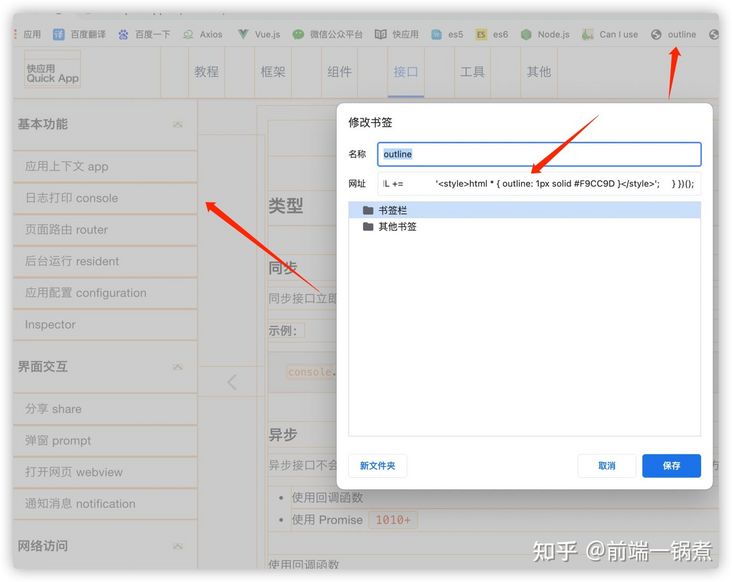
- Flying book: a multi machine cross platform (mobile phone, computer) file transmission tool
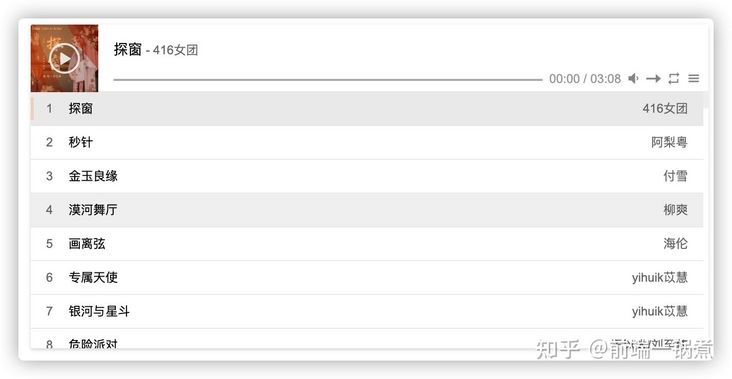
- http://ruoyi.vip Turn to the bottom, regularly update the free music recommendation, and relieve the fatigue of code writing
Start writing code
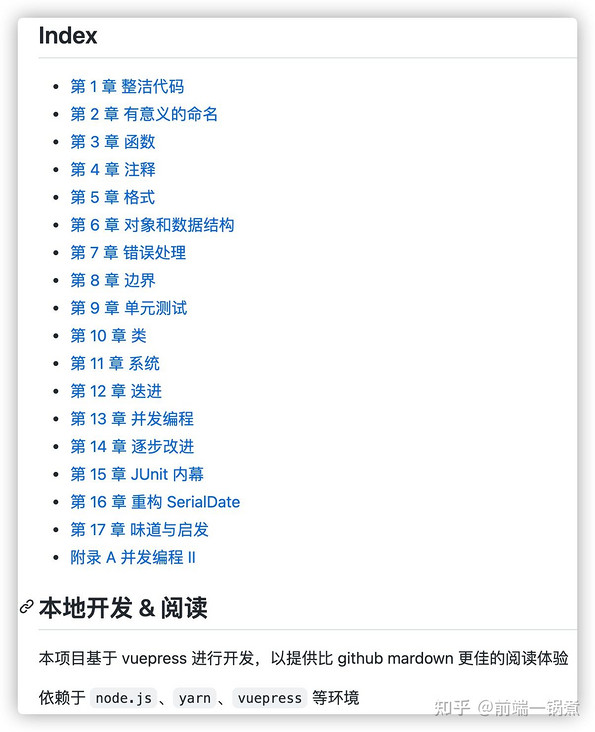
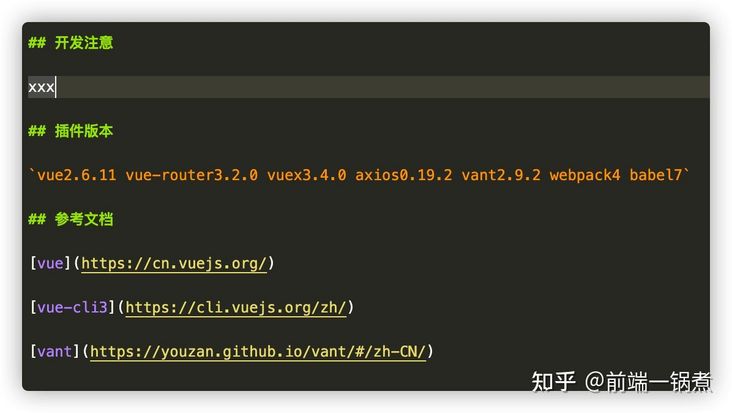
Start with README
A good project must start with README and start from here
- Project introduction
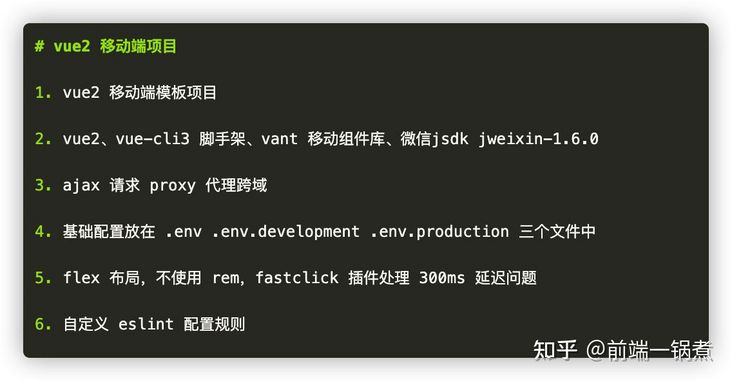
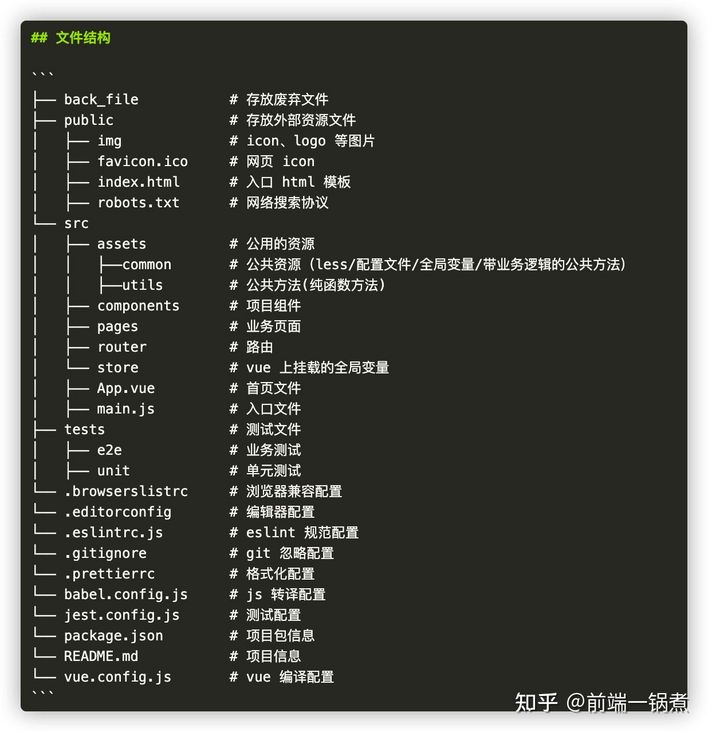
- file structure
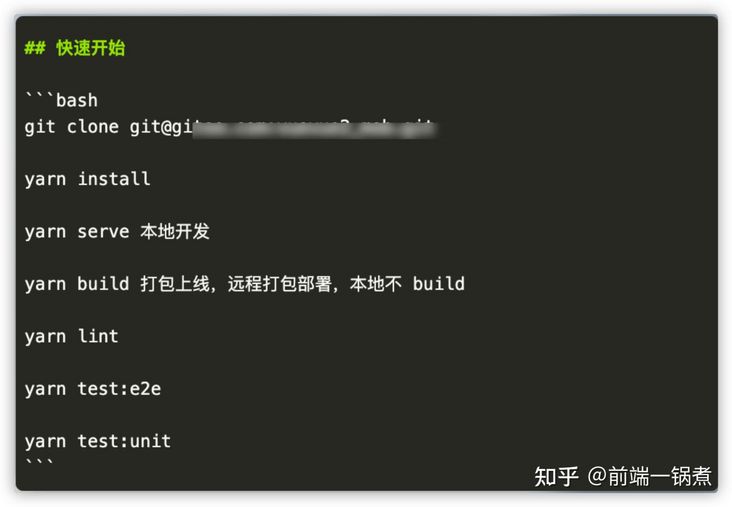
- Quick start
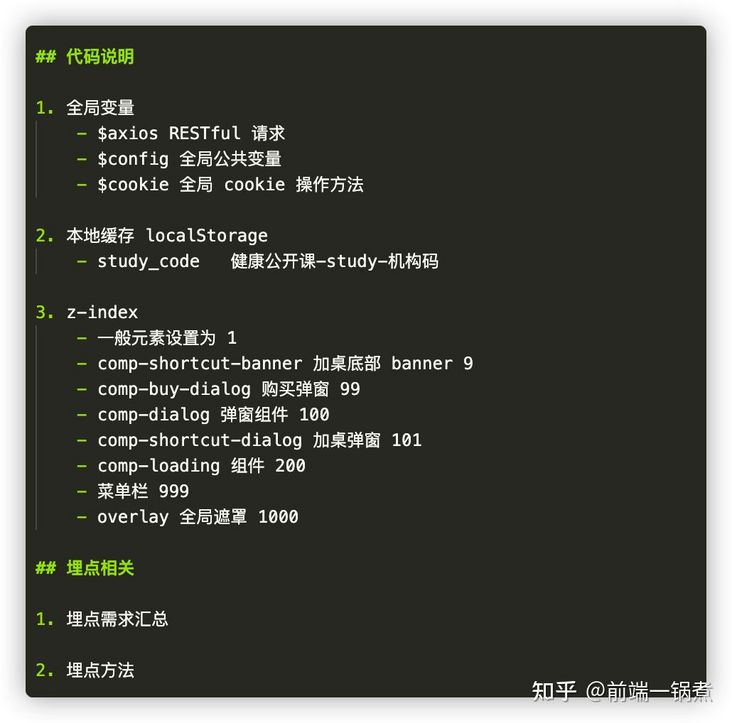
- Code description and buried point
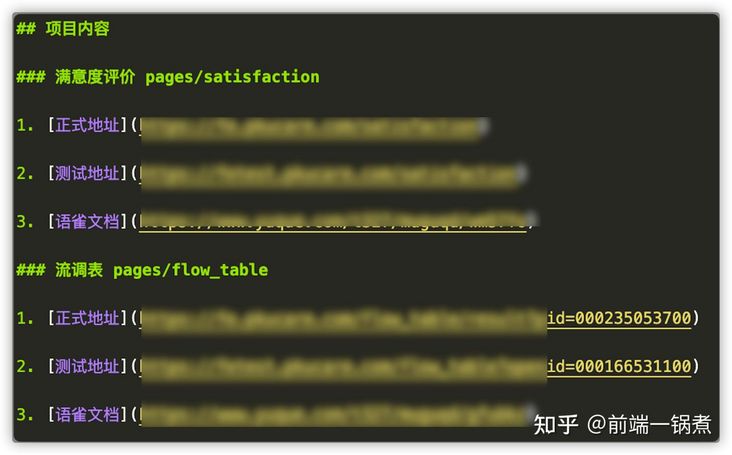
- Project content
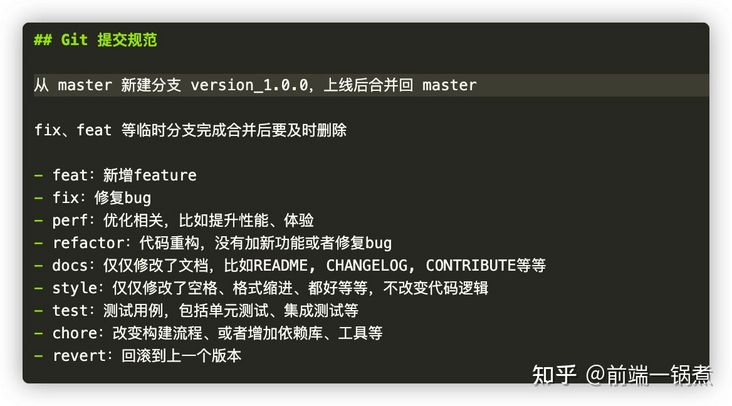
- Git submission specification
- Development notes, versions and documents