I summary
In 2018, alibaba will open source Nacos. Nacos is the name after open source. It is based on the core code integration of Alibaba's internal Configserver (Registration Center), Diamond (persistent configuration center) and Vipserver (Registration Center similar to Configserver, which provides routing information). The goal is to build the world's most powerful service registration and configuration center.
This article simply deploys a nacos service to get an intuitive understanding.
II Deployment steps
Since it is installed using docker, the use of docker is not introduced in this article. You can refer to: docker usage
2.1 download demo file
nacos provides demo configuration files on github. Download them first:
#clone down from github
git clone https://github.com/nacos-group/nacos-docker.git
#Enter file directory
cd nacos-docker
There are the following documents:

The key is the env and example files.
2.2 installation and startup
Start command:
#Note that the last - d indicates background startup. You may not be able to access the console after startup without - d
docker-compose -f example/standalone-mysql-5.7.yaml up -d
explain:
Because nacos itself has no storage function, it needs to be used with the database. Here we use mysql5 7. Mysql derby.5 is supported by default 7. mysql8, the corresponding yaml configuration file is in the example path.
example file description:
- standalone-mysql-5.7.yaml: stand alone mode, using mysql5 7 database
- standalone-mysql-8.yaml: stand alone mode, using mysql8 database
- standalone-derby.yaml: stand alone mode, using embedded Derby database
- cluster-hostname.yaml: cluster mode, using mysql5 7 database
- cluster-embedded.yaml: cluster mode, using embedded derby database
It should be noted before startup that MySQL uses port 3306 by default. If MySQL is installed in your server and 3306 is occupied, the startup will fail. At this time, you can modify the nacos configuration and use your locally installed mysql,
You can also directly modify the mapping port of mysql, and then start it,
Modify standalone-mysql-5.7 as follows: MySQL ports in yaml file:
version: "2"
services:
  nacos:
    image: nacos/nacos-server:${NACOS_VERSION}
    container_name: nacos-standalone-mysql
    env_file:
      - ../env/nacos-standlone-mysql.env
    volumes:
      - ./standalone-logs/:/home/nacos/logs
      - ./init.d/custom.properties:/home/nacos/init.d/custom.properties
    ports:
      - "8848:8848"
      - "9848:9848"
      - "9555:9555"
    depends_on:
      - mysql
    restart: on-failure
  mysql:
    container_name: mysql
    image: nacos/nacos-mysql:5.7
    env_file:
      - ../env/mysql.env
    volumes:
      - ./mysql:/var/lib/mysql
    # Change the mysql port to 3307 to avoid conflicts
    ports:
      - "3307:3306"
#  prometheus:
#    container_name: prometheus
#    image: prom/prometheus:latest
#    volumes:
#      - ./prometheus/prometheus-standalone.yaml:/etc/prometheus/prometheus.yml
#    ports:
#      - "9090:9090"
#    depends_on:
#      - nacos
#    restart: on-failure
#  grafana:
#    container_name: grafana
#    image: grafana/grafana:latest
#    ports:
#      - 3000:3000
#    restart: on-failure
View container
docker ps

2.3 Nacos console
llink: http://127.0.0.1:8848/nacos/
Default username / password: nacos/nacos
After login, the interface is as follows:
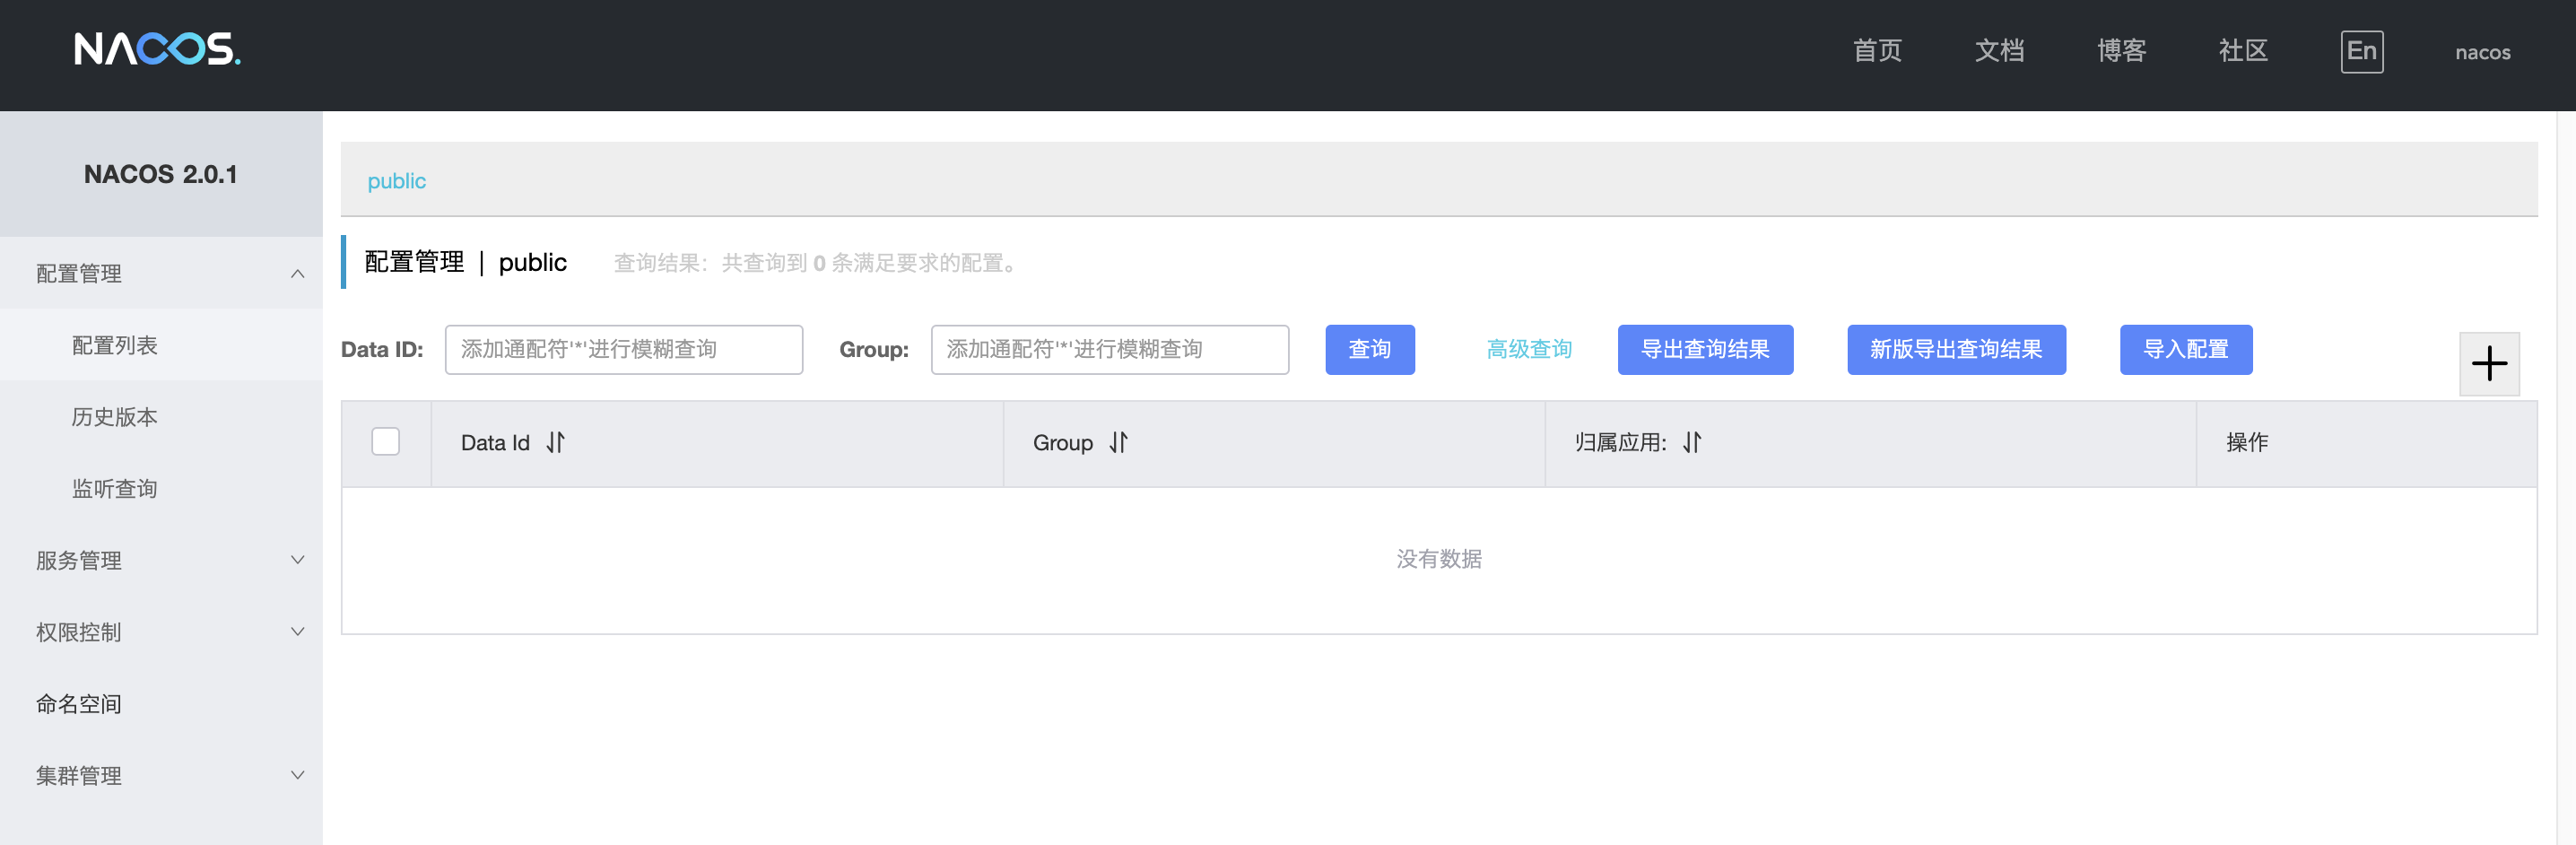
Because it is a registration center + configuration center, the main menu is configuration management + service management.
By default, they are all empty. We can use the following commands to simply register and add configuration.
2.4 service registration and discovery
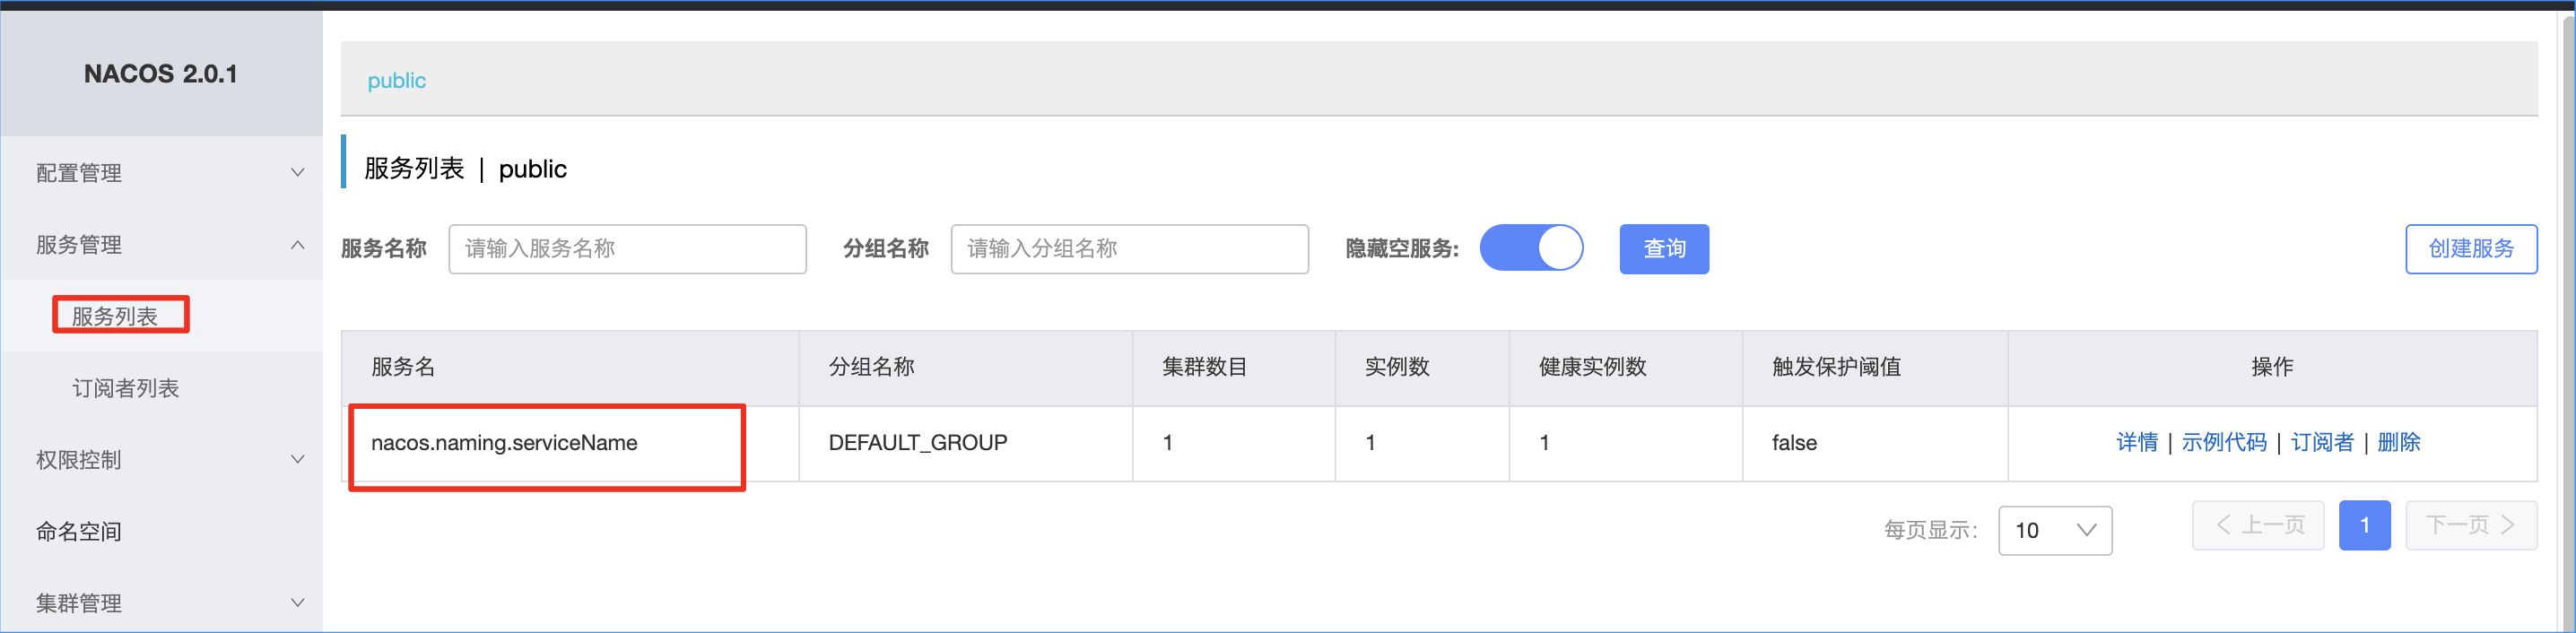
# Register a service randomly. Parameters: service name, ip, port
curl -X POST 'http://127.0.0.1:8848/nacos/v1/ns/instance?serviceName=nacos.naming.serviceName&ip=20.18.7.10&port=8080'
Then check the service list and find the successful registration:
2.5 configuration release and acquisition
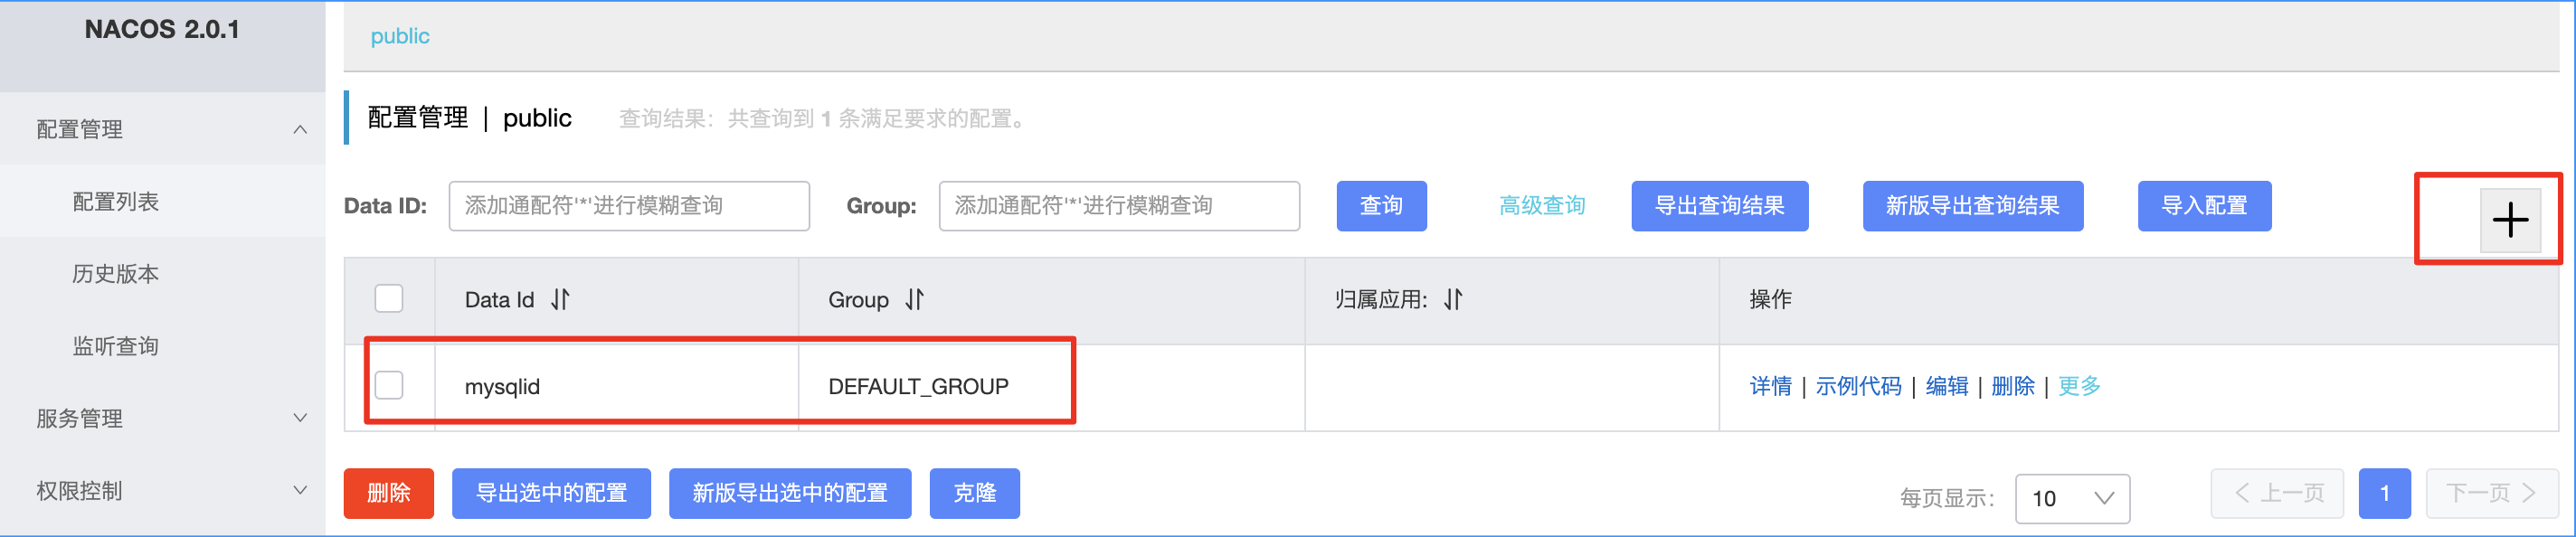
Add configuration:
Add any configuration:
It mainly configures data id, Group and content:
However, to view this data in mysql database:
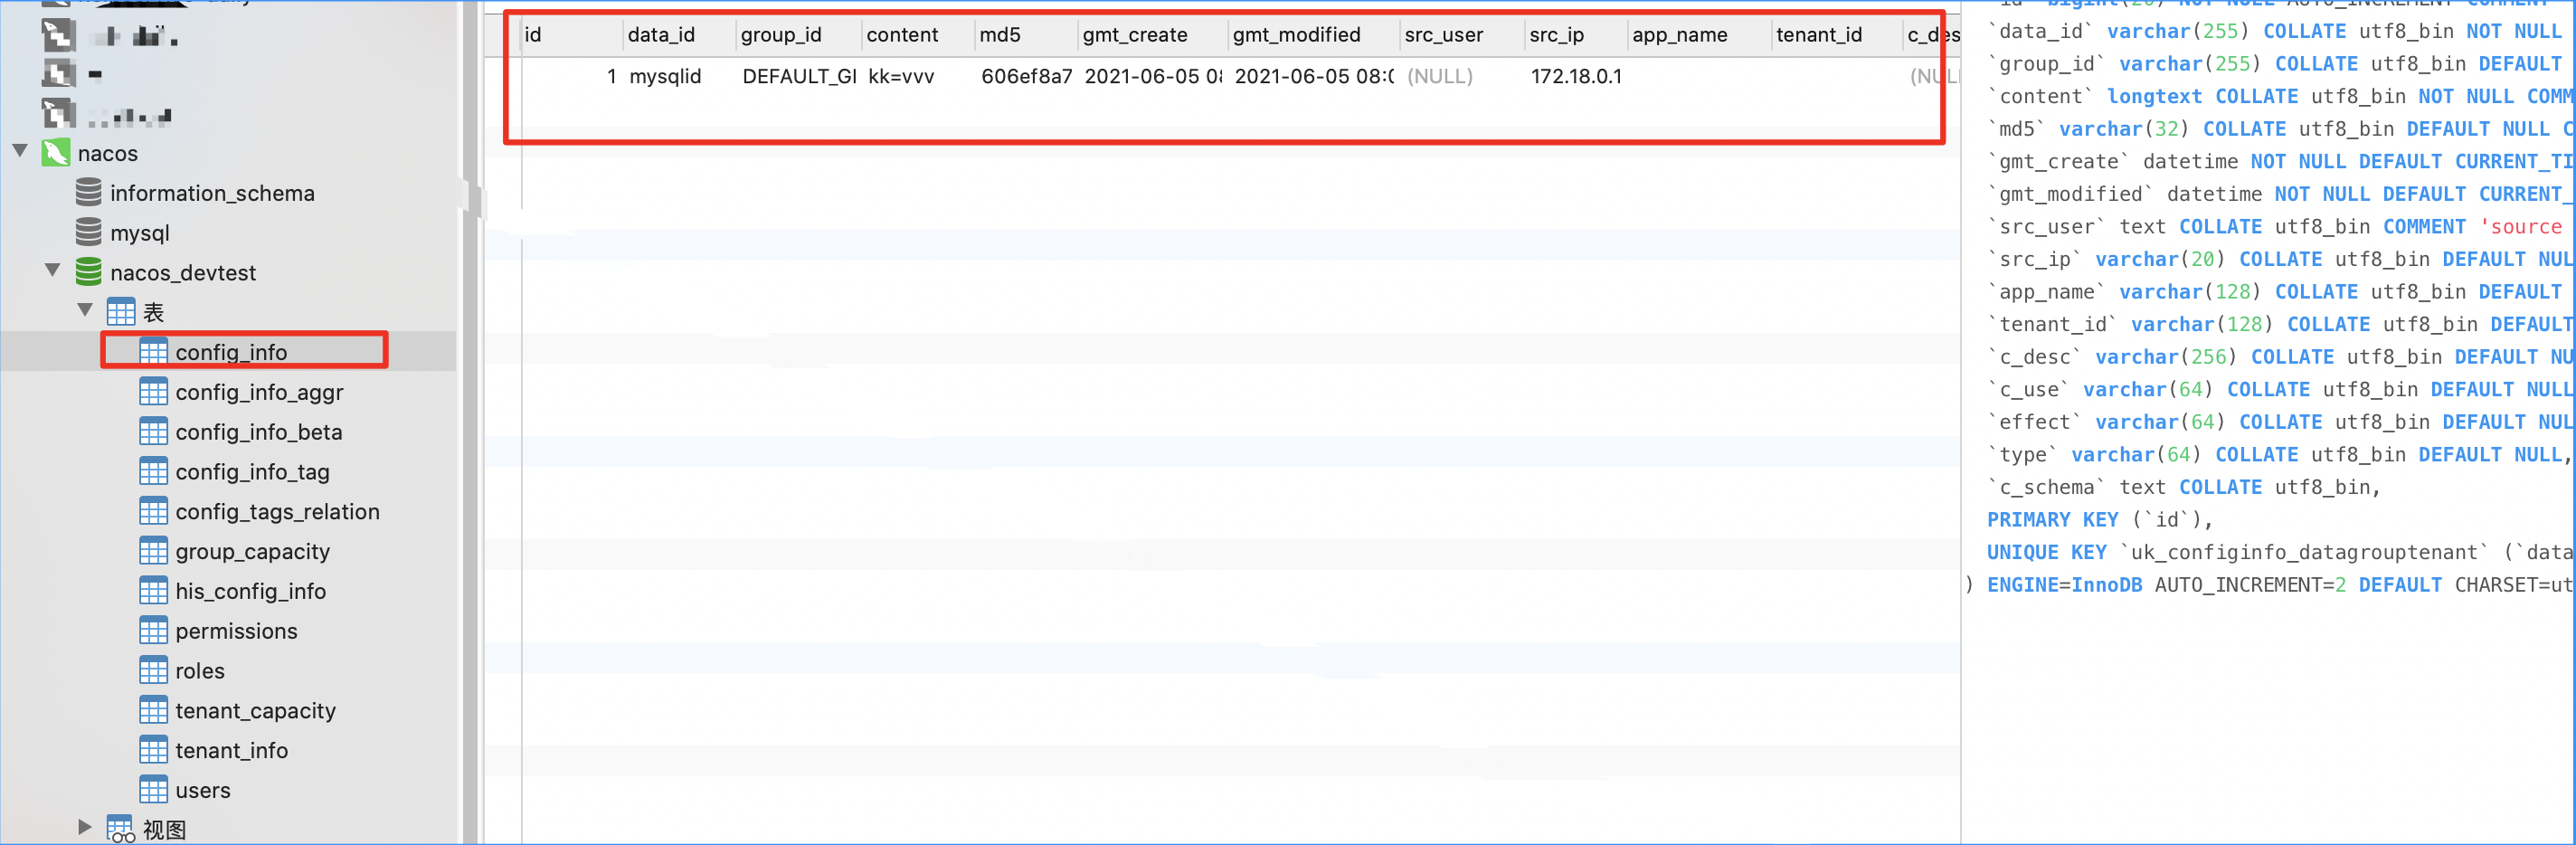
You can also call the interface:
# Parameters: dataId, group, content
curl -X POST "http://127.0.0.1:8848/nacos/v1/cs/configs?dataId=nacos.cfg.dataId&group=test&content=helloWorld"
Let's stop here first.
reference resources:
https://baijiahao.baidu.com/s?id=1655764444148144522&wfr=spider&for=pc
https://nacos.io/zh-cn/docs/quick-start-docker.html