Download and install:
1. Nacos Download:
You can directly enter the following address in the browser:
https://github.com/alibaba/nacos/releases
Select the corresponding version and download it directly,

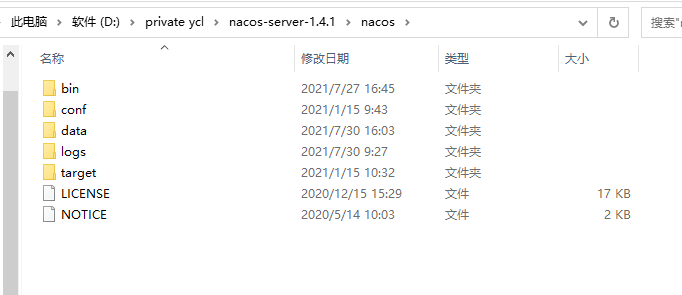
2. Unzip Nacos
Initialize configuration:
Step 1: find / conf / Nacos mysql The sql script in the sql file, then log in to MySQL, create the database (name nacos_config, encoding utf8mb4) based on the description in the script file, and execute the script file. If the script is executed successfully, some tables will be created, as shown in the figure:

Note: when executing this file, the version of mysql must be greater than 5.7 (MariaDB is better than 10.5.11), otherwise the following error will occur

Step 2: open / conf / application Open the default configuration in properties, configure the database to be connected based on your current environment, and the user name and password to be used when connecting to the database (if there is "#" in front, remove it):

Server startup and access
Start nacos:
Start under the bin directory (cmd)
Linux/Unix/Mac startup command (standalone stands for stand-alone mode, non cluster mode):/ startup.sh -m standalone
Windows startup command (standalone stands for stand-alone mode, non cluster mode): startup cmd -m standalone
explain:
1) When executing the execution command, either configure the environment variable or execute it directly in the nacos/bin directory
2) When Nacos starts, Java needs to be configured in the local environment variable_ Home (corresponding to the jdk installation directory),

Accessing Nacos services
(browser): http://localhost:8848/nacos
User name / password: nacos / nacos

Service registration and invocation
Create Maven parent project (01 SCA)
Dependency:
<properties>
        <spring.cloud>Hoxton.SR8</spring.cloud>
        <spring.cloud.alibaba>2.2.5.RELEASE</spring.cloud.alibaba>
    </properties>
    <!--Dependent version management-->
    <dependencyManagement>
        <dependencies>
            <!--spring cloud rely on,This dependency requires springboot Support of,
            Defined in this dependency spring cloud Microservice specification-->
            <dependency>
                <groupId>org.springframework.cloud</groupId>
                <artifactId>spring-cloud-dependencies</artifactId>
                <version>${spring.cloud}</version>
                <!--import Indicates that the subproject under this project can directly reference the version in this dependency-->
                <scope>import</scope>
                <!--When scope by import Time,The type here must be pom type-->
                <type>pom</type>
            </dependency>
            <!--spring cloud alibaba rely on,This dependency depends on spring cloud,
            The current dependency is implemented based on the microservice specification-->
            <dependency>
                <groupId>com.alibaba.cloud</groupId>
                <artifactId>spring-cloud-alibaba-dependencies</artifactId>
                <version>${spring.cloud.alibaba}</version>
                <scope>import</scope>
                <type>pom</type>
            </dependency>
        </dependencies>
    </dependencyManagement>
For the version, please refer to the following website (it involves a compatibility problem, and its version cannot be specified arbitrarily):
https://github.com/alibaba/spring-cloud-alibaba/wiki/%E7%89%88%E6%9C%AC%E8%AF%B4%E6%98%8E
Note: after the parent project resource initialization is completed, delete the src directory because the parent project is only responsible for dependency management
Producer service creation and registration (SCA provider)
Step 1: create a service provider inheritance parent project
Step 2: add project dependencies
<dependencies>
    <dependency>
        <groupId>org.springframework.boot</groupId>
        <artifactId>spring-boot-starter-web</artifactId>
    </dependency>
    <dependency>
        <groupId>com.alibaba.cloud</groupId>
        <artifactId>spring-cloud-starter-alibaba-nacos-discovery</artifactId>
    </dependency>
</dependencies>
Step 3: create and modify the configuration file application YML (or application.properties) to implement service registration
server:
   port: 8081
spring:
  application:
    name: sca-provider
  cloud:
    nacos:
      server-addr: localhost:8848
Step 4: create the startup class and define the control layer objects and methods to process the request
package com.cy;
@SpringBootApplication
public class ScaProviderApplication {
public static void main(String[] args) {
SpringApplication.run(ScaProviderApplication.class, args);
}
@Value("${server.port}")
private String server;
@RestController
public class ProviderController {
@GetMapping(value = "/provider/echo/{msg}")
public String doEcho(@PathVariable String msg) {
return server+"say:Hello Nacos Discovery " + msg;
}
}
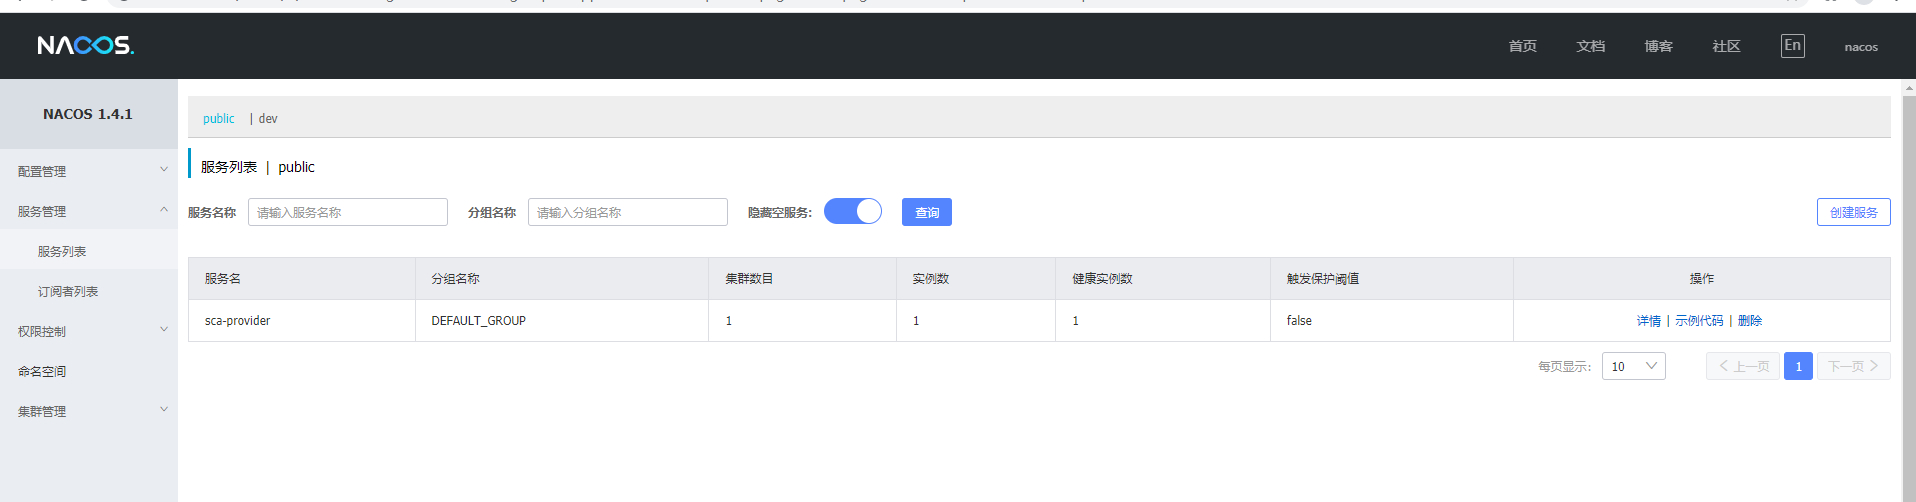
}Step 5: start the startup class, and then brush the nacos service to check whether the service registration is successful
Step 6: open the browser and enter http://localhost:8081/provider/echo/msa , and then visit.
Consumer service discovery and invocation (SCA consumer)
Step 1: create a service consumer inheritance parent project
Step 2: add project dependencies
<dependencies>
    <dependency>
        <groupId>org.springframework.boot</groupId>
        <artifactId>spring-boot-starter-web</artifactId>
    </dependency>
    <dependency>
        <groupId>com.alibaba.cloud</groupId>
  <artifactId>spring-cloud-starter-alibaba-nacos-discovery</artifactId>
    </dependency>
</dependencies>
Step 3: modify the configuration file application yml
server:
  port: 8090
spring:
  application:
    name: sca-consumer
  cloud:
    nacos:
      discovery:
        server-addr: localhost:8848 #Where to find the service
Step 4: create a startup class and realize service consumption
package com.cy;
@SpringBootApplication
public class ScaConsumerApplication {
    public static void main(String[] args) {
        SpringApplication.run(ScaConsumerApplication.class,args);
    }
    @Bean
    public RestTemplate restTemplate(){
        return new RestTemplate();
    }
    @RestController
    public class ConsumerController{

        @Value("${spring.application.name}")
        private String appName;
        @Autowired
        private RestTemplate restTemplate;
        @GetMapping("/consumer/doRestEcho1")
        public String doRestEcho01(){
            String url = "http://localhost:8081/provider/echo/"+appName;
            System.out.println("request url:"+url);
           return restTemplate.getForObject(url, String.class);
        }
    }
}
Step 5: start the consumer service and enter in the browser http://localhost:8090/consumer/doRestEcho1 Address for access