1, Introduction to Nginx
Nginx (engine x) is a high-performance HTTP and reverse proxy server, as well as an IMAP/POP3/SMTP server. Nginx is Rambler.ru, the second most visited site in Russia by Igor sesoyev (Russian: Рамблер) Developed
It is also a lightweight Web server, which can be used as an independent server to deploy websites (similar to Tomcat). Its high-performance and low memory consumption structure is favored by many large companies, such as Taobao website.
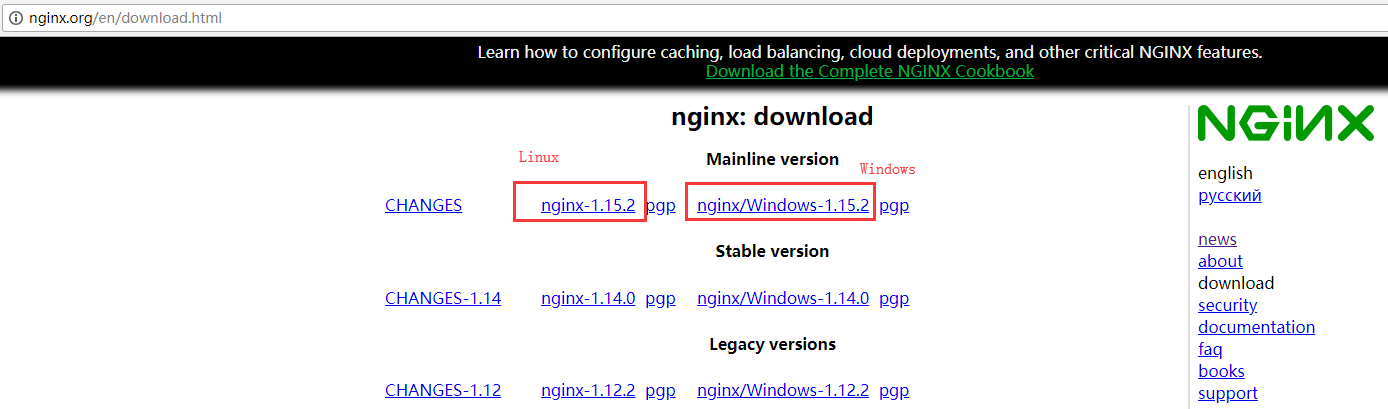
Download it first and go directly to the official website nginx.org
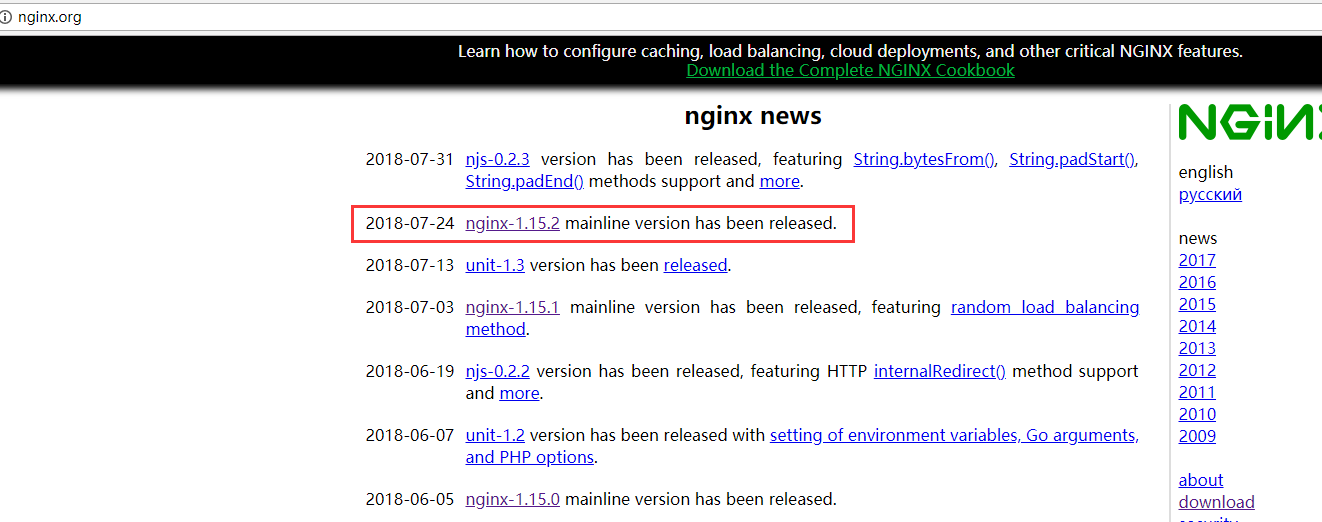
There are two versions of Linux and Windows respectively
Click to download. After the download, the installation starts. In fact, the official website has told you how to install. There are detailed instructions in "documentation - > nginx windows" on the right, which is only in English
2, Installation deployment
1. After downloading, unzip, run cmd, and use the command to operate. Do not double-click nginx.exe, nginx.exe, or nginx.exe directly
Be sure to start it in the dos window. Do not double-click nginx.exe directly. This will lead to invalid restart and stop of nginx after modifying the configuration. You need to manually close all nginx processes in the task manager and restart it
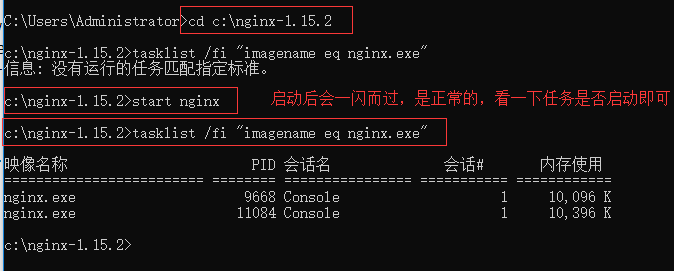
2. Use the command to reach the compressed directory of nginx
cd c:\nginx-1.15.2
3. It is normal for nginx service to flash when starting
start nginx
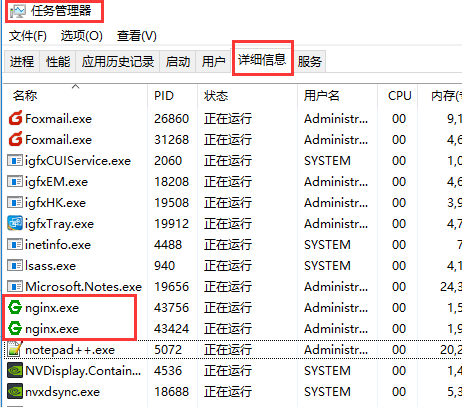
4. Check whether the task process exists, dos or open the task manager
tasklist /fi "imagename eq nginx.exe"
Open the task manager. You can't see the nginx.exe process in the process (it will be displayed here when you double-click nginx.exe). You need to open the details to see the hidden nginx.exe process
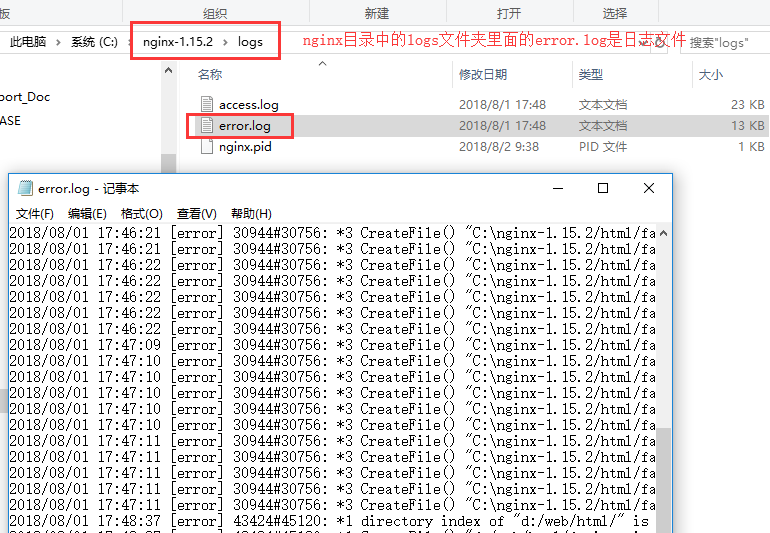
If there is no error, it may be an error at startup. Check the log. error.log is the log file under the logs folder in the nginx directory
Common errors:
(1) Port number occupied
(2)nginx folder path contains Chinese
For other errors, see the description in the log
5. Modify the configuration file, enter the decompression directory, and click directly into the folder. There is no need to operate from dos
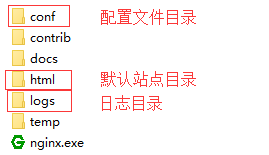
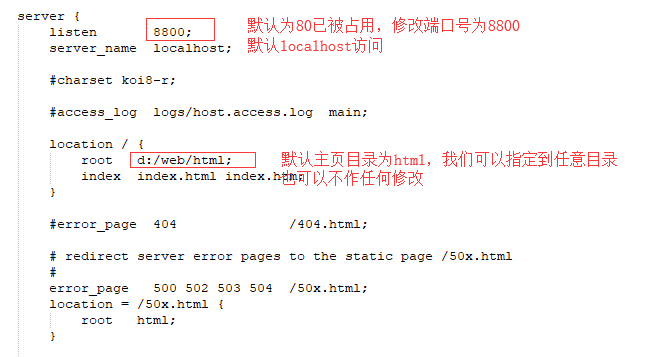
Find nginx.conf in the conf directory and open it with txt text. Find the server node and modify the port number. If necessary, you can modify the home directory. If not, you don't need to modify it
Save after modification. Use the following command to check whether the configuration file is correct, followed by the path of nginx.conf file. successful indicates that it is correct
nginx -t -c /nginx-1.15.2/conf/nginx.conf

If the program is not started, start nginx directly. If it has been started, use the following command to reload the configuration file and restart
nginx -s reload
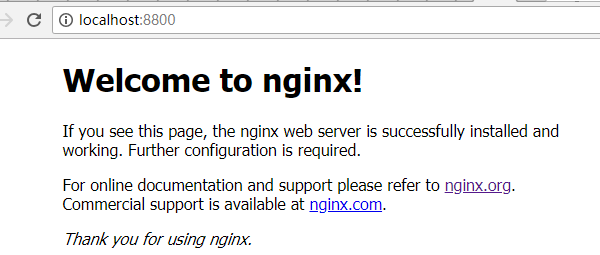
Then open the browser to access the domain name and port just now http://localhost:8800 , the welcome page indicates that the deployment is successful
3, Optimized configuration
Open nginx.conf and configure it according to your needs. Some simple general tuning configurations are listed below
#user  nobody;

#==The number of work processes is generally set as the number of cpu cores
worker_processes  1;

#error_log  logs/error.log;
#error_log  logs/error.log  notice;
#error_log  logs/error.log  info;

#pid        logs/nginx.pid;


events {

    #==The maximum number of connections is generally set to cpu*2048
    worker_connections  1024;
}


http {
    include       mime.types;
    default_type  application/octet-stream;

    #log_format  main  '$remote_addr - $remote_user [$time_local] "$request" '
    #                  '$status $body_bytes_sent "$http_referer" '
    #                  '"$http_user_agent" "$http_x_forwarded_for"';

    #access_log  logs/access.log  main;

    sendfile        on;
    #tcp_nopush     on;

    #keepalive_timeout  0;

    #==Client link timeout
    keepalive_timeout  65;

    #gzip  on;

    #When multiple server nodes are configured, the cache size of the default server names is not enough. You need to manually set it larger
    server_names_hash_bucket_size 512;

    #Server means that the virtual host can be understood as one site. Multiple server nodes can be configured to build multiple sites
    #server_name determines which server to use for each request
    server {
        #Site listening port
        listen       8800;
        #Site access domain name
        server_name  localhost;

        #Encoding format to avoid random code of url parameters
        charset utf-8;

        #access_log  logs/host.access.log  main;

        #location is used to match the access rules of multiple URI s under the same domain name
        #For example, how to jump dynamic resources and how to jump static resources
        #location followed by / represents the matching rule
        location / {
            #The site root directory can be a relative path or an absolute path
            root   html;
            #Default home page
            index  index.html index.htm;

            #Forwarding the back-end site address is generally used for soft load and polling the back-end server
            #proxy_pass http://10.11.12.237:8080;

            #Reject the request and return 403, which is generally used to prohibit access to some directories
            #deny all;

            #Allow request
            #allow all;

            add_header 'Access-Control-Allow-Origin' '*';
            add_header 'Access-Control-Allow-Credentials' 'true';
            add_header 'Access-Control-Allow-Methods' 'GET, POST, OPTIONS';
            add_header 'Access-Control-Allow-Headers' 'DNT,X-CustomHeader,Keep-Alive,User-Agent,X-Requested-With,If-Modified-Since,Cache-Control,Content-Type';
            #Redefine or add the request header sent to the back-end server
            #Add the client request hostname to the request header
            proxy_set_header Host $host;
            #Add client IP to request header
            proxy_set_header X-Real-IP $remote_addr;
            #Add the value of the $remote_addr variable after the client's "X-Forwarded-For" request header, separated by commas. If the client request does not carry the "X-Forwarded-For" request header, the value of the $proxy_add_x_forwarded_for variable will be the same as that of the $remote_addr variable
            proxy_set_header X-Forwarded-For $proxy_add_x_forwarded_for;
            #Add the client's Cookie to the request header
            proxy_set_header Cookie $http_cookie;
            #The primary domain name and port number of the proxy server will be used instead. If the port is 80, it can not be added.
            proxy_redirect off;

            #The browser has many restrictions on cookies. If the Domain part of the Cookie does not match the Domain of the current page, it cannot be written.
            #Therefore, if the domain name A is requested, the server proxy_pass es to the domain name B, and then the server B outputs A Cookie with Domian=B,
            #The front page still stays on the A domain name, so the browser cannot write the Cookie.

           #Not only the domain name, but also the browser has restrictions on Path. We often proxy_pass to a Path of the target server,
            #Do not expose this Path to the browser. At this time, if the Cookie of the target server is dead, the Path will also have the problem that the Cookie cannot be written.

            #Set the replacement text of the domain property in the "set cookie" response header. Its value can be a string, the pattern of a regular expression, or a referenced variable
            #If the forwarding back-end server needs cookies, it needs to convert the cookie domain, otherwise the front-end domain name is inconsistent with the back-end domain name, and the cookies will not be accessible
        #Configuration rules: proxy_cookie_domain serverdomain (backend server domain) nginxDomain(nginx server domain)
            proxy_cookie_domain localhost .testcaigou800.com;

            #Cancels all proxy_cookie_domain directives at the current configuration level
            #proxy_cookie_domain off;
            #The timeout for establishing a connection with the back-end server. Generally, it cannot be greater than 75 seconds;
            proxy_connect_timeout 30;
        }

        #error_page  404              /404.html;

        # redirect server error pages to the static page /50x.html
        #
        error_page   500 502 503 504  /50x.html;
        location = /50x.html {
            root   html;
        }

    }

  #When you need to listen to multiple domain names on the same port, use the following configuration. If the port is the same and the domain name is different, server_name can also be configured using regular
  #Note that there are too many servers. You need to manually expand the size of the server_names_hash_bucket_size cache
  server {
    listen 80;
    server_name www.abc.com;
    charset utf-8;
    location / {
      proxy_pass http://localhost:10001;
    }
  }
  server {
    listen 80;
    server_name aaa.abc.com;
    charset utf-8;
    location / {
      proxy_pass http://localhost:20002;
    }
  }
}