Don't say much. First put the screenshot and warehouse address:

Code warehouse: github
Story background
Love shopping https://www.cqfenfa.com/Network packet capture
Previously, due to the development needs of the company, it was necessary to conduct interface joint debugging with the back-end. When testing the environment, it often involves some state changes, which depends on the interaction style. For example, the test needs to test whether the interaction styles of various nodes such as goods to be paid, in payment and payment completion meet the expectations. In this case, the test will generally create data or let the back-end change the database interface. Some small partners may use Charles to modify the returned data for testing. However, Charles's experience of capturing and configuring packets was a little troublesome and not very friendly, so we made a capture & mock tool ourselves:
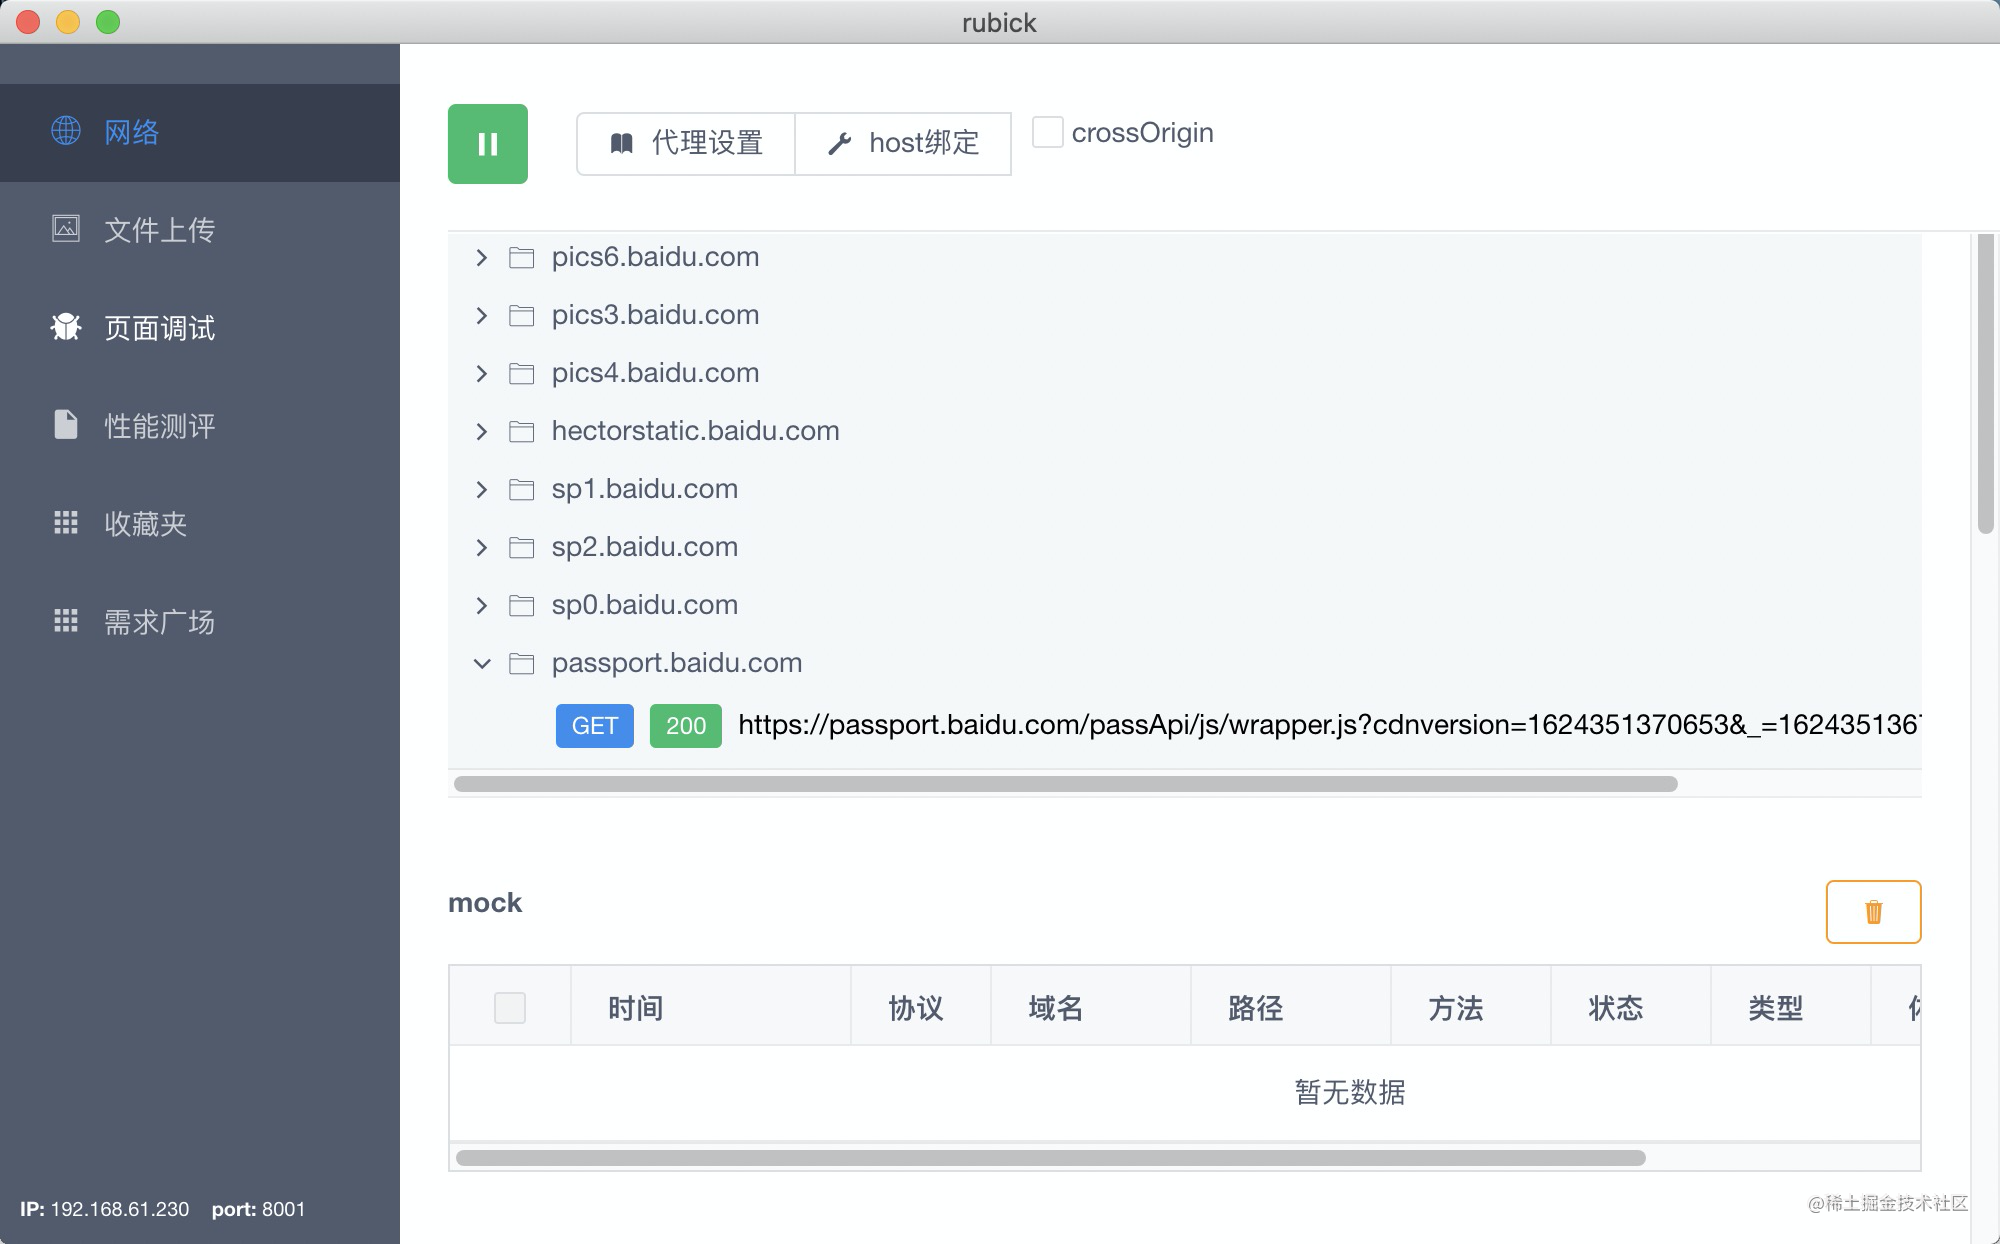
Fool interaction can be solved at one time: packet capture, proxy, request forwarding, interface data tampering, mock, cross domain access and other capabilities, which have been widely used and praised.
File upload
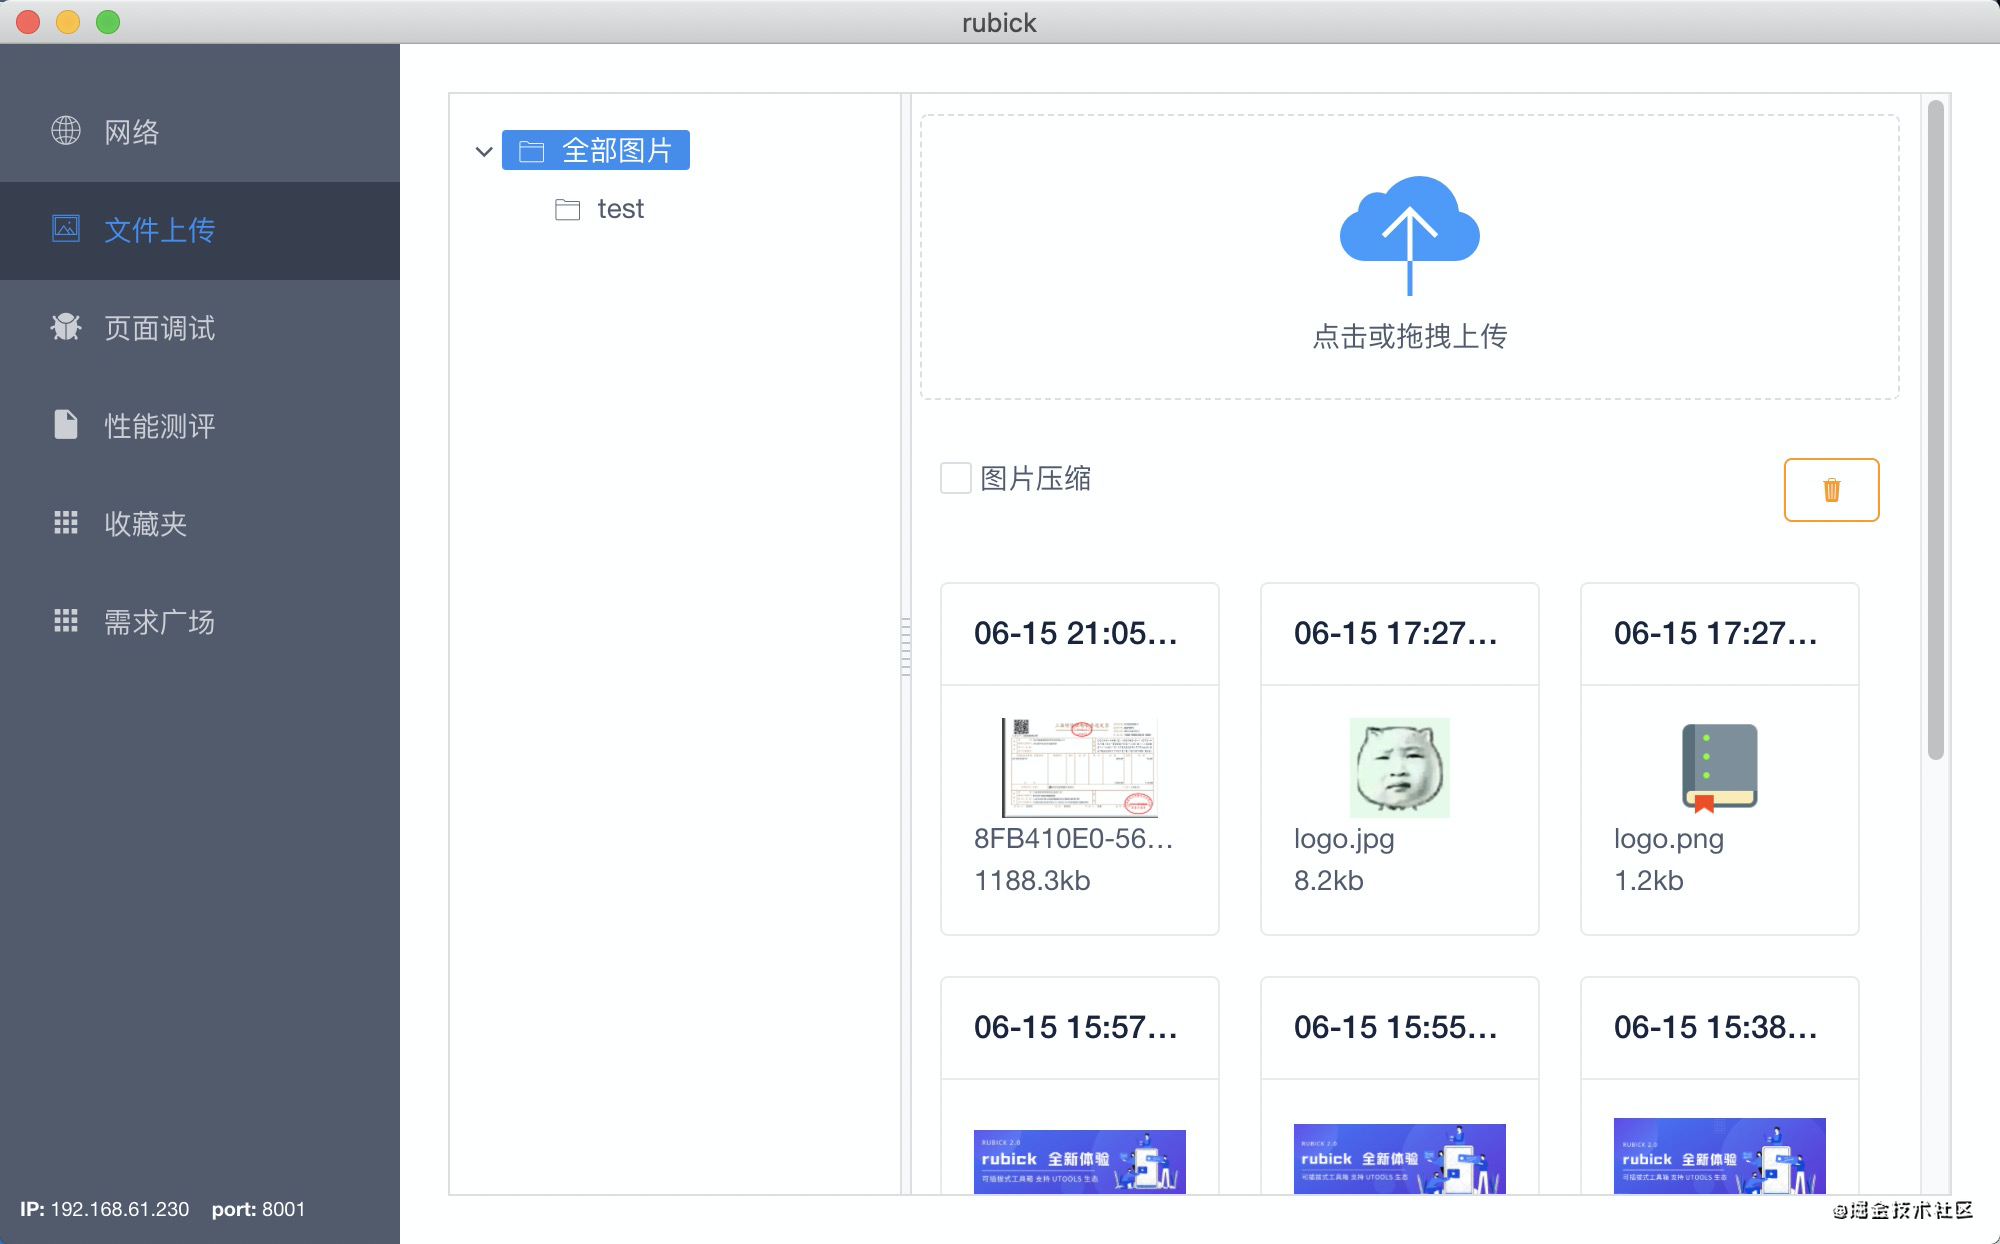
As the project development continues, some users give us feedback that the loading of image resources on the page is relatively slow. We have seen that many image resources have not been compressed. At this time, we can write some loader s through webpack to compress the image resources. At this time, most of our picture resources are stored in the project directory. Sometimes, we need to store pictures on cdn. At this time, we need a picture bed tool to store picture resources online. Therefore, we integrated the functions of image compression and upload to make a drawing bed tool:
Performance evaluation
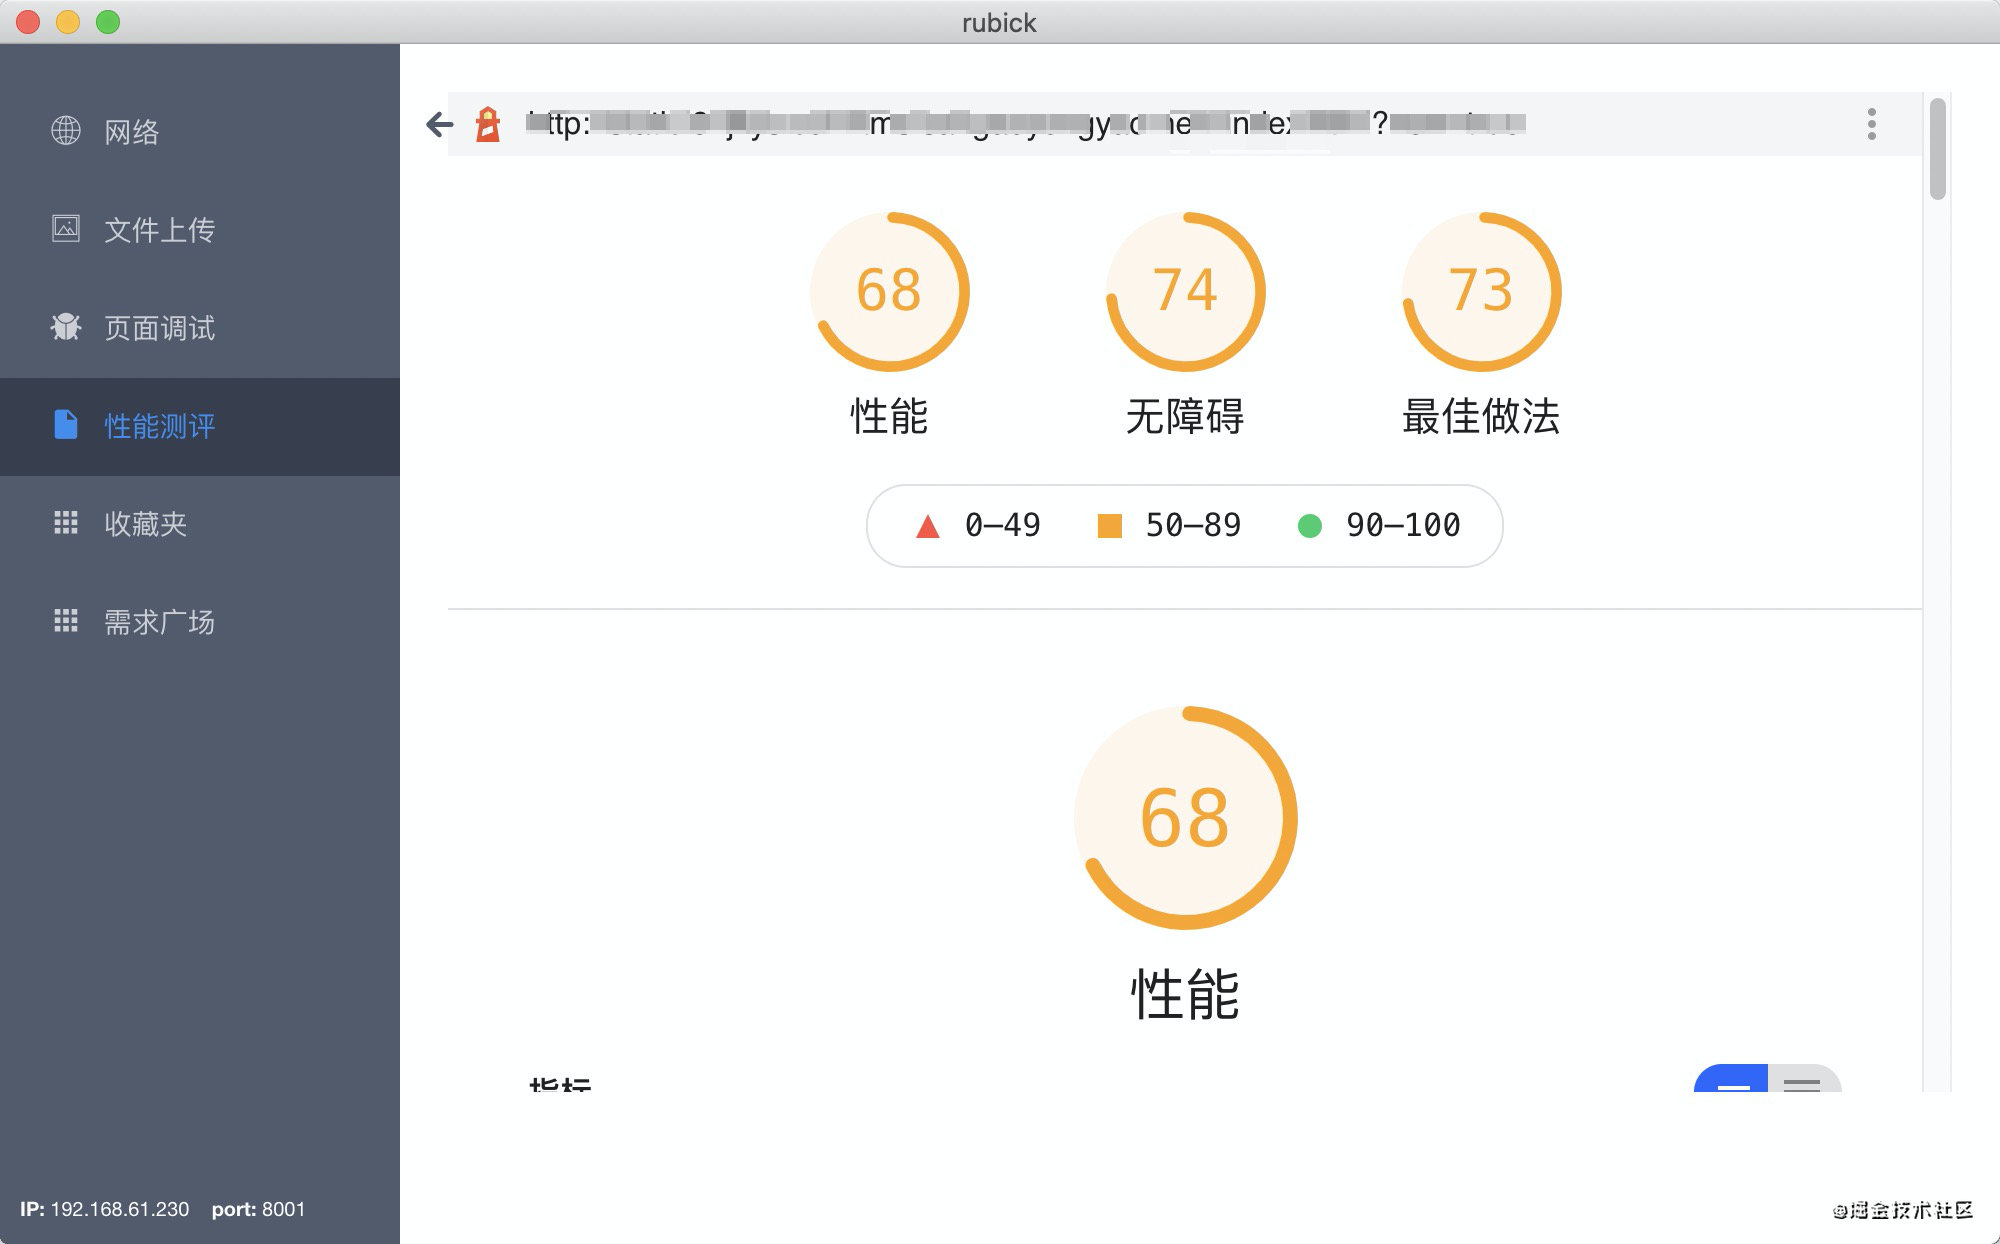
When developers develop a page, they need to evaluate the performance of the page. On the other hand, they can also notify the test students of the evaluation report to test their performance. Before, most of them used the chrome plug-in lighthouse. However, this tool cannot evaluate the performance of non logged in users, because users directly evaluate the login page without logging in, which obviously does not meet expectations. Secondly, plug-ins have to be installed on each computer. Due to different devices, there may be no same performance variables (network, network speed, resolution, CUP, etc.). Therefore, we have made a registration free evaluation tool based on pupeeter core and electron:
But these are far from enough. With the increase of business, we have more and more functions: our buried point detection tool, demand management tool, front-end multi environment switching tool, etc On the one hand, the volume of electron ic becomes bloated. On the other hand, with the increase of release frequency, the cost of installation and download is also increasing. Many users are unwilling to install again because it is really troublesome. So we need to change so that the function does not depend on the container. This requires all our functions to be independent and made into plug-ins. So I noticed utools
Plug in journey
At the beginning, the idea of plug-in is nothing more than using the webview capability of electron to realize a way similar to the native embedded h5. The h5 page can be published independently. The native provides nativa APIs to bridge and call the native methods through jsBridge. There is no problem with this implementation. We also tried it once. The final idea is:
Electronic WebView mode
1. Use webview in electron
<webview src="https://xxx.xx.com/index.html" preload="preload.js" />
2. Implement bridge
// preload.js
window.rubickBridge = {
  sayHello() {
    console.log('hello world')
  }
}
3. The plug-in can call electron with the help of bridge
<html>
 <body>
     <div>This is a plug-in<div>
 </body>
 <script>
  window.rubickBridge.sayHello()
</script>
</html>
4. Communication
Because proload JS belongs to the renderer process of electron, so if you need to use the capabilities of some main processes, you need to use the communication mechanism:
// main process
ipcMain.on('msg-trigger', async (event, arg) => {
    const window = arg.winId ? BrowserWindow.fromId(arg.winId) : mainWindow
    const operators = arg.type.split('.');
    let fn = Api;
    operators.forEach((op) => {
      fn = fn[op];
    });
    const data = await fn(arg, window);
    event.sender.send(`msg-back-${arg.type}`, data);
});

// renderer process
ipcRenderer.send('msg-trigger', {
  type: 'getPath',
  name,
});
ipcRenderer.on(`msg-back-getPath`, (e, result) => {
  console.log(result)
});
Why did we give up this road later 🤔 ?
In fact, the above idea is generally no problem. Based on the above idea, we have successfully extracted the functions into plug-ins and installed and loaded them in the way of plug-ins. Until we noticed the power of utools, we felt that the ecology of utools was very rich. It would be great if we could integrate the generation of utools! So we uphold the principle that if we can't do it, he will become him. We try to be him. However, utools itself is not open source, so there is no way to absorb some excellent code implementations, but we can see its official documents.
We found that most plug-ins of utools are separated from the container layer, that is, utools is just a container for plug-ins, which provides some API capabilities and methods for plug-ins. So once we implement the ability of utools to load plug-ins and implement all API functions of utools, is it about equal to implementing utools! Can we use the plug-in of utools?
utools mode
According to the utools documentation, first we need to implement a plug-in, which must have a plugin JSON, which is used to tell the information of the utools plug-in. We also write according to the document:
{
    "pluginName": "helloWorld",
    "description": "My first uTools plug-in unit",
    "main": "index.html",
    "version": "0.0.1",
    "logo": "logo.png",
    "features": [
        {
          "code": "hello",
          "explain": "hello world",
          "cmds":["hello", "Hello"]
        }
    ]
}
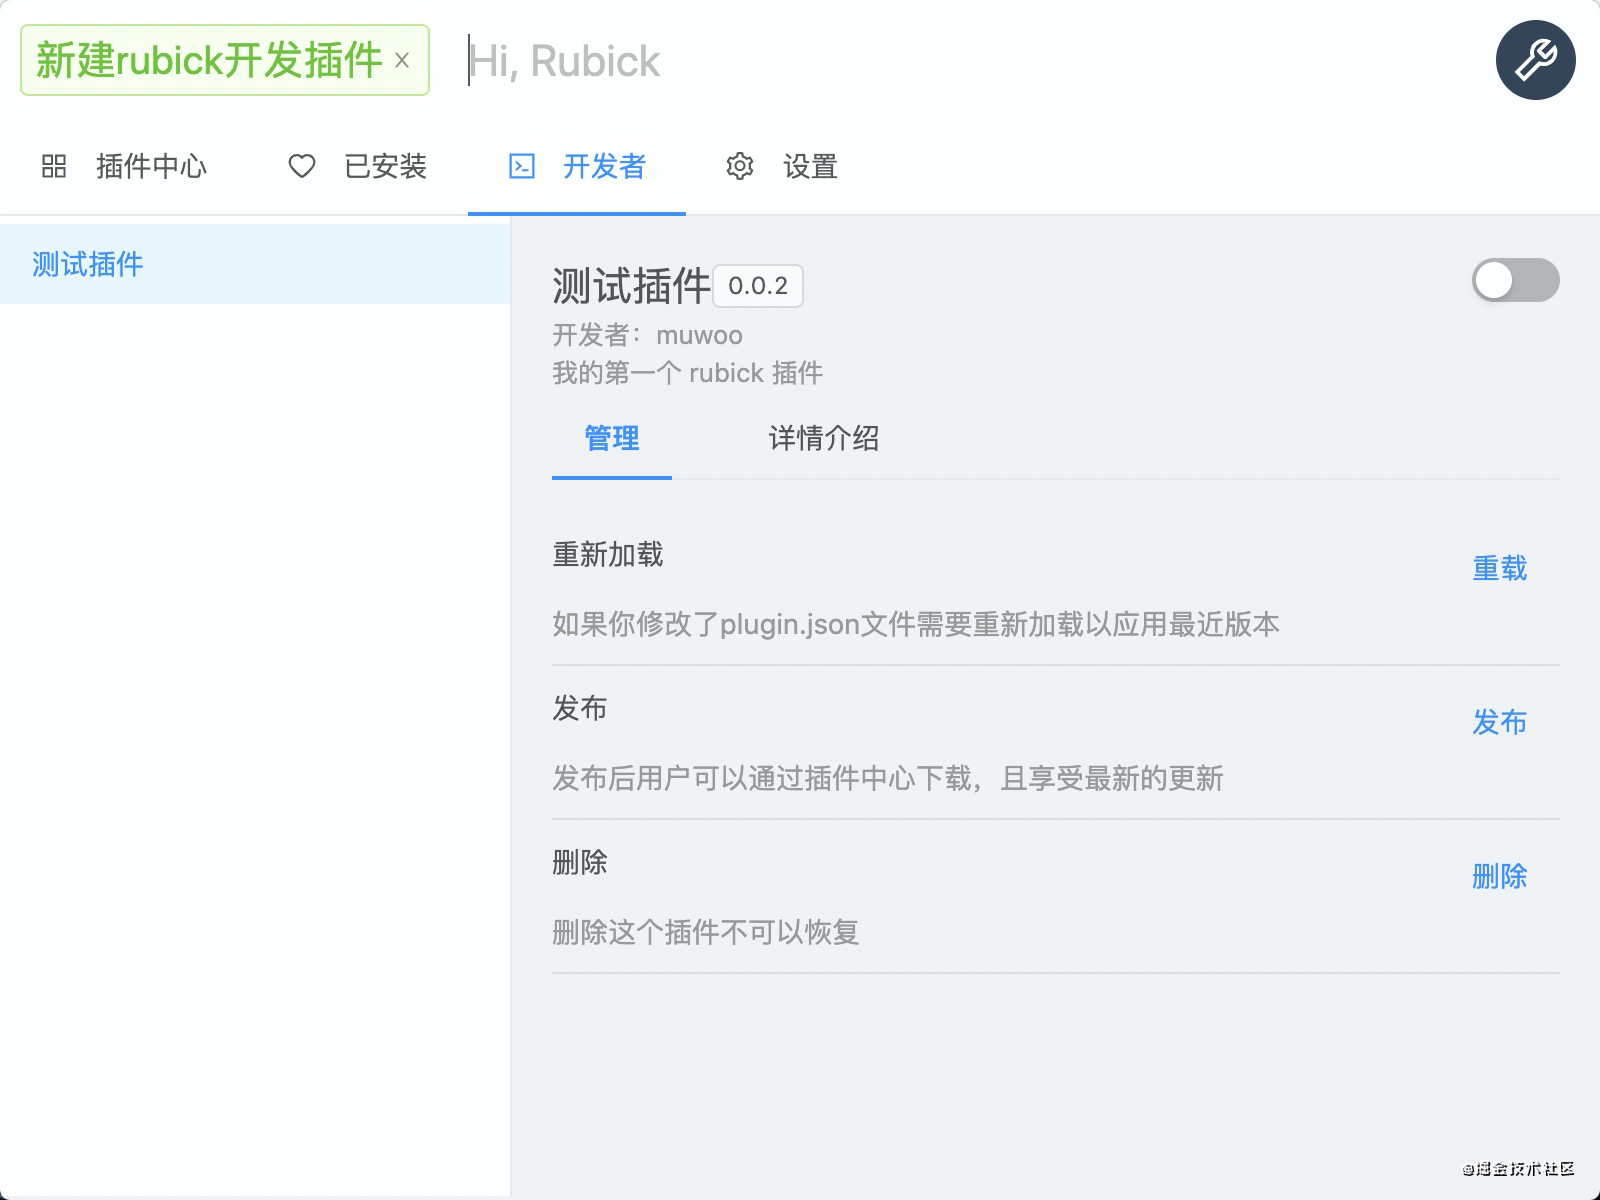
The next step is to run the written plug-in with utools, and copy the plugin according to the interaction of utools JSON to the utools search box. We can also implement:
// Monitor input change
// Read clipboard contents
const fileUrl = clipboard.read('public.file-url').replace('file://', '');
// Copy file
if (fileUrl && value === 'plugin.json') {
  // Read plugin JSON configuration
  const config = JSON.parse(fs.readFileSync(fileUrl, 'utf-8'));
  const pluginConfig = {
    ...config,
    // index.html file location for webview loading
    sourceFile: path.join(fileUrl, `../${config.main || 'index.html'}`),
    id: uuidv4(),
    type: 'dev',
    icon: 'image://' + path.join(fileUrl, `../${config.logo}`),
    subType: (() => {
      if (config.main) {
        return ''
      }
      return 'template';
    })()
  };
}
The results are as follows:
Next is the command search plug-in:

To realize this function is to traverse the features in the previously stored pluginConfig, find the corresponding cmd and display it in the drop-down box.
Then we need to implement the selection function and the ability to load pages with webview:
<template>
  <div>
    <webview id="webview" :src="path" :preload="preload"/>
  </div>
</template>
<script>
export default {
  data() {
    return {
      path: `File://${this.$route.query.sourceFile}`,
      preload: `File://${path.join(__static, './preload.js')}`,
      webview: null,
      query: this.$route.query,
      config: {}
    }
  }
}
</script>

That's it? did not!!! For space reasons, we'll talk about it later. The plug-in demo written by this has been uploaded to github: https://github.com/clouDr-f2e/rubick-plugin-demo
Far from enough
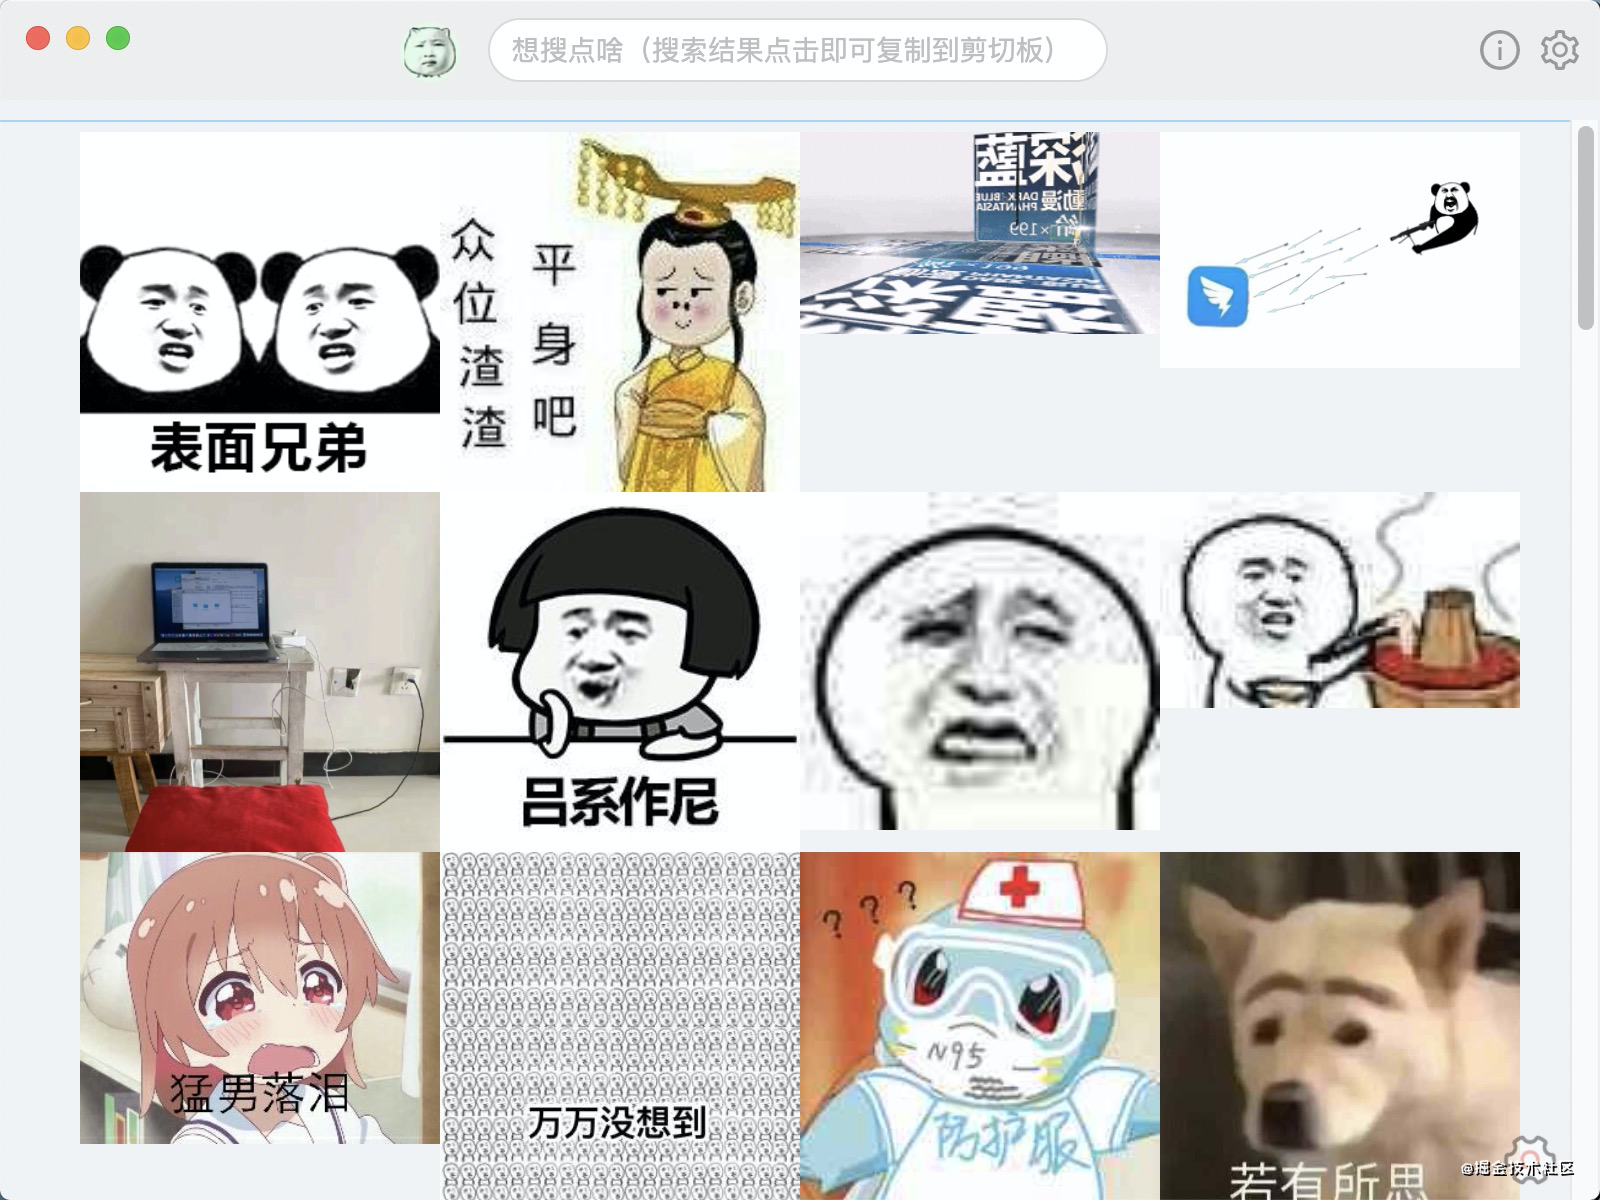
Load utools ecological plug-in
Bucket diagram: https://github.com/vst93/doutu-uToolsPlugin

Window separation
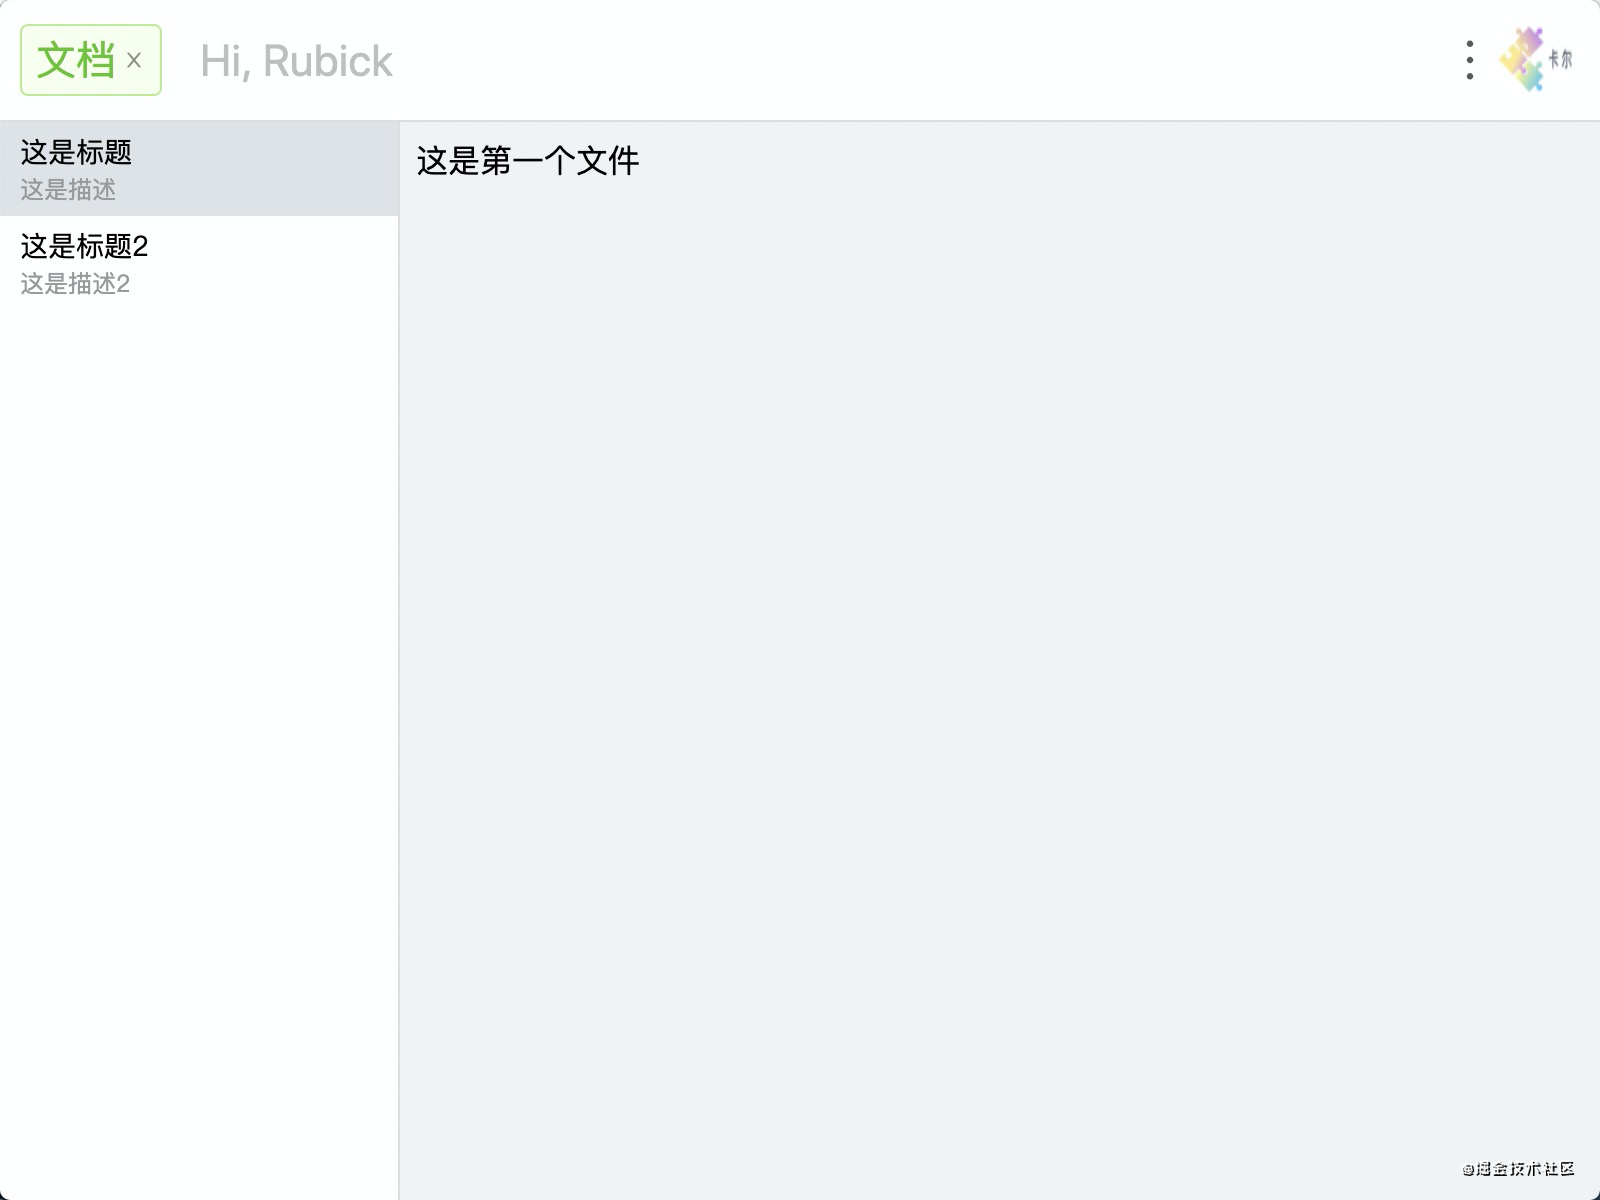
utools doc template
The plug-in development of uTools gives developers the greatest freedom. You can design page structure, style and interaction at will. There is no problem for students who are especially good at front-end development, but it is difficult for non front-end developers to make a beautiful and high-quality front-end UI.
Therefore, Rubick also realizes the template capability:
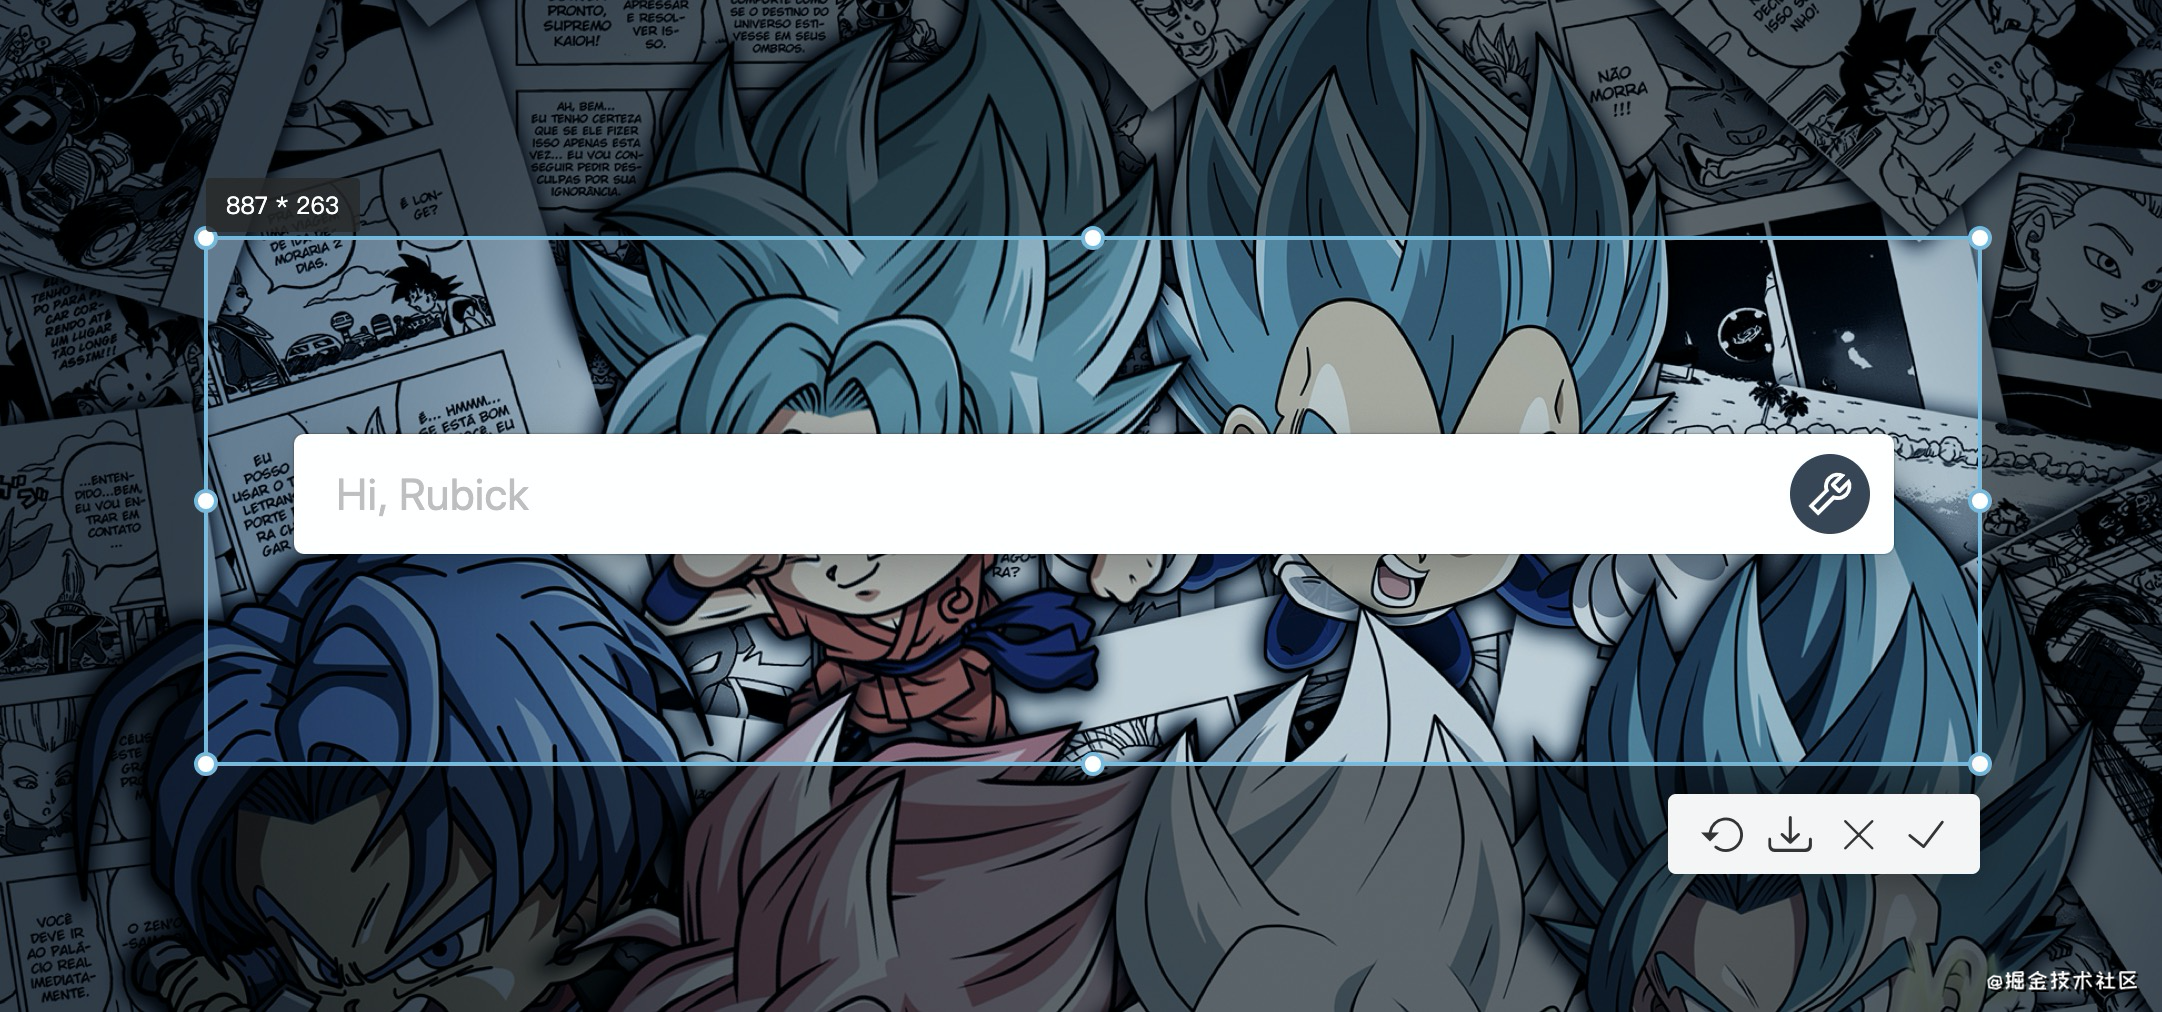
utools comes with system commands
Take color

Screenshot
last
At present, rubick has implemented most of the core capabilities of utools. The most important thing is that it can use all the ecologies of utools! More capabilities can be experienced in github. If you feel useful, you can help backhand a star ✨
Rubick github