Introduction:
Openstack is an implementation of the IAAS architecture (infrastructure as a service), and OpenStack is an implementation of the IAAS architecture by NASA (National Aeronautics and Space Administration)
A free software and open source project developed in collaboration with Rackspace and licensed under the Apache license.The following companies are participating in code submission

OpenStack is an open source cloud computing management platform project that combines several key components to accomplish specific work.OpenStack supports almost all types of cloud environments.
The goal of the project is to provide a cloud computing management platform that is simple to implement, scalable, rich and standardized.OpenStack provides infrastructure through a variety of complementary services, namely
Solutions for services (IaaS), each providing an API for integration.
Openstack is updated semi-annually with new versions. The version naming rules are first alphabetically named from A-Z, released in 2010/10/21 Austin, and now the latest stable version of Stein.
Since version G, more and more domestic users have been using it.
The basic components and functions are as follows
| Service Name | entry name | Detailed description |
| identity service | Keystone | Provide account login security authentication |
| image servicre | Glance | Provides registration and storage management of virtual images |
| placement api | placement | Responsible for recording resource usage, earlier versions integrated in nova |
| compute | Nova | Providing virtual machine computing resource pools through virtualization technology |
| networking | Neutron | Network resource management for virtual machines, that is, virtual machine networks |
Stein Edition Environment Preparation:
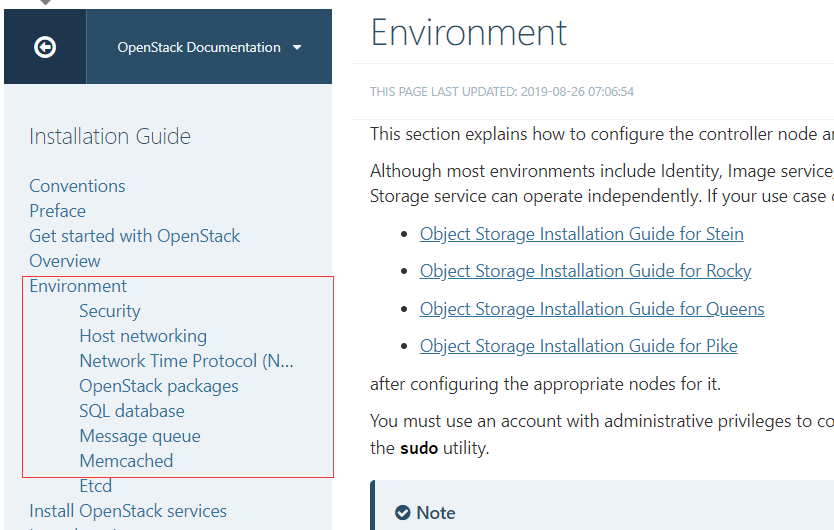
Stein version official installation documentation: https://docs.openstack.org/install-guide/
Base Environment Installation: https://docs.openstack.org/install-guide/environment.html
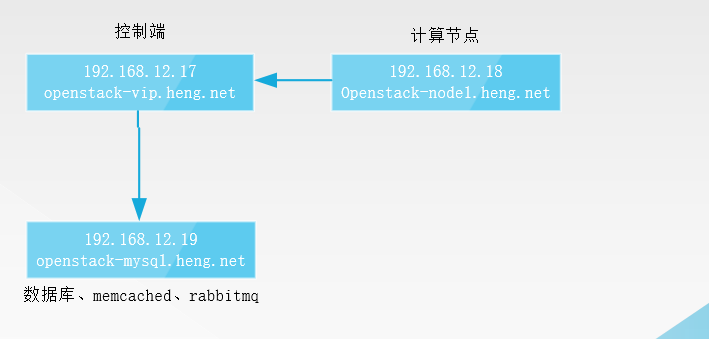
Control end: 192.168.12.17
Computing node: 192.168.12.18 (using centos7.2)
Database: 192.168.12.19
1. Modify the hosts file so that all addresses in the configuration file are domain names, making it easier to make Openstack highly available for later periods
[root@node1 ~]#cat /etc/hosts
127.0.0.1   localhost localhost.localdomain localhost4 localhost4.localdomain4
 ::1         localhost localhost.localdomain localhost6 localhost6.localdomain6
 192.168.12.17 openstack-vip.heng.net
 192.168.12.18 openstack-node1.heng.net
 192.168.12.19 openstack-mysql.heng.net
2. Modify the hostname so that all hostnames cannot be the same, especially the computing nodes
[root@controller1 ~]# hostnamectl set-hostname controller1
[root@mysql ~]# hostnamectl set-hostname mysql
[root@node1 ~]#  hostnamectl set-hostname node1
3. Set up time synchronization
[root@controller1 ~]# yum install ntpdate
[root@controller1 ~]# ntpdate time1.aliyun.com
[root@controller1 ~]# hwclock -w
[root@controller1 ~]# crontab -e
*/5 * * * * /sbin/ntpdate  172.16.0.1 && hwclock  -w
4. Close the firewall, selinux and NetworkManager
[root@controller1 ~]#systemctl disable firewalld
[root@controller1 ~]#systemctl disable NetworkManager
[root@controller1 ~]#vim /etc/sysconfig/selinux
SELINUX=disabled
5. To install the yum source of Openstack on all hosts, be sure to use this source to install related software
yum install centos-release-openstack-stein.noarch -y
6. Install Openstack client on all hosts, selinux package
yum install python-openstackclient openstack-selinux -y
7. Install Database
7.1. Install the Plug-in for python connection to the database on the control side and the database on another host
[root@controller1 ~]# yum install python2-PyMySQL

[root@mysql ~]# yum install mariadb-server
7.2 Modify mysql's configuration file
[root@mysql ~]# vi /etc/my.cnf.d/openstack.cnf
[mysqld]
bind-address = 192.168.12.19

default-storage-engine = innodb
innodb_file_per_table = on
max_connections = 4096
collation-server = utf8_general_ci
character-set-server = utf8
7.3, Set to Start Up and Start Up
[root@mysql ~]# systemctl start mariadb
[root@mysql ~]# systemctl enable mariadb
7.4. Security initialization.It's important to set a password to delete anonymous accounts
[root@mysql ~]# mysql_secure_installation
8. Install rabbitmq and mysql on the same server
yum install rabbitmq-server
systemctl enable rabbitmq-server.service
systemctl start rabbitmq-server.service
8.1, Set up an openstack account password 123
rabbitmqctl add_user openstack 123

8, 2 Give the openstack user read and write permissions:
rabbitmqctl set_permissions openstack ".*" ".*" ".*"
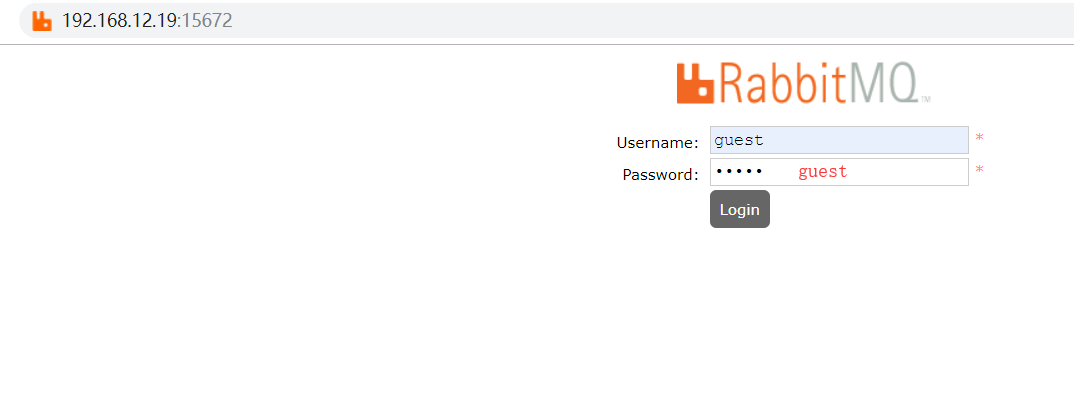
8.3. Open the web interface of rabbitmq
rabbitmq-plugins enable rabbitmq_management
8.4. Access web interface testing
9. Install memcached
9.1. Control side installs python connection memcached plug-in
yum install python-memcached
9.2. Install memcached on mysql server
yum install memcached
vi /etc/sysconfig/memcached
OPTIONS="-l 0.0.0.0,::1" #Modify listening address
9.3, Set to Start, Start and Start
systemctl enable memcached.service
systemctl start memcached.service