Introduction to DevStack
Devstack Ubuntu 14.04 and entOS 7 are currently supported, but most OpenStack developers around the world are using Ubuntu 14.04. So in order to reduce the trouble, it is recommended that you use Ubuntu 14.04.
By default, both Devstack and OpenStack are installed using Master's code, which often happens. Today's installation is successful, tomorrow's failure, and the code is changing all the time. So we need to specify not only the version of OpenStack, but also the version of Devstack to provide the probability of successful installation.
Installation of DevStack
1. Environmental preparation
The operating system I use is Ubuntu version 14.04. The default package source is foreign and the speed is relatively slow. So we modify the file / etc/apt/sources.list to the following content.
deb http://cn.archive.ubuntu.com/ubuntu/ trusty main restricted universe multiverse
deb http://cn.archive.ubuntu.com/ubuntu/ trusty-security main restricted universe multiverse
deb http://cn.archive.ubuntu.com/ubuntu/ trusty-updates main restricted universe multiverse
deb http://cn.archive.ubuntu.com/ubuntu/ trusty-proposed main restricted universe multiverse
deb http://cn.archive.ubuntu.com/ubuntu/ trusty-backports main restricted universe multiverse
Update it.
apt-get update
2. Download devstack
One of the painful reasons for installing devstack is that OpenStack code needs to be downloaded from github. Because of the network, it often leads to various errors, which make people crash and make all kinds of errors. At present, China has provided a complete mirror of OpenStack's github: http://git.trystack.cn, so the probability of success of Devstack will be greatly improved.
In addition, devstack downloads images, and the download process is very slow. trystack also provides common image downloads: http://images.trystack.cn.
There are currently three stable versions of the official github. We have Ocata installed here.
apt-get install git
git clone http://git.trystack.cn/openstack-dev/devstack.git -b stable/ocata
3. Create stack users
Currently, Devstack scripts do not support running directly as root. You need to create stack user runs.
cd devstack/tools/
./create-stack-user.sh
Modify the devstack directory permissions to allow stack users to run.
cd ..
mv devstack /opt/stack
chown -R stack:stack /opt/stack/devstack
4. Configuring pip source
Many components of OpenStack need to be downloaded from pip source. By default, they are foreign sources. We need to set them as domestic sources so that they can be quickly configured. They are all configured under the add directory of root and stack.
First, create the. PIP directory under the home directory, and then create the file pip.conf under the directory, as follows:
#cat .pip/pip.conf
[global]
trusted-host =  pypi.douban.com
index-url = http://pypi.douban.com/simple
5. Configuration files
su - stack
cd devstack
cp samples/local.conf .
Simple modifications to the file local.conf are as follows:
stack@ubuntu:~/devstack$ egrep -v "^#|^$" local.conf
[[local|localrc]]
ADMIN_PASSWORD=secret
DATABASE_PASSWORD=$ADMIN_PASSWORD
RABBIT_PASSWORD=$ADMIN_PASSWORD
SERVICE_PASSWORD=$ADMIN_PASSWORD
LOGFILE=$DEST/logs/stack.sh.log
LOGDAYS=2
SWIFT_HASH=66a3d6b56c1f479c8b4e70ab5c2000f5
SWIFT_REPLICAS=1
SWIFT_DATA_DIR=$DEST/data

# use TryStack git mirror
GIT_BASE=http://git.trystack.cn
NOVNC_REPO=http://git.trystack.cn/kanaka/noVNC.git
SPICE_REPO=http://git.trystack.cn/git/spice/spice-html5.git
6, installation
Many errors may occur in the middle of the way, mostly because of network reasons, just repeat the command.
./stack.sh
Three, validation
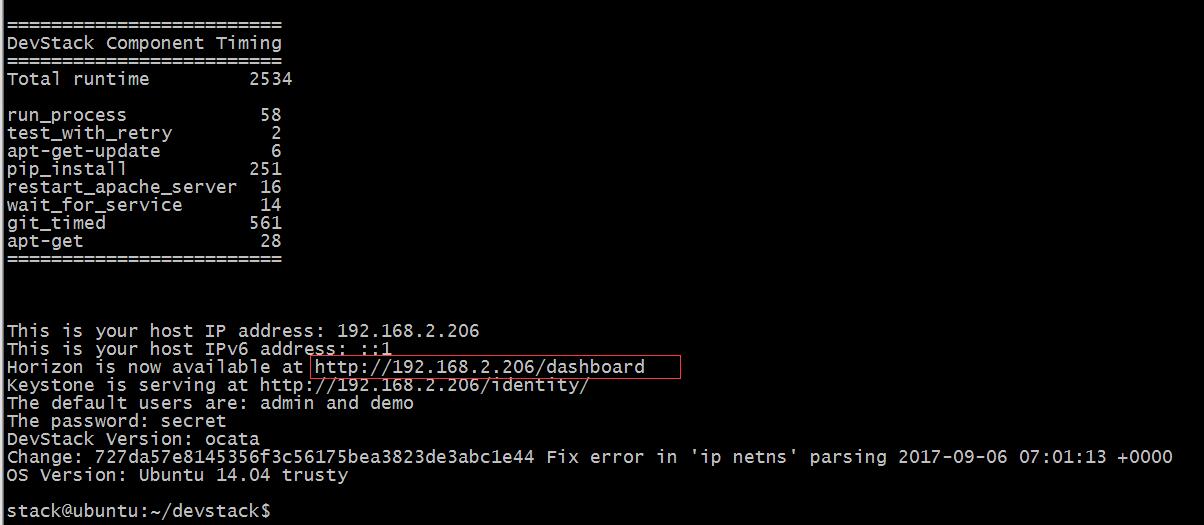
After a long wait, according to the state of the network, about an hour, the following interface can be installed.
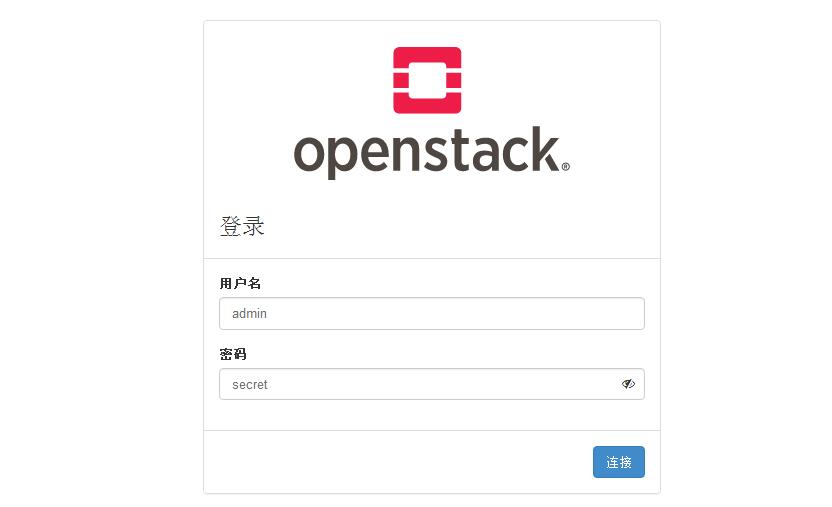
Then we check the login.
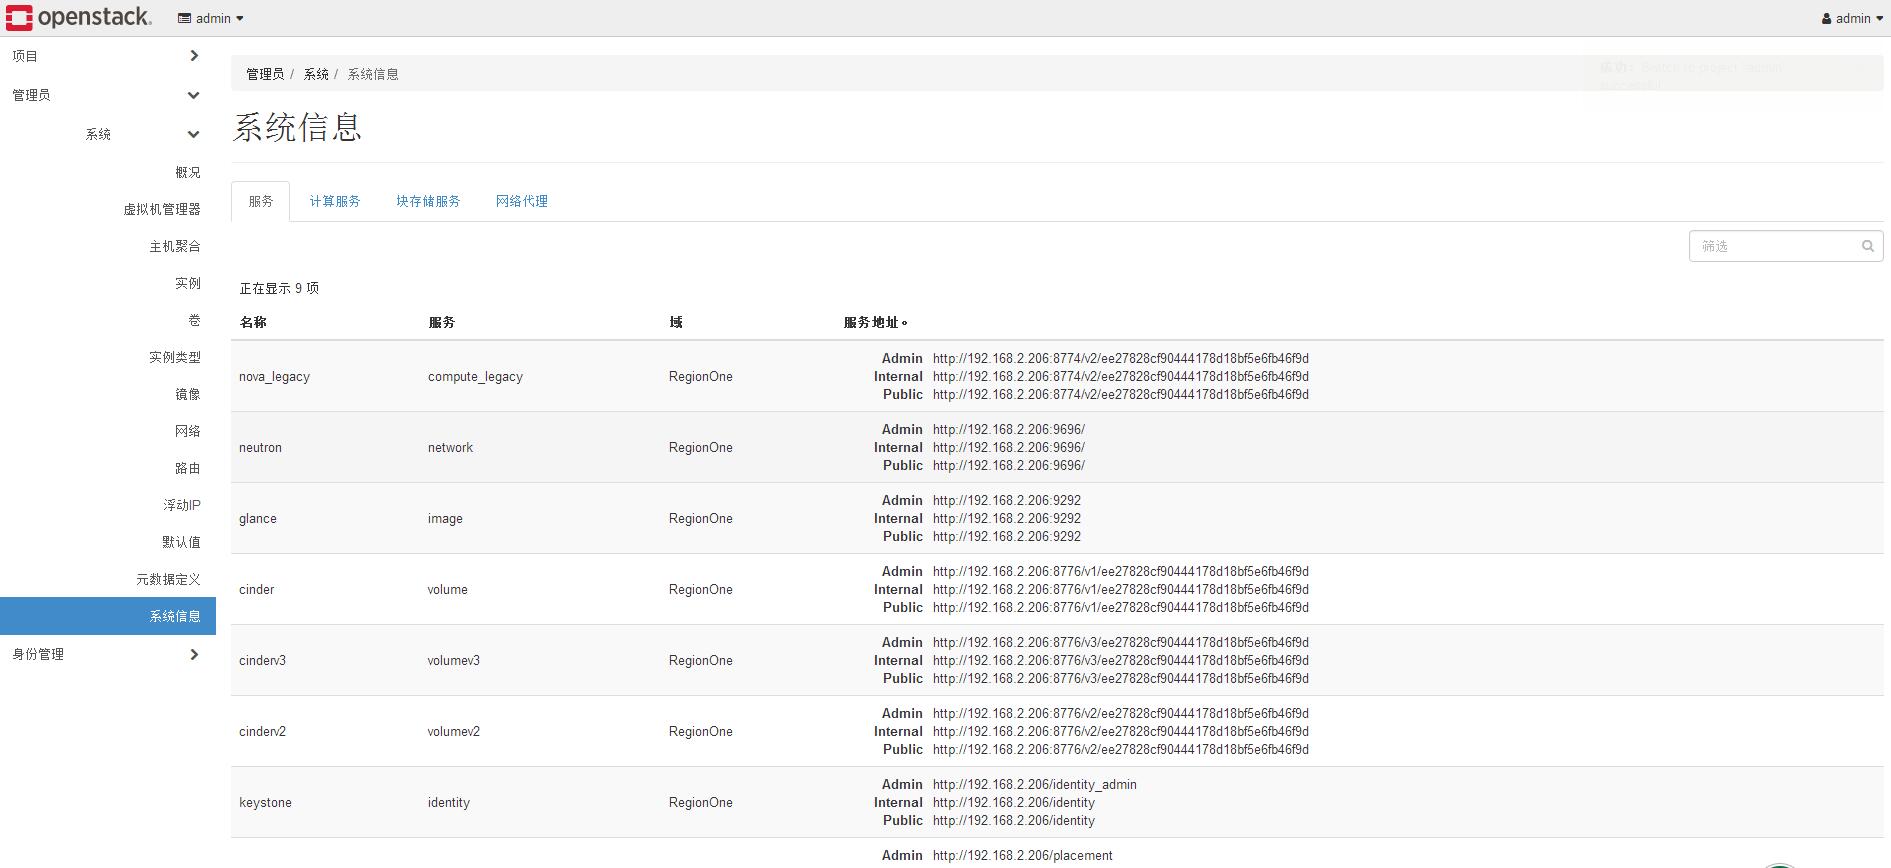
You can see that the login is successful and the services are running normally.


