1. Install the flash third-party library
pip3 install Flask
2. Create a flash application

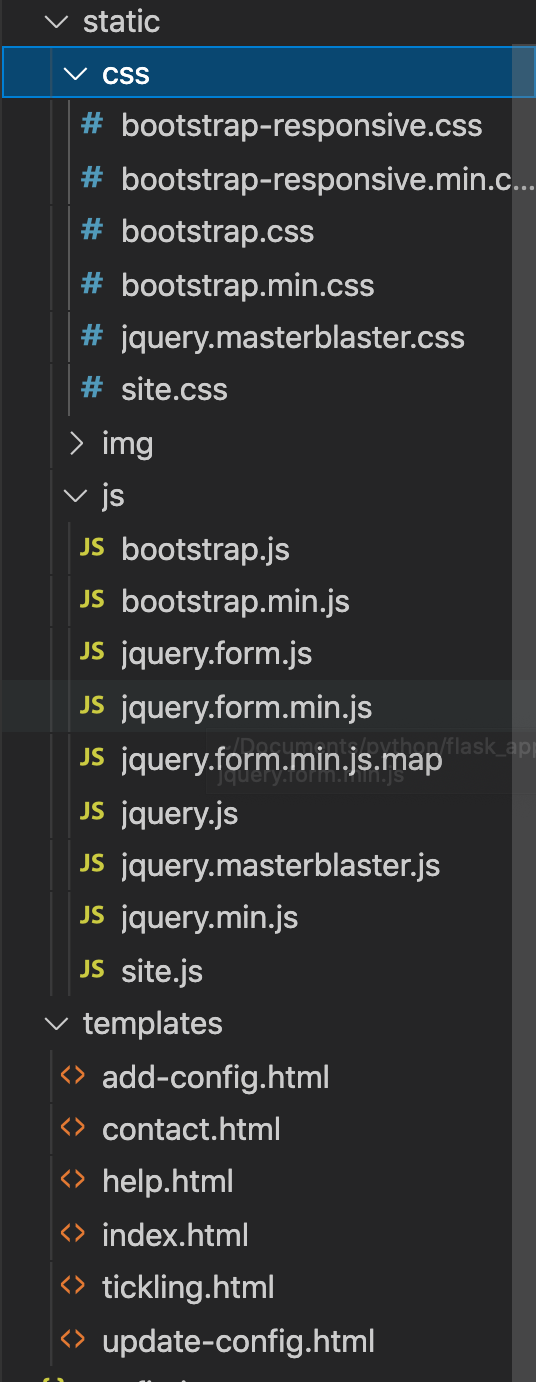
The project structure is shown in the figure above. Static is used to place static files, such as js files, css files and pictures. templates folder is used to place template files, namely html files.
Import the flash third-party library in the project and use @ app Route() statement can set the route jump. The following statement is the method that the flash server will execute when receiving the path access. The method name is optional and can not be the same as the path name, but there must be a return value. The return value can be html statement or html file. The browser receives the return value and displays it on the client, so as to realize the most basic network access.
Execution procedure:
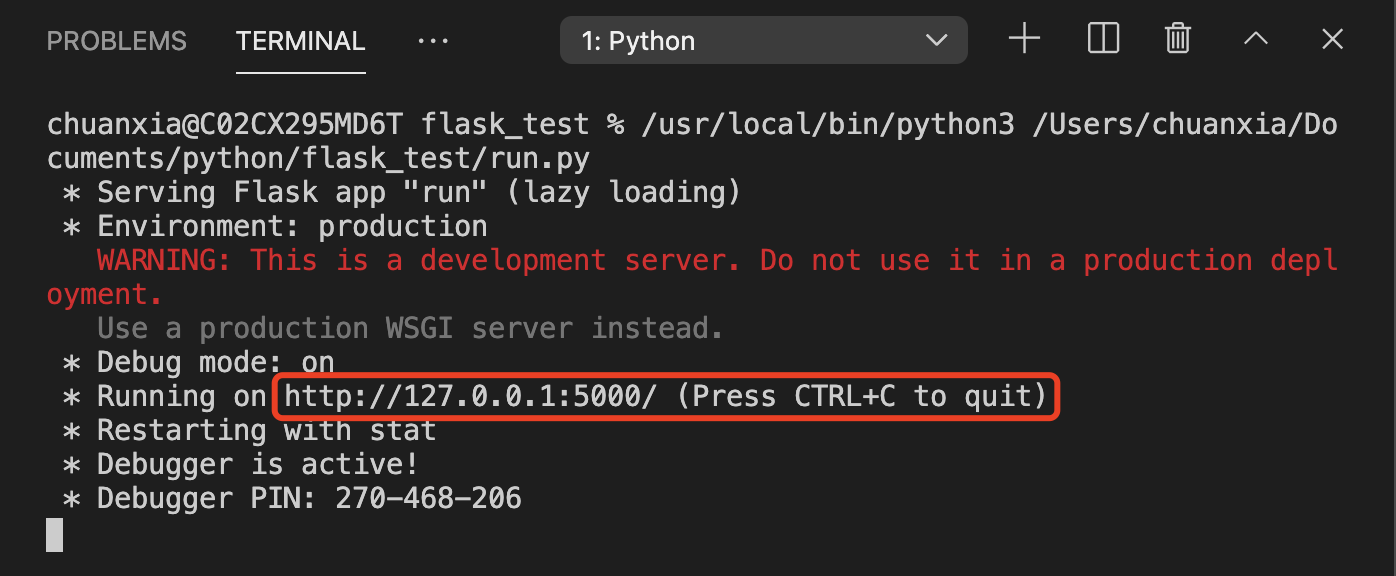
Then open the browser and visit the prompt website, namely 127.0.0.1:5000/hello
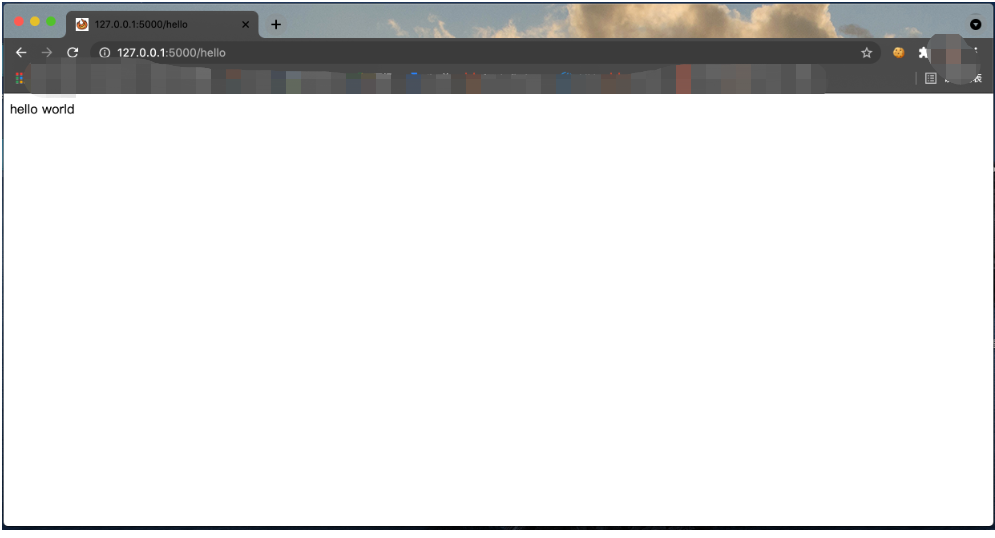
That is to achieve the simplest basic website.
If you need to return a web page, you can create the required html web page in templates and then run Py file. The return format is:
return render_template('index.html')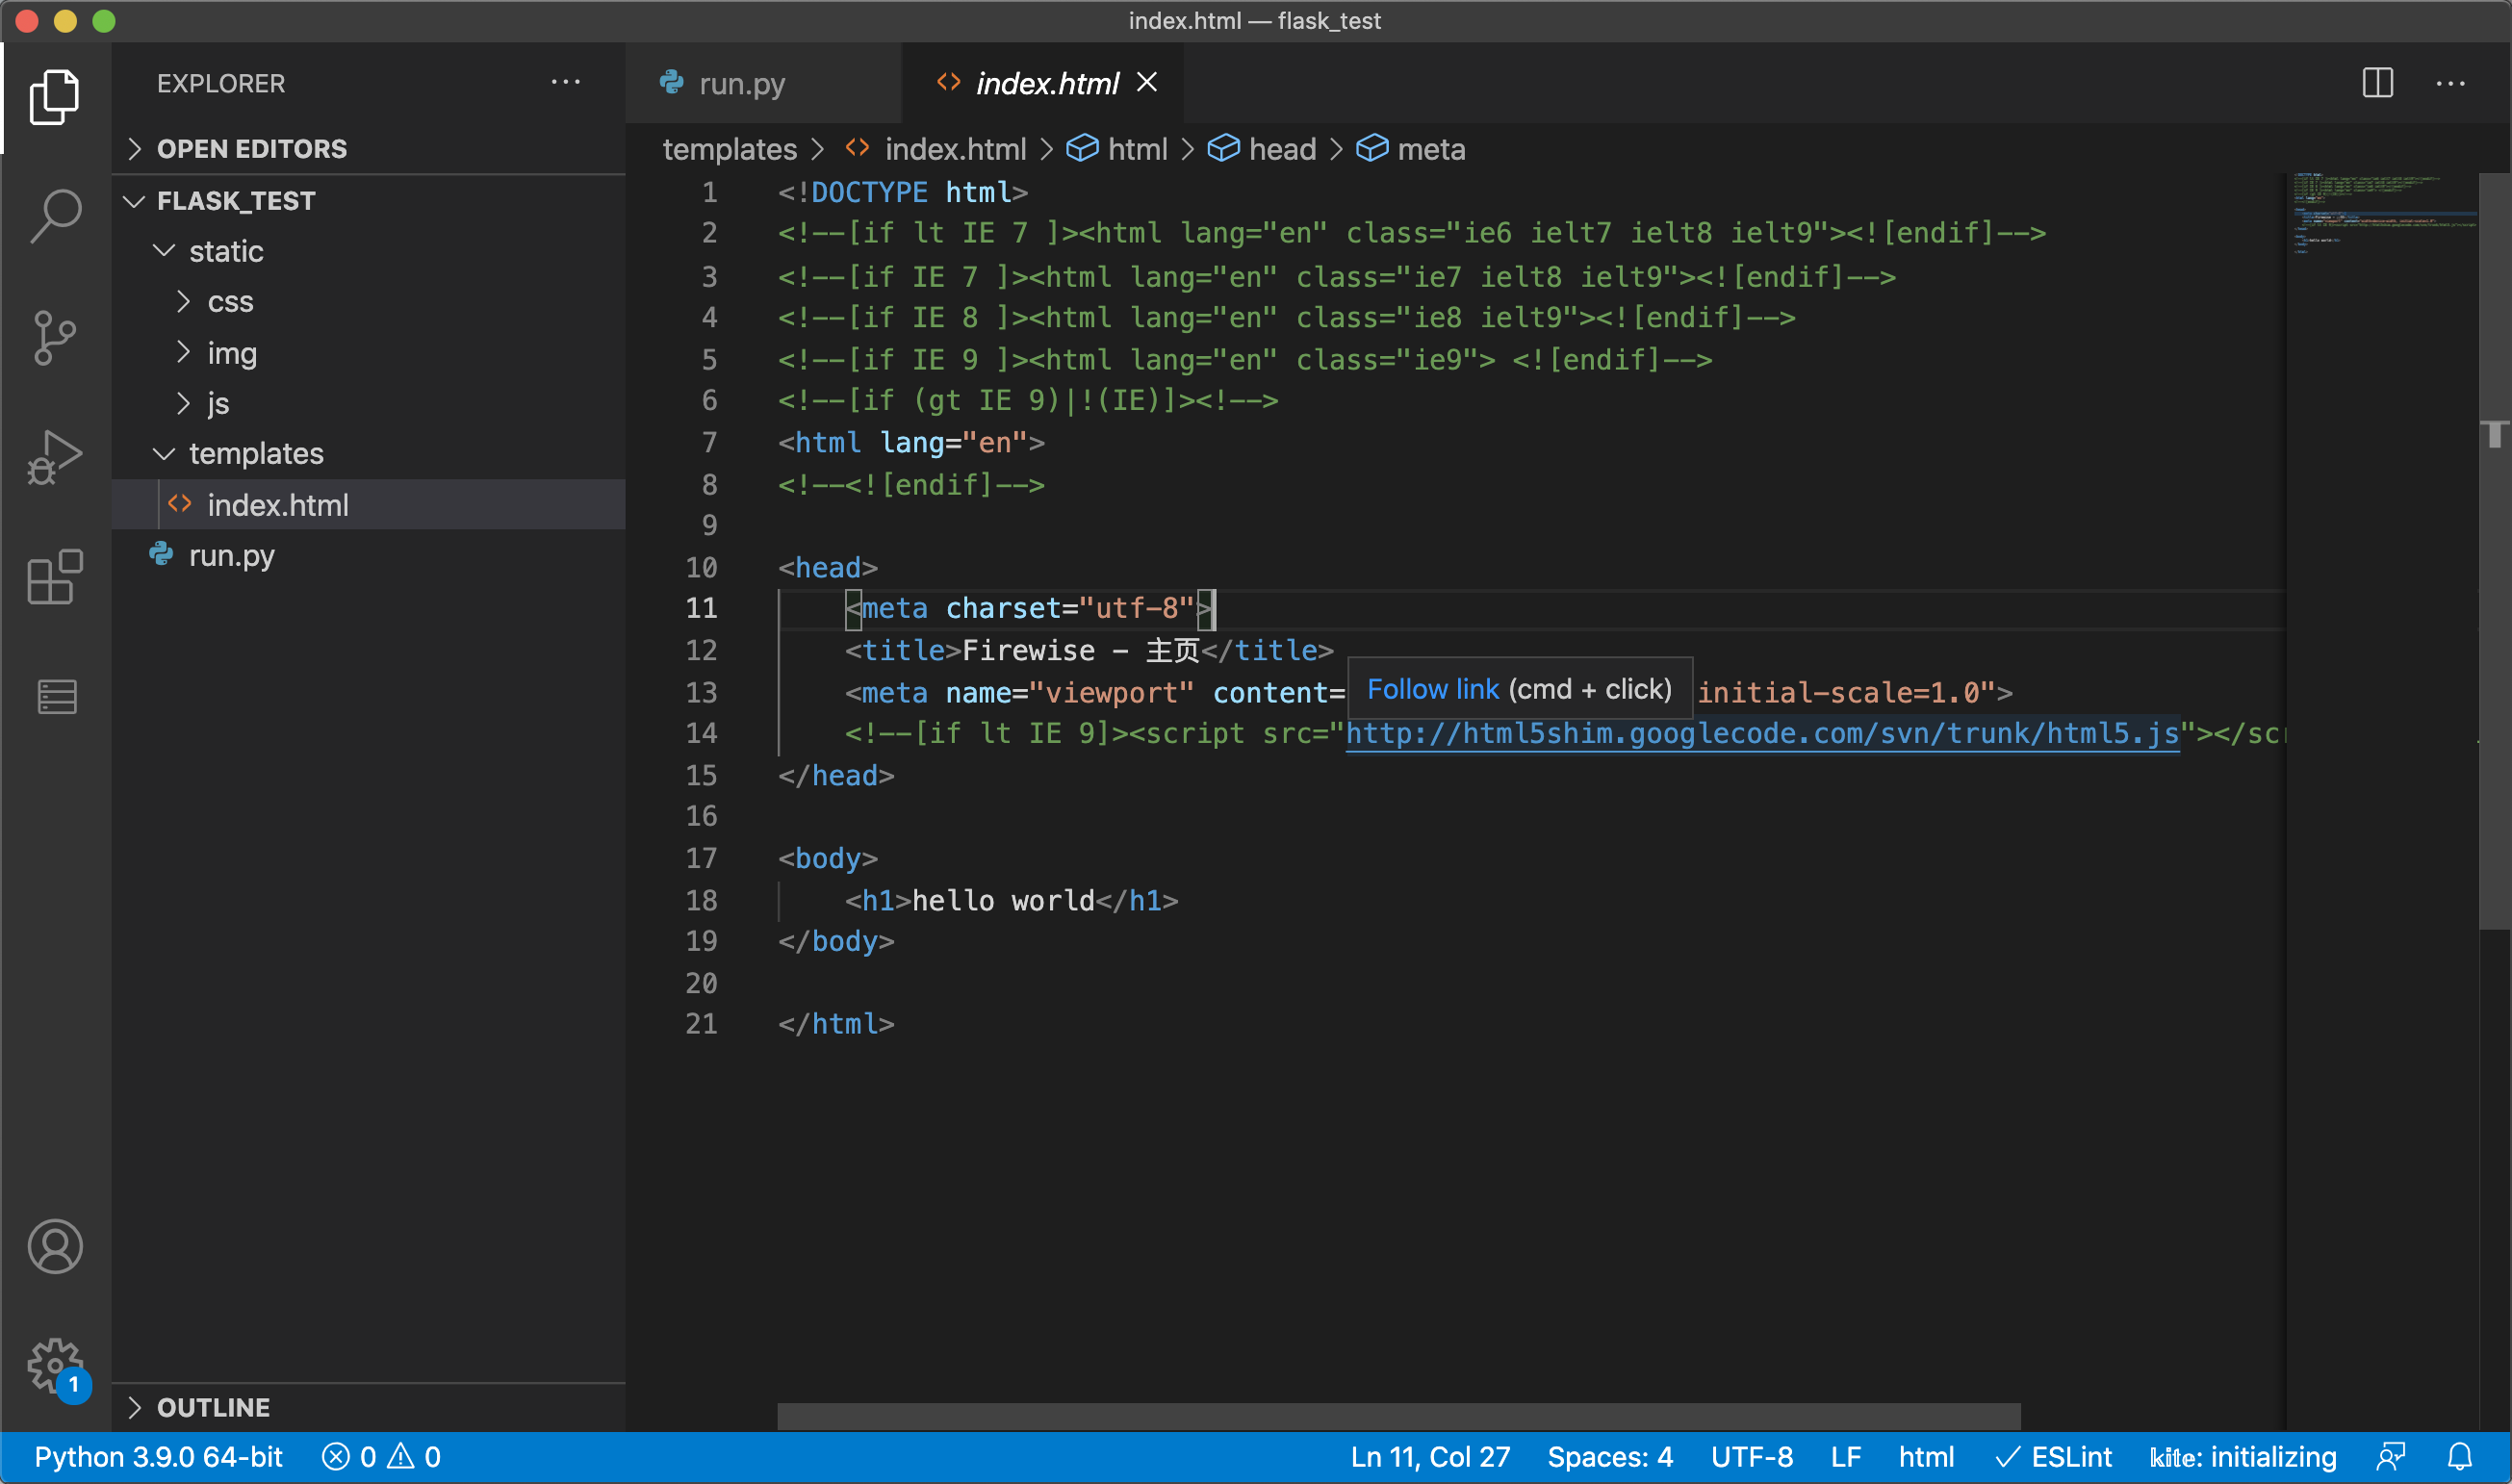
Save the code and then access the original address.
If the following exception occurs:
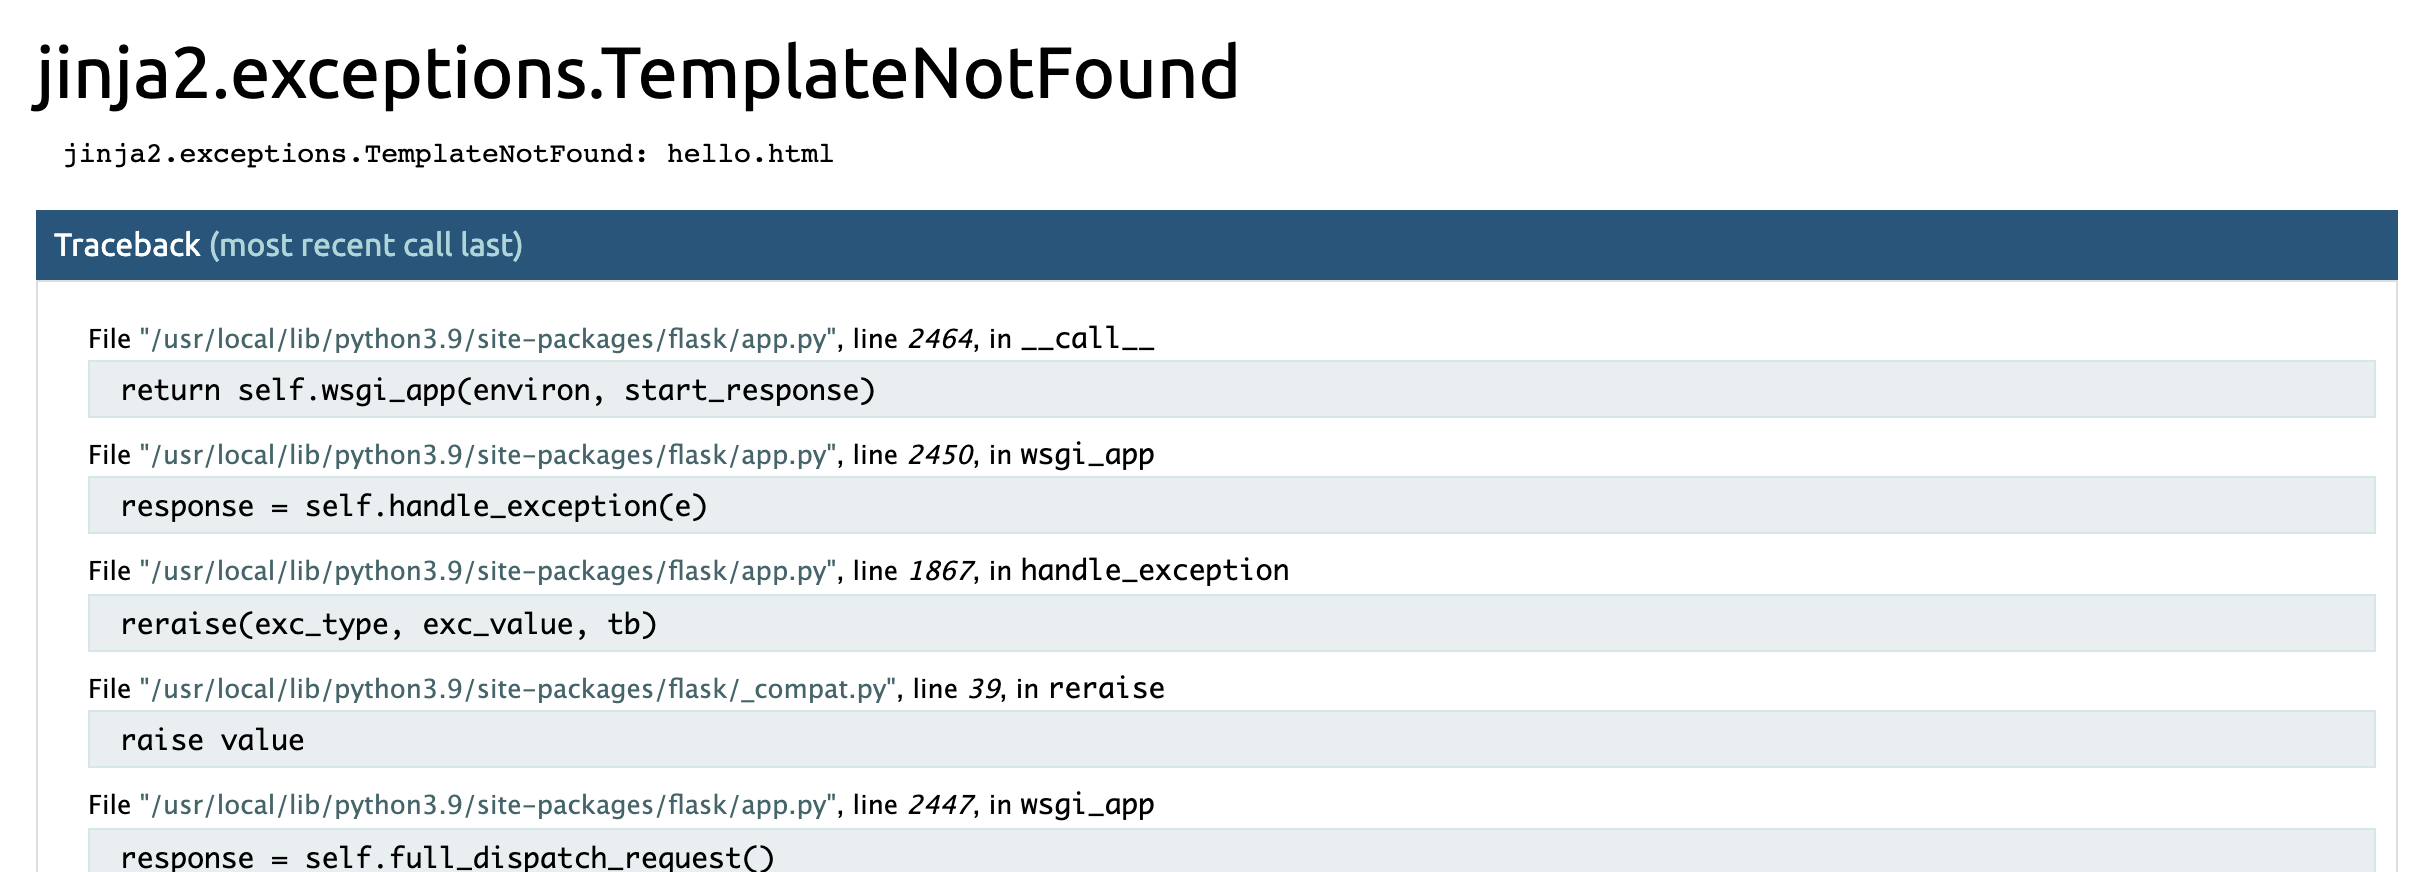
Indicates that the location of the template file cannot be found and needs to be set at the beginning
app = Flask(__name__,template_folder='templates/')
3. Find a satisfactory HTML template, download it, import it into the project, and modify it. This is much easier and more beautiful than writing it step by step.
For example, template website: https://www.webmoban.net/
Import after downloading, put css files into / static/css folder, js files into / static/js folder, and all html files into / templates file
The website can be optimized after sorting, but the way of importing js and css files into html files needs to be modified:
Previous css import format:
<link href="css/bootstrap.min.css" rel="stylesheet">
<link href="css/bootstrap-responsive.min.css" rel="stylesheet">
<link href="css/site.css" rel="stylesheet">
Modified format:
<link href="{{url_for('static',filename='/css/bootstrap.min.css')}}" rel="stylesheet">
<link href="{{url_for('static',filename='/css/bootstrap-responsive.min.css')}}" rel="stylesheet">
<link href="{{url_for('static',filename='/css/site.css')}}" rel="stylesheet">
You also need to modify the js import format:
<script src="{{url_for('static',filename='/js/jquery.min.js')}}"></script>
<script src="{{url_for('static',filename='/js/bootstrap.min.js')}}"></script>
<script src="{{url_for('static',filename='/js/site.js')}}"></script>
In this way, both js files and css files can be introduced smoothly.
jinja2 template introduction and parameter usage
In Flask, call render_. Template to render the template, using render_template, just import this API, from flash import render_template
jinja2 is a template system developed by the author of Flask. At first, it is a template engine imitating django template. It provides template support for Flask. It is widely used because of its flexibility, speed and security.

Templates are just text files. It can generate any text-based format (html, xml, CSV, LaTex, and so on). It has no specific extension html or xml is OK.
A template contains variables or expressions that are replaced with values when the template is evaluated. There are labels in the template to control the logic of the template.
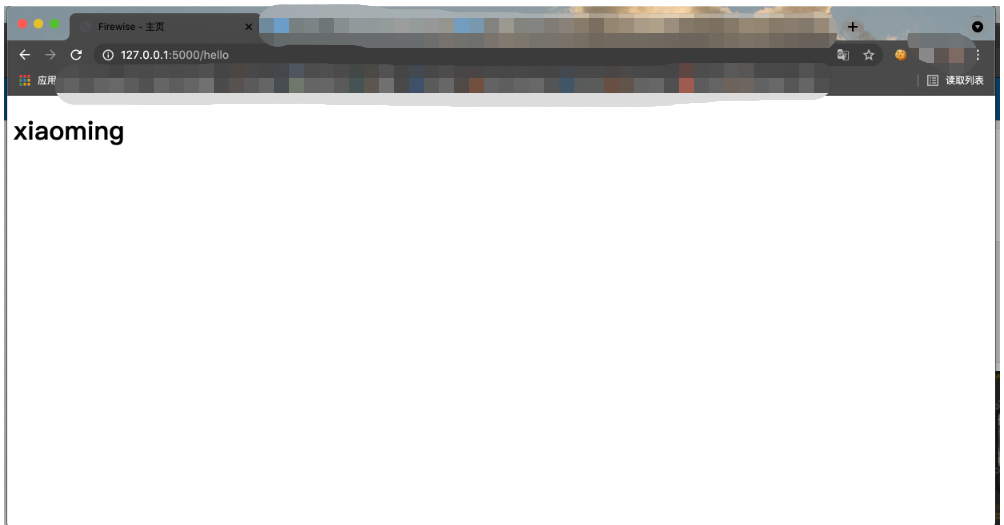
For example, return a value in a function.
@app.route('/hello')
def hello():
    name = "xiaoming"
    return render_template('index.html',name=name)
Note that the double parentheses are used in the html file and the double parentheses are used in the template
<body>
    <h1>{{name}}</h1>
</body>
Open the browser and access the address
Similarly, you can transfer more complex data structures such as arrays to html pages. In jinja2 template, you can also use for statement to cycle or if statement to make logical judgment.
python
@app.route('/hello')
def hello():
    num_list = [1,2,3,4,5,6,7,8,9]
    return render_template('index.html',num_list=num_list)
html
<h1>
    {% for num in num_list %}
        {% if num == 5 %}
        Do not show
        {% else %}
        {{ num }}
        {% endif %}
    {% endfor %}
</h1>
Then visit the browser address
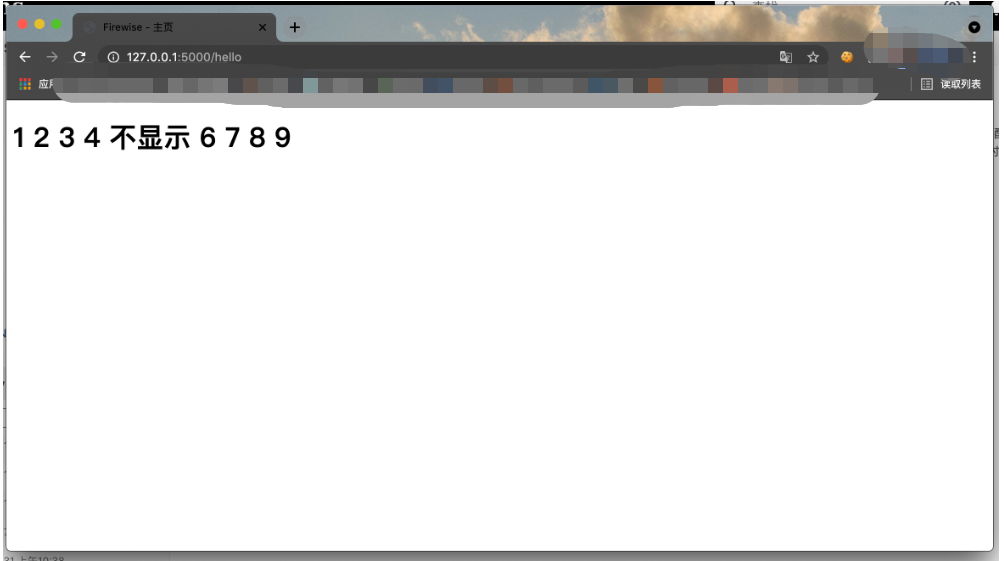
Note: the passed data is wrapped in double brackets, but if you use if or for logical statements, you need to wrap it with {%%} single brackets plus a percent sign. And you need to end with {% endif%} or {% endfor%}.
Import and export module
Because there may be many duplicate codes in html files, we can extract the duplicate codes and import and export them as modules.
First, determine a file and write some modules in the file for other html files to call, such as template manager html file
Then define the module and wrap it with macro statement
{% macro header(title) %}
<meta charset="utf-8"> {% block head %}
<link rel="shortcut icon" href="{{ url_for('static', filename='img/favicon.ico') }}" type="image/x-icon"> {% endblock %}
<title>{{title}}</title>
<meta name="viewport" content="width=device-width, initial-scale=1.0">
<script src="{{url_for('static',filename='/js/jquery.js')}}"></script>
<script src="{{url_for('static',filename='/js/jquery.masterblaster.js')}}"></script>
<link href="{{url_for('static',filename='/css/bootstrap.min.css')}}" rel="stylesheet">
<link href="{{url_for('static',filename='/css/bootstrap-responsive.min.css')}}" rel="stylesheet">
<link href="{{url_for('static',filename='/css/jquery.masterblaster.css')}}" rel="stylesheet">
<link href="{{url_for('static',filename='/css/site.css')}}" rel="stylesheet">
<!--[if lt IE 9]><script src="http://html5shim.googlecode.com/svn/trunk/html5.js"></script><![endif]-->
{% endmacro %}
Then introduce the file where necessary and use the module
It must be imported before use. Each file only needs to be imported once.
{% import 'template-manager.html' as template %}After import, it can be used like calling a function.
{{ template.header('Firewise - homepage') }}Note: when {%%} is used for wrapping during import, double brackets are used for wrapping just like calling variables, and parameters can be passed.
Set multiple URL s to correspond to a view function
Just go to @ app Adding another route to route can make multiple URL addresses correspond to a view function, such as:
@app.route("/",methods=['POST','GET','PUT'])
@app.route("/ios/search",methods=['POST','GET','PUT'])
def search_crash_ios() :
In this way, both access 127.0.0.1:5000 and access 127.0.0.1:5000/ios/search point to search_crash_ios this method.
Receive ajax request and return response
There are two main ways of network request in HTML, one is to initiate the request through form form and the other is to initiate the request through ajax.
Use the form to make a request as follows:
<form action="/ios/search" method='POST'>
  <input name="detail" value="detail"></input>
</form>
Request receiving method of Flask server:
@app.route("/ios/search",methods=['POST','GET','PUT'])
def search_crash_ios() :
  # Get request data
  detail = request.form['detail']
  response = ""
  # Return response data
  return render_template('index.html',response=response)
The request using ajax is as follows:
$.ajax({
    type: 'post',
    cache: false,
    dataType: 'json',
    data: { crash_id: crash_id, crash_remark: detail },
    url: "/update/remark",
    timeout: 3000,
    success: function(data) {
        alert("Modified successfully!")
        location.reload();
    }
})
Request receiving method of Flask server:
@app.route("/update/remark",methods=['POST','GET','PUT'])
def update_crash_remark_content() :
  # Get request data
  crash_id = request.form.get('crash_id')
  crash_remark = request.form.get('crash_remark')
  response = ""
  # Return response data
  return jsonify({'success':True,'response':response}), 200, {'ContentType':'application/json'}
Note: to return ajax, you need to import jsonify, and to receive data from html, you need to import request, i.e
from flask import Flask,render_template,request,jsonify,current_app
Set Web page icon
First, put the icon to be set into the static/img folder and name it favicon ICO, of course, can also take other names
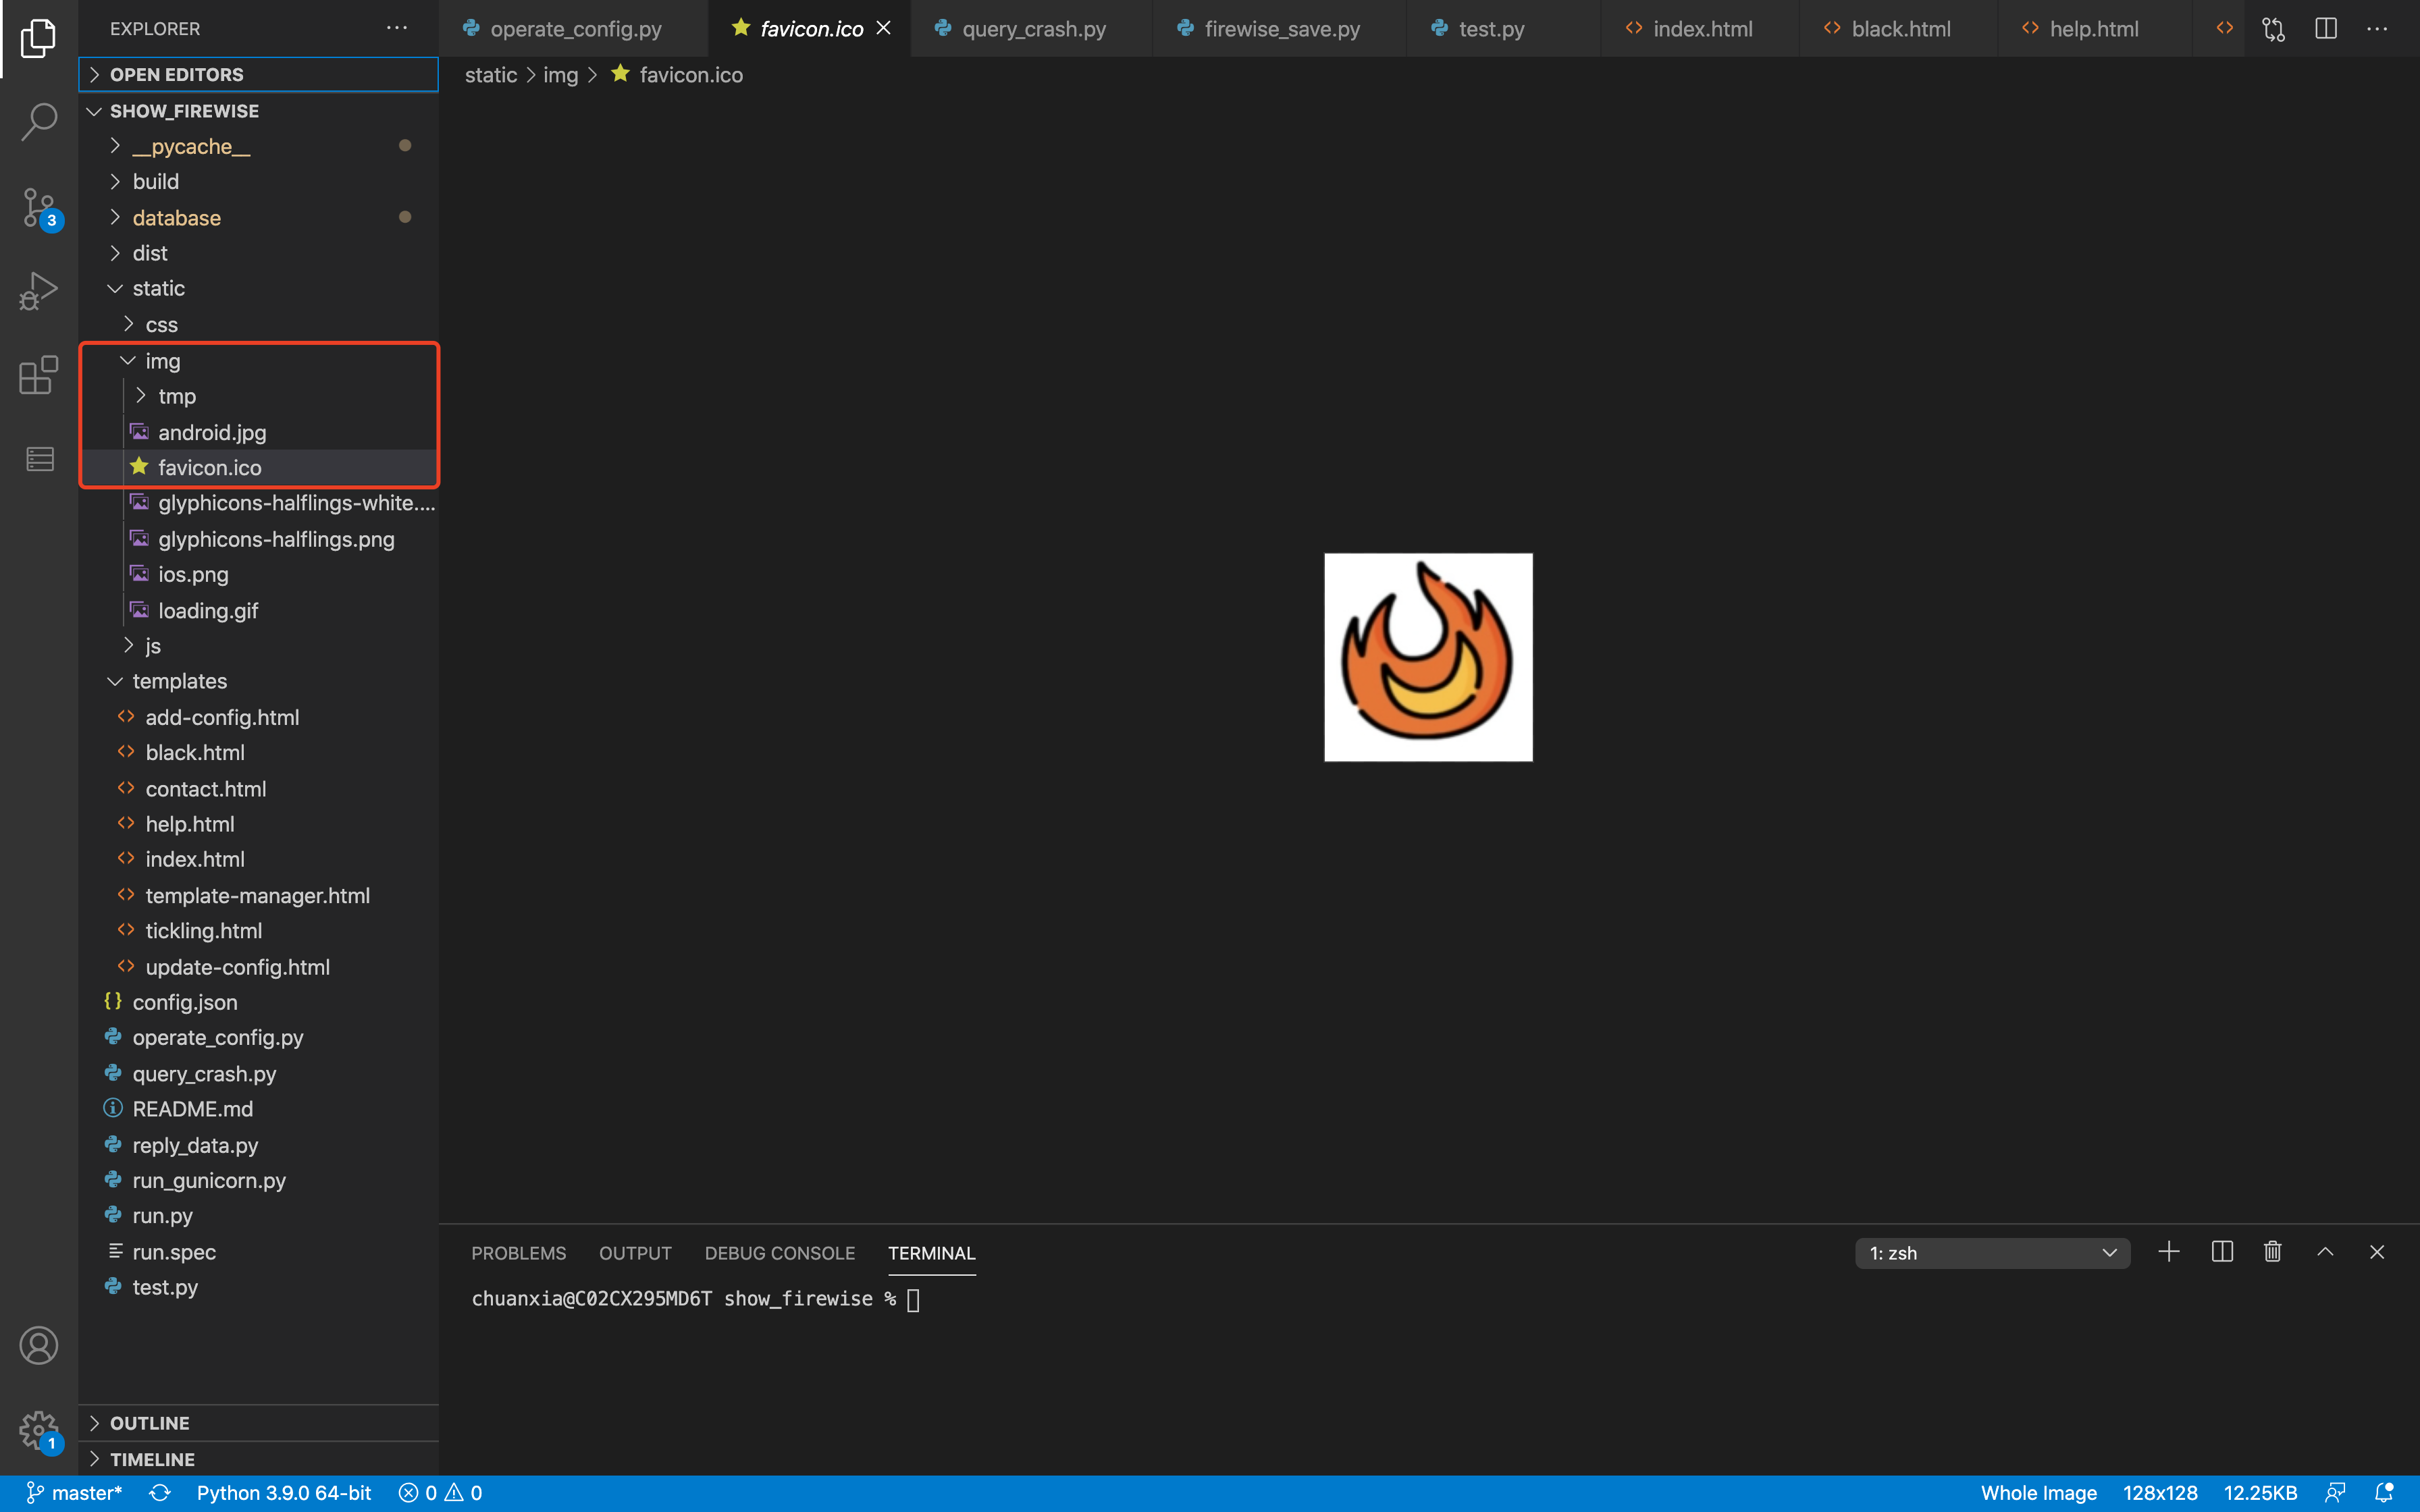
Then run Add the following methods to the PY file:
@app.route('/favicon.ico')
def favicon():
    return current_app.send_static_file('img/favicon.ico')
Then add a statement in the header of all html files:
{% block head %}
<link rel="shortcut icon" href="{{ url_for('static', filename='img/favicon.ico') }}" type="image/x-icon">
{% endblock %}
Save and refresh the page.

Gunicorn installation and deployment of Flask project
Gunicorn is a high-performance Python WSGI UNIX HTTP Server widely used on unix. It is compatible with most web frameworks, and has the characteristics of simple implementation, lightweight and high performance.
You can use Gunicorn+Flask to deploy at the remote end, Nginx+Flask to deploy, or gunicorn + Nginx+Flask to deploy together.
The specific differences are as follows:
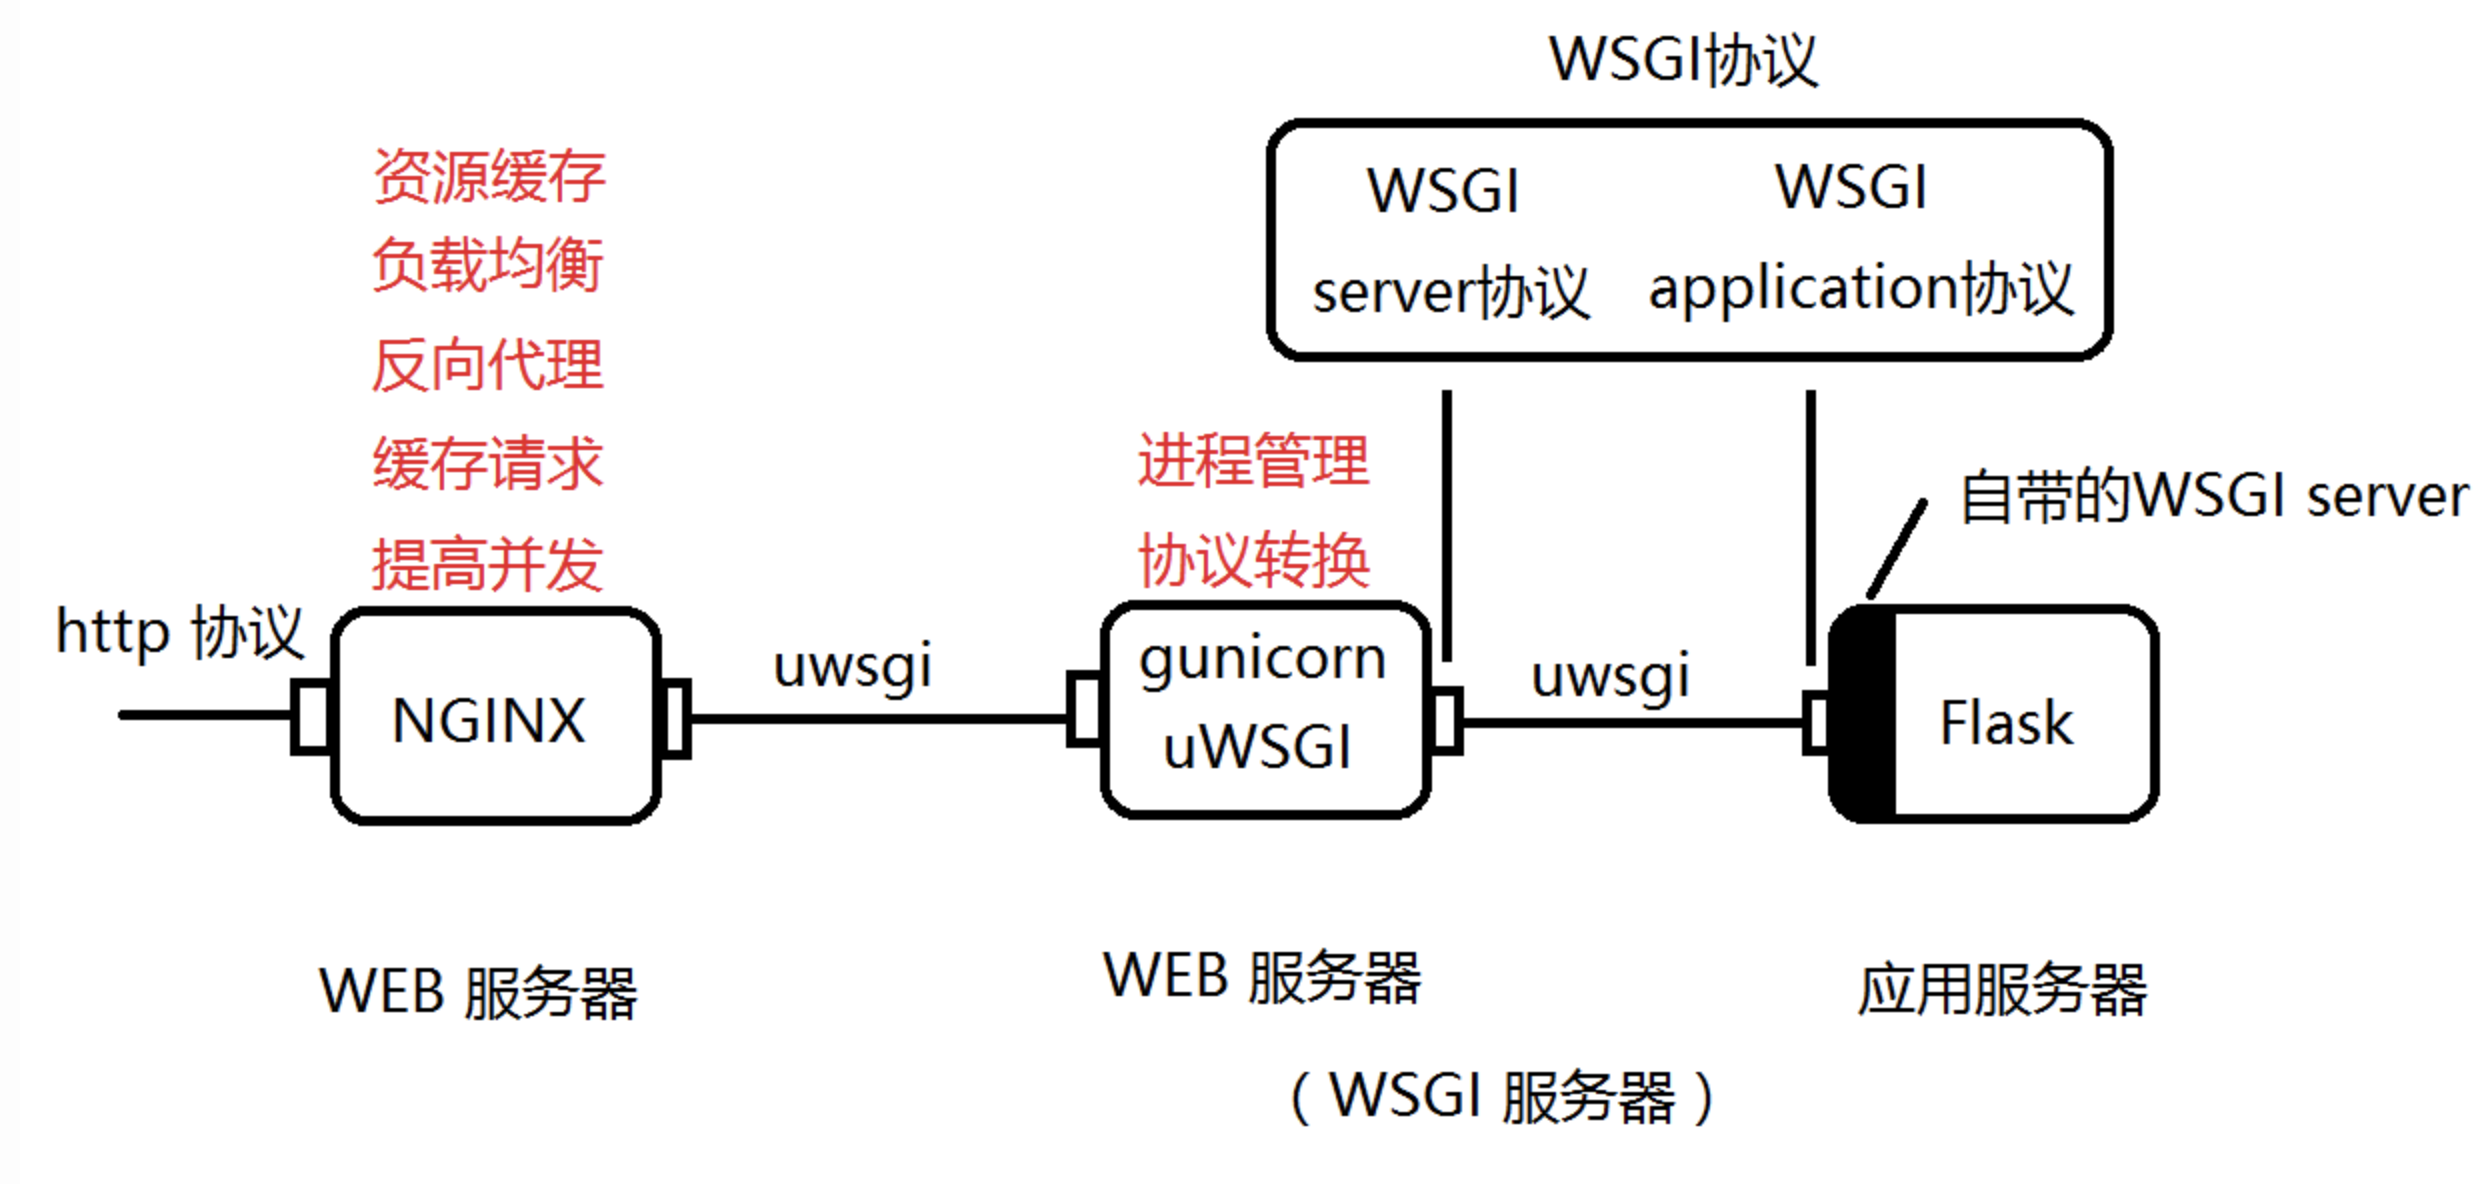
For simplicity and low system throughput, gunicorn is temporarily used for deployment.
Gunicorn installation
pip3 install gunicorn
Then switch to the root directory of the flash project and execute the following command:
gunicorn -w 2 -b 0.0.0.0:8050 run:main
Where - w 2 means to start two threads, - b 0.0.0.0:8050 means to listen to the local 8050 port, and run:main means to execute run in the Flask project Py file.
If you want to switch to the background for execution, add a - D, that is:
gunicorn -w 2 -b 0.0.0.0:8050 run:main -D
The listening port is 8050, so you need to open the 8050 port of the server. The specific commands are as follows:
sudo firewall-cmd --permanent --add-port=8580/tcp
sudo firewall-cmd --reload
Terminate Gunicorn
First, view the process and display the main process id
pstree -ap | grep gunicorn
|-gunicorn,17301 /usr/bin/gunicorn -w 4 app:app --daemon
|-gunicorn,17310 /usr/bin/gunicorn -w 4 app:app --daemon
|-gunicorn,17319 /usr/bin/gunicorn -w 4 app:app --daemon
|-gunicorn,17322 /usr/bin/gunicorn -w 4 app:app --daemon
Find the top process id and kill it
kill -9 Found pid # This is 17301
If the run prompt fails:
[24890] [ERROR] Connection in use: ('0.0.0.0', 8050)
Check the occupancy:
netstat -tulpn
Just kill the process occupying the port.
If after installing gunicorn, use the gunicorn command to display that the command cannot be found, i.e
Prompt command not found
You can set the following run_ Copy the gunicorn script to run Py in the same directory:
#-*- coding: utf-8 -*-

import re
import sys

from gunicorn.app.wsgiapp import run


if __name__ == '__main__':
    sys.argv[0] = re.sub(r'(-script\.pyw|\.exe)?$','',sys.argv[0])
    sys.exit(run())
Then use this method to call Gunicorn under the root directory of the Flask project
python3 run_gunicorn.py -w 4 -b 0.0.0.0:8050 run:main -D
Then access the remote address.