Reference from https://www.pyimagesearch.com/2017/04/03/facial-landmarks-dlib-opencv-python/
If you want to learn more, you can pay attention to the article of Mr. Wu Ke.
This article does not cover the training section on face detection (although I will send related articles later as I learn more), it is just a simple wheel.
Today we will use dlib and opencv for face detection and labeling
First install opencv and dlib methods
pip install dlib
pip install opencv-python
This program also uses imutils for resize pictures as follows
pip install imutils
The trained file for face detection and labeling in Dlib is available for download at http://dlib.net/files/shape_predictor_68_face_landmarks.dat.bz2 (if included in the routine downloaded from the reference web page)
The trained file recognizes 68 key points of a face and labels them (fewer key points are sure to cause recognition errors)
How to run this program: If.py and shape_predictor_68_face_landmarks.dat are in the same directory as the pictures to be detected, enter them in the current directory console
python my_facial_landmarks.py -p shape_predictor_68_face_landmarks.dat -i guanhai.jpg
Or by using Photo Recognition, enter
python my_facial_landmarks.py -p shape_predictor_68_face_landmarks.dat
Complete the photo by pressing q in the picture box
The labeled photos will be displayed later
For example, enter the following picture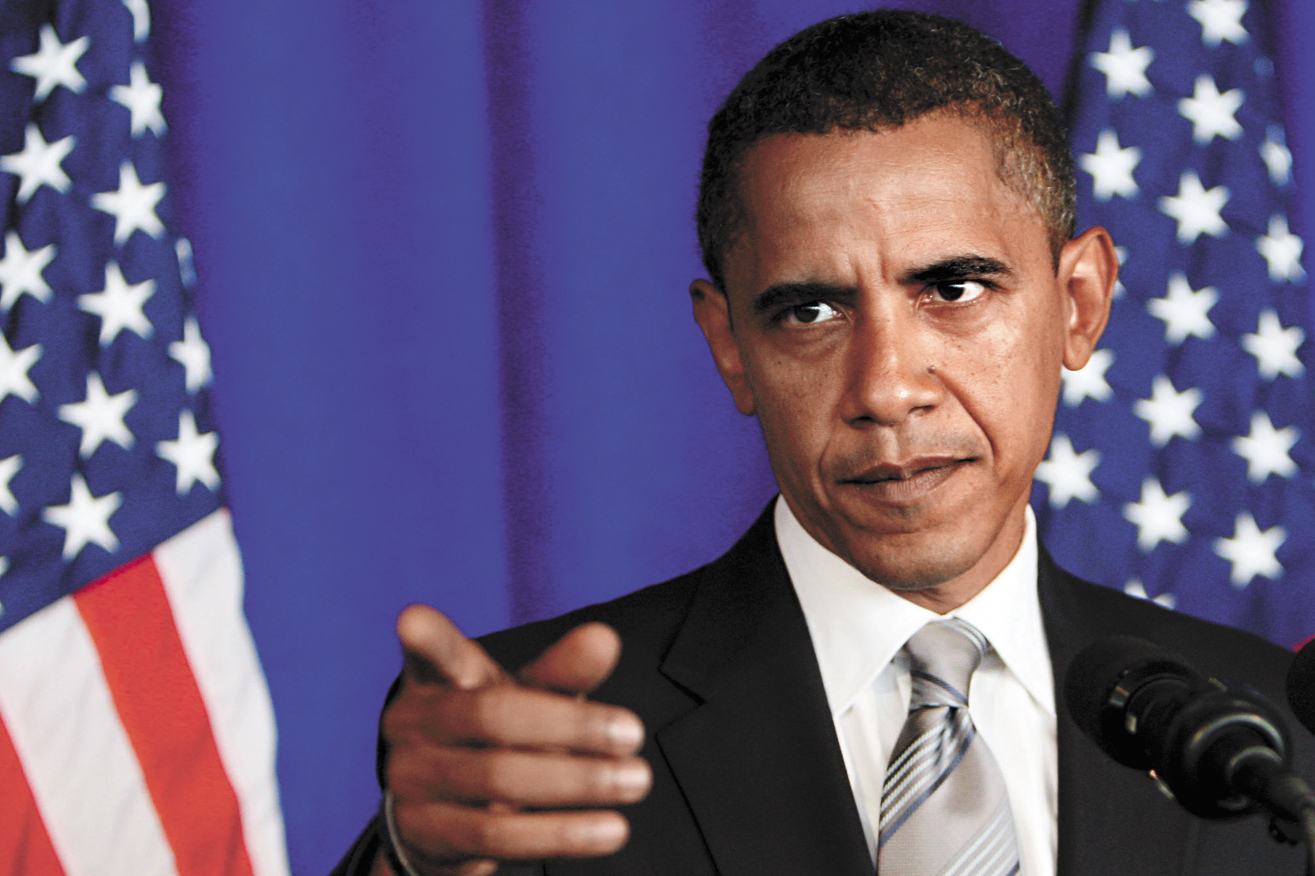 Run Screenshot
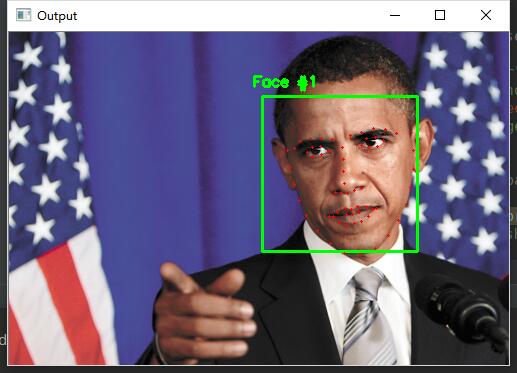
Take a picture and recognize it. You can try it yourself
The code is my_facial_landmarks.py
from imutils import face_utils
import argparse
import imutils
import dlib
import cv2


def takephoto():
    cap = cv2.VideoCapture(0)
    while (1):
        # get a frame
        ret, frame = cap.read()
        # show a frame
        cv2.imshow("capture", frame)
        if cv2.waitKey(1) & 0xFF == ord('q'):#Press q Key to complete photography
            # cv2.imwrite("./test0.jpg", frame) Save the photo, but we don't need it here
            return frame#Back to Picture
    cap.release()
    cv2.destroyAllWindows()


def main():
    # construct the argument parser and parse the arguments Use argparse Set the arguments required for input
    ap = argparse.ArgumentParser()
    ap.add_argument("-p", "--shape-predictor", required=True, #Trained file about detection
                    help="path to facial landmark predictor")
    ap.add_argument("-i", "--image", required=False,          #picture
                    help="path to input image")
    args = vars(ap.parse_args())

    # initialize dlib's face detector (HOG-based) and then create
    # the facial landmark predictor
    #Initialization dlib Face Detection (Based on) HOG),Then create a face marker predictor
    detector = dlib.get_frontal_face_detector()
    predictor = dlib.shape_predictor(args["shape_predictor"])

    # load the input image, resize it, and convert it to grayscale
    if args['image'] != '0':
        image = cv2.imread(args['image'])#Enter picture arguments to read in pictures
    else:
        image = takephoto()#Camera if not entered

    image = imutils.resize(image, width=500)  # Adjust picture width to 500
    gray = cv2.cvtColor(image, cv2.COLOR_BGR2GRAY)#Gray picture

    # detect faces in the grayscale image Detecting Faces in Grayscale Images
    rects = detector(gray, 1)

    # loop over the face detections Loop face detection
    for (i, rect) in enumerate(rects):
        # determine the facial landmarks for the face region, then
        # convert the facial landmark (x, y)-coordinates to a NumPy
        # array
        # Determine the facial marker for the facial area, and then apply the facial marker ( x,y)Coordinate conversion NumPy array
        shape = predictor(gray, rect)
        shape = face_utils.shape_to_np(shape)

        # convert dlib's rectangle to a OpenCV-style bounding box
        # [i.e., (x, y, w, h)], then draw the face bounding box
        #take dlib Convert Rectangle to OpenCV Style bounding box[That is ( x,y,w,h)],Then draw the bounding box
        (x, y, w, h) = face_utils.rect_to_bb(rect)
        cv2.rectangle(image, (x, y), (x + w, y + h), (0, 255, 0), 2)

        # show the face number Marker for face serial number (multiple identifiable)
        cv2.putText(image, "Face #{}".format(i + 1), (x - 10, y - 10),
                    cv2.FONT_HERSHEY_SIMPLEX, 0.5, (0, 255, 0), 2)

        # loop over the (x, y)-coordinates for the facial landmarks
        # and draw them on the image
        #Circulating facial landmarks ( x,y)Coordinates and draw them on the image
        for (x, y) in shape:
            cv2.circle(image, (x, y), 1, (0, 0, 255), -1)

    # show the output image with the face detections + facial landmarks
    #Display output image with face detection + facial markers
    cv2.imshow("Output", image)
    cv2.waitKey(0)


if __name__ == '__main__':
    main()