catalogue
I. change the properties in class objects
II. Hard coding into object-oriented mode
2.2. Complete the pinball game with the small ball as the object
2.2. 1. Explanation of three methods
I. change the properties in class objects
Once the instance and object of the "class" are created, you can easily set the properties in the object in the main code, such as the code of yesterday's employee directory.

If the class can check the value before assigning a value to the attribute, it will be more practical. In this way, the class can ensure that it sends valid data, which can make the class and instance more accurate and reliable.
The following is an example of a Myclass class, which has only one attribute - the numeric variable "num". Via "_init_" Method, we create a "num" attribute, pass parameters to it when creating an instance, and then use "@ property" and "@ num.setter" to create methods activated when the code obtains and sets the "num" value.
#2 value taking method, assignment method, logic

class Myclass:
    def __init__(self,num_passed):

        self.num = num_passed#Set the num attribute and its value


    @property #Method called whenever the program gets the value of "num"
    def num(self):
        print("Getting number...")
        return self.__num

    @num.setter  #Method called whenever the program sets the num value
    def num(self,num_passed):
        print("Setting number...")
        if num_passed > 1000:
            print("Rounding to 1000")

            self.__num = 1000 #Private variable, used inside the class
        else:
            self.__num = num_passed

x = Myclass(123)
print(x.num)

x.num = 9000
print(x.num)
The first three lines of code provide the attribute "num" for the object instantiated in each class. However, whenever "num" gets a new value (including "_init_"), Will call the method under "@ num.setter"

We can introduce some logic into this method, modify the value if necessary, and then apply it to "num". There is a judgment condition in this program. Its logic is to round off if the passed value is greater than 1000. Also, we set "self. _num" (with two underscores) instead of "self.num"? This is because setting "num" in the assignment method will cause an infinite loop, and the assignment method will always be called! Therefore, we will use a private variable with two underscores. Those underscores indicate that this variable should only be used inside the class and cannot be accessed from other places.
II. Hard coding into object-oriented mode
Another way to improve program modularity and reliability is to remove the logic from the main code and put it into the class. Let's take a look at this Pinball program first, How to make this code more object-oriented and complete the work of controlling the ball inside the class?
2.1 hard coded pinball game
import sys,pygame
pygame.init()
screen = pygame.display.set_mode((640,480))
ball = pygame.image.load("ball.png")
#The initial position of the ball is (0,0) in the upper left corner of the screen, then the x-axis to the right and the y-axis to the bottom
ball_x = 10
ball_y = 10
#Increase in ball position per cycle
ball_x_speed =7
ball_y_speed =7
while 1:
#Check the operating system event and exit if the window is closed
for event in pygame.event.get():
if event.type == pygame.QUIT:
sys.exit()
#Update the x, y coordinates of the ball
ball_x += ball_x_speed
ball_y += ball_y_speed
#If the pinball hits the right, set the speed to a negative value
if ball_x>440: ball_x_speed =-7
if ball_y>300: ball_y_speed =-7
#Similarly, hitting the left side will reverse
if ball_x<0: ball_x_speed = 7
if ball_y<0: ball_y_speed = 7
#RGB fill color
screen.fill((90,230,90))
#Specify the coordinates of x and y to draw the ball
screen.blit(ball,(ball_x,ball_y))
#Show the collision status of the ball to the screen
pygame.display.flip()
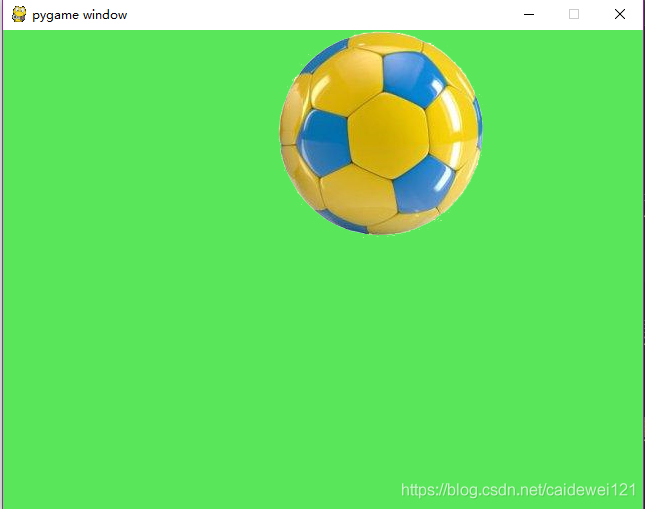
pygame.time.wait(10)PS: it's a pinball game. I haven't handled the pictures well, so it looks a little strange
2.2. Complete the pinball game with the small ball as the object
Then we change the code
import sys,pygame

class Ball:
    def __init__(self,x,y):
        self.ball_x = x
        self.ball_y = y
        self.ball_x_speed = 7
        self.ball_y_speed = 7
        self.ball_pic = pygame.image.load("ball.png")

    #Update position and speed
    def update(self):
        self.ball_x +=self.ball_x_speed
        self.ball_y +=self.ball_y_speed

        if self.ball_x> 320:self.ball_x_speed = -7
        if self.ball_y> 180:self.ball_y_speed = -7
        if self.ball_x<-150: self.ball_x_speed = 7
        if self.ball_y<-120: self.ball_y_speed = 7

    def render(self):
        screen.blit(self.ball_pic,(self.ball_x,self.ball_y))

pygame.init()

screen = pygame.display.set_mode((640,480))

ball1 = Ball(240,87)
ball2 = Ball(20,25)
ball3 = Ball(180,254)

while 1:
    for event in pygame.event.get():
        if event.type == pygame.QUIT:
            sys.exit()

    screen.fill((90,230,90))

    ball1.update()
    ball1.render()
    ball2.update()
    ball2.render()
    ball3.update()
    ball3.render()

    pygame.display.flip()
    pygame.time.wait(10)
It's easy to turn into three balls
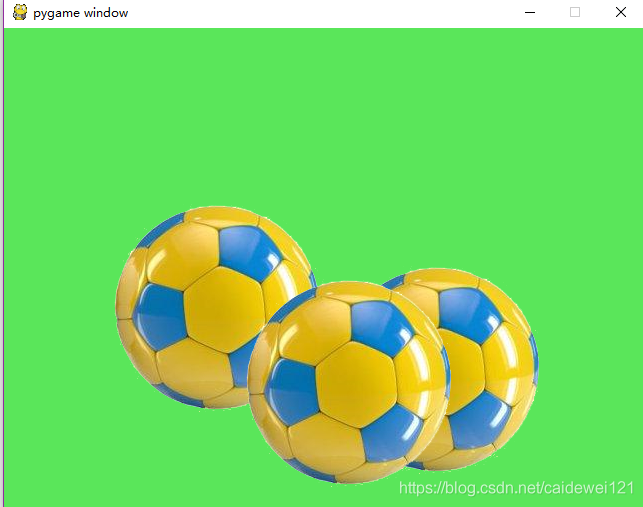
Now the ball is an object, which is no longer hard coded into the main code. In this program, we create three balls and display their animation. That's what we do in this improved program!!!
2.2. 1. Explanation of three methods
There are three methods in the "Ball" class, "_init_" It is used to set the starting position through the parameters mentioned in the main code. In this method, we also set the initial speed of the Ball and the "ball.png" used to display its image (the image is found on the Internet and I can have the current effect only after I process it with PS). Therefore, you need to set these data every time you create an instance of "Ball"
In the game, the second method "update" of the ball is called every time. This method correspondingly changes the position and speed of the ball. Because this work is done inside the class rather than the main code, it is executed one by one. Each small ball we create has its own corresponding properties and methods, so all small balls work independently of each other.
Finally, the "render" method is used to display the small ball; You can put it in the main code, but if we want to add more special effects or change the rendering process in the future, it will be better to put it in the class
2.3 summary
In the second modified program, I added object-oriented features to the pinball game, which means that we can use these classes to create more Pinball objects