background
Deploy a set of devops platform with open source software container on raspberry PI4B, which can be used for normal R & D activities such as code management, warehouse management, project management, CICD and so on.
prepare
- Hardware: Raspberry Pi 4B (8g version)
- OS: centos7.9
- Basic environment: 19.03.8
- IP: 10.0.1.155
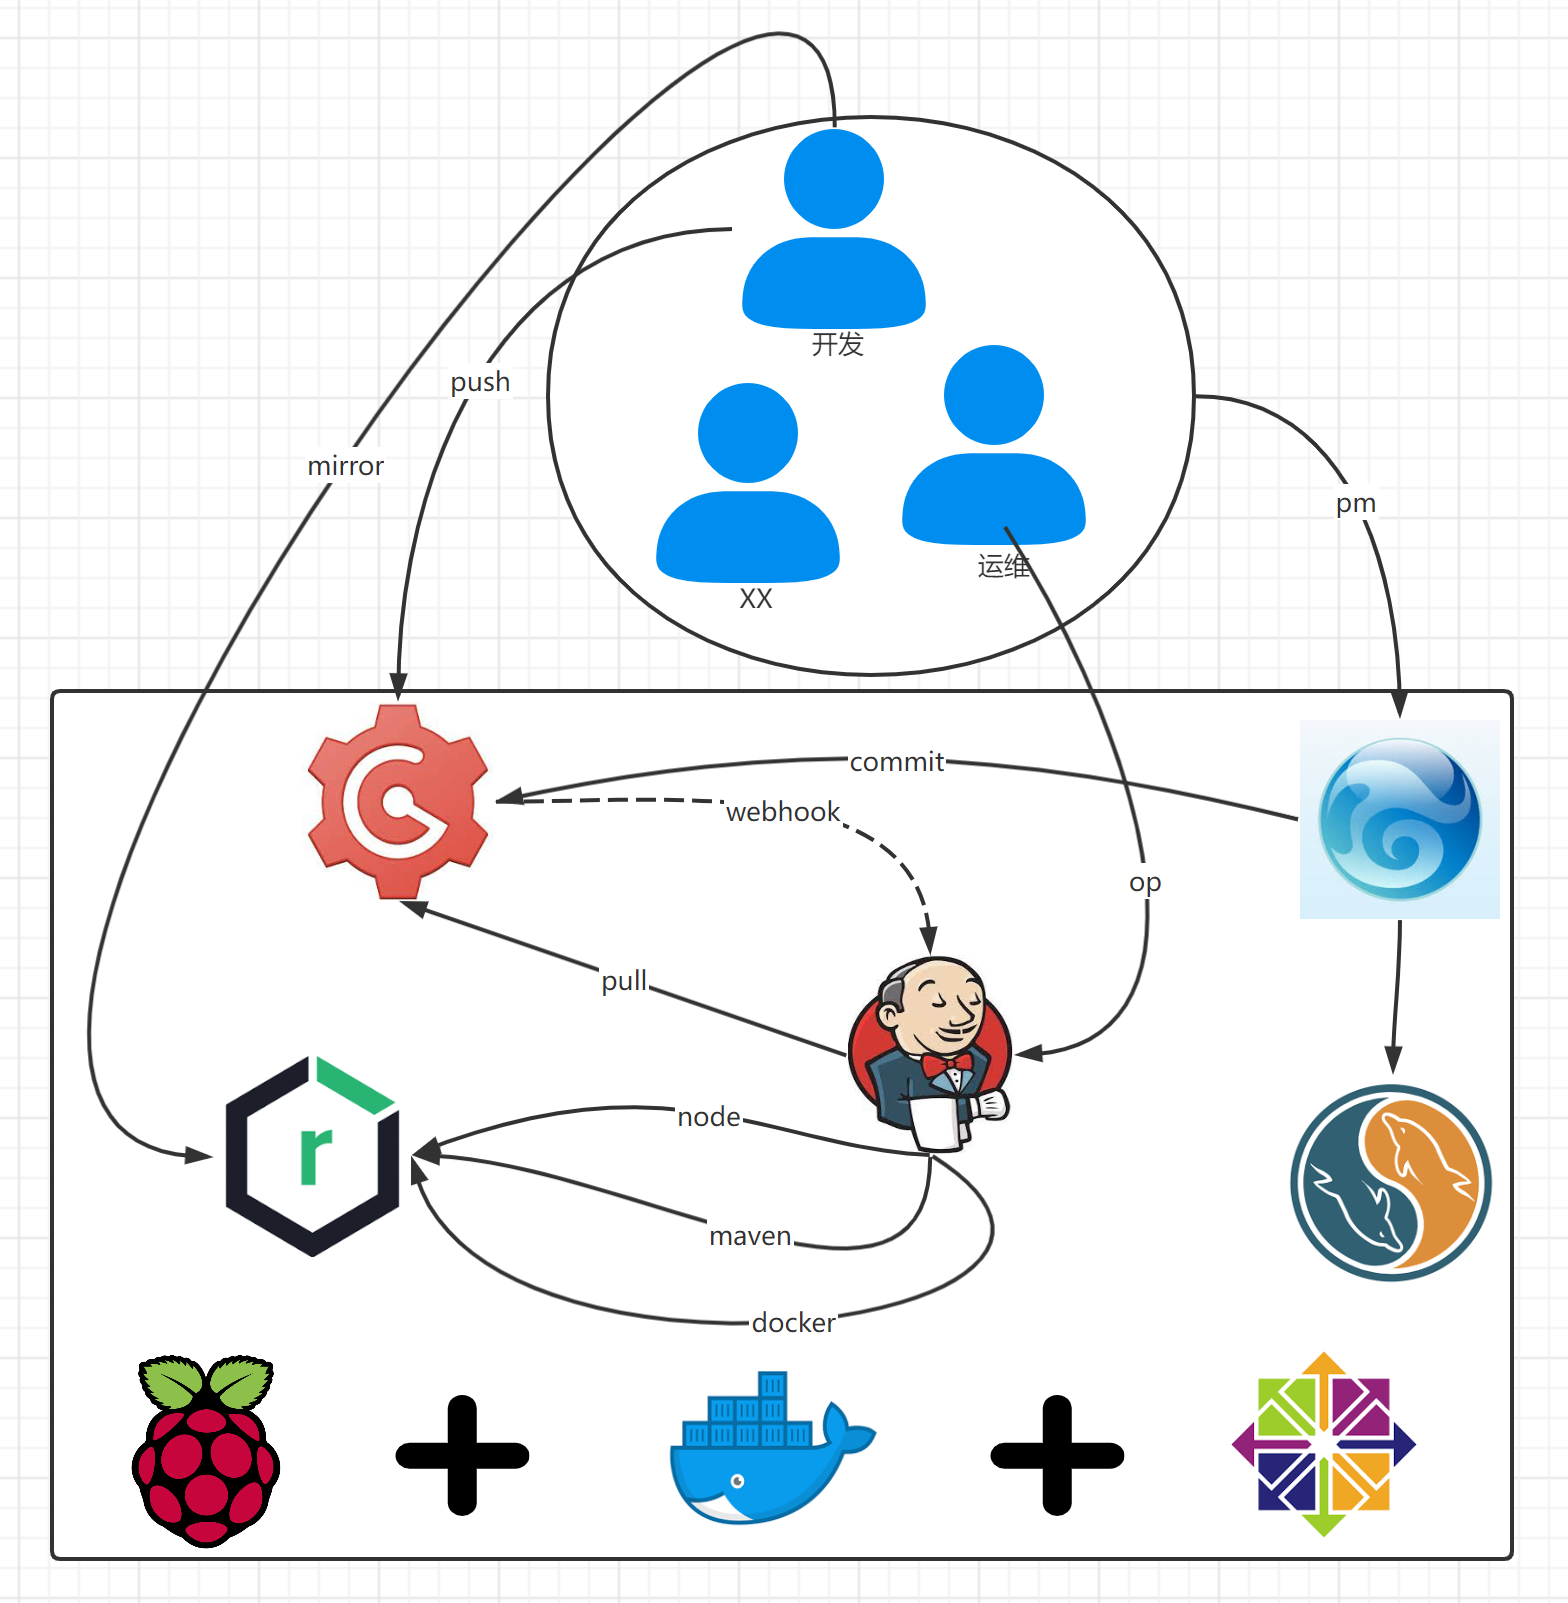
framework
| Tool chain | purpose | port |
|---|---|---|
| MYSQL | Serve Zen | 3306 |
| ZenTao | project management | 8085 |
| gogs | Code management | 3000,100022 |
| nexus | maven, npm, docker private server | 8081,8082,8083 |
| jenkins | Continuous integration and deployment | 8080:5000 |
Deploy MYSQL
image
- biarms/mysql:5.7.30-linux-arm64v8: arm64v8 is supported and raspberry pie is available
plan
- Configuration directory: None
- Configuration file: / opt / server / MySQL / my cnf
- Data directory: / opt/server/mysql/data/
- Log directory: / opt/server/mysql/data/
- Open port: 3306
configuration file
mkdir -p /opt/server/mysql
vi /opt/server/mysql/my.cnf
write in
[mysqld]
##
server_id=1
##
binlog-ignore-db=mysql
##
log-bin=replicas-mysql-bin
##
binlog_cache_size=1M
##
binlog_format=mixed
##
max_allowed_packet=125M
max_connections=200
max_connect_errors=10000
datadir =/opt/mysql/data
socket  =/opt/mysql/data/mysql.sock
lower_case_table_names = 1
#Encoding
collation-server = utf8mb4_bin
init-connect='SET NAMES utf8mb4'
character-set-server = utf8mb4

log_error=error.log

[client]
default-character-set = utf8mb4
socket  =/opt/mysql/data/mysql.sock
: wq close save
Start container
docker run -d \
--name mysqld \
-p 3306:3306 \
--privileged=true --restart=always \
-e TZ=Asia/Shanghai -e MYSQL_ROOT_PASSWORD=Fast@1234 \
-v /opt/server/mysql/my.cnf:/etc/mysql/my.cnf \
-v /opt/server/mysql/data:/opt/mysql/data \
biarms/mysql:5.7.30-linux-arm64v8
Deploy Zen
image
- Pi4k8s / PHP MySQL: 7.2-apache: arm64v8 supported, raspberry pie available
Software
plan
- Configuration directory: None
- Profile: None
- Data directory: / opt/server/zentao/data/
- Log directory: None
- Open port: 8085
Start container
docker run -itd --name zentao \
-p 8085:80 \
--privileged=true --restart always \
-e TZ=Asia/Shanghai \
-v /opt/server/zentao/data:/var/www/html \
pi4k8s/php-mysql:7.2-apache
install
cd /opt/server/zentao/data
curl -O -L -s "https://dl.cnezsoft.com/zentao/16.0/ZenTaoPMS.16.0.zip"
yum install -y unzip
unzip ZenTaoPMS.16.0.zip
rm -f ZenTaoPMS.16.0.zip
Initialize service
Initialize service
- Access address: http://10.0.1.155:8085/zentaopms/www/install.php
First Visit
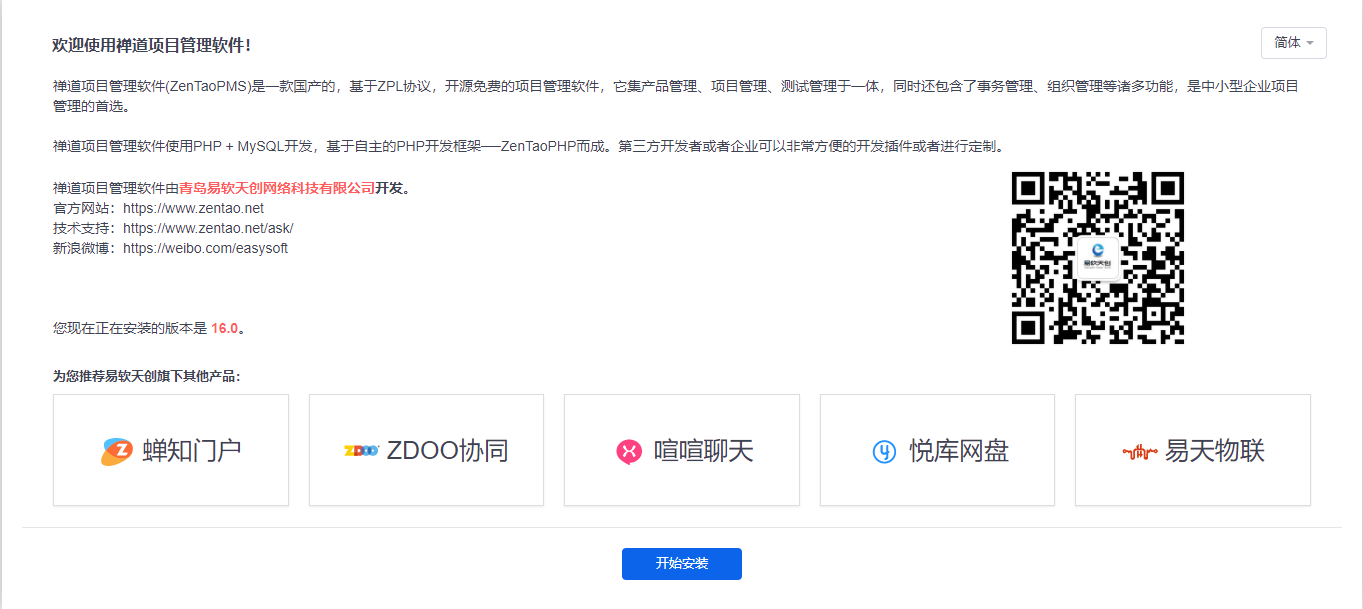
Click the "start installation" button to enter the "authorization agreement" page
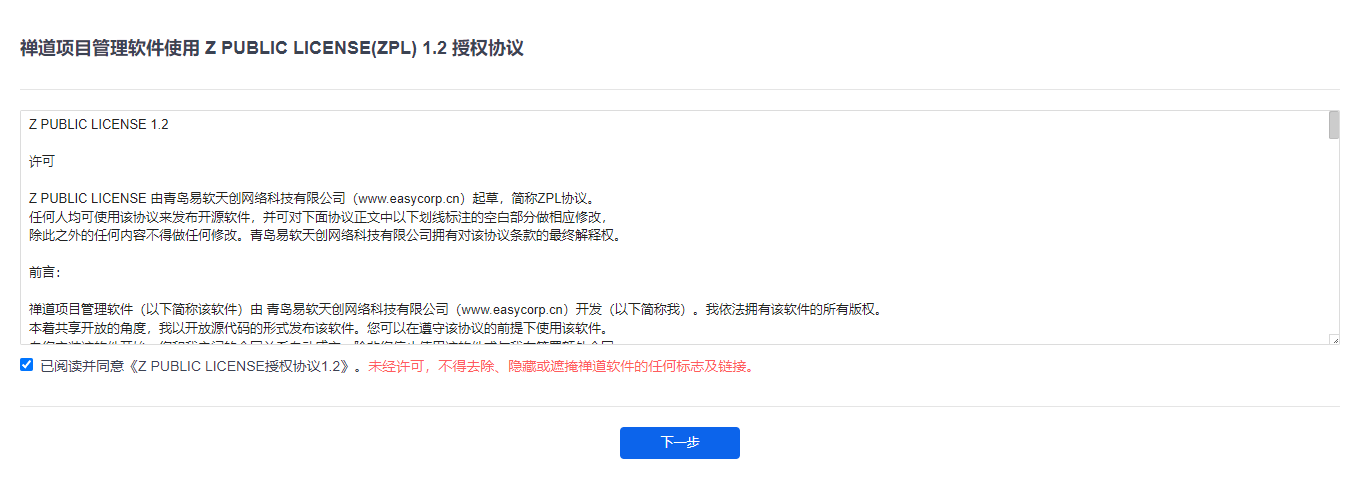
Click "next" to enter the "system check" page
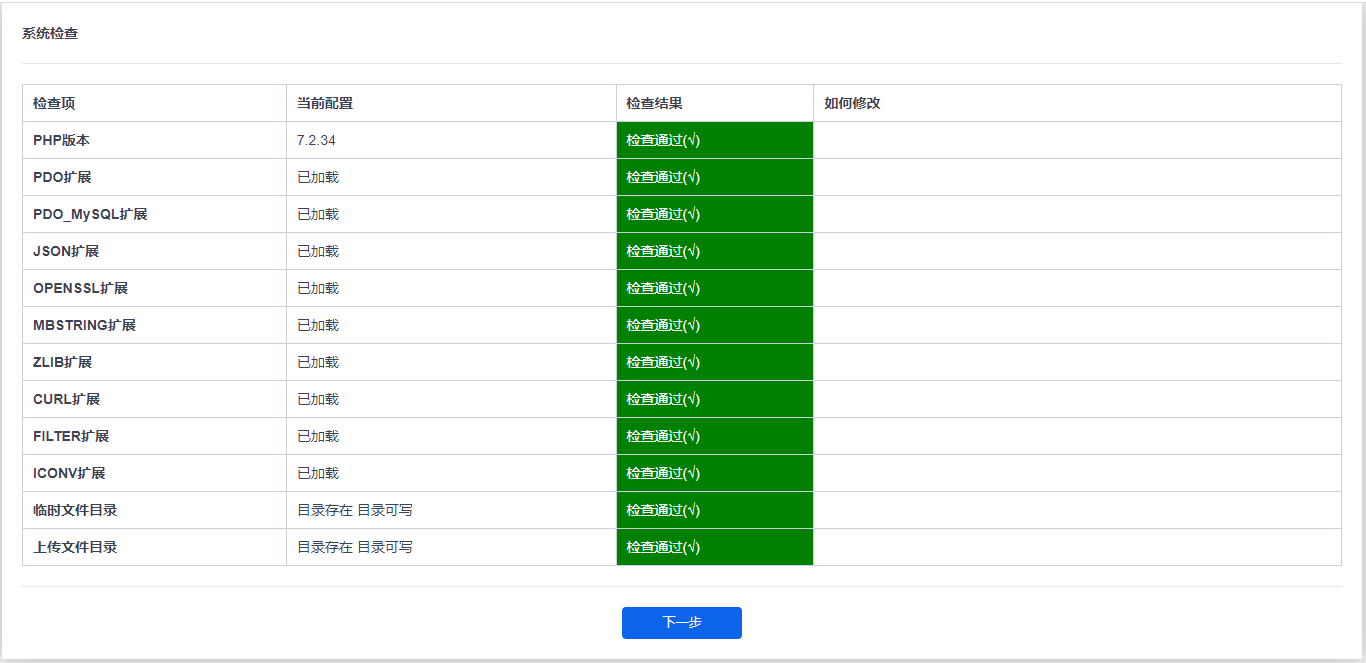
Continue to click next to enter the generate profile page
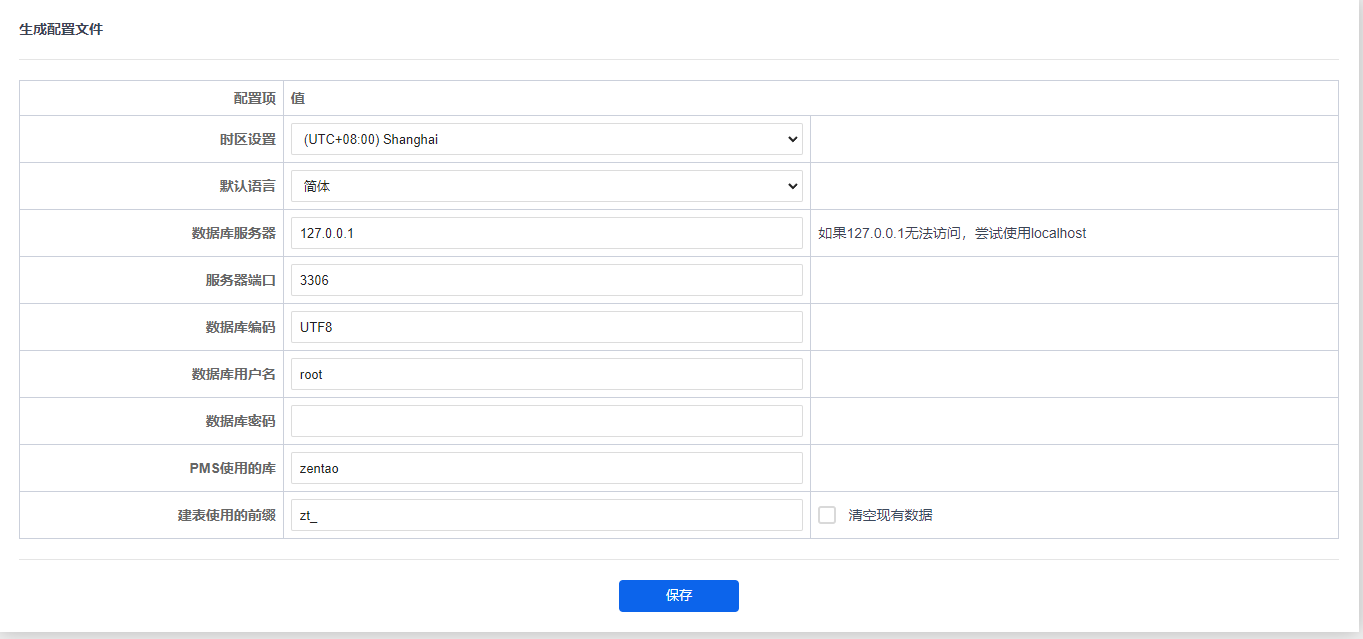
After configuring the time zone, default language and database server information on this page, click save. If there is no problem with the configuration, enter the configuration file confirmation page
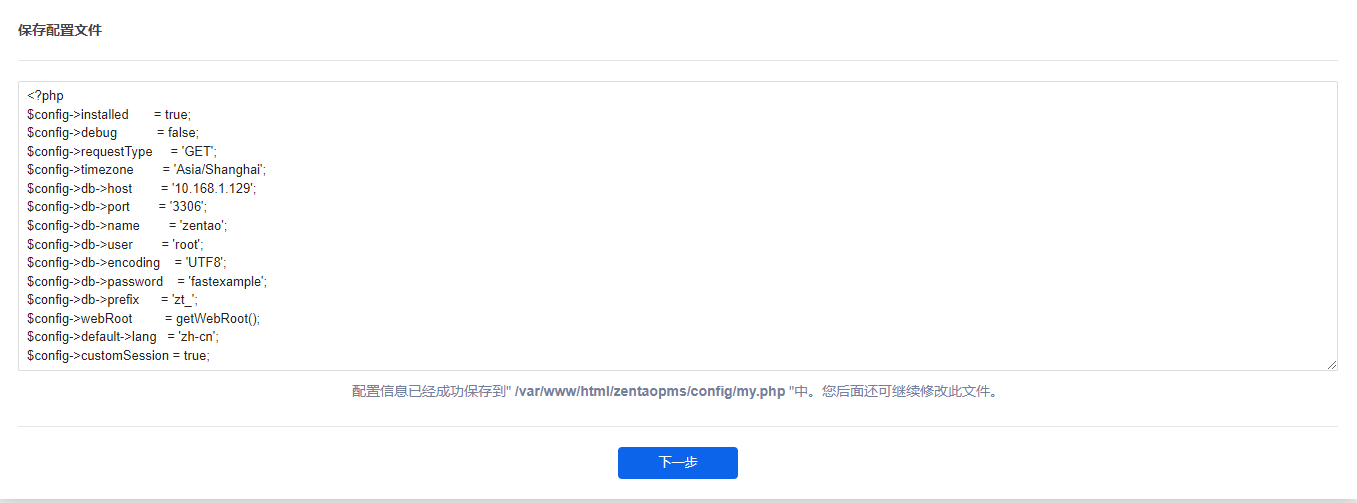
Continue to click "next" and the Zen system is successfully installed.
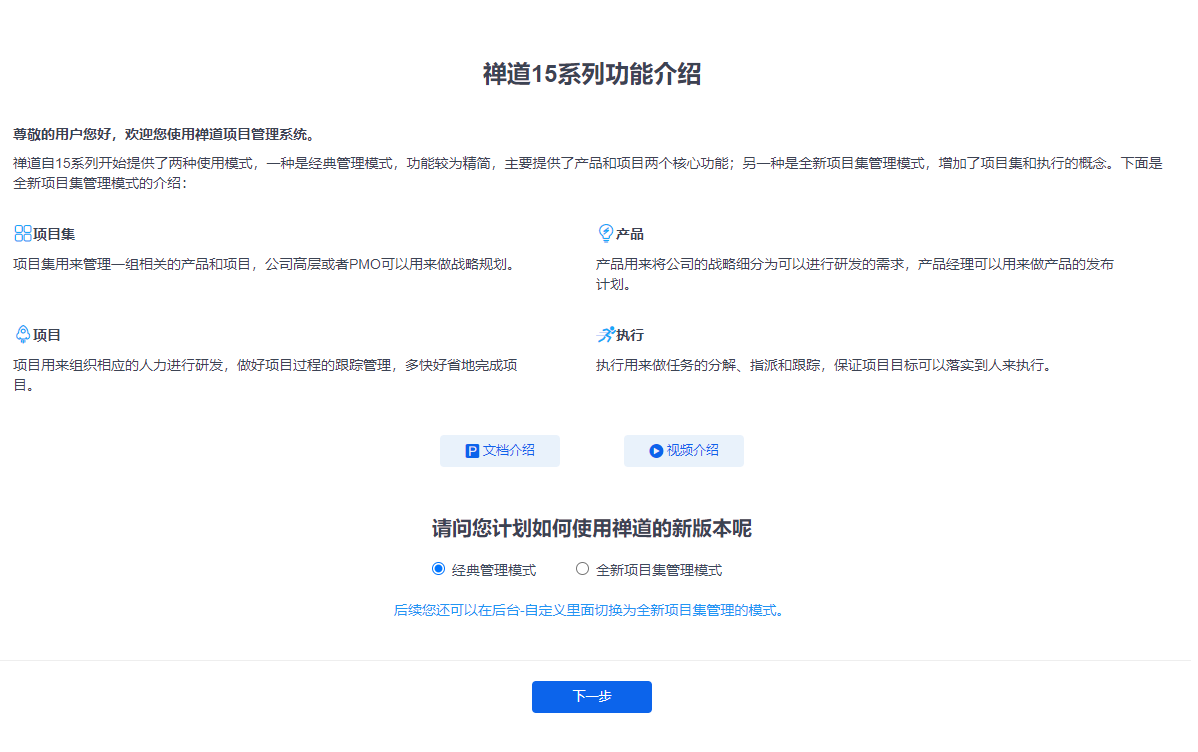
According to personal preference, you can choose classic management mode or new project cluster management mode for use.
Delete container
docker stop zentao && docker rm zentao
# Force delete
docker rm -f zentao
Daily Operation
docker start zentao
docker restart zentao
docker stop zentao
Backup related
• data directory: opt/server/zentao/data/
Deploy gogs
image
- pi4k8s/gogs:0.12.3: arm64v8 supported, raspberry pie available
plan
- Configuration directory: None
- Configuration file: / opt / server / gogs / data / gogs / conf / APP ini
- Data directory: / opt/server/gogs/data
- Log directory: / opt/server/gogs/data/logs
- Open port: 300010022
Start container
docker run -d --name=gogs \
-p 10022:22 -p 3000:3000 \
--privileged=true --restart=always \
-e TZ=Asia/Shanghai \
-v /opt/server/gogs/data:/data \
pi4k8s/gogs:0.12.3
Initialize service
- Access address: http://10.0.1.155:3000
The first visit mainly requires three aspects of configuration, namely database configuration, application basic configuration and optional configuration, which are described below
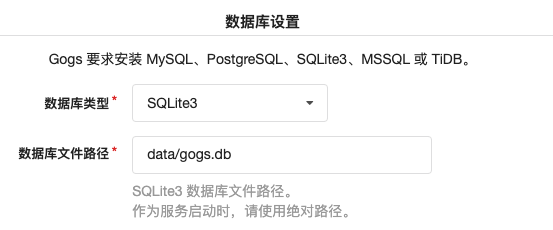
Database configuration
gogs can select MySQL, PostgreSQL, SQLite3, MSSQL or TiDB as the supported database types. Here, we choose built-in SQLite3. The specific configuration is as follows:
Apply basic configuration
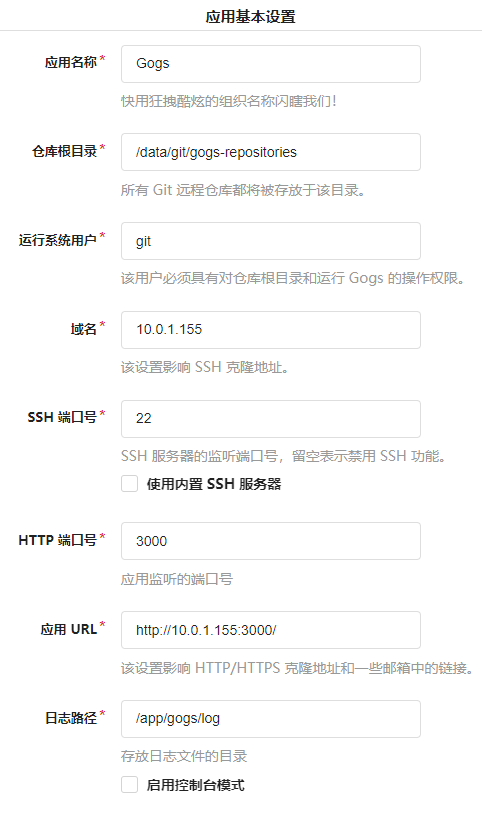
This part basically adopts the default value. The domain name and application URL can be configured according to the actual situation. The host IP is used as the record in this note.
Optional configuration

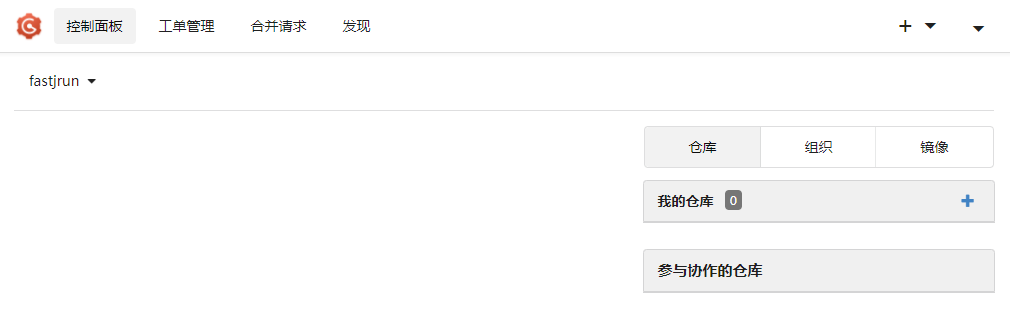
This part mainly provides mail server settings and some other settings. In addition, it is important to set an administrator. Other settings can be configured according to the actual situation. After configuration, directly click the "continue installation" button to enter the home page.
Change service
After initializing the service, the configuration file / opt / server / gogs / data / gogs / conf / APP. Is generated Ini. The contents of this file fully correspond to other configuration information of the initialization service except administrator information. If you need to modify the specific configuration later, you can modify this file directly. After modification, restart the container to take effect.
Delete container
docker stop gogs && docker rm gogs
# Force delete
docker rm -f gogs
Daily Operation
docker start gogs
docker restart gogs
docker stop gogs
Backup related
- Data directory: / opt/server/gogs/data/
- Configuration file: / opt / server / gogs / data / gogs / conf / APP ini
Deploy nexus3
image
- klo2k/nexus3:3.37.1-01: arm64v8 supported, raspberry pie available
plan
- Configuration directory: None
- Profile: None
- Data directory: / opt / server / nexus3 / sonatype work
- Log directory: None
- Open port: 808180828083
Start container
mkdir -p /opt/server/nexus3/sonatype-work
chown 200.200 /opt/server/nexus3/sonatype-work
docker run -d --name=nexus3 \
-p 8081:8081 -p 8082:8082 -p 8083:8083 \
--privileged=true --restart=always \
-e TZ=Asia/Shanghai \
-v /opt/server/nexus3/sonatype-work:/opt/sonatype/sonatype-work \
klo2k/nexus3:3.37.1-01
Initialize service
- Access address: http://10.0.1.155:8081
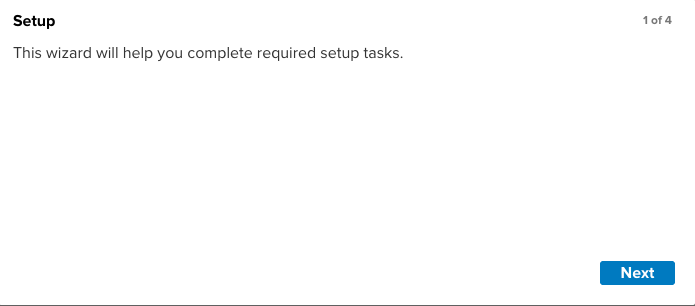
First Visit
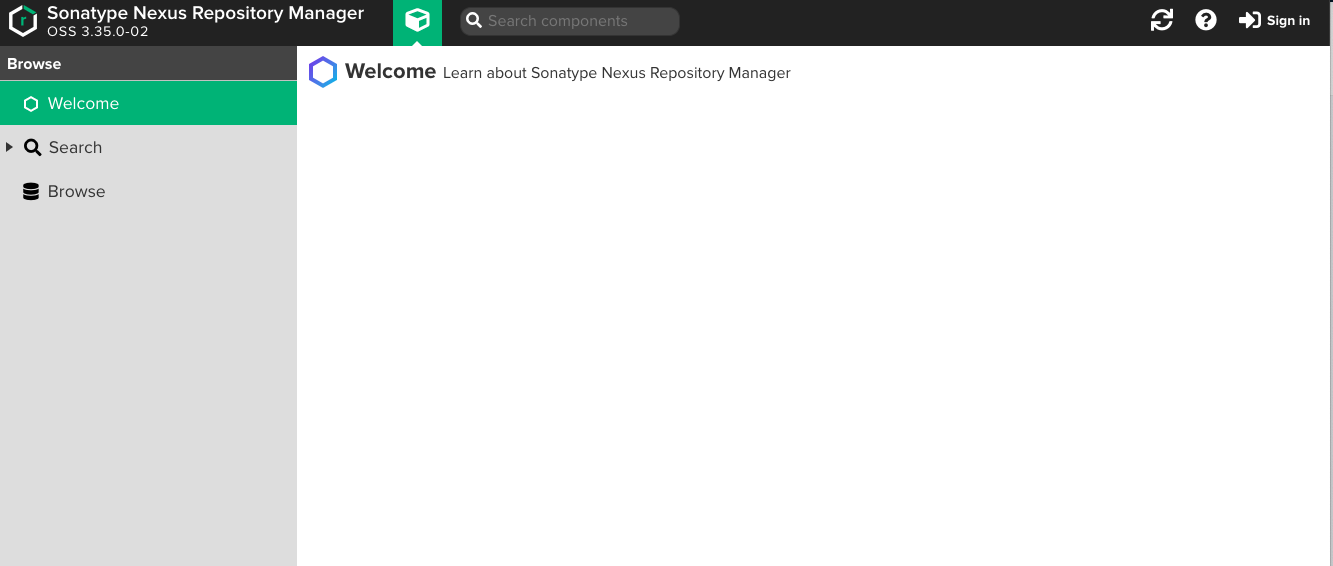
Click sign in to pop up the login window as follows
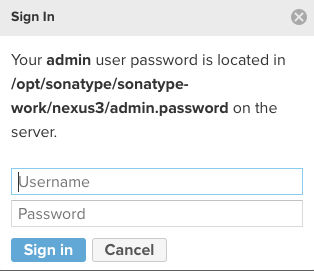
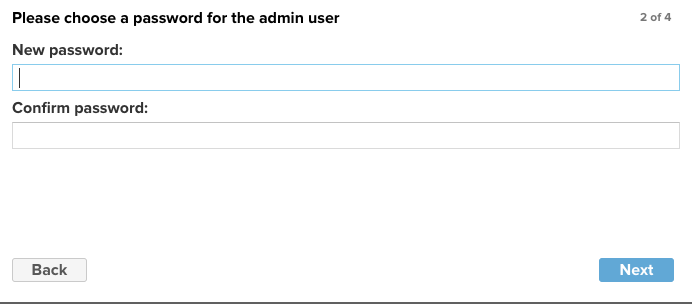
Enter the user name and password, click the "sign in" button to log in, and the installation window is displayed as follows
Click "Next" to enter the Next step, and the window for setting new password is displayed as follows
After entering the new password, click "Next" to enter the Next step. The window for setting whether anonymous access is allowed is shown as follows
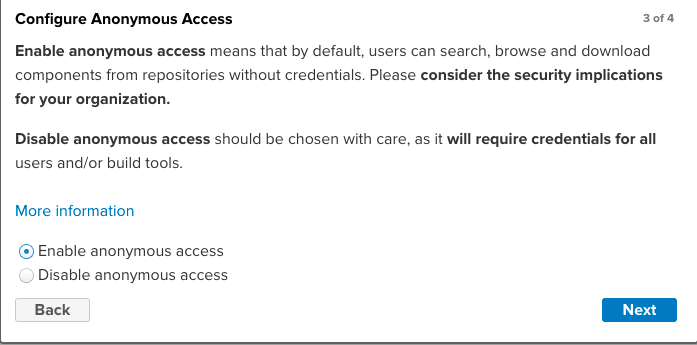
Select allow in the notes, click "Next" to enter the Next step, and the installation completion interface is displayed as follows
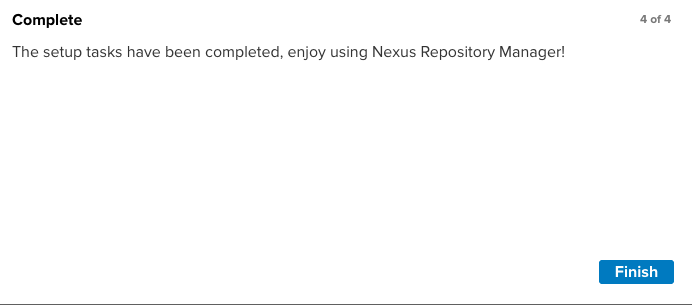
Click the "Finish" button to complete the installation, and then nexus 3 can be used normally.
Delete container
docker stop nexus3  && docker rm nexus3
# Force delete
docker rm -f nexus3
Daily Operation
docker start nexus3
docker restart nexus3
docker stop nexus3
Backup related
- Data directory: / opt / server / nexus3 / sonatype work/
Deploy jenkins
image
• pi4k8s/jenkins:openjdk8-2.327: arm64v8 supported, raspberry pie available
plan
• configuration directory: None
• configuration file: none • data directory: / opt/server/jenkins/data
• log directory: none • open port: 8050000
Start container
docker run -d --name=jenkins \
-p 8080:8080 -p 50000:50000 \
--privileged=true --restart=always \
-e TZ=Asia/Shanghai \
-v $(which docker):/usr/bin/docker \
-v /var/run/docker.sock:/var/run/docker.sock \
-v /opt/server/jenkins/data:/root \
 pi4k8s/jenkins:openjdk8-2.327
Initialize service
• access address: http://10.0.1.155:8080
First Visit
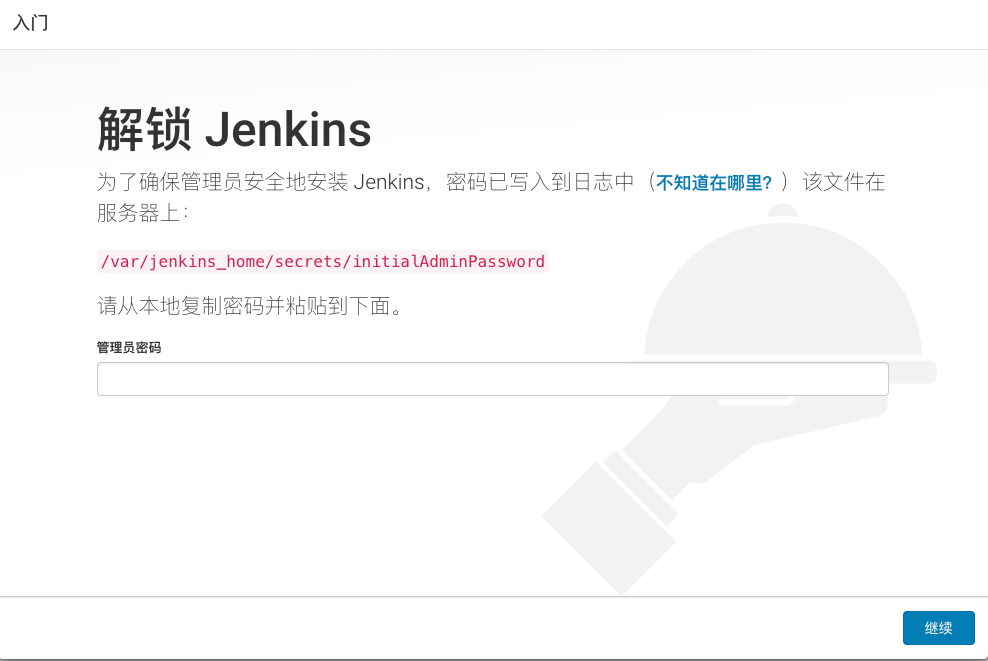
After entering the password, click the "continue" button
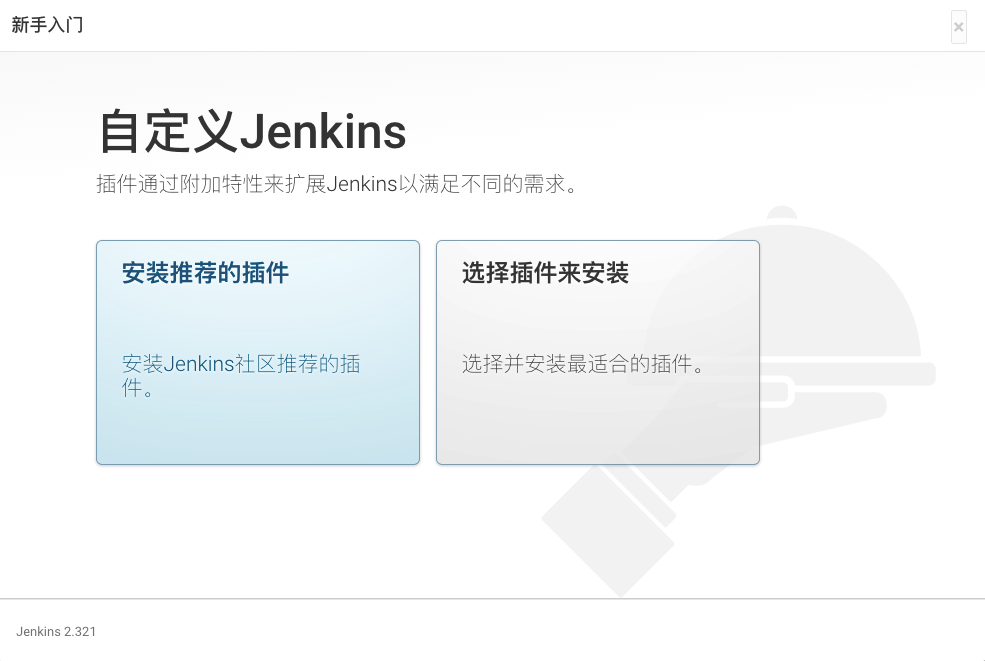
Select "install recommended plug-ins" to proceed to the next step
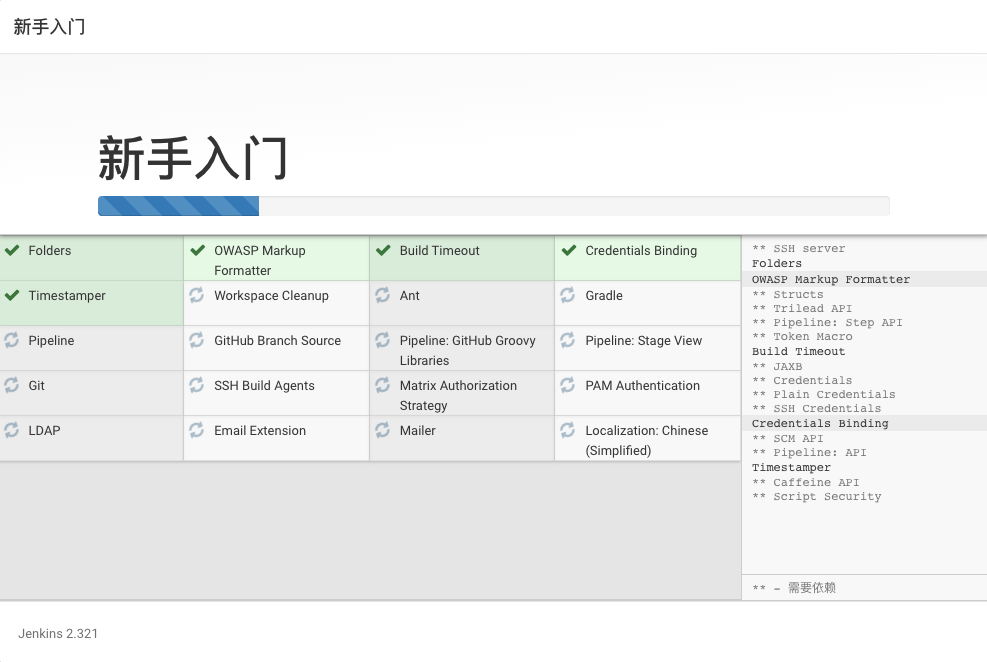
According to the network situation, the installation time of plug-ins varies, which may take a long time. However, the network situation is sometimes a sad topic. If there is no progress in the installation, the following frustrating interface will be displayed
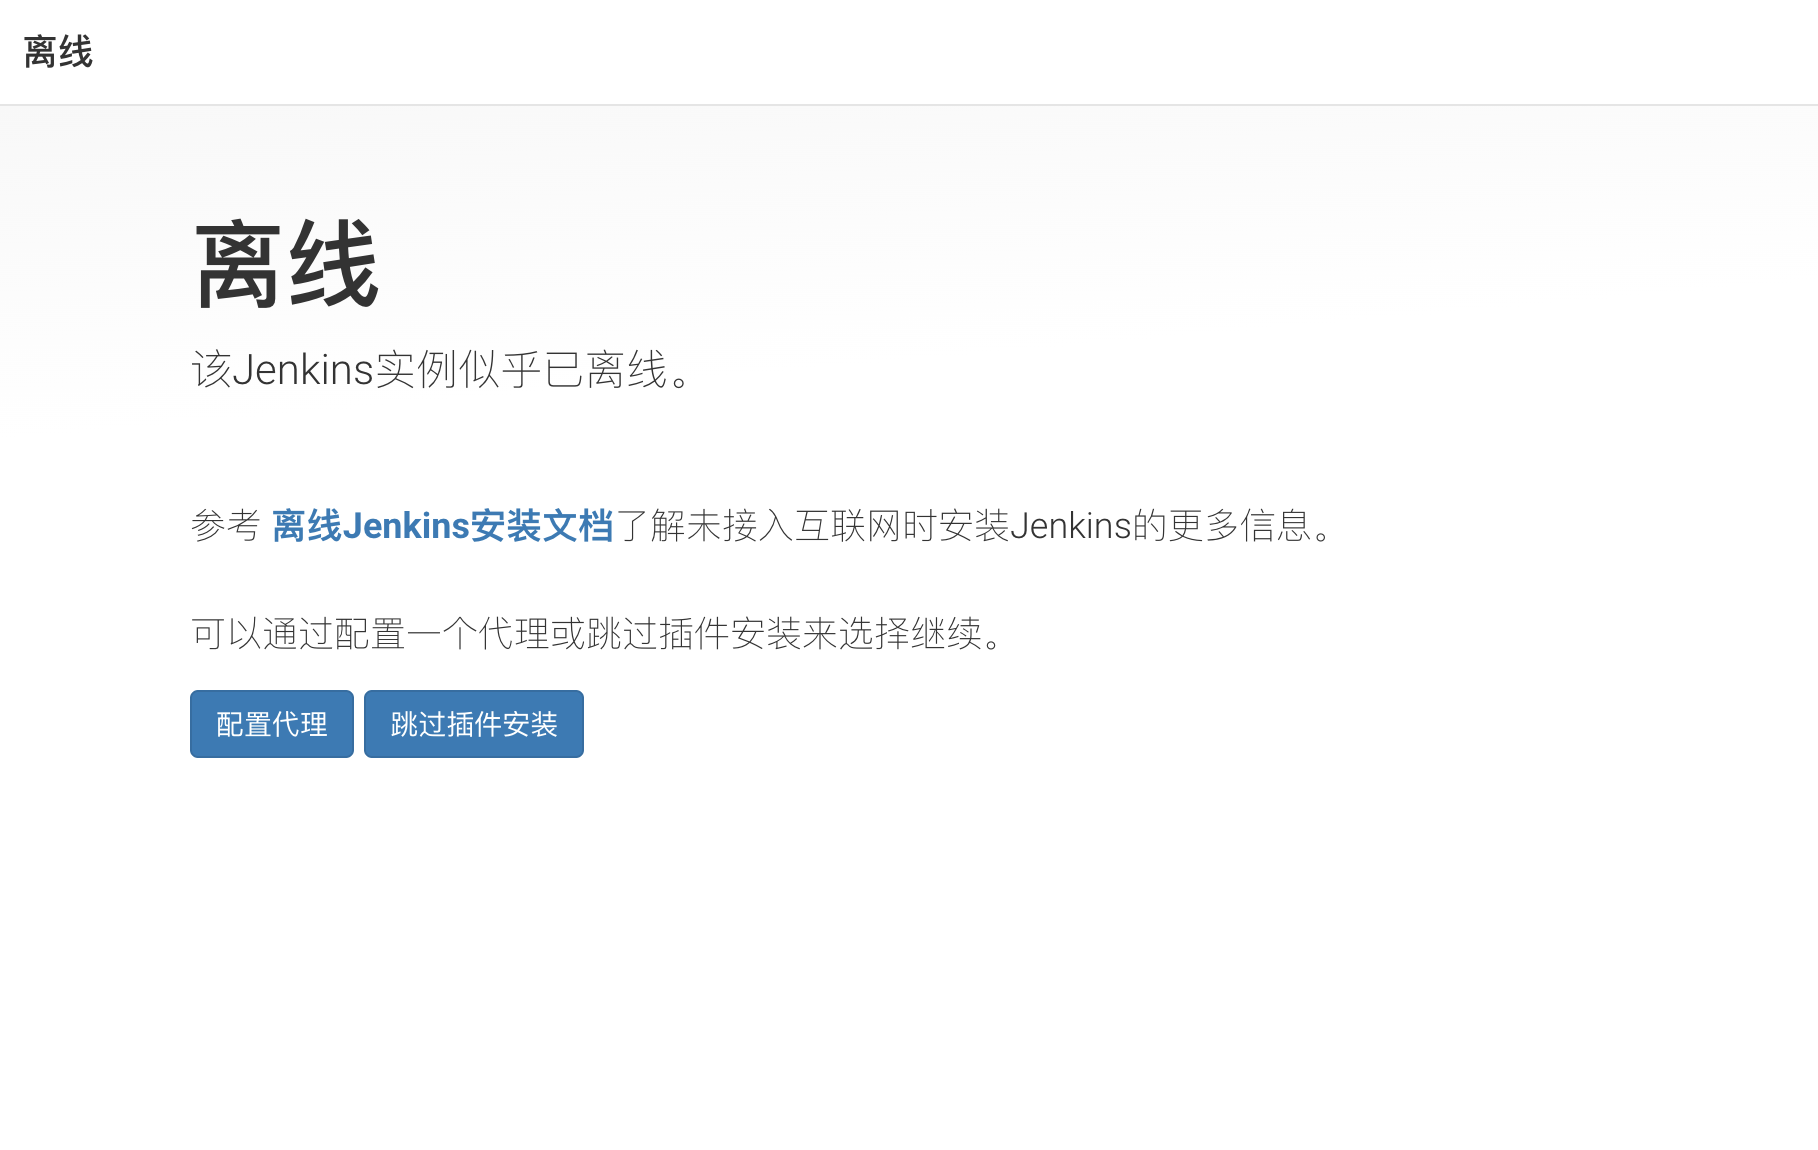
If the installation is successfully completed, it will automatically jump to the next step; If you are offline, skip the plug-in installation and go to the next step as follows
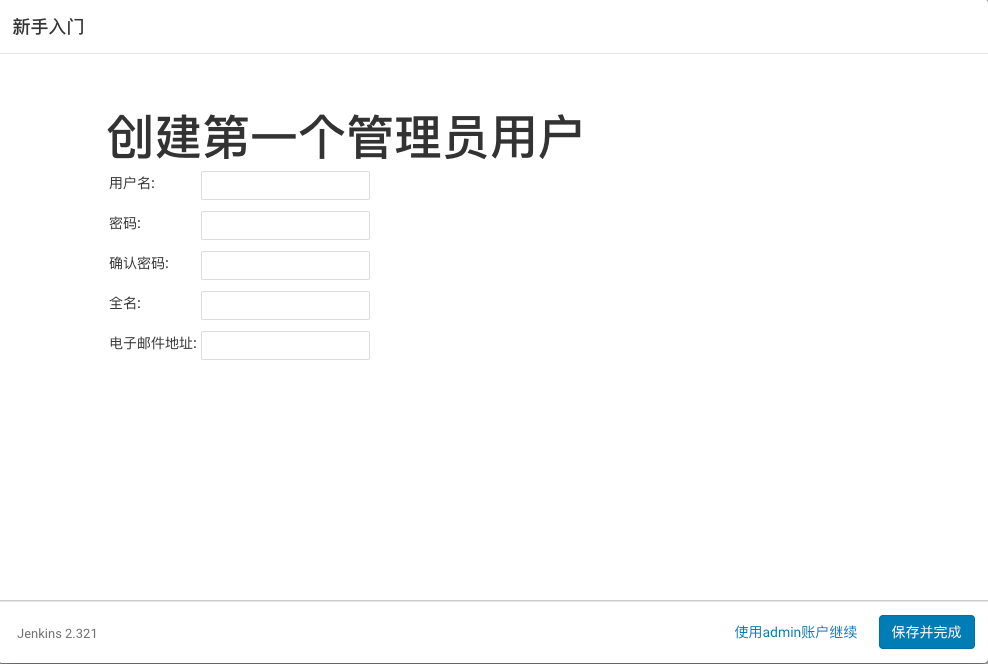
You can create a user or use the admin account. Continue to the next step according to the actual situation
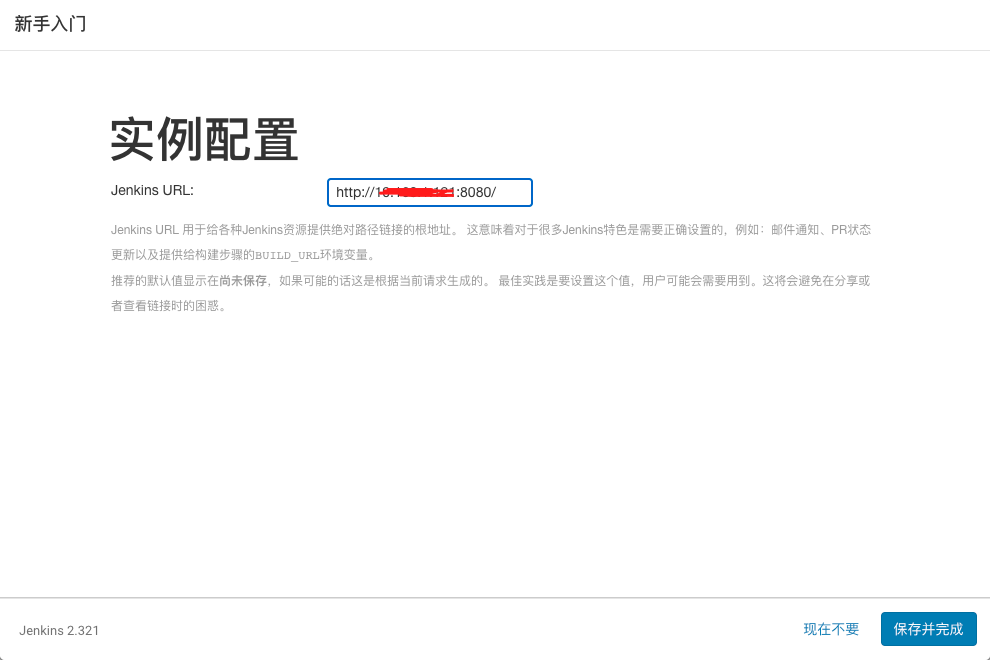
Configure the jenkins URL according to the actual situation and go to the next step
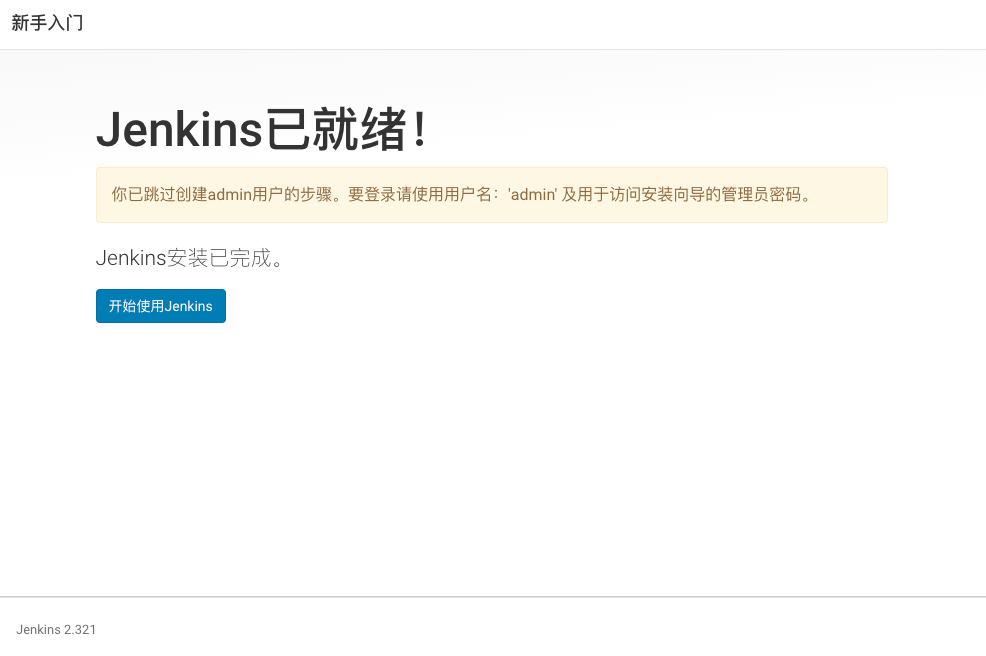
Here, you will be prompted that jenkins is ready.
Delete container
docker stop jenkins && docker rm jenkins
# Force delete
docker rm -f jenkins
Daily Operation
docker start jenkins
docker restart jenkins
docker stop jenkins
Backup related
- Data directory: opt/server/jenkins/data/
About offline installation
In most cases, due to network reasons, we have to choose Offline installation mode. In fact, the offline installation here mainly refers to the offline installation of plug-ins. We have two methods: one is to update the center address by modifying the plug-ins, which can be referred to https://jenkins-zh.cn/tutorial/management/plugin/update-center/ ; The other is to download the plug-ins in other ways, and then upload the plug-ins to jenkins. As for the plug-ins needed in this note, I have packaged them, download Then unzip it to / opt/server/jenkins/jenkins_home. The decompression command is attached for reference
cd /opt/server/jenkins/data/.jenkins
tar -zxf plugins.tar.gz