Computer vision is very popular now. People all over the world are engaged in some form of Computer Vision Project Based on deep learning. But before the emergence of deep learning, image processing technology has been used to process and transform images to obtain insights that help us complete our tasks. Today, let's see how to implement a simple and useful technique, perspective projection, to distort images.
So what does distorted image mean? I can use a lot of fancy words and technical terms to explain it. However, it is easy to show the final results so that we can learn by observation.
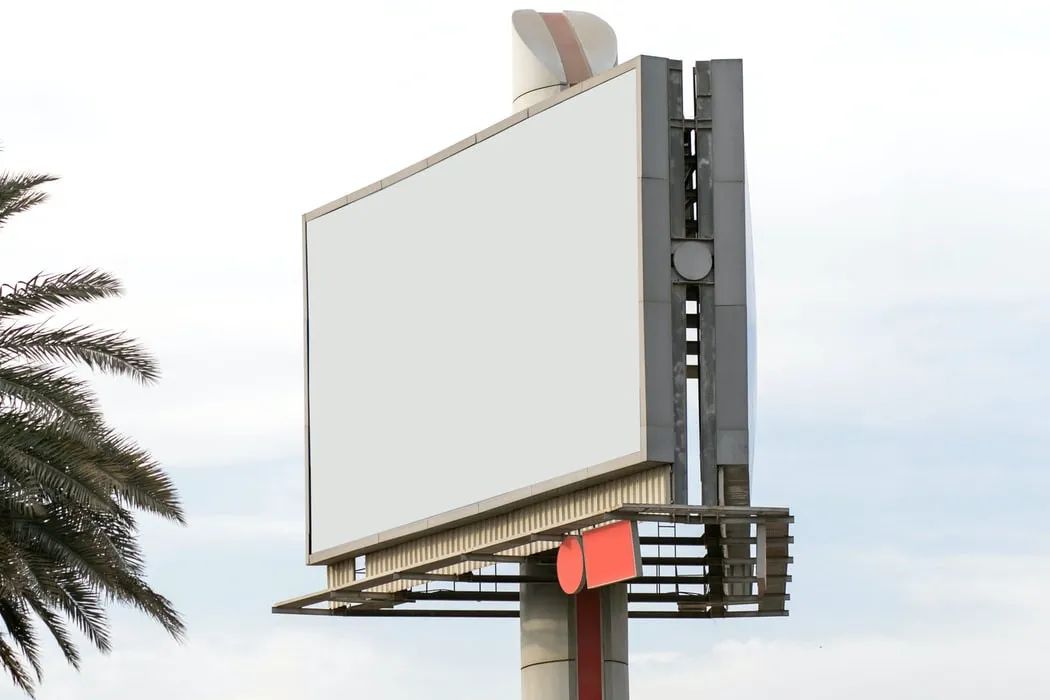
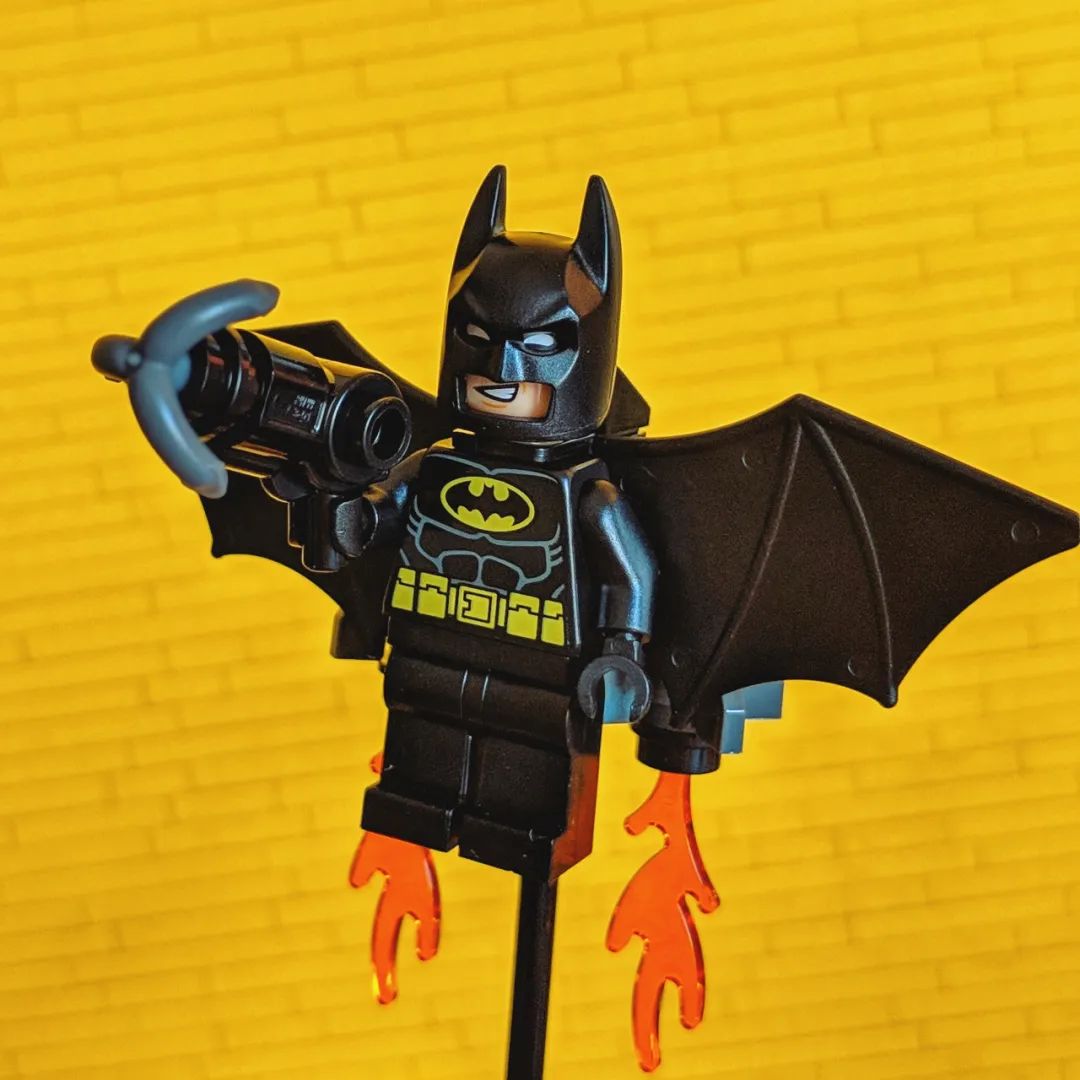
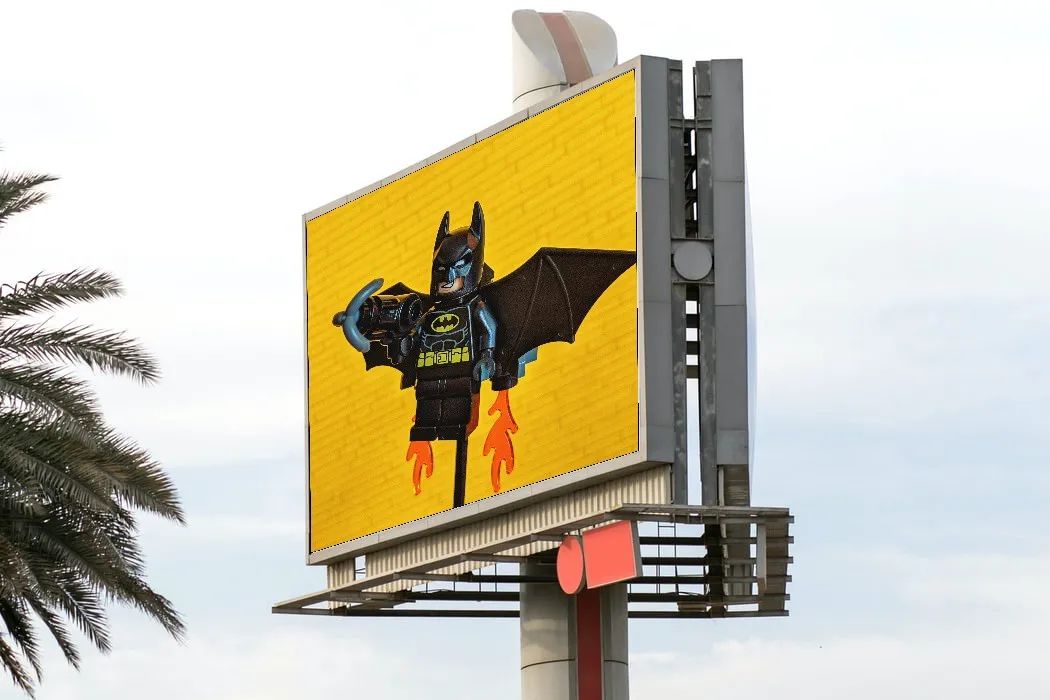
Base image - theme image - distorted output
So basically, we need to take an image and cut it to fit the canvas of any desired shape. Note that the reverse is also possible. Now, this is no longer a problem. Let's see how to use OpenCV and Python to achieve this.
Before entering the main part of the code, we must first import the necessary libraries.
import cv2
import numpy as np
Now, let's read the basic image and the theme image as follows.
base_image = cv2.imread('base_img.jpg')
base_image_copy = base_image.copy()
subject_image = cv2.imread('subject.jpg')

Basic image (left) - main image (right)
Initialize an array to store the coordinates of the four corners of the theme image we want to cover. We can manually select these four points using the setMouseCallback() function, as shown below.
def click_event(event, x, y, flags, params):
    if event == cv2.EVENT_LBUTTONDOWN:
        cv2.circle(base_image_copy, (x, y), 4, (0, 0, 255), -1)
        points.append([x, y])
        if len(points) <= 4:
            cv2.imshow('image', base_image_copy)
points = []
base_image = cv2.imread('base_img.jpg')
base_image_copy = base_image.copy()
subject_image = cv2.imread('subject.jpg')

cv2.imshow('image', base_image_copy)
cv2.setMouseCallback('image', click_event)
cv2.waitKey(0)
cv2.destroyAllWindows()
In the code snippet given above, we define a code named click_event() and pass it as a parameter to the setMouseCallback() function. Using this method, we will first display the basic image, and then we can manually select four points in the image as the target. Our theme image will be distorted to this target, and the coordinates will be recorded when the left mouse button is pressed, which are stored in the point group we initialized earlier. The selected points are highlighted with red dots, as shown below.
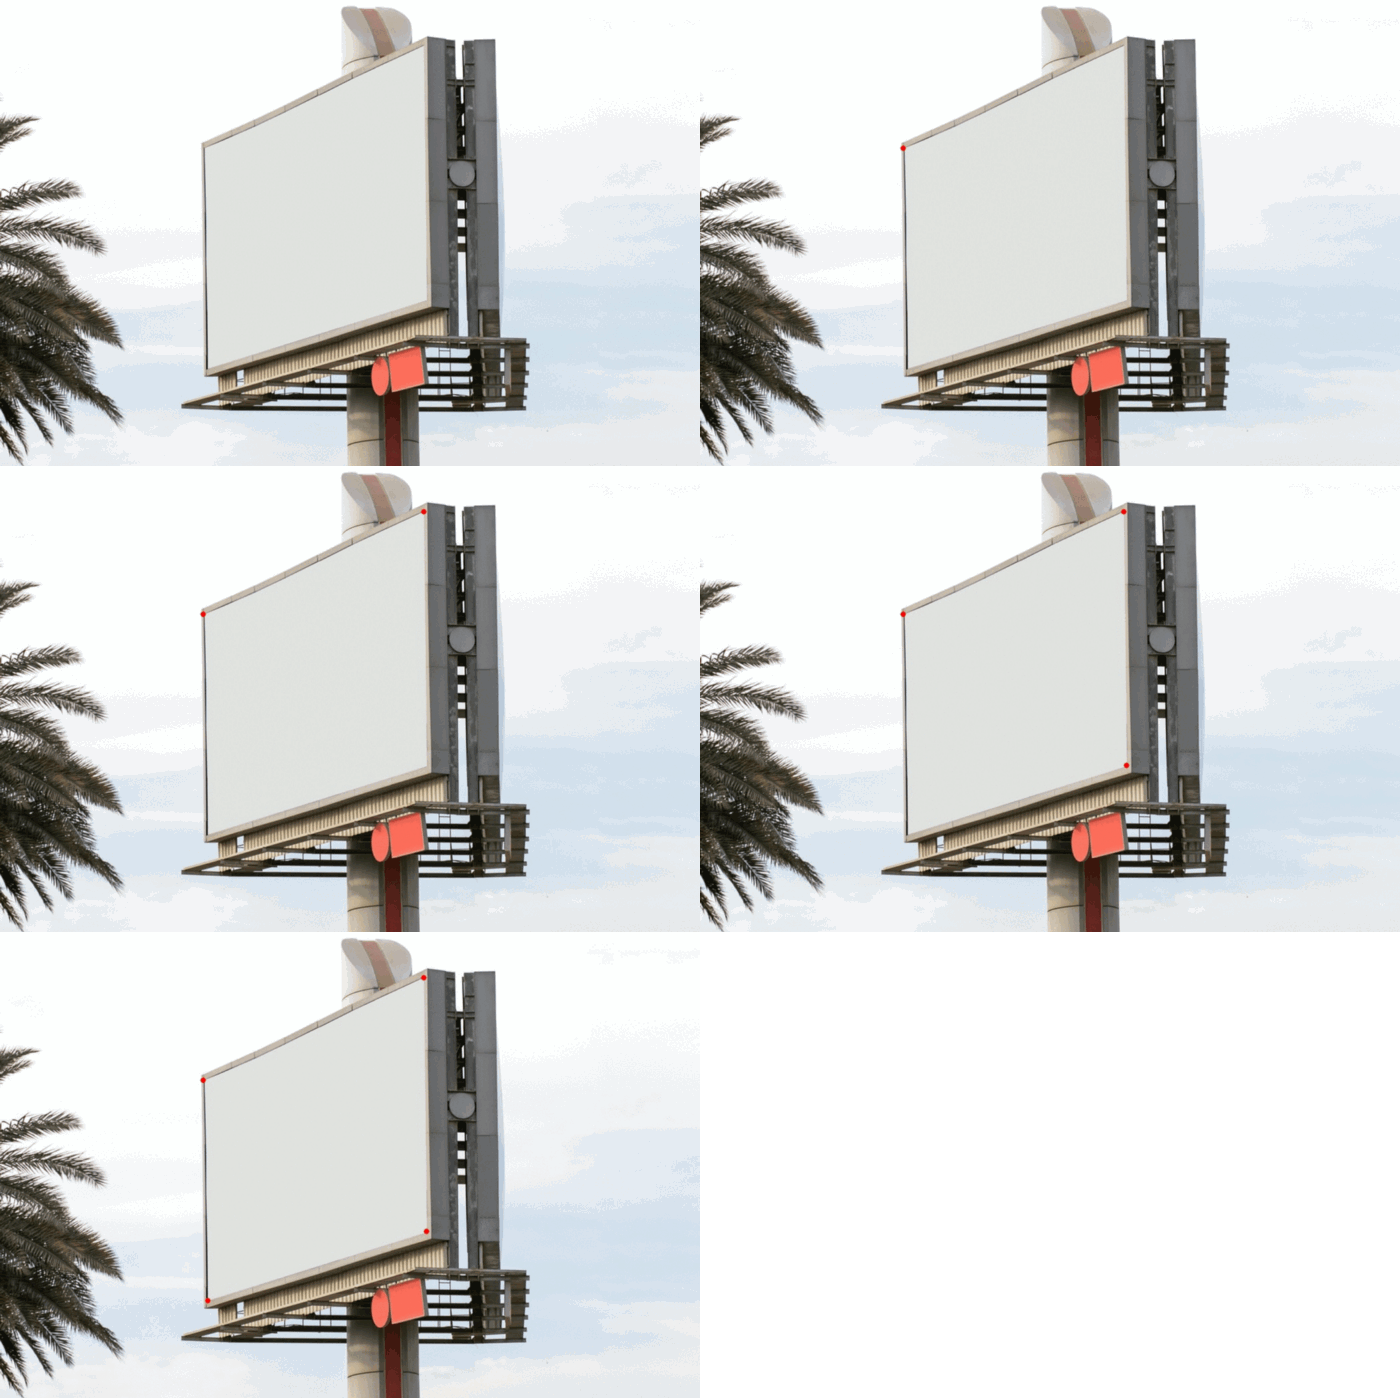
Select corner
As we all know, each of us can choose four points in any order. Therefore, it is necessary to maintain a constant order between the selected points. I choose to sort the points clockwise, that is, from top left to top right, then to bottom right, and then to bottom left. This is through sort as shown below_ PTS () method. We use the fact that the sum of the x and y coordinates is the smallest in the upper left corner and the largest in the lower right corner. Similarly, the difference between them is the smallest in the upper right corner and the largest in the lower left corner. Remember that for images, the origin is in the upper left corner of the image.
def sort_pts(points):
    sorted_pts = np.zeros((4, 2), dtype="float32")
    s = np.sum(points, axis=1)
    sorted_pts[0] = points[np.argmin(s)]
    sorted_pts[2] = points[np.argmax(s)]

    diff = np.diff(points, axis=1)
    sorted_pts[1] = points[np.argmin(diff)]
    sorted_pts[3] = points[np.argmax(diff)]

    return sorted_pts
sorted_pts = sort_pts(points)
After sorting the points, let's use them to calculate the transformation matrix. We create a numpy array called "pts1", which stores the coordinates of the four corners of the subject image. Similarly, we create a list called "pts2", which contains the sorted points. The coordinate order of "pts1" should match that of "pts2".
h_base, w_base, c_base = base_image.shape
h_subject, w_subject = subject_image.shape[:2]

pts1 = np.float32([[0, 0], [w_subject, 0], [w_subject, h_subject],                     [0, h_subject]])
pts2 = np.float32(sorted_pts)
Now we have obtained the transformation matrix required to distort the object image. This is using the function CV2 Obtained by getperspectivetransform(). Since we want to change the subject image in a way that suits the box we selected in the base image, "src" should be "pts1" and "dst" should be "pts2". The size of the generated image can be specified as a tuple. We ensure that the generated image has the size of the basic image. Using the generated matrix, we can use CV2 The warpperspective () method distorts the image, as shown in the given code snippet.
transformation_matrix = cv2.getPerspectiveTransform(pts1, pts2)

warped_img = cv2.warpPerspective(subject_image, transformation_matrix, (w_base, h_base))
cv2.imshow('Warped Image', warped_img)
The deformed image looks like this:
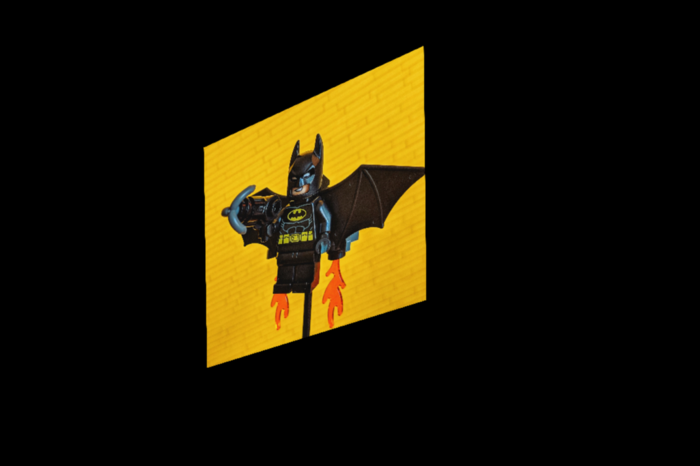
Deformed image
The next step is to create a mask for which we create a blank image with a basic image shape.
mask = np.zeros(base_image.shape, dtype=np.uint8)
Initial mask
On this blank mask, we draw a polygon with the angle specified by "sorted_pts" and use CV2 The fillconvexpoly () method fills it with white, and the generated mask will be as follows.
roi_corners = np.int32(sorted_pts)

cv2.fillConvexPoly(mask, roi_corners, (255, 255, 255))
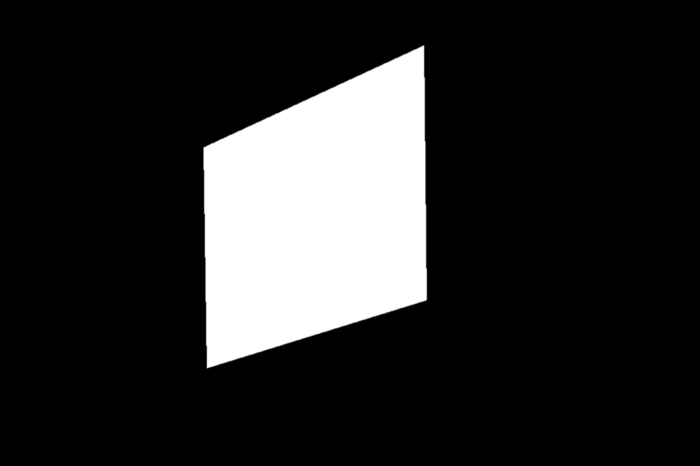
Fill mask
Now we use CV2 bitwise_ The not () method reverses the mask color.
mask = cv2.bitwise_not(mask)
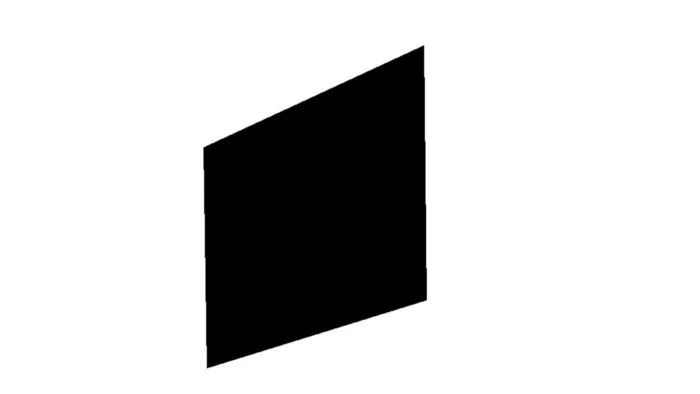
Inverted mask
Now we use CV2 bitwise_ The and () method obtains the mask and the base image and performs bitwise sum operation.
masked_image = cv2.bitwise_and(base_image, mask)
This will provide us with the image shown below. We can see that the area where the object image is placed separately is black.
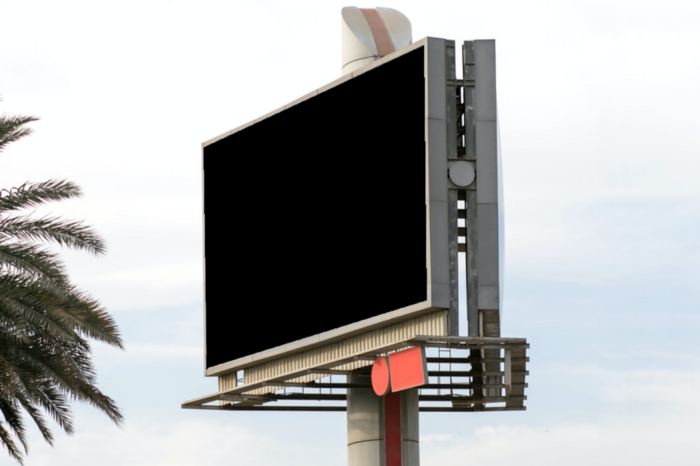
Masked basic image
The last step is to use CV2 bitwise_ Or () method obtains the deformed image and mask image and performs bitwise OR operation, which will generate the fused image we want to complete.
output = cv2.bitwise_or(warped_img, masked_image)
cv2.imshow('Fused Image', output)
cv2.imwrite('Final_Output.png', output)
cv2.waitKey(0)
cv2.destroyAllWindows()
We did it! We have successfully superimposed one picture on another.

Fusion image
This is a very simple use case for perspective transformation. When we track the motion of objects / people in the frame, we can use it to generate an aerial view of the area.
Github code connection:
https://github.com/GSNCodes/Image_Overlaying_Using_Perspective_Transform