Redhat 6.7 x64 upgrade SSH to OpenSSH_8.6p1
This is the original author link: https://www.cnblogs.com/xshrim/p/6472679.html
Introduction
Version 6.7 of Redhat enterprise system comes with an SSH version of OpenSSH_5.3p1. Based on audit and security requirements, it needs to be upgraded to the latest openssh version. The latest version on the current official website is 8.6p1 This document will detail the complete steps of openssh upgrade. It should be noted that although the upgrade process involves the uninstallation of zlib, openssl and openssh, it will not lead to the disconnection of the current SSH Remote connection session. (upload the required source packages to the directory in advance before upgrading, and close selinux if the actual situation allows)
step
1. Preparatory work
1.1. Download relevant software packages
OpenSSH needs to rely on ZLIB and OpenSSL, so you need to download the source packages of the three from the official website. It should be noted that the latest version of OpenSSH is 8.6p1, and the latest version of OpenSSL is 1.1 1g, ZLIB can use the latest version of 1.2 11.
Download address of the three source codes:
http://www.zlib.net/
http://www.openssl.org/
http://www.openssh.org/
Update package connection: https://pan.baidu.com/s/1nINnJtuTMJ62MOu2Pr1Eaw Extraction code: rtjt
1.2. View the current software version of the system
# rpm -q zlib
# openssl version
# ssh -V

1.3. Configure local yum source
#mount /dev/sr0 /media / Mount CD
Configure yum profile
#rm -rf /etc/yum.repos.d / * delete original source
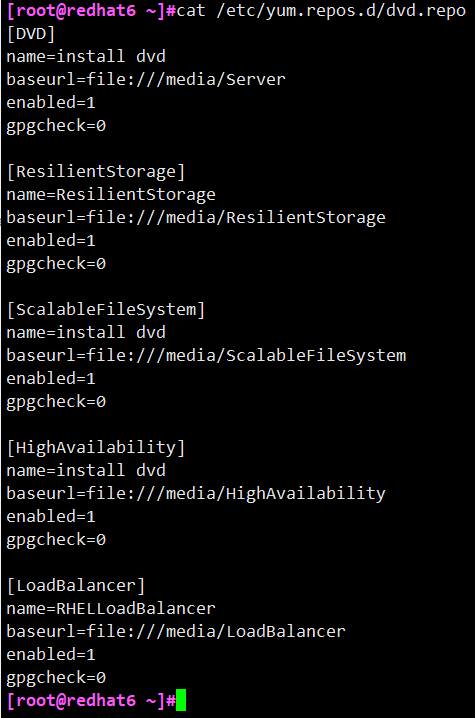
#vi /etc/yum.repos.d/dvd.repo
Add the following:
Test yum environment
#yum clean all # clears the yum cache
#yum list all # lists all packages
1.4. Install and enable telnet service
Because the existing OpenSSH needs to be uninstalled during the upgrade of OpenSSH, in order to keep the remote connection of the server available, telnet service needs to be enabled as an alternative. If there is a problem during the upgrade, you can also log in to the server through telnet to fallback.
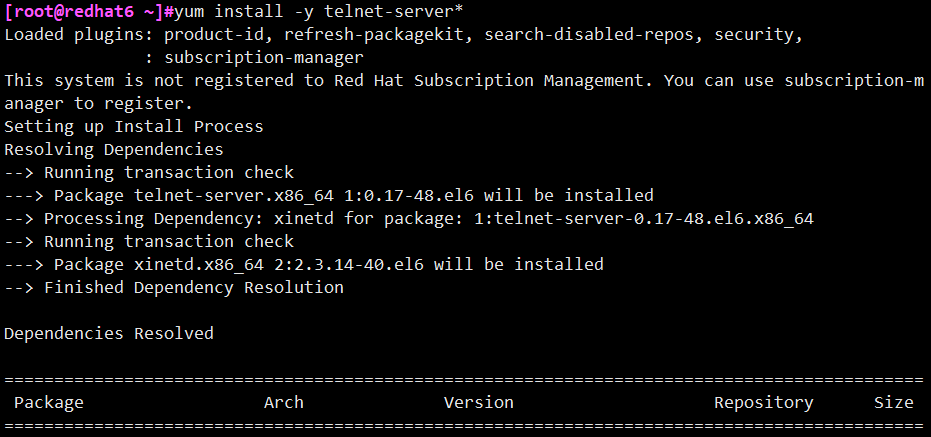
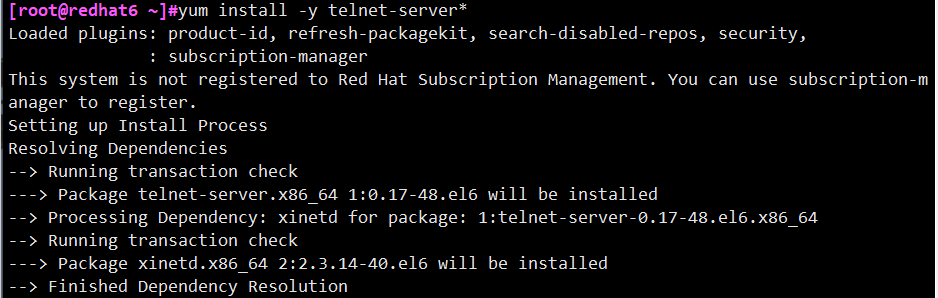
1) Install telnet service
# yum -y install telnet-server*
# yum -y install telnet
2) Enable telnet
Turn off the firewall first, otherwise telnet may not be able to connect
#service iptables stop
#chkconfig iptables off

# vi /etc/xinetd.d/telnet / / change the yes of the disable field to no to enable the telnet service

# mv /etc/securetty /etc/securetty.old / / allow root to log in through telnet
# service xinetd start / / starts the telnet service
# chkconfig xinetd on / / enable the telnet service to start, so as to avoid failure to log in to the system remotely after the server is restarted unexpectedly during the upgrade process

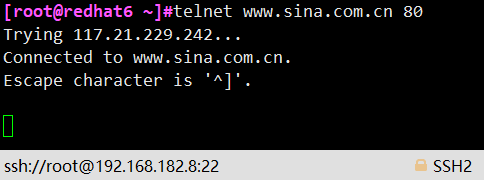
# telnet [ip] / / open a new remote terminal and log in to telnet to verify whether it is enabled successfully
1.5. Install the toolkit required for compilation
# yum -y install gcc pam-devel zlib-devel
2. Formal upgrade
2.1. Upgrade ZLIB
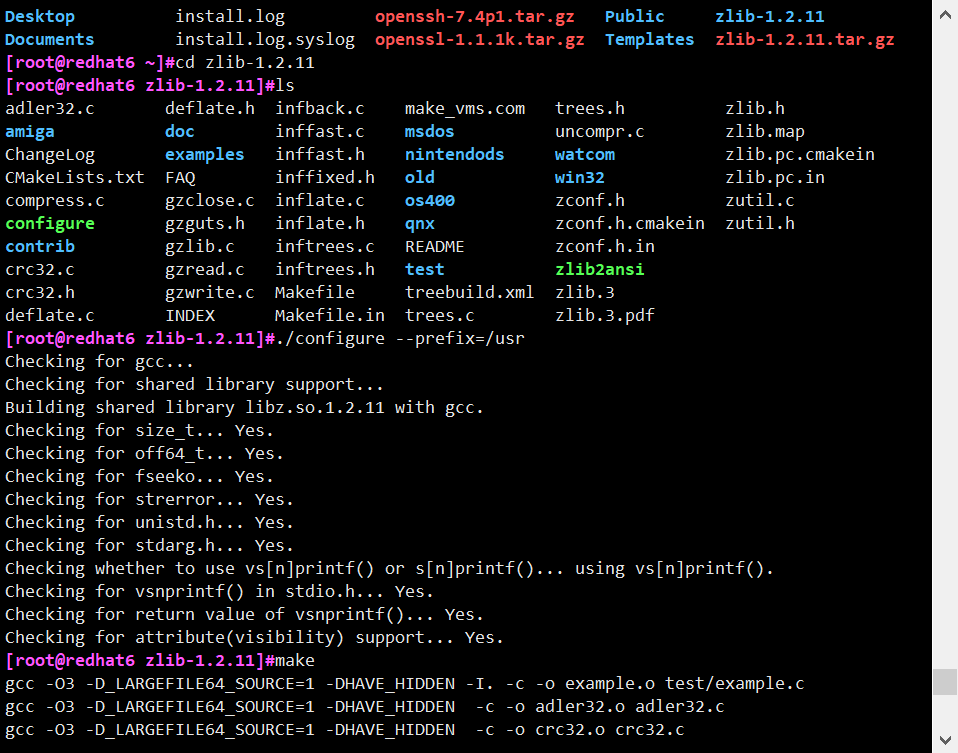
1) Unzip zlib_1.2.11 source code and compile
# tar -zxvf zlib-1.2.11.tar.gz

# cd zlib-1.2.11
# ./configure --prefix=/usr
# make
2) Uninstall the current zlib
Note: this step must be executed after step 1). Otherwise, after uninstalling zlib, the zlib related library files in / lib64 / directory will be deleted. Step 1) compiling zlib will fail. (remedy: copy libcrypto.so.10, libssl.so.10, libz.so.1 and libz.so.1.2.3 in / lib64, / usr/lib and / usr/lib64 directories from the server of the same system to the corresponding directory. You can find the location of these files through whereis, locate or find commands)
# rpm -e --nodeps zlib

3) zlib compiled before installation
Execute the following command in the zlib compilation directory
# make install

4) Shared library registration
After zlib is installed, zlib related library files will be produced in the / usr/lib directory. These shared library files need to be registered in the system.
# echo ‘/usr/lib’ >> /etc/ld. so. Conf / / output append redirect to this file
# ldconfig / / update the shared library cache

You can verify whether the update is successful through the yum list command (if the update fails, yum is not available). In addition, the 5. * versions of redhat and centos do not support zlib versions higher than 1.2.3.
2.2. Upgrade OpenSSL
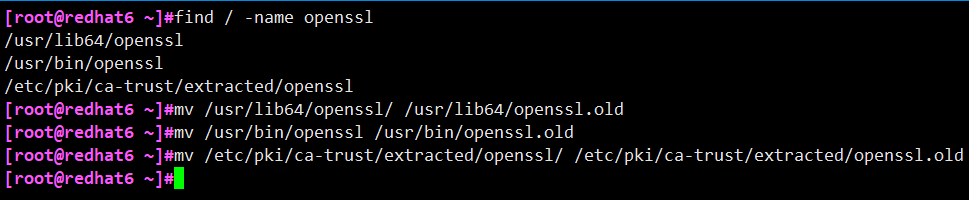
1) Backup current openssl
# find / -name openssl
# mv  /usr/lib64/openssl /usr/lib64/openssl.old
# mv  /usr/bin/openssl  /usr/bin/openssl.old
# mv  /etc/pki/ca-trust/extracted/openssl /etc/pki/ca-trust/extracted/openssl.old
The following two library files must be backed up first, because some tools in the system (such as yum, wget, etc.) depend on this library, and the new version of OpenSSL does not include these two libraries
# cp  /usr/lib64/libcrypto.so.10  /usr/lib64/libcrypto.so.10.old
# cp  /usr/lib64/libssl.so.10  /usr/lib64/libssl.so.10.old

2) Uninstall current openssl
# rpm -qa | grep openssl
openssl-1.0.1e-42.el6.x86_64
# rpm -e --nodeps openssl-1.0.1e-42.el6.x86_64
# rpm -qa | grep openssl

3) Unzip opessl_1.1.1g source code and compile and install
# tar -zxvf openssl-1.1.1g.tar.gz

# cd openssl-1.1.1g
# ./ config --prefix=/usr --openssldir=/etc/ssl --shared zlib / / you must add -- shared, otherwise an error will be reported when the newly installed openssl library is not found during compilation

# make

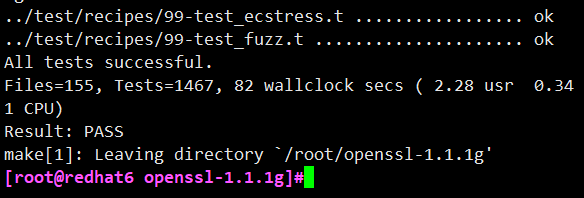
# make test / / you must execute this step and the result is pass to continue. Otherwise, ssh cannot be used even after the installation is completed
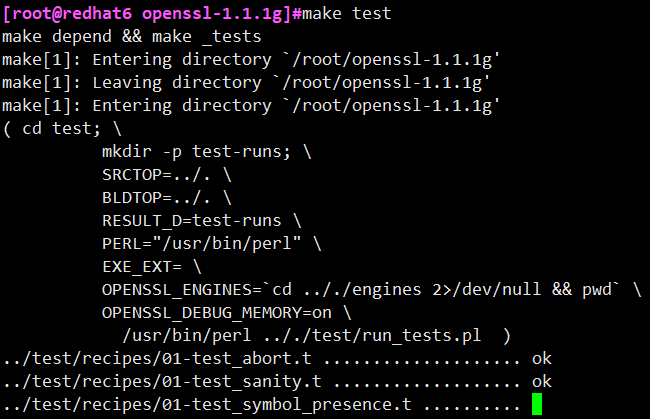
Then it is found that an error is reported
Reasons for error reporting; The reason is that the two perl modules are not installed or have the wrong version. The two perl modules are Test::More and Text::Template. There are two ways to install perl modules: the first is online installation, and the second is offline installation of source code (this method is suitable for servers isolated from the Internet)
This is an original solution connection: https://blog.csdn.net/yxy369/article/details/104517168
Method 1:
# perl -MCPAN -e "shell"
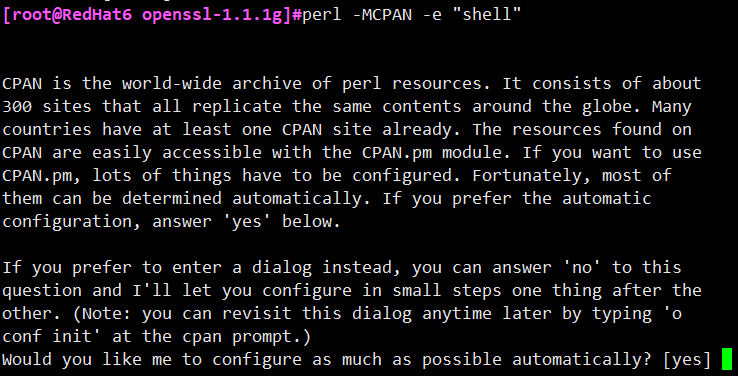
After entering the interactive mode, some configurations will be made when the command is executed for the first time. Just press the default configuration. Then install Text::Template

Method 2: from cpan( http://search.cpan.org/ )Search and download the source code package of Test::More and Text::Template modules, test-simple-1.302186 tar. GZ and text template-1.58 tar. GZ (the latest version of these two packages). The installation methods of these two packages are the same. Here, take the installation of Text::Template module as an example:
[root@localhost ~]# tar -zxvf Text-Template-1.58.tar.gz
[root@localhost ~]# cd Text-Template-1.58
[root@localhost Text-Template-1.58]# perl Makefile.PL
[root@localhost Text-Template-1.58]# make && make test && make install
Link: https://pan.baidu.com/s/1mVfb34tJ0H3YcjCUci5E4Q Extraction code: e6cd
Compile the test again and install openssl-1.1 1g

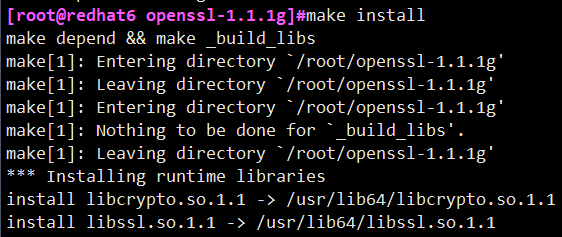
# make install
# openssl version -a / / check whether the upgrade succeeds

4) Restore shared library
Because OpenSSL_1.1.1g libcrypto is not provided so. 10 and libssl so. 10 these two libraries, and tools such as yum and wget depend on this library. Therefore, it is necessary to restore the previously backed up two libraries. Whether to restore others can be considered as appropriate.
# mv  /usr/lib64/libcrypto.so.10.old  /usr/lib64/libcrypto.so.10
# mv  /usr/lib64/libssl.so.10.old  /usr/lib64/libssl.so.10
2.3. Upgrade OpenSSH
1) Backup current openssh
# mv /etc/ssh /etc/ssh.old
2) Uninstall current openssh
# rpm -qa | grep openssh
# rpm -e --nodeps openssh-5.3p1-117.el6.x86_64
# rpm -e --nodeps openssh-server-5.3p1-117.el6.x86_6
# rpm -e --nodeps openssh-clients-5.3p1-117.el6.x86_64
# rpm -e --nodeps openssh-askpass-5.3p1-117.el6.x86_64
# rpm -qa | grep openssh

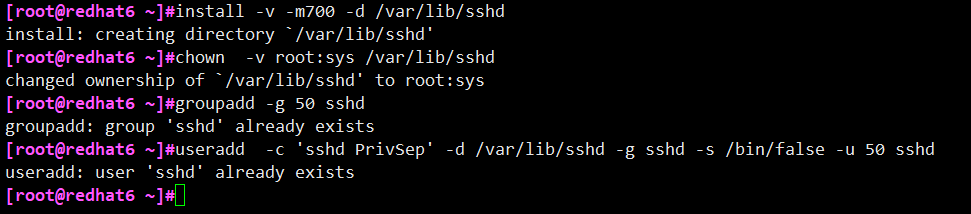
3) Environment configuration before openssh installation
# install  -v -m700 -d /var/lib/sshd
# chown  -v root:sys /var/lib/sshd
# groupadd -g 50 sshd # useradd  -c 'sshd PrivSep' -d /var/lib/sshd -g sshd -s /bin/false -u 50 sshd
4) Unzip openssh_7.4p1 source code and compile and install
# tar -zxvf openssh-8.6p1.tar.gz

# cd openssh-8.6p1
# ./configure --prefix=/usr  --sysconfdir=/etc/ssh  --with-md5-passwords  --with-pam  --with-zlib --with-openssl-includes=/usr --with-privsep-path=/var/lib/sshd

# make

# make install

5) Environment configuration after openssh installation
Execute the following command in the openssh compilation directory
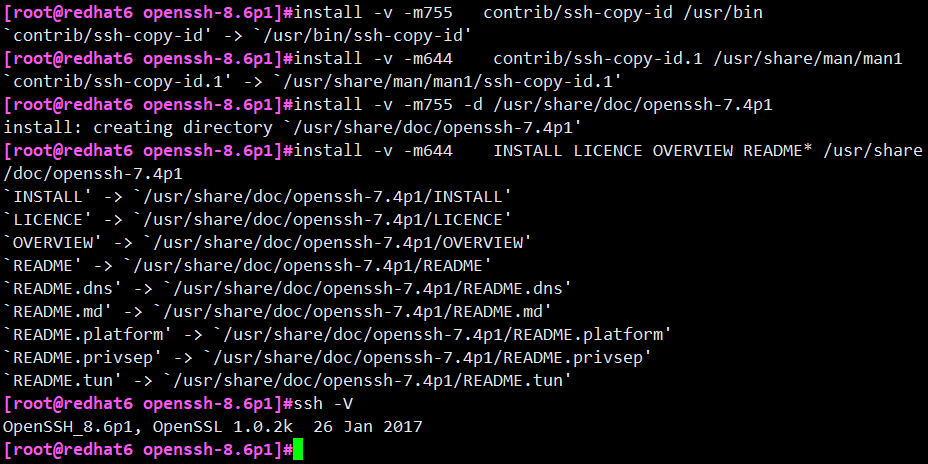
# install -v -m755    contrib/ssh-copy-id /usr/bin
# install -v -m644    contrib/ssh-copy-id.1 /usr/share/man/man1
# install -v -m755 -d /usr/share/doc/openssh-7.4p1
# install -v -m644    INSTALL LICENCE OVERVIEW README* /usr/share/doc/openssh-7.4p1
# ssh -V              #Verify that the upgrade was successful
6) Enable openssh service
Execute the following directory in the openssh compilation directory
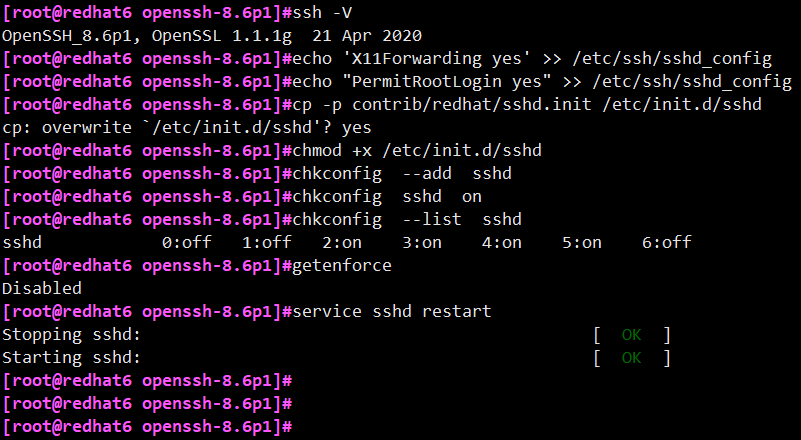
# echo 'X11Forwarding yes' >> /etc/ssh/sshd_config
# echo "PermitRootLogin yes" >> /etc/ssh/sshd_ Config / / allow root to log in via SSH
# cp -p contrib/redhat/sshd.init /etc/init.d/sshd
# chmod +x /etc/init.d/sshd
# chkconfig  --add  sshd
# chkconfig  sshd  on
# chkconfig  --list  sshd
# service sshd restart
Note: if the upgrade operation is always carried out in the ssh Remote session, the above sshd service restart command may cause the session to be disconnected and unable to log in Using ssh (i.e. ssh fails to restart successfully). At this time, you need to log in through telnet and then execute the sshd service restart command. The call back interrupt generally does not occur when upgrading to 8.6, but may occur when upgrading to 7.4.
3. Aftercare work (openssh 6.7 is used here, for example, and others are the same)
You may find that you cannot connect Using ssh connection. You need to restart the ssh service again to connect.

Newly open the remote terminal and log in to the system with ssh [ip]. After confirming that everything is normal and the upgrade is successful, just close the telnet service to ensure the system security.
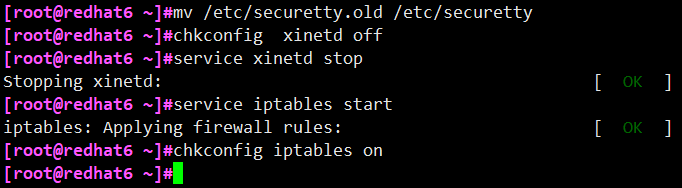
# mv /etc/securetty.old /etc/securetty
# chkconfig  xinetd off # service xinetd stop
If necessary, reopen the firewall (according to environmental requirements)
# service iptables start
# chkconfig iptables on
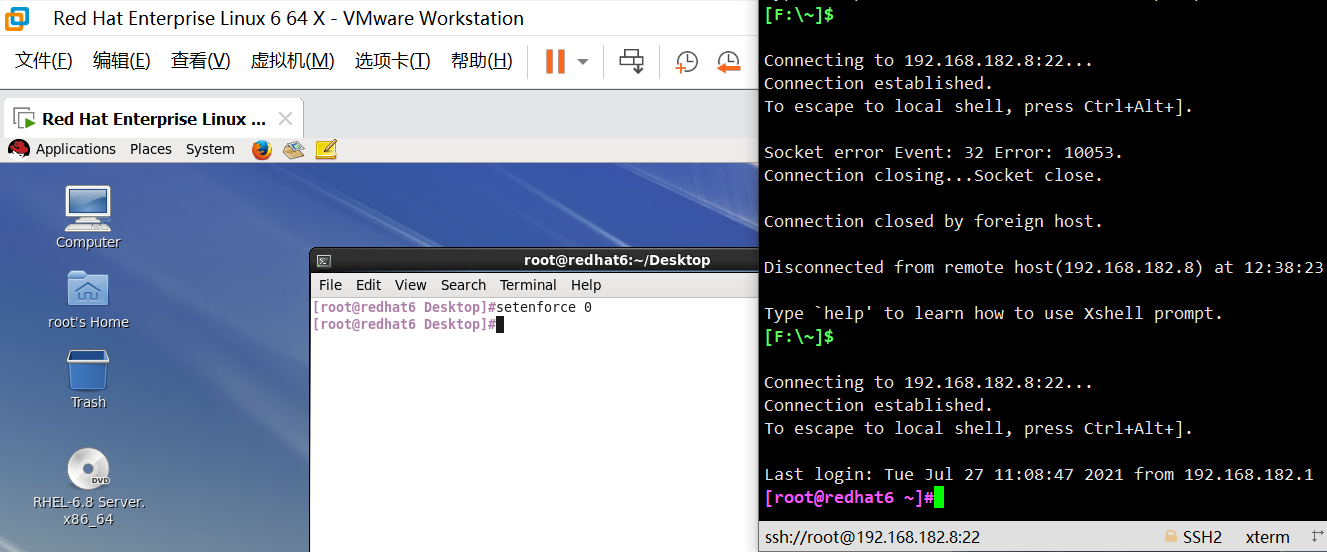
If you restart the system, it will send a message that you can't connect again

Solution: turn off selinux (it is a firewall problem. If the environment allows, turn off selinux before upgrading)
#Setenforce0 / / is to temporarily shut down selinux
#Sed - i.bak's / SELinux = enforcing / SELinux = disabled / g '/ etc / SELinux / config / / permanently shut down (effective after restart)