rsync and gitlab use, svn installation
1. Introduction to Rsync
rsync is a data image backup tool under linux system. Using the fast incremental backup tool Remote Sync, you can synchronize remotely, support local replication, or synchronize with other SSH and rsync hosts.
2.rsync features
rsync supports many features:
- You can mirror and save the entire directory tree and file system
- It is easy to maintain the permissions, time, soft and hard links of the original files
- Installation without special permission
- Fast: rsync will copy all the contents during the first synchronization, but only the modified files will be transferred next time. rsync can compress and decompress data, so it can use less bandwidth
- Security: you can use scp, ssh and other methods to transfer files. Of course, you can also connect directly through socket
- Support anonymous transmission to facilitate website mirroring
3. ssh authentication protocol based on Rsync
Before using rsync command to synchronize system files, log in to remote host for authentication. There are two protocols used in the authentication process:
- ssh protocol
- rsync protocol
rsync server`The terminal does not need to be started`rsync`of`daemon`Process, just get`remote host`The user name and password can be used directly`rsync`synchronize files
`rsync server`Because the terminal does not need to be started`daemon`Process, so there is no configuration file`/etc/rsyncd.conf
The principle of ssh authentication protocol is the same as that of scp. If you don't want to enter a password during synchronization, use ssh keygen - t RSA to open the channel
//This method omits - e ssh by default, which is equivalent to the following:
rsync -avz /SRC -e ssh root@172.16.12.129:/DEST
    -a  //The file host changes and the timestamp remains unchanged
    -z  //Compressed data transmission

//When the port needs to be modified, we can:
rsync -avz /SRC -e "ssh -p2222" root@172.16.12.129:/DEST
//The ssh protocol port is modified. The default is 22
4.rsync command
//There are three common command formats for Rsync:
    rsync [OPTION]... SRC DEST
    rsync [OPTION]... SRC [USER@]HOST:DEST
    rsync [OPTION]... [USER@]HOST:SRC DEST
Corresponding to the above three command formats, rsync has three different working modes
1. Copy local files. This operation mode is started when the SRC and DES path information do not report that the line has a single colon ":" separator. as
[root@node1 ~]# yum -y install rsync
 Last metadata expiration check: 21:16:45 Before, it was executed at 04:56:57 on Sunday, October 10, 2021.
[root@node1 ~]# rsync -a zabbix_server.sh shen.sh
[root@node1 ~]# ll
 Total consumption 12
-rw-------. 1 root root 1087 7 February 13:30 anaconda-ks.cfg
-rwxr-xr-x. 1 root root 2228 10 July 10:43 shen.sh
-rwxr-xr-x. 1 root root 2228 10 July 10:43 zabbix_server.sh
[root@node1 ~]#
2. A remote shell program is used to copy the contents of the local machine to the remote machine. This mode is started when the DST path address package \ contains a single colon ":" separator
[root@node1 ~]# rsync -avz shen.sh  root@192.168.100.147 : / root / / synchronize shen.sh on node1 to node2
The authenticity of host '192.168.100.147 (192.168.100.147)' can't be established.
ECDSA key fingerprint is SHA256:r5uhMkBRTNxvYYvWxormTvBxafc0DHlna23cHgnhfl4.
Are you sure you want to continue connecting (yes/no/[fingerprint])? yes
Warning: Permanently added '192.168.100.147' (ECDSA) to the list of known hosts.
root@192.168.100.147's password:
sending incremental file list
shen.sh

sent 1,182 bytes  received 35 bytes  347.71 bytes/sec
total size is 2,228  speedup is 1.83
[root@node1 ~]#

[root@node2 ~]# ls / / view
shen.sh
[root@node2 ~]#
3. A remote shell program is used to copy the contents of the remote machine to the local machine. This mode is started when the SRC address path contains a single colon ":" separator. For example:
[root@node1 ~]# ls
anaconda-ks.cfg  zabbix_server.sh
[root@node1 ~]# rsync -avz root@192.168.100.147:/root/shen.sh .
root@192.168.100.147's password:
receiving incremental file list
shen.sh

sent 43 bytes  received 1,182 bytes  490.00 bytes/sec
total size is 2,228  speedup is 1.82
[root@node1 ~]#
[root@node1 ~]# ls
anaconda-ks.cfg  shen.sh  zabbix_server.sh
[root@node1 ~]#
Common options
    -a, --archive       //file
    -v, --verbose       //Verbose mode
    -q, --quiet         //silent mode
    -r, --recursive     //recursion
    -p, --perms         //Keep the original permission attribute
    -z, --compress      //Compress during transmission to save bandwidth and speed up transmission
    --delete            //Deletions made on the source server are also synchronized on the target server
5.rsync+inotify
Compared with the traditional cp and tar backup methods, rsync has the advantages of high security, fast backup and supporting incremental backup. rsync can solve the data backup requirements with low real-time requirements, such as regularly backing up the file server data to the remote server, regularly mirroring the local disk, etc.
With the continuous expansion of the scale of the application system, there are better requirements for the security and reliability of data. rsync has gradually exposed many deficiencies in the high-end business system. First, when rsync synchronizes data, it needs to scan all files for comparison and differential transmission. If the number of files reaches the order of millions or even tens of millions, scanning all files will be very time-consuming. And what is changing is often a small part of it, which is a very inefficient way. Secondly, rsync can't monitor and synchronize data in real time. Although it can trigger synchronization through the linux daemon, there must be a time difference between the two trigger actions, which may lead to inconsistency between the server and client data and can't completely recover the data in case of application failure. For the above reasons, the rsync+inotify combination appears!
Inotify is a powerful, fine-grained and asynchronous file system event monitoring mechanism. Since 2.6.13, the linux kernel has added inotify support. Inotify can monitor various subtle events such as addition, deletion, modification and movement in the file system. Using this kernel interface, third-party software can monitor various changes of files in the file system, Inotify tools is such a third-party software.
As mentioned earlier, rsync can realize triggered file synchronization, but triggered by crontab daemon, the synchronized data will be different from the actual data. inotify can monitor various changes in the file system and trigger rsync synchronization when there is any change in the file, which just solves the real-time problem of synchronized data.
Environmental description
| Server type | ip address | application | operating system |
|---|---|---|---|
| Source server | 192.168.100.146 | Rsync inotify tools script | centos8 |
| Target server | 192.168.100.147 | rsync | centos8 |
demand
- Synchronize the / etc directory on the source server to / tmp / on the target server in real time
Do the following on the target server
5.1 turn off firewall and selinux
[root@node2 ~]# systemctl stop firewalld
[root@node2 ~]# systemctl disable firewalld
[root@node2 ~]# getenforce
Enforcing
[root@node2 ~]# setenforce 0
[root@node2 ~]# sed -ri 's/^(SELINUX=).*/\1disabled/g' /etc/sysconfig/selinux
[root@node2 ~]#
5.2. Install rsync server software
[root@node2 ~]# yum -y install rsync  rsync-daemon
 Last metadata expiration check: 0:15:49 Before, it was executed at 02:17:35 on Monday, October 11, 2021.
5.3. Setting rsyncd.conf configuration file
[root@node2 ~]# cat /etc/rsyncd.conf
log file = /var/log/rsyncd.log
pidfile = /var/run/rsyncd.pid
lock file = /var/run/rsync.lock
secrets file = /etc/rsync.pass

[etc_from_client]
path = /tmp/
comment = sync etc from client
uid = root
gid = root
port = 873
ignore errors
read only = no
list = no
max connections = 200
timeout = 600
auth users = admin
hosts allow = 192.168.100.146
[root@node2 ~]#
5.4. Create user authentication file
[root@node2 ~]# echo 'admin:123456' > /etc/rsync.pass
[root@node2 ~]# cat /etc/rsync.pass
admin:123456
[root@node2 ~]#
5.6 setting user permissions
[root@node2 ~]# chmod 600 /etc/rsync*
[root@node2 ~]# ll /etc/rsync*
-rw-------. 1 root root 427 10 November 2:36 /etc/rsyncd.conf
-rw-------. 1 root root  13 10 November 2:37 /etc/rsync.pass
[root@node2 ~]#
5.5. Start rsync service and set startup self startup
[root@node2 ~]# systemctl start rsyncd
[root@node2 ~]# systemctl enable rsyncd
Created symlink /etc/systemd/system/multi-user.target.wants/rsyncd.service → /usr/lib/systemd/system/rsyncd.service.
[root@node2 ~]#
[root@node2 ~]# ss -antl
State   Recv-Q  Send-Q   Local Address:Port         Peer Address:Port       Process
LISTEN  0       128            0.0.0.0:22                0.0.0.0:*
LISTEN  0       128            0.0.0.0:10050             0.0.0.0:*
LISTEN  0       128            0.0.0.0:10051             0.0.0.0:*
LISTEN  0       128          127.0.0.1:9000              0.0.0.0:*
LISTEN  0       5              0.0.0.0:873               0.0.0.0:*
LISTEN  0       128                  *:80                      *:*
LISTEN  0       128               [::]:22                   [::]:*
LISTEN  0       5                 [::]:873                  [::]:*
LISTEN  0       80                   *:3306                    *:*
[root@node2 ~]#
Do the following on the source server:
5.1 turn off firewall and selinux
[root@node1 ~]# systemctl stop firewalld
[root@node1 ~]# systemctl disable firewalld
[root@node1 ~]# getenforce 0
Enforcing
[root@node1 ~]# setenforce 0
[root@node1 ~]# sed -ri 's/^(SELINUX=).*/\1disabled/g' /etc/sysconfig/selinux
[root@node1 ~]#
5.2 download epel source
[root@node1 ~]# yum -y install epel-release
 Last metadata expiration check: 21:56:51 Before, it was executed at 04:56:57 on Sunday, October 10, 2021.
5.3 to install rsync server software, you only need to install, do not start, and do not need to configure
[root@node1 ~]# yum -y install rsync
 Last metadata expiration check: 21:59:22 Before, it was executed at 04:56:57 on Sunday, October 10, 2021.
5.4 create authentication password file
[root@node1 ~]# echo '123456' > /etc/rsync.pass
[root@node1 ~]# cat /etc/rsync.pass
123456
[root@node1 ~]#
5.6 set file permissions. Only the owner has read and write permissions
[root@node1 ~]# chmod 600 /etc/rsync.pass
[root@node1 ~]# ll /etc/rsync.pass
-rw-------. 1 root root 7 10 November 2:56 /etc/rsync.pass
[root@node1 ~]#
Create a test directory on the source server, and then run the command on the source server
[root@node1 ~]# mkdir -pv /root/etc/test
mkdir: Directory created '/root/etc'
mkdir: Directory created '/root/etc/test'
[root@node1 ~]# rsync -avH --port 873 --progress --delete /root/etc/ admin@192.168.100.147::etc_from_client --password-file=/etc/rsync.pass
sending incremental file list
deleting vmware-root_929-3980167385/
deleting systemd-private-f0f28bbe429841d7a4e552036d113fbd-chronyd.service-85RkUe/tmp/
deleting systemd-private-f0f28bbe429841d7a4e552036d113fbd-chronyd.service-85RkUe/
deleting zabbix_server_preprocessing.sock
deleting zabbix_server_lld.sock
deleting zabbix_server_availability.sock
deleting zabbix_server_alerter.sock
deleting zabbix_server.pid
deleting zabbix_server.log
deleting zabbix_agentd.pid
deleting zabbix_agentd.log
deleting mysql.sock.lock
deleting mysql.sock
./
test/

sent 77 bytes  received 458 bytes  1,070.00 bytes/sec
total size is 0  speedup is 0.00
[root@node1 ~]#

[root@node2 ~]# ls /tmp
test
[root@node2 ~]#
5.7 install inotify tools tool and trigger rsync for synchronization in real time
[root@node1 ~]# ll /proc/sys/fs/inotify/
Total consumption 0
-rw-r--r--. 1 root root 0 10 November 3:02 max_queued_events
-rw-r--r--. 1 root root 0 10 November 3:02 max_user_instances
-rw-r--r--. 1 root root 0 10 November 3:02 max_user_watches
[root@node1 ~]#
//If there are three files beginning with max, it means that the server kernel supports inotify
install
[root@node1 ~]# yum -y install make gcc gcc-c++ inotify-tools
 Last metadata expiration check: 22:06:31 Before, it was executed at 04:56:57 on Sunday, October 10, 2021.

Writing synchronization script is the most important step. Please be careful. Let the script automatically detect the changes in the files in the directory we set, and then execute it rsync Command to synchronize it to our server
[root@node1 ~]# mkdir /scripts
[root@node1 ~]# touch /scripts/inotify.sh
[root@node1 ~]# chmod 755 /scripts/inotify.sh
[root@node1 ~]# ll /scripts/inotify.sh
-rwxr-xr-x. 1 root root 0 10 November 3:06 /scripts/inotify.sh
[root@node1 ~]#
[root@node1 ~]# vim /scripts/inotify.sh
[root@node1 ~]# cat /scripts/inotify.sh
host=192.168.100.147
src=/etc
des=etc_from_client
password=/etc/rsync.pass
inotifywait=/usr/bin/inotifywait

$inotifywait -mrq --timefmt '%Y%m%d %H:%M' --format '%T %w%f%e' -e modify,delete,create,attrib $src \
        | while read files;do
    rsync -avzP --delete  --timeout=100 --password-file=${password} $src $user@$host::$des
        echo "${files} was rsynced" >>/tmp/rsync.log 2>&1
done
[root@node1 ~]#
start-up
[root@node1 ~]# nohup bash /scripts/inotify.sh &
[1] 125005
[root@node1 etc]# ps -ef|grep inotify
root       30222   19186  0 03:43 pts/0    00:00:00 bash /scripts/inotify.sh
root       30223   30222  0 03:43 pts/0    00:00:00 /usr/bin/inotifywait -mrq --timefmt %Y%m%d %H:%M --format %T %w%f%e -e modify,delete,create,attrib /etc
root       30224   30222  0 03:43 pts/0    00:00:00 bash /scripts/inotify.sh
root       66722   19186  0 04:03 pts/0    00:00:00 grep --color=auto inotify
[root@node1 etc]#
5.8 testing
Generate a new file on the source server
[root@node2 ~]# ls /etc/yum.repos.d/
CentOS-Stream-AppStream.repo
CentOS-Stream-BaseOS.repo
CentOS-Stream-Debuginfo.repo
CentOS-Stream-Extras.repo
CentOS-Stream-HighAvailability.repo
CentOS-Stream-Media.repo
CentOS-Stream-PowerTools.repo
CentOS-Stream-RealTime.repo
epel-modular.repo
epel-next.repo
epel-next-testing.repo
epel-playground.repo
epel.repo
epel-testing-modular.repo
epel-testing.repo
[root@node2 ~]# echo "hello world" > /etc/yum.repos.d/test
[root@node2 ~]#
//View logs generated by inotify
[root@node1 etc]# tail /tmp/rsync.log
20211011 03:23 /etc/yum.repos.d/testCREATE was rsynced
[root@node1 etc]#
Set basic startup and automatic startup
[root@centos8-1 ~]# chmod +x /etc/rc.d/rc.local
[root@centos8-1 ~]# ll /etc/rc.d/rc.local
-rwxr-xr-x. 1 root root 474 12 January 2020 /etc/rc.d/rc.local
[root@centos8-1 ~]# echo 'nohup /bin/bash /scripts/inotify.sh' >> /etc/rc.d/rc.local
[root@centos8-1 ~]# tail /etc/rc.d/rc.local
#
# In contrast to previous versions due to parallel execution during boot
# this script will NOT be run after all other services.
#
# Please note that you must run 'chmod +x /etc/rc.d/rc.local' to ensure
# that this script will be executed during boot.

touch /var/lock/subsys/local

nohup /bin/bash /scripts/inotify.sh
[root@centos8-1 ~]#
Go to the target server to check whether the newly generated files are automatically transferred:
[root@node2 tmp]# ls
test
[root@node2 tmp]# ls /etc/yum.repos.d
CentOS-Stream-AppStream.repo
CentOS-Stream-BaseOS.repo
CentOS-Stream-Debuginfo.repo
CentOS-Stream-Extras.repo
CentOS-Stream-HighAvailability.repo
CentOS-Stream-Media.repo
CentOS-Stream-PowerTools.repo
CentOS-Stream-RealTime.repo
epel-modular.repo
epel-next.repo
epel-next-testing.repo
epel-playground.repo
epel.repo
epel-testing-modular.repo
epel-testing.repo
test
[root@node2 tmp]#
Version control gitlab
1. Introduction to version control
Version control refers to the management of changes in various program codes, configuration files and description documents in the process of software development. It is one of the core ideas of software configuration management.
The main function of version control is to track file changes. It faithfully records when, who changed what content of the file and other information. Each time a file is changed, the version number of the file will increase. In addition to recording version changes, another important function of version control is parallel development. Software development is often multi person collaborative work. Version control can effectively solve the problems of version synchronization and development communication between different developers, and improve the efficiency of collaborative development. The most common bug correction problem of different versions of software in parallel development can also be effectively solved by branching and merging in version control.
Specifically, in each development task, it is necessary to first set the development baseline and determine the initial development version of each configuration item. In the development process, developers develop the required target version based on the version of the development baseline. In case of demand change, the impact scope of the change shall be determined through the evaluation of the change, the version of the affected configuration item shall be modified, and the version tree of the configuration item shall continue to extend or generate new branches according to the nature of the change to form a new target version, while the configuration item not affected by the change shall not be changed. At the same time, it shall be able to record and track the impact of the change on the version. If necessary, you can also go back to the previous version. For example, when a development requirement or requirement change is cancelled, you need the ability to return the version to the development baseline version. In the process of unpacking and regrouping quarterly upgrade packages, it is actually to return the versions of some configuration items to the development baseline, recombine and merge different branches corresponding to different requirements, and form a new upgrade package version.
Version control is the core function of software configuration management. All elements placed in the configuration library shall be automatically identified with version, and the uniqueness of version naming shall be guaranteed. During version generation, it automatically branches and evolves according to the set usage model. In addition to the version information automatically recorded by the system, in order to cooperate with each stage of the software development process. We also need to define and collect some metadata to record the version auxiliary information and standardize the development process, and prepare for the measurement of software process in the future. Of course, if supported by the selected tools, these auxiliary data will be able to directly count the process data, so as to facilitate the software process improvement activities. For each baseline control item in the configuration library, the corresponding access rights should be set according to the location and status of its baseline. Generally speaking, all versions before the baseline version should be locked. If they need to be changed, they should be operated according to the change control process.
Common version control tools:
- gitlab
- subversion
2.gitlab deployment
Download epel source
[root@localhost ~]# yum -y install epel-release
 Last metadata expiration check: 23:01:41 Before, it was executed at 05:29:26 on Sunday, October 10, 2021.
Dependency resolution.
Install git and dependent packages
[root@localhost ~]# yum -y install git curl openssh-server openssh-clients postfix cronie policycoreutils-python-utils
Start the postfix service and set the boot auto start
[root@localhost ~]# systemctl restart postfix
[root@localhost ~]# systemctl enable postfix
Created symlink /etc/systemd/system/multi-user.target.wants/postfix.service → /usr/lib/systemd/system/postfix.service.
[root@localhost ~]#
Download the rpm package of gitlab
  [root@localhost ~]# wget https://mirrors.tuna.tsinghua.edu.cn/gitlab-ce/yum/el8/gitlab-ce-14.3.2-ce.0.el8.x86_64.rpm
--2021-10-11 06:07:56--  https://mirrors.tuna.tsinghua.edu.cn/gitlab-ce/yum/el8/gitlab-ce-14.3.2-ce.0.el8.x86_64.rpm
 Resolving host mirrors.tuna.tsinghua.edu.cn (mirrors.tuna.tsinghua.edu.cn)... 101.6.15.130, 2402:f000:1:400::2
 on connection mirrors.tuna.tsinghua.edu.cn (mirrors.tuna.tsinghua.edu.cn)|101.6.15.130|:443... Connected.
Issued HTTP Request, waiting for response... 200 OK
 Length: 961561901 (917M) [application/x-redhat-package-manager]
Saving to: "gitlab-ce-14.3.2-ce.0.el8.x86_64.rpm.2"

gitlab-ce-14.3.2-ce.0.el8. 100%[======================================>] 917.02M  5.50MB/s  Time 5 m 8s

2021-10-11 06:13:06 (2.97 MB/s) - Saved“ gitlab-ce-14.3.2-ce.0.el8.x86_64.rpm.2" [961561901/961561901])

[root@localhost src]# ls
debug
gitlab-ce-14.3.2-ce.0.el8.x86_64.rpm
kernels
wget-log
[root@localhost src]#
Install gitlab
[root@localhost src]# rpm -ivh gitlab-ce-14.3.2-ce.0.el8.x86_64.rpm
Warning: gitlab-ce-14.3.2-ce.0.el8.x86_64.rpm: head V4 RSA/SHA256 Signature, secret key ID f27eab47: NOKEY
Verifying...                          ################################# [100%]
In preparation...                          ################################# [100%]
Upgrading/install...
   1:gitlab-ce-14.3.2-ce.0.el8        ################################# [100%]
It looks like GitLab has not been configured yet; skipping the upgrade script.

       *.                  *.
      ***                 ***
     *****               *****
    .******             *******
    ********            ********
   ,,,,,,,,,***********,,,,,,,,,
  ,,,,,,,,,,,*********,,,,,,,,,,,
  .,,,,,,,,,,,*******,,,,,,,,,,,,
      ,,,,,,,,,*****,,,,,,,,,.
         ,,,,,,,****,,,,,,
            .,,,***,,,,
                ,*,.


     _______ __  __          __
    / ____(_) /_/ /   ____ _/ /_
   / / __/ / __/ /   / __ `/ __ \
  / /_/ / / /_/ /___/ /_/ / /_/ /
  \____/_/\__/_____/\__,_/_.___/


Thank you for installing GitLab!
GitLab was unable to detect a valid hostname for your instance.
Please configure a URL for your GitLab instance by setting `external_url`
configuration in /etc/gitlab/gitlab.rb file.
Then, you can start your GitLab instance by running the following command:
  sudo gitlab-ctl reconfigure

For a comprehensive list of configuration options please see the Omnibus GitLab readme
https://gitlab.com/gitlab-org/omnibus-gitlab/blob/master/README.md

Help us improve the installation experience, let us know how we did with a 1 minute survey:
https://gitlab.fra1.qualtrics.com/jfe/form/SV_6kVqZANThUQ1bZb?installation=omnibus&release=14-3

[root@localhost src]#
Modify profile
[root@localhost ~]# vim /etc/gitlab/gitlab.rb
external_url 'http://192.168.100.152 '/ / write your own ip address
Reload the configuration file and restart gitlab
[root@localhost ~]# gitlab-ctl reconfigure
 Slightly......
[root@localhost ~]# gitlab-ctl restart
ok: run: alertmanager: (pid 156524) 1s
ok: run: gitaly: (pid 156643) 0s
ok: run: gitlab-exporter: (pid 156679) 0s
ok: run: gitlab-workhorse: (pid 156702) 0s
ok: run: grafana: (pid 156711) 1s
ok: run: logrotate: (pid 156767) 0s
ok: run: nginx: (pid 156779) 1s
ok: run: node-exporter: (pid 156842) 0s
ok: run: postgres-exporter: (pid 156903) 1s
ok: run: postgresql: (pid 156934) 0s
ok: run: prometheus: (pid 156968) 0s
ok: run: puma: (pid 157002) 0s
ok: run: redis: (pid 157015) 0s
ok: run: redis-exporter: (pid 157037) 1s
ok: run: sidekiq: (pid 157421) 1s
[root@localhost ~]#
View current version
[root@localhost ~]# head -1 /opt/gitlab/version-manifest.txt
gitlab-ce 14.3.2
[root@localhost ~]#
Set password and turn off firewall
[root@localhost ~]# vim /etc/gitlab/initial_root_password
Password: shenlongfei123
[root@localhost ~]# systemctl stop firewalld
[root@localhost ~]# setenforce 0
[root@localhost ~]#
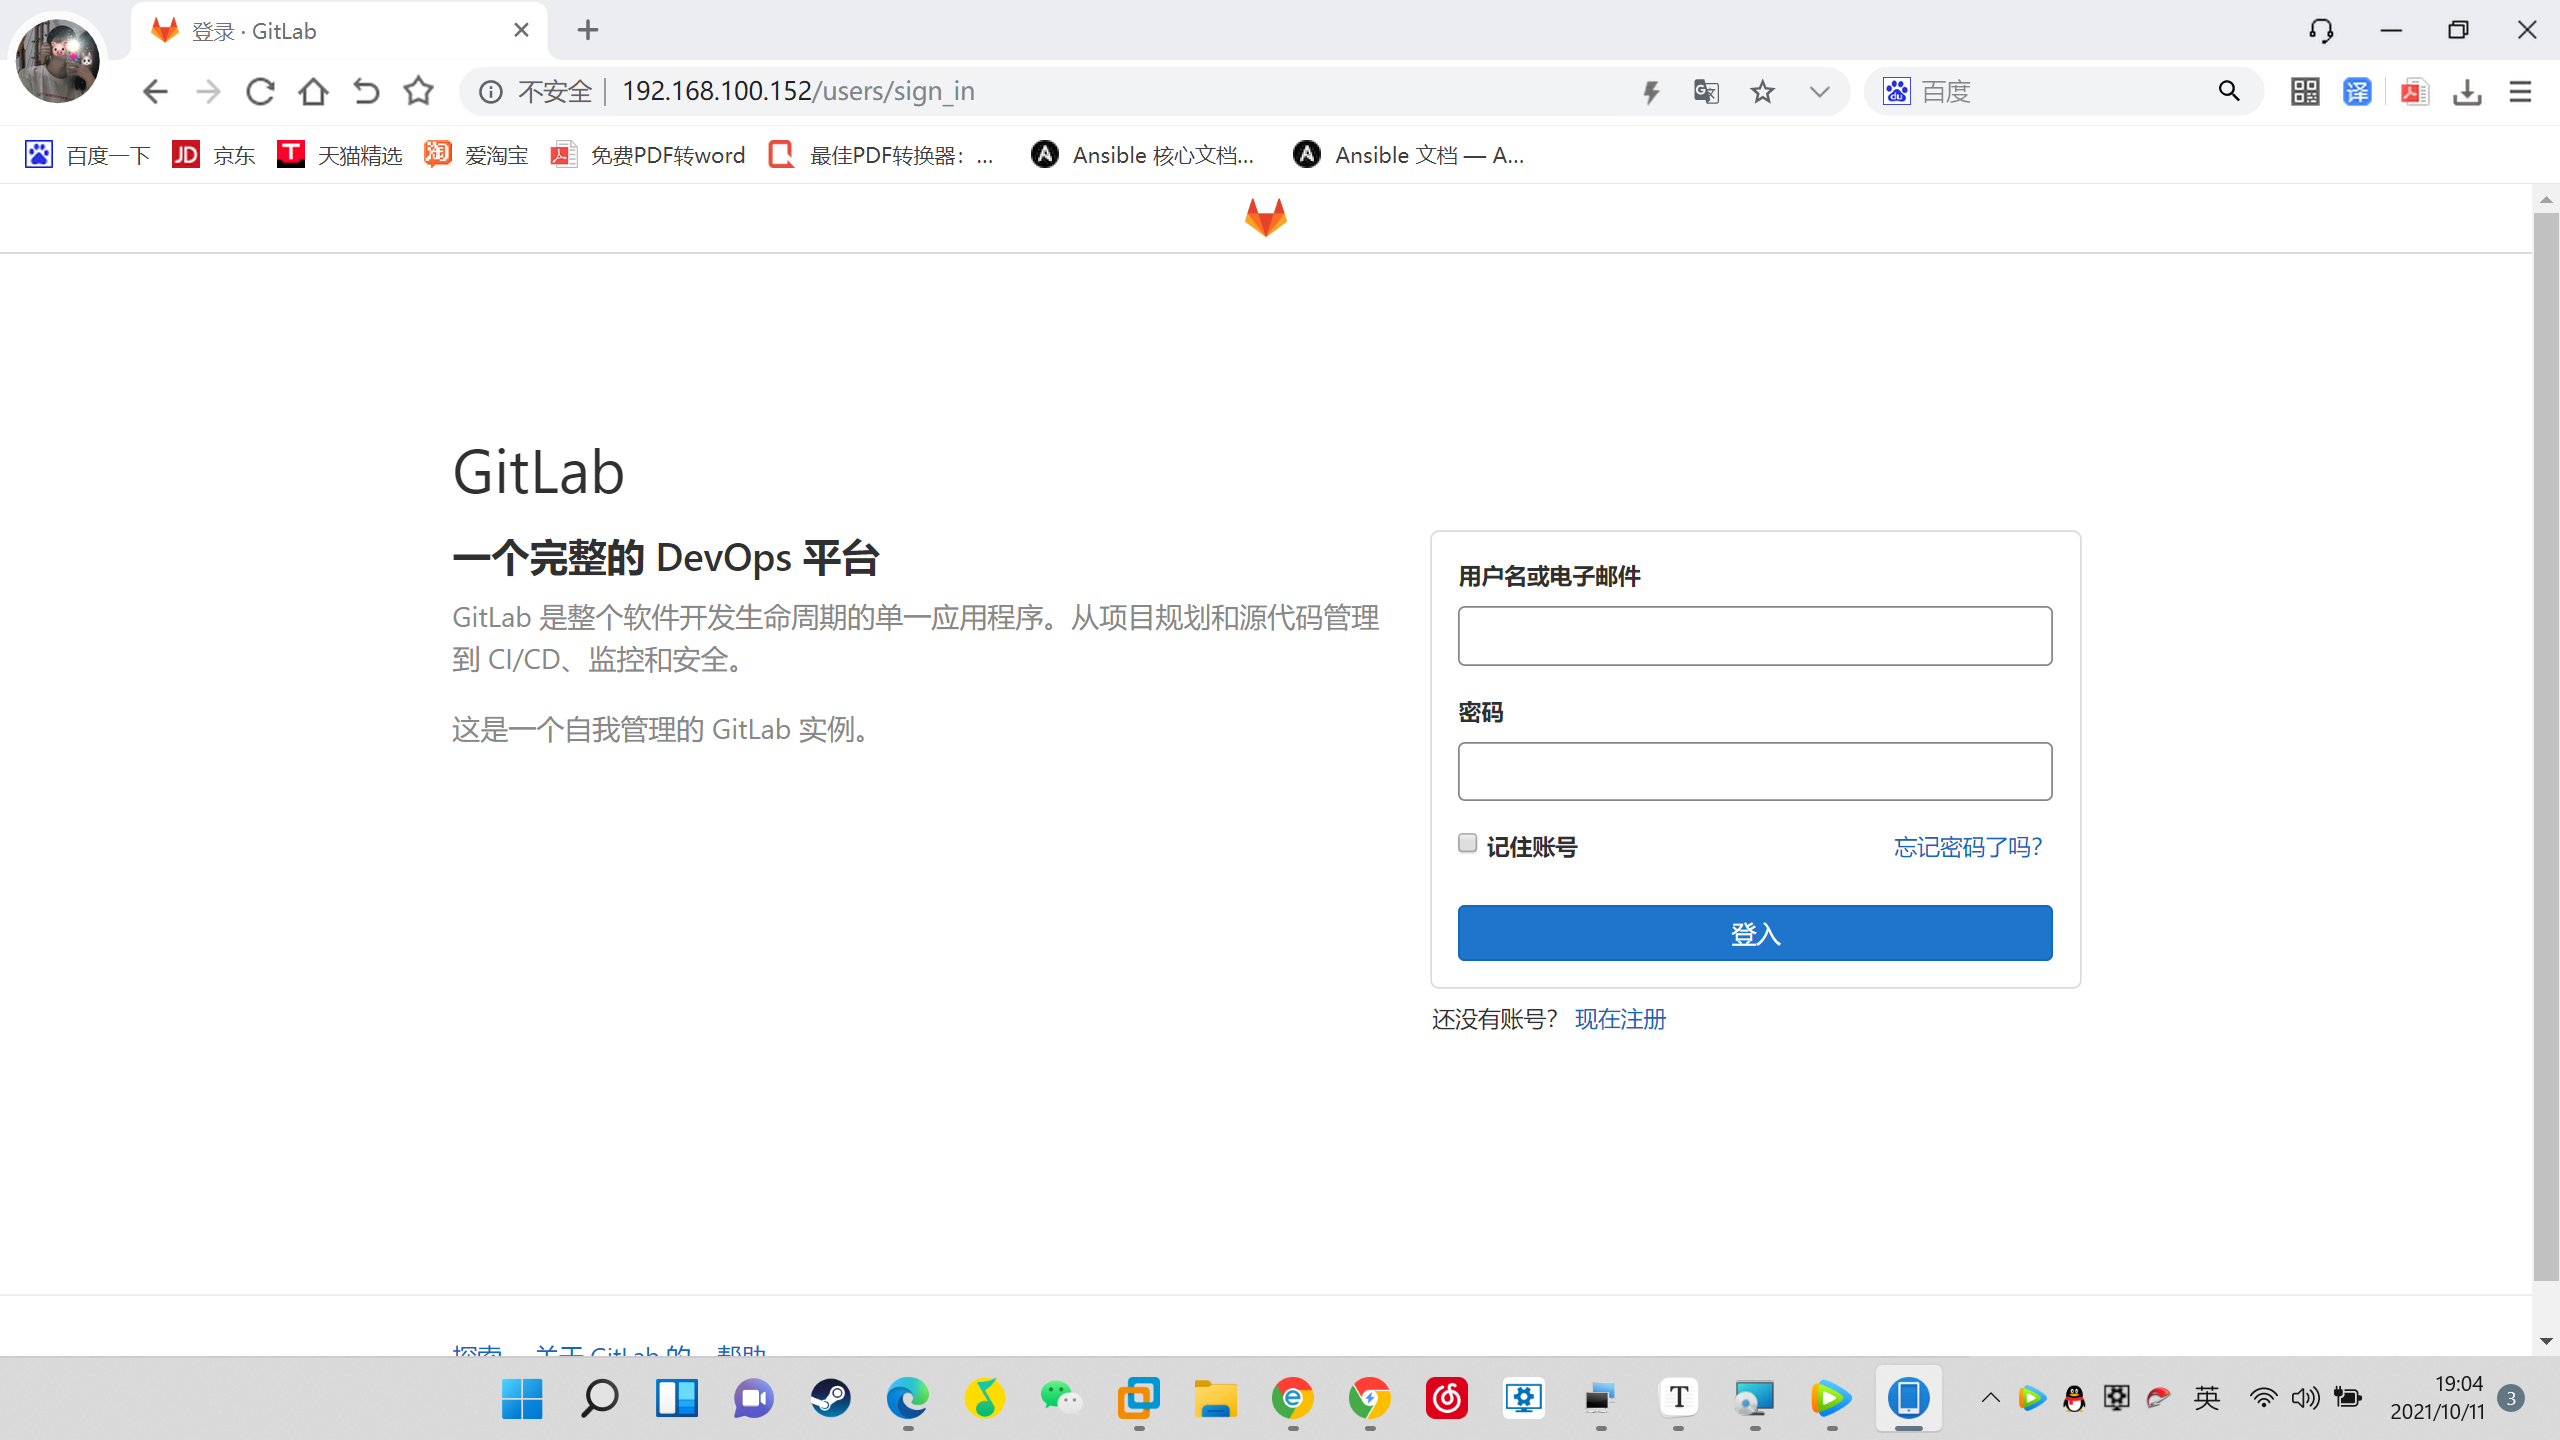
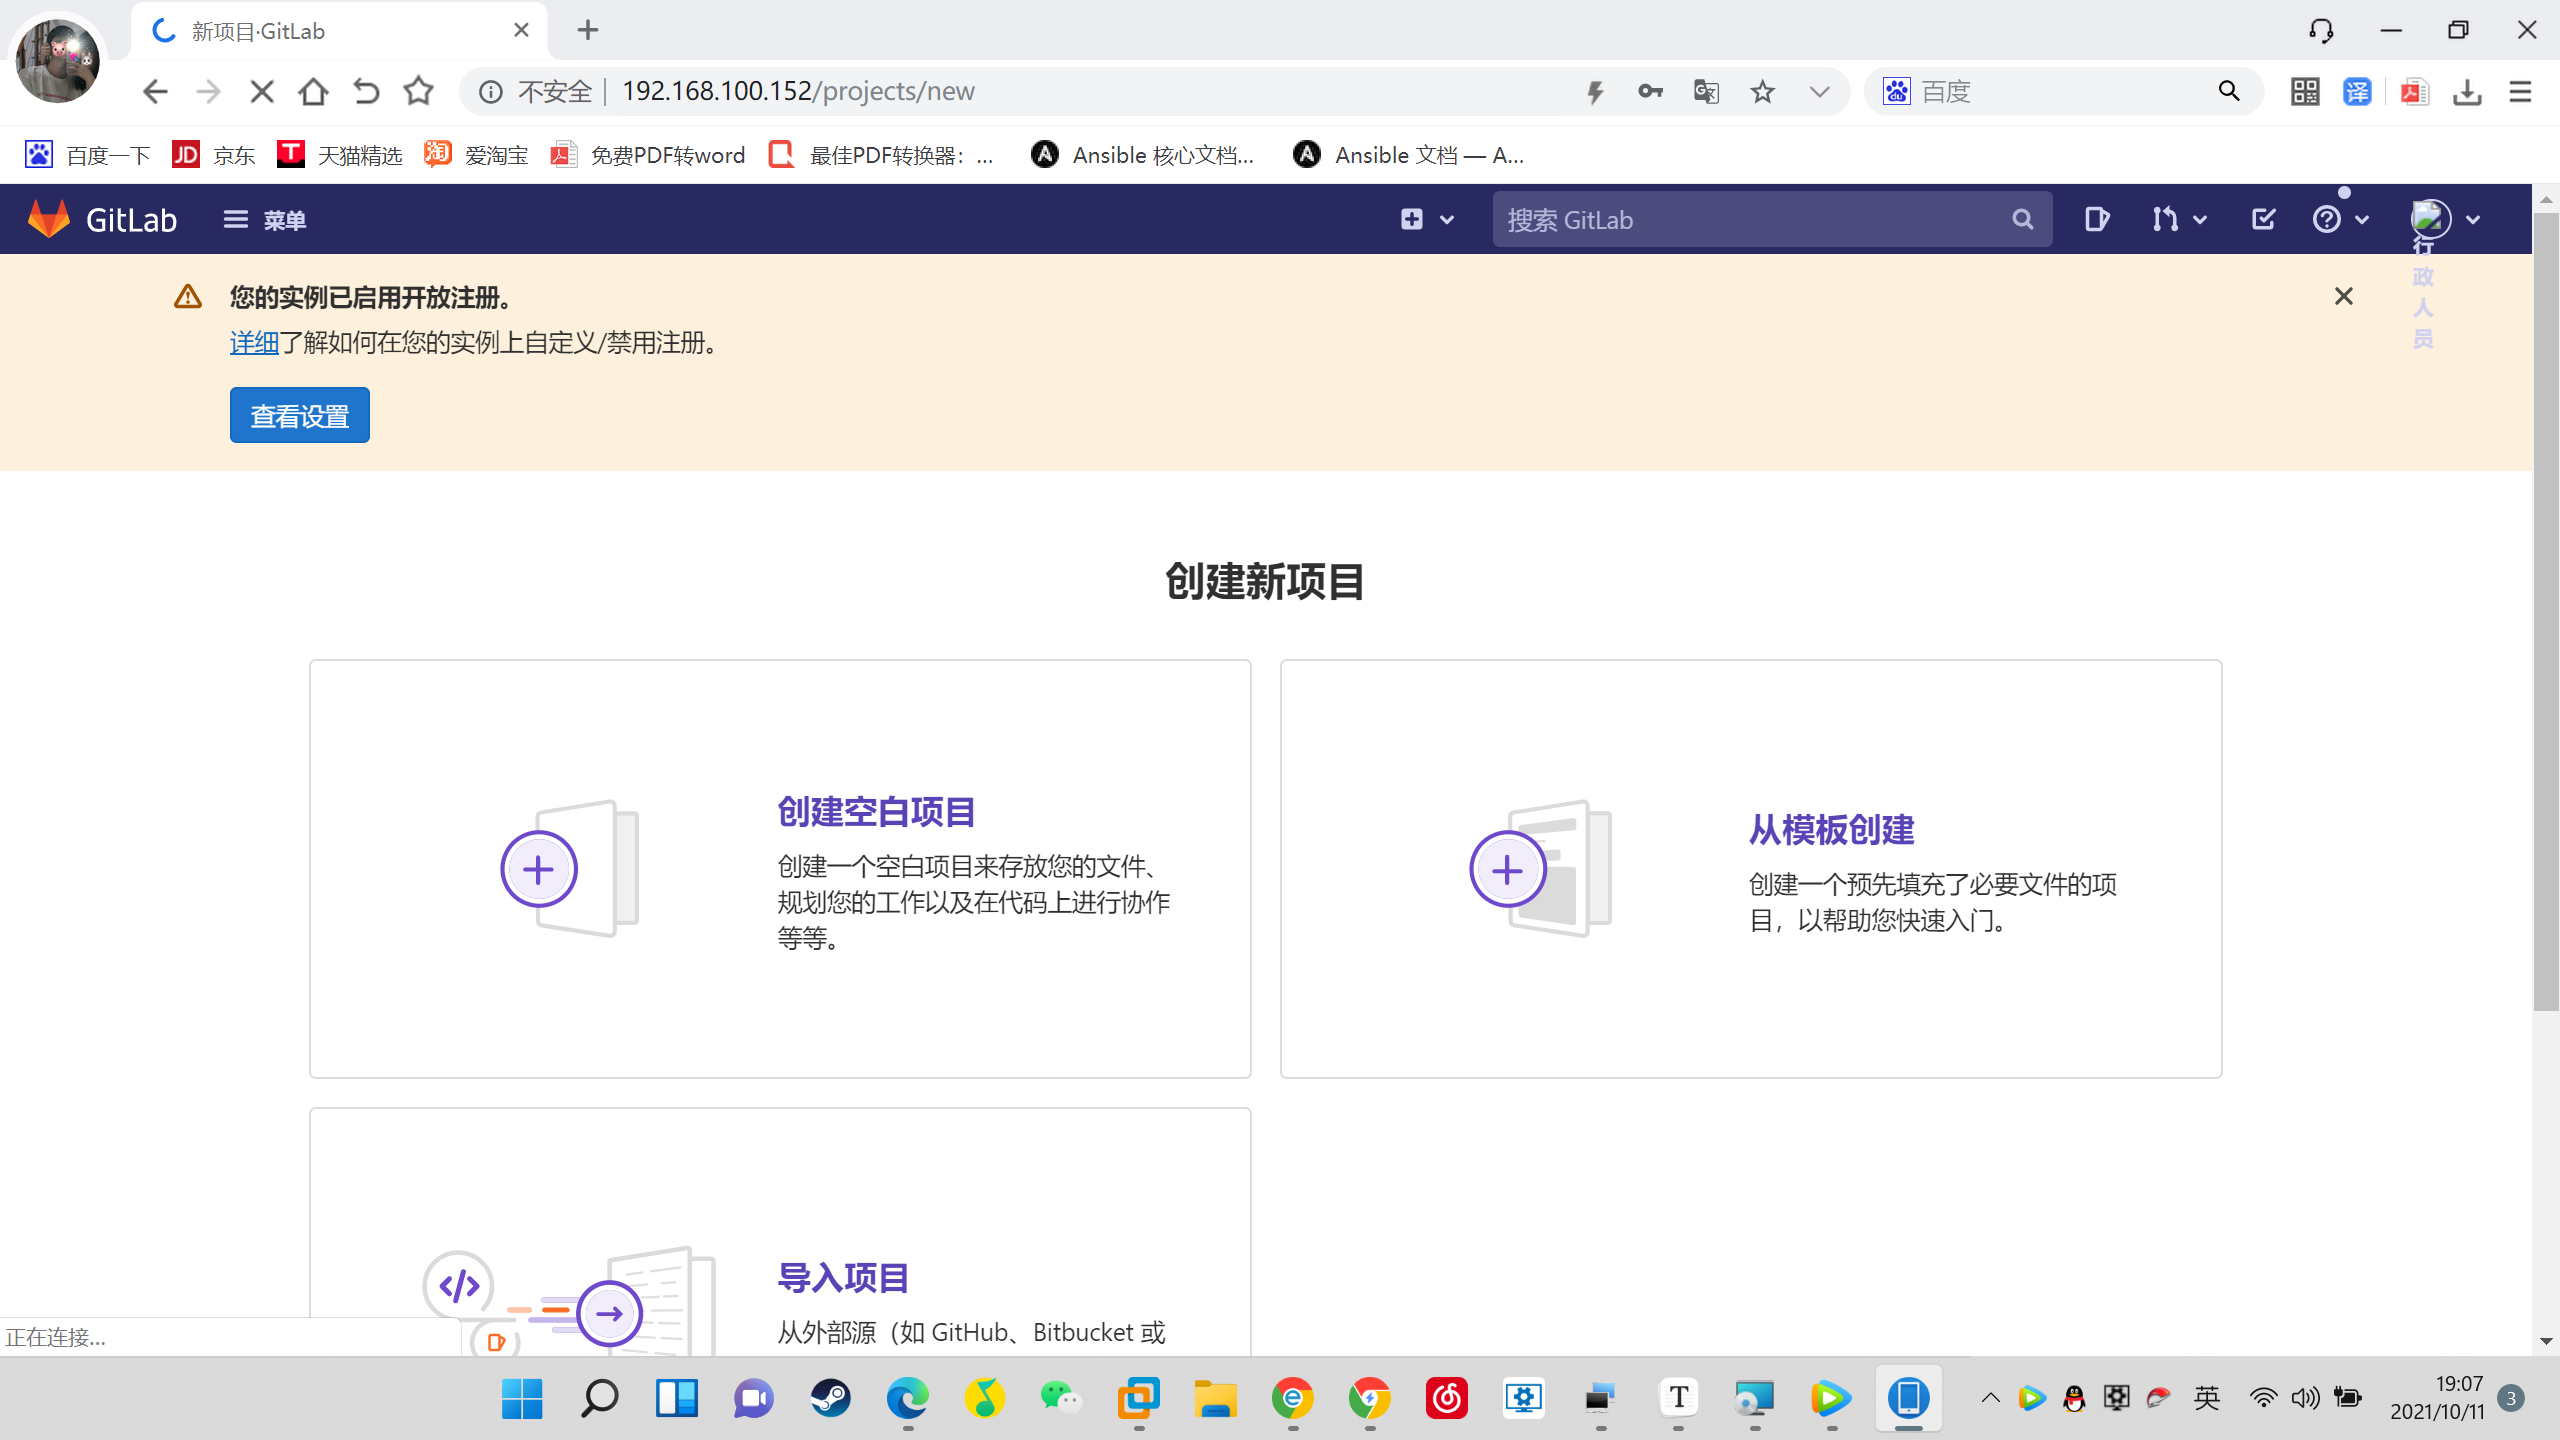
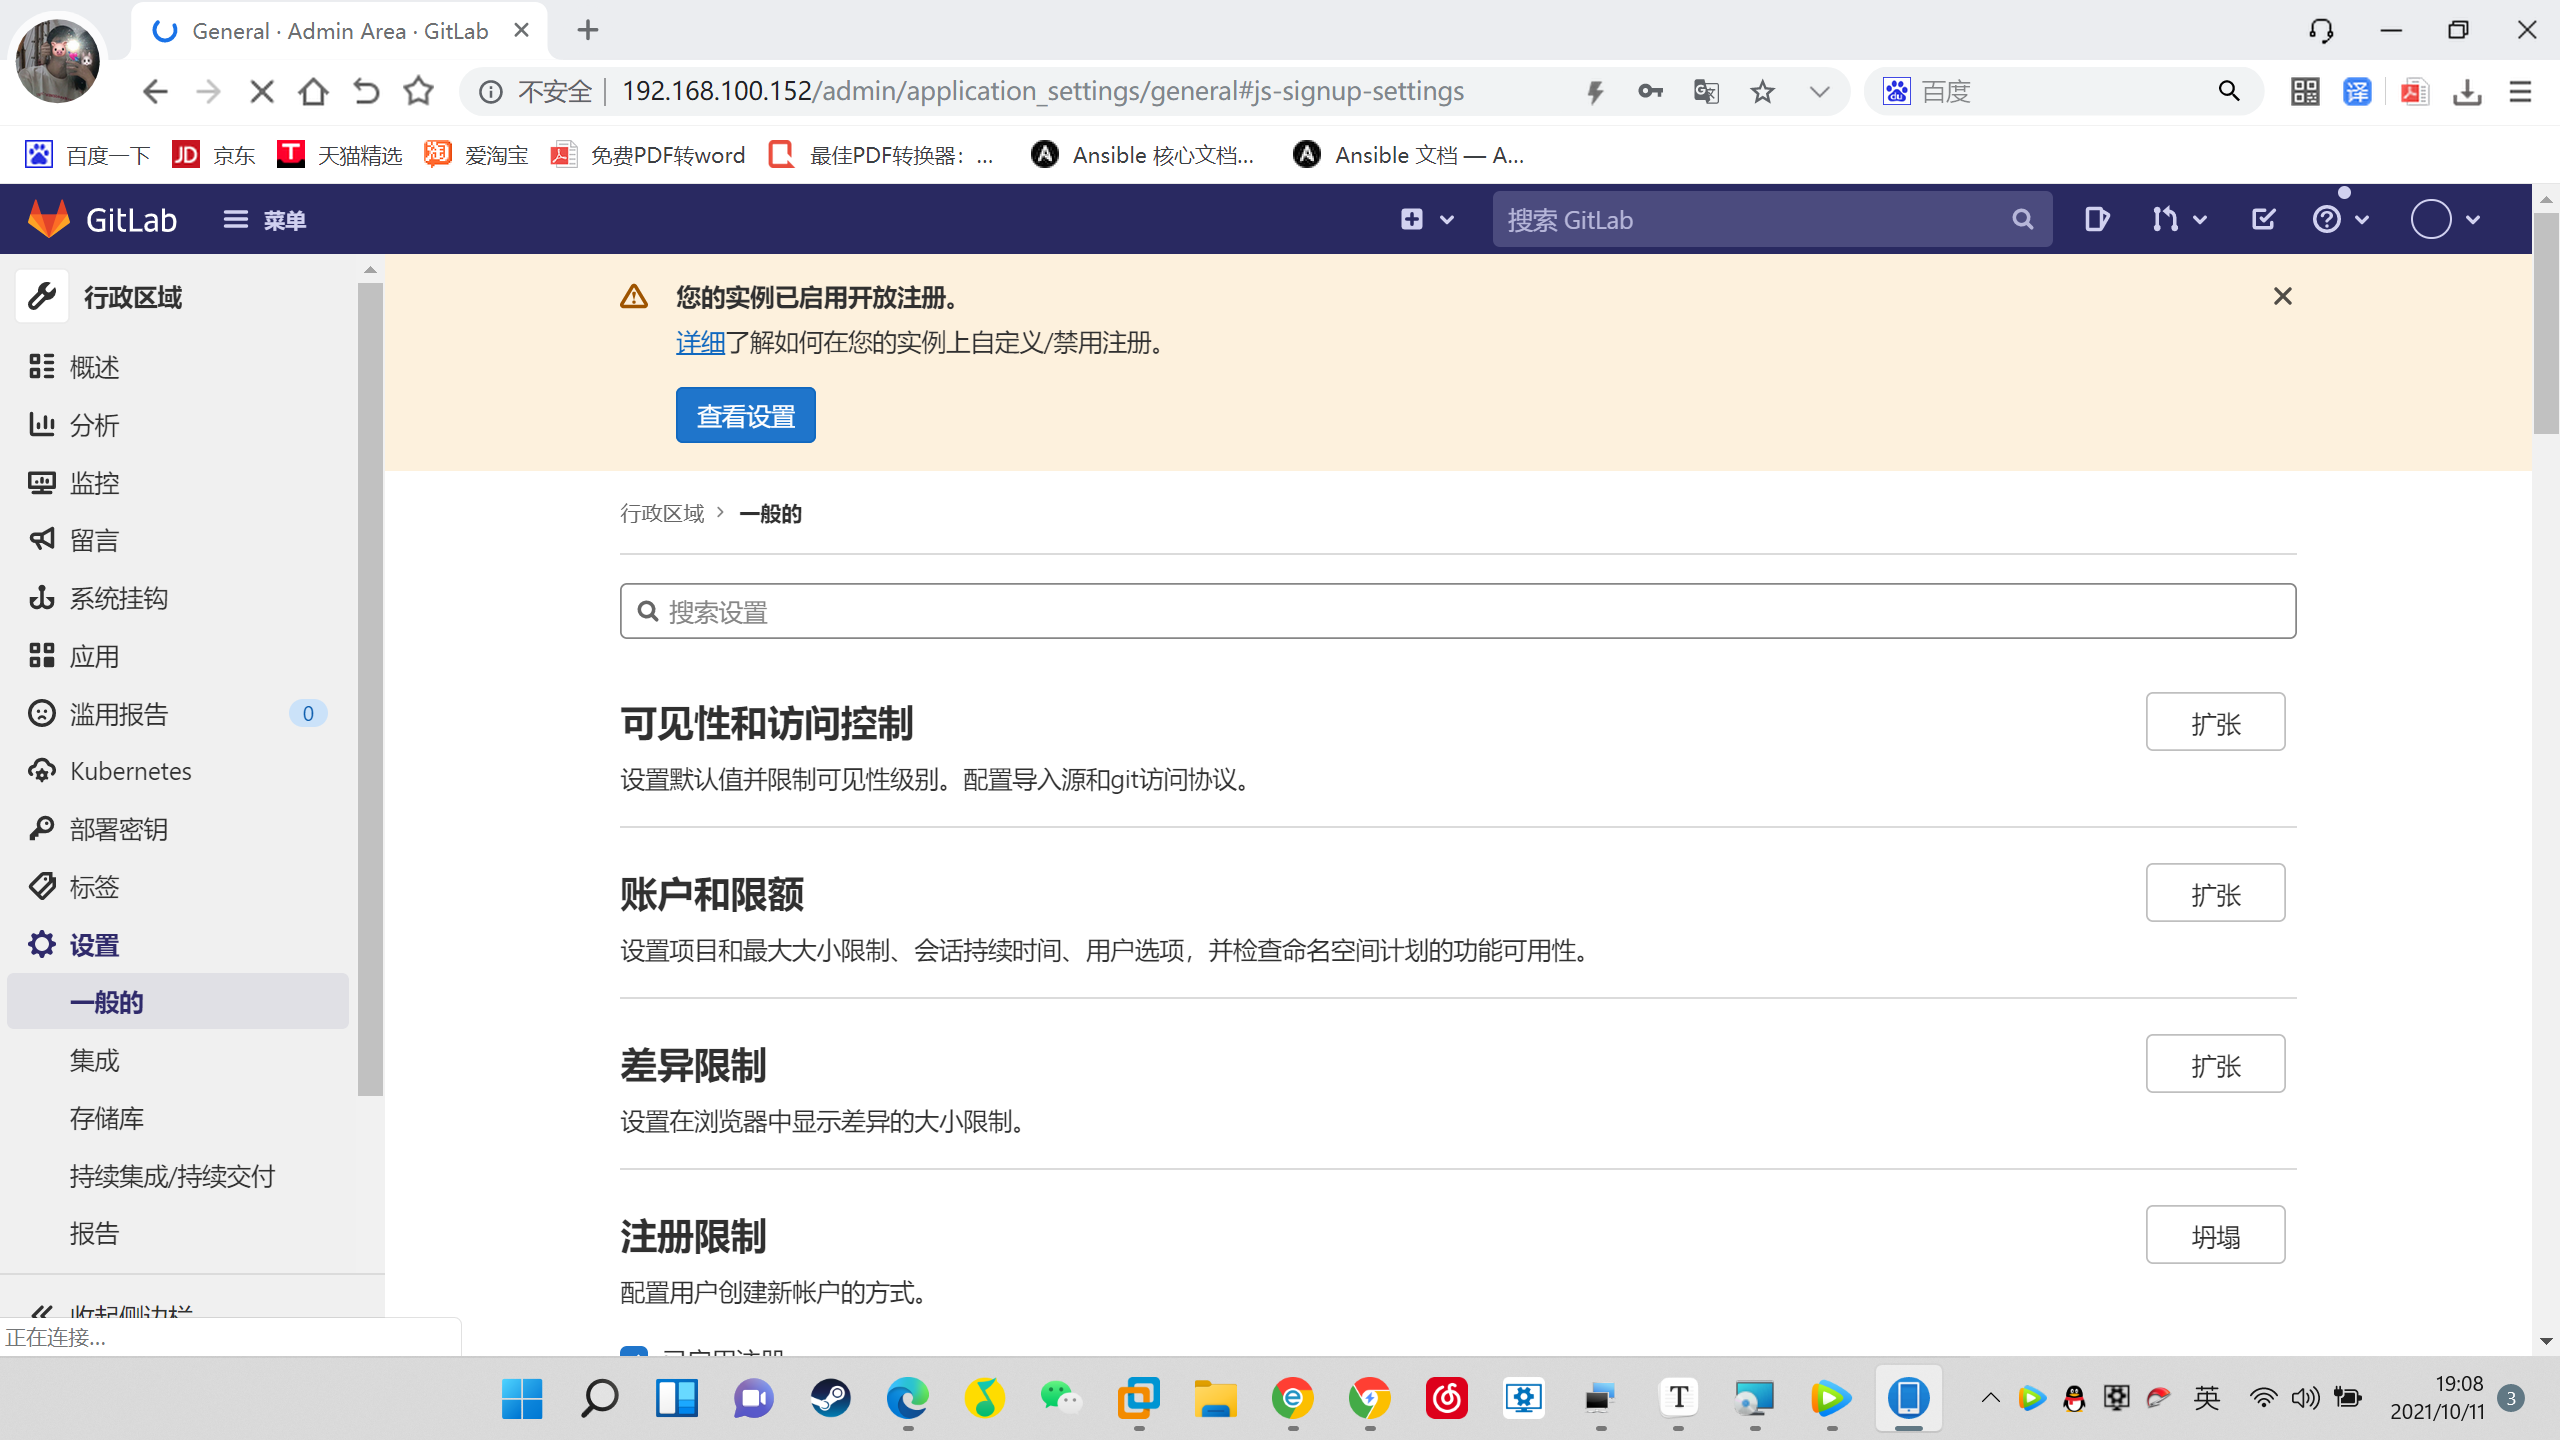
Test login
svn installation
1. Download
Download address: https://tortoisesvn.net/downloads.html
Enter interface installation
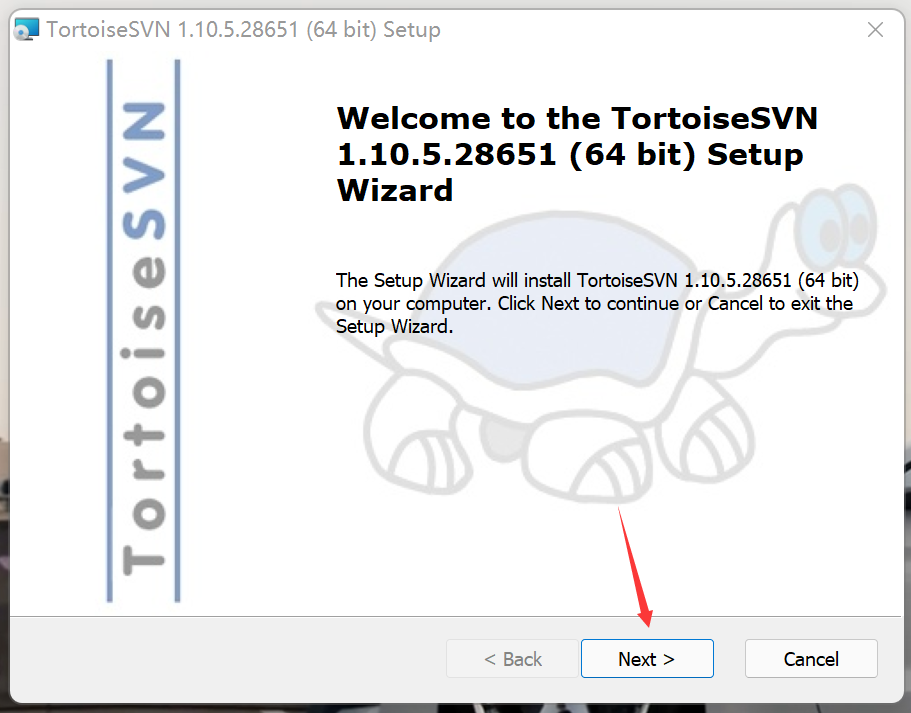
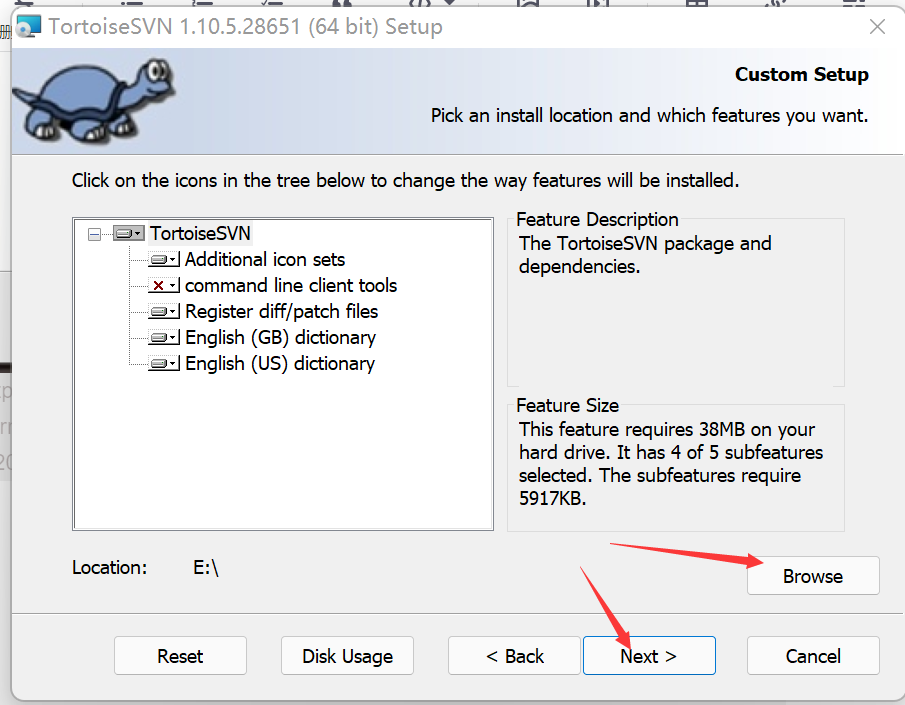
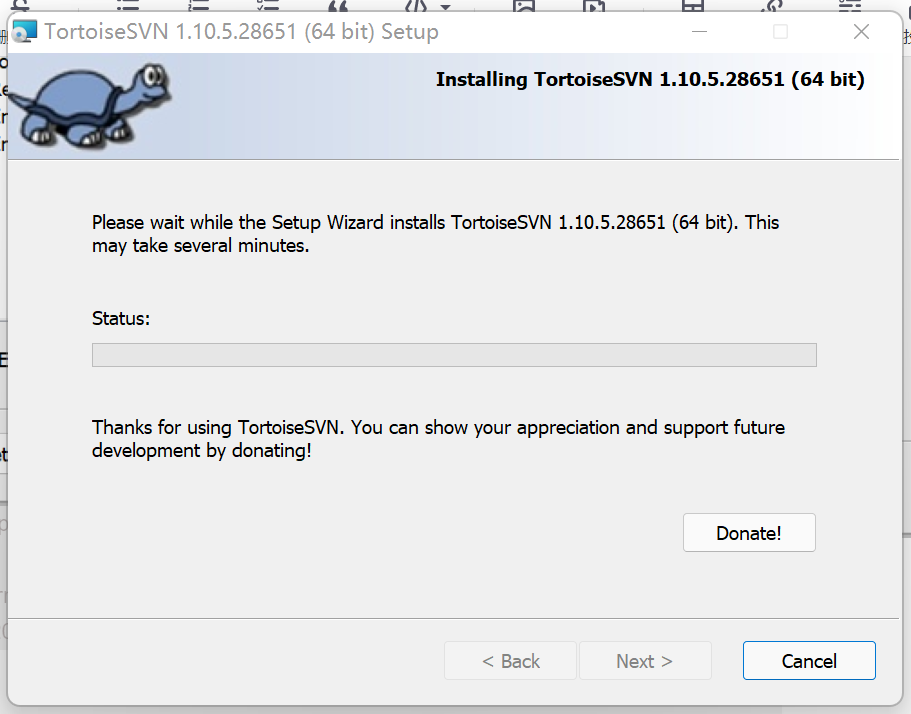
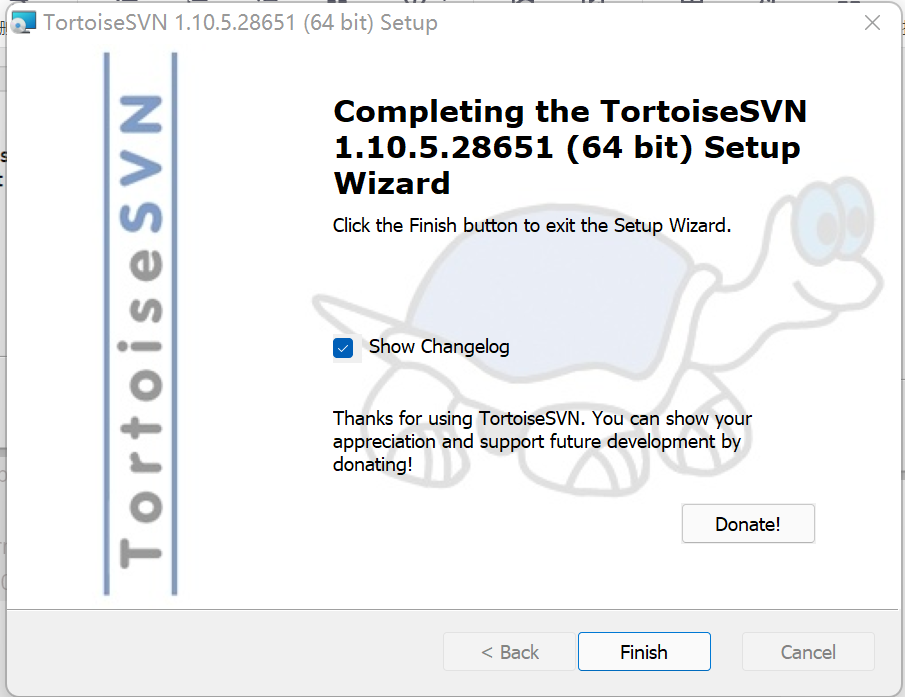
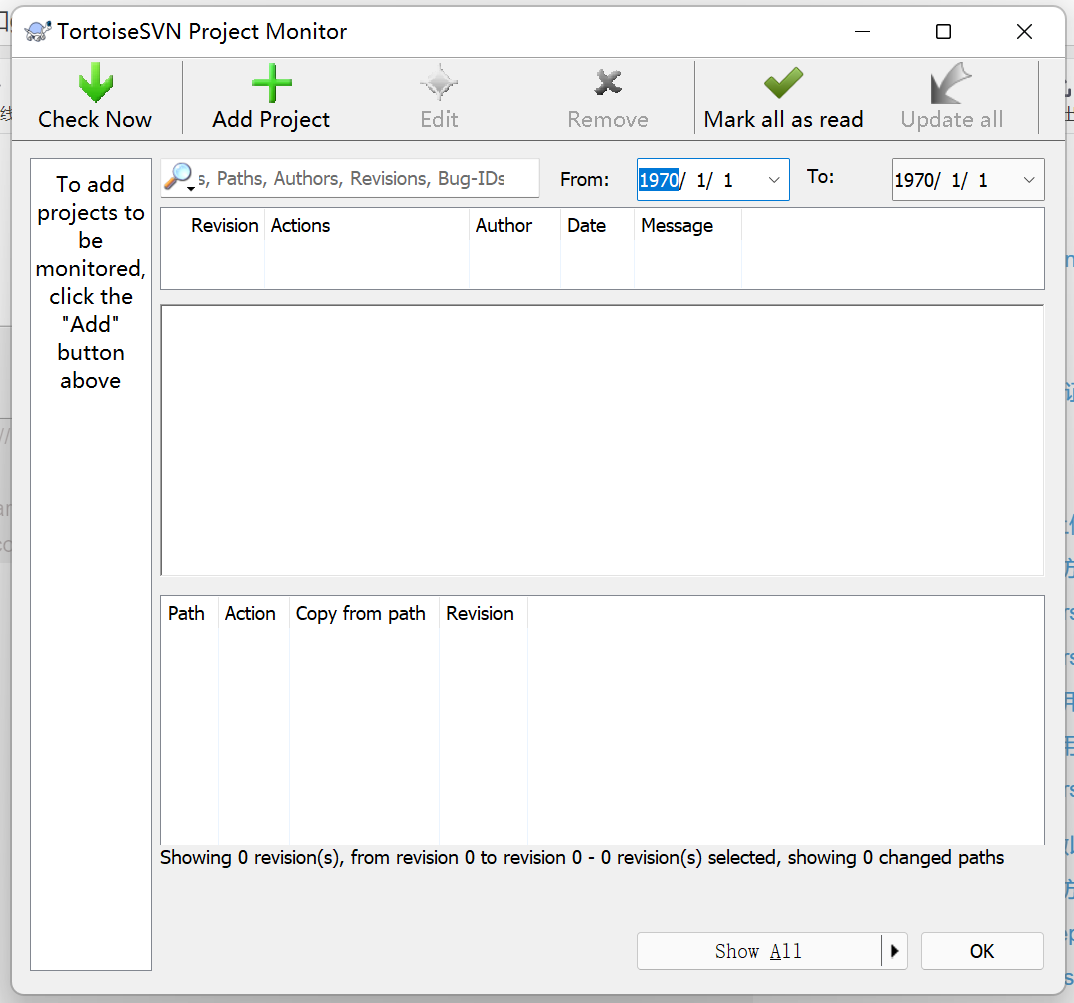
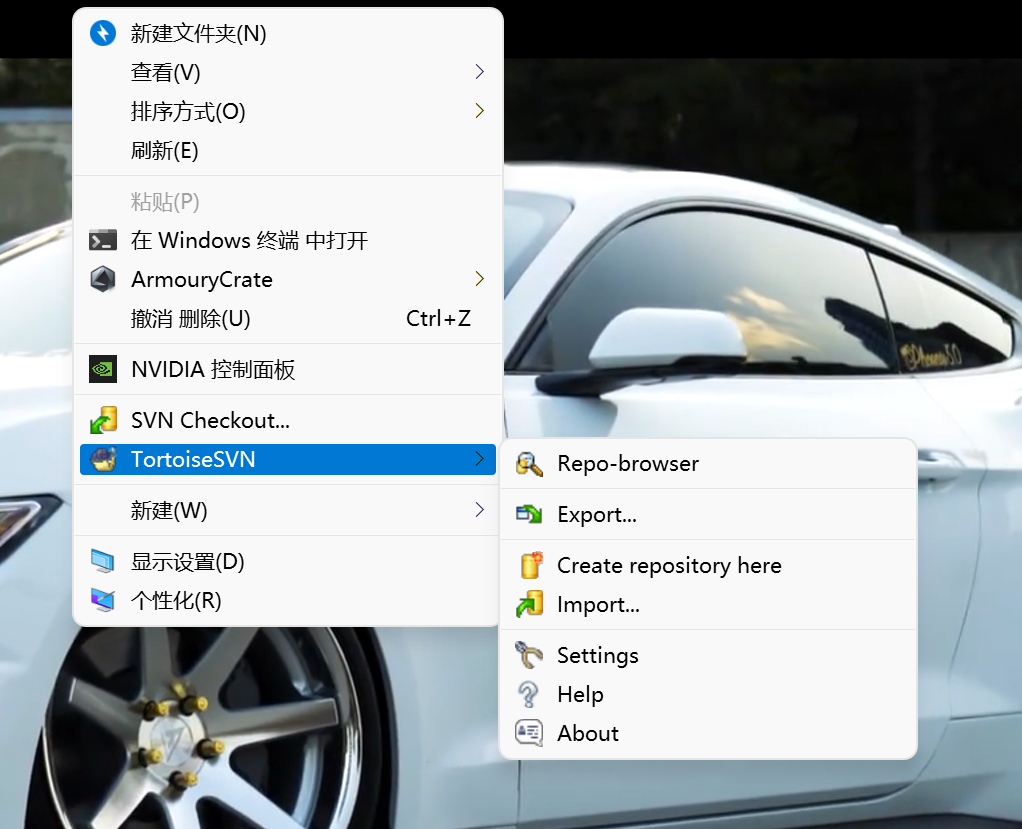
After installation, right-click anywhere to view the shortcut menu. If you find TortoiseSVN, the installation is successful.
