1, Servlet overview
Concept: a small program running on the server side
servlet is a
Interface, which defines the rules for java classes to be accessed by the browser (recognized by tomcat)
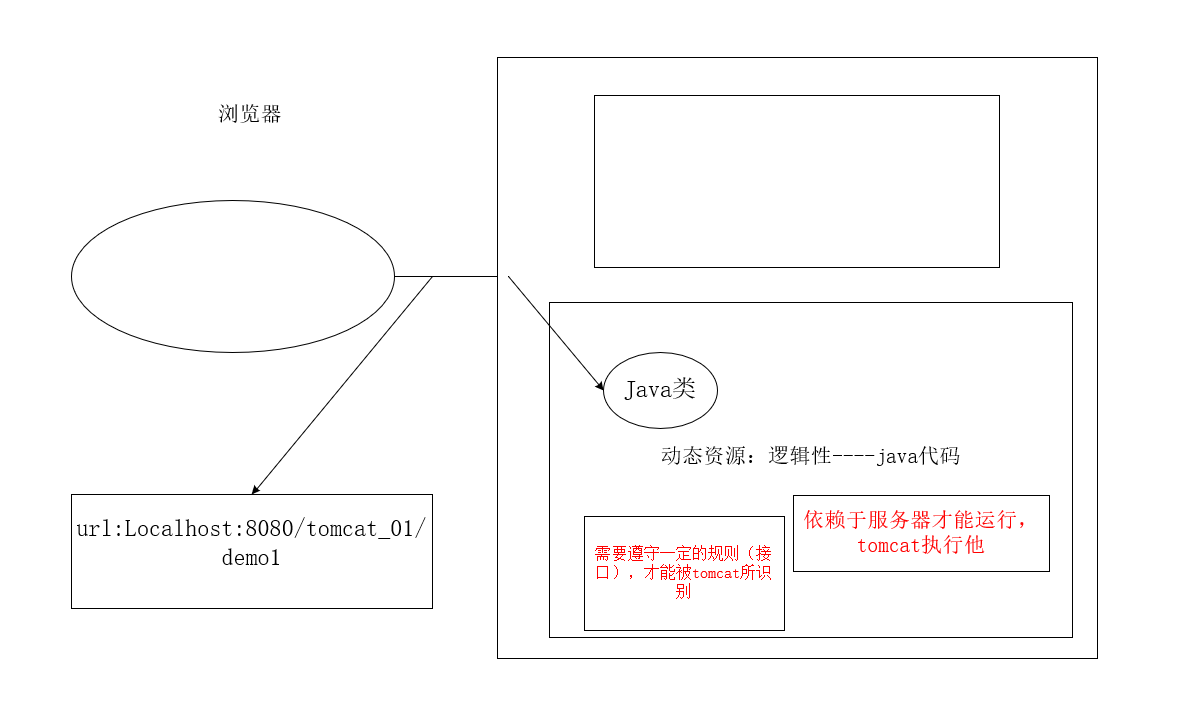
You can customize a class to implement Servlet interface and replication method.
Steps:
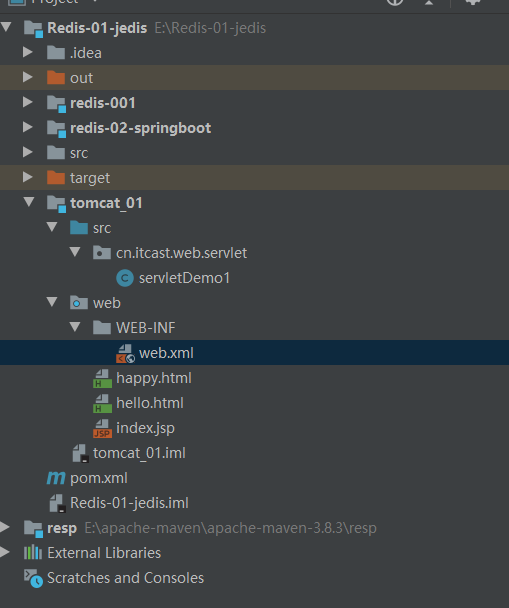
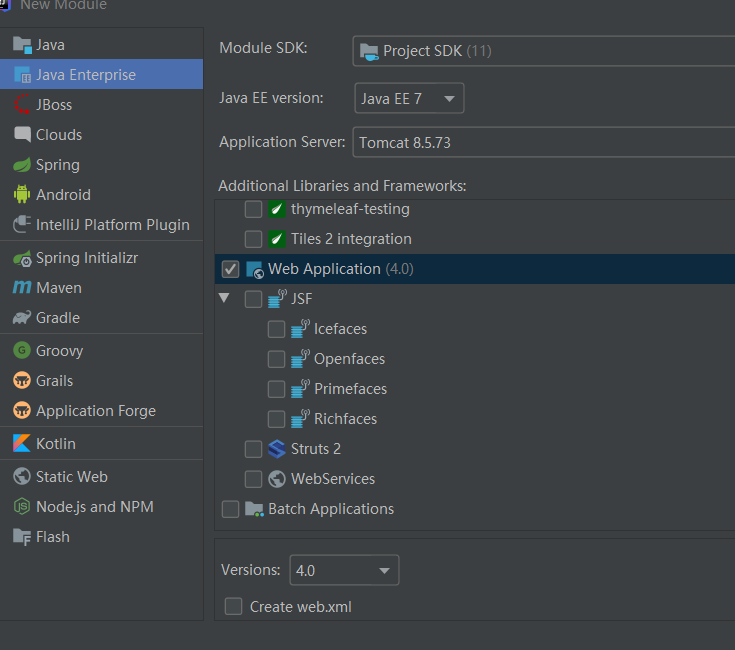
1. Create a Java EE project
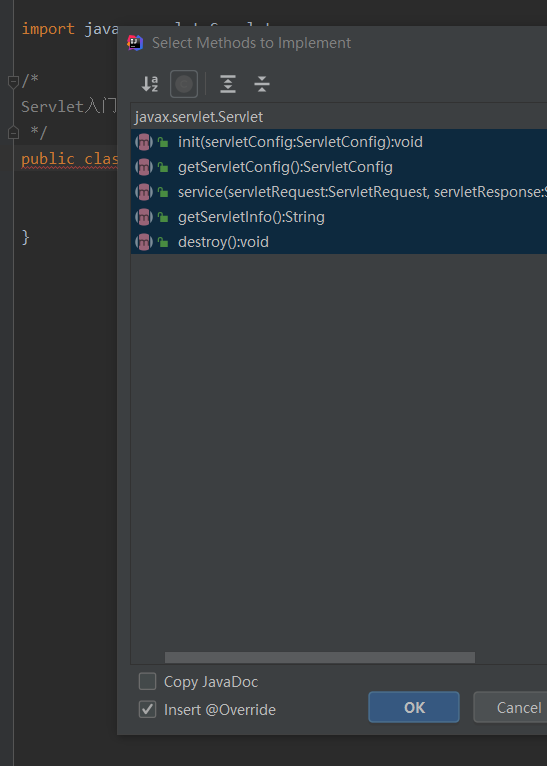
2. Define the abstract methods that can implement servlet interfaces
3. Configure Servlet
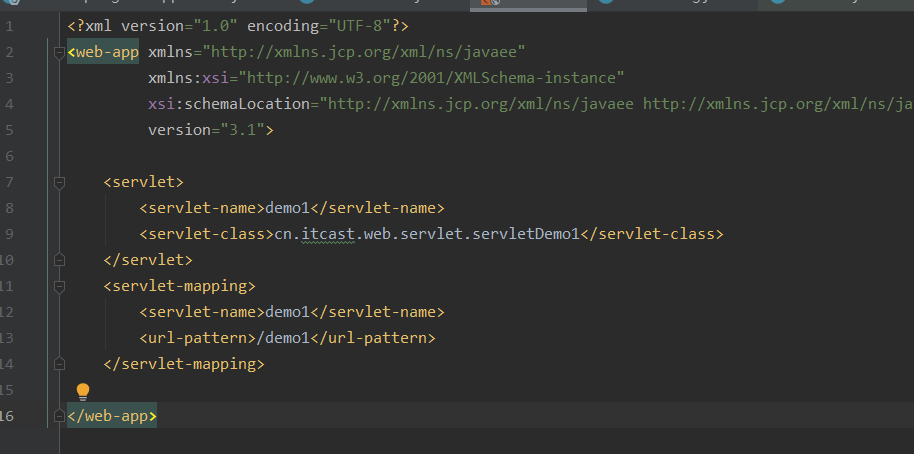
Configure in web.xml
Put the label here
<!--to configure Servlet-->
<servlet>
<servlet-name>demo1</servlet-name>
<servlet-class>cn.itcast.web.servlet.servletDemo1</servlet-class>
</servlet>>
<!--mapping-->
<servlet-mapping>
<servlet-name>demo1</servlet-name>
<url-pattern>/demo1</url-pattern>
</servlet-mapping>
There is another error in this step, and an error is reported at / Web App:
Element 'web-app' cannot have character [children]...
Find the reason:
Finally, after continuous testing, the problem is found: < servlet > < / servlet > and < servlet mapping > < servlet mapping >
There can be no comments between the two groups of labels, that is, you need to remove <-- Mapping -- > labels
After removing it, I typed the label again:
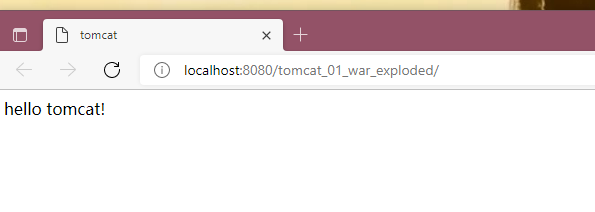
After configuration, you can start:
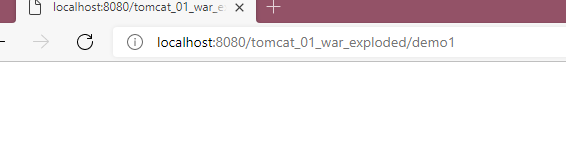
Type "demo1" at the website
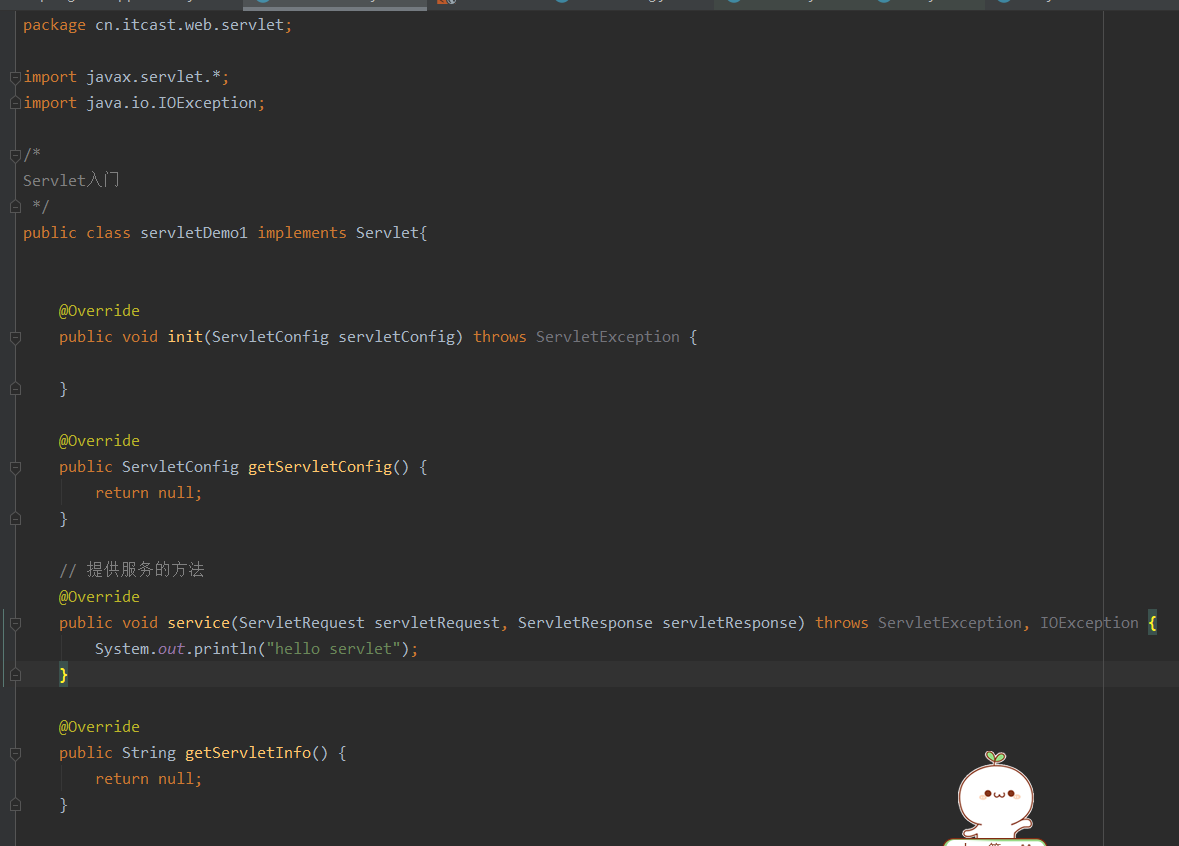
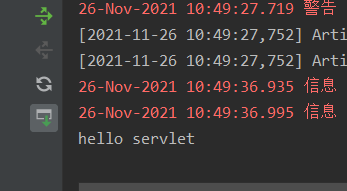
At this time, there is no response at the web page, but the direct call at java is successful.
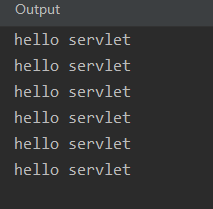
, every time you refresh, a hello servlet appears
2, Servlet execution principle
Execution steps:
1.tomcat loads the bytecode file corresponding to the full class name into memory, class.forName()
2. Create object class.newInstance()
3. Call the method -- service(), the method in the interface
Execution principle:
1. After receiving the request from the client browser, the server receiver will parse the request URL path and obtain the resource path of the accessed servlet.
2. Find the Web.xml file and check whether there is corresponding < URL pattern > tag body content
3. If yes, find the corresponding < servlet class > full class name in the
4.tomcat will load the bytecode file into memory and create its object
5. Call its method
Next, let's introduce the servlet() method
Rebuild a servletDemo2,
Don't forget to rewrite the tag in web.xml

package cn.itcast.web.servlet;
import javax.servlet.*;
import java.io.IOException;
public class servletDemo2 implements Servlet {
/*
servlet Method, don't forget to configure it in web.xml
*/
/*
*Initialization method
* When the servlet is created, it is executed only once
*/
@Override
public void init(ServletConfig servletConfig) throws ServletException {
System.out.println("init.....");
}
/*
*Get servletConfig object
* servletConfig: Servlet Configuration object for
*/
@Override
public ServletConfig getServletConfig() {
return null;
}
/*
*Methods of providing services
* Execute every time the servlet is accessed
*/
@Override
public void service(ServletRequest servletRequest, ServletResponse servletResponse) throws ServletException, IOException {
System.out.println("service");
}
/*
*Get Servlet information, version, author, etc
*/
@Override
public String getServletInfo() {
return null;
}
/*
*Destruction method
* When the server shuts down normally, it is executed only once
*/
@Override
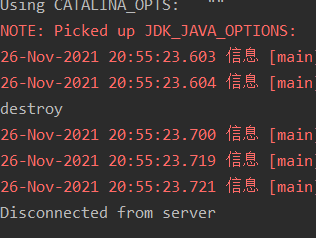
public void destroy() {
System.out.println("destroy");
}
}
Lifecycle analysis of servlet s:
1. Created: execute the init method only once (indicating that a Servlet has only one object in memory, which is a singleton)

init executes only once in the log
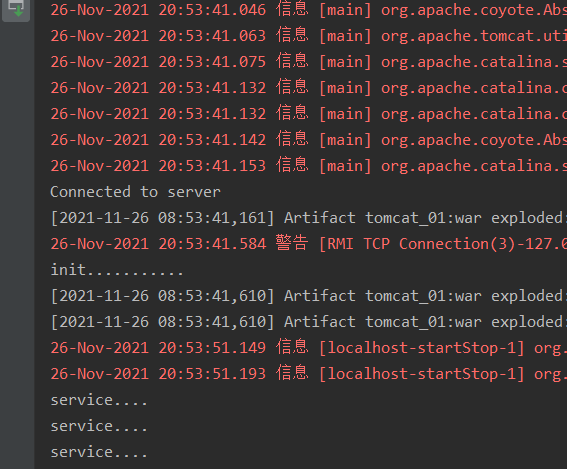
2. Provide service: the service() method will be executed many times
3. Destroyed: execute the destroy() method once
The above three cycles have the following problems:
When is the servlet created during the creation phase?
By default, the servlet is created the first time it is accessed
sure
Configure the creation time of the execution servlet
The steps are as follows:
Setting up web.xml
be careful:
Because servlets are singleton, there may be thread safety problems when multiple users access them.
Solution: try not to define member variables in the servlet. Even if you define member variables, do not modify the values
The execution service method of the service phase is provided and executed multiple times
This method is executed once every time it is called
Destroyed: destroy is executed once and only when the server is shut down normally.
Note: the destroy() method executes before the servlet is destroyed
The < load on startup > tag can be used to set the creation time of servlet in web.xml. The specific methods are as follows:
<servlet>
<servlet-name>demo2</servlet-name>
<servlet-class>cn.itcast.web.servlet.servletDemo1</servlet-class>
<!--appoint Servlet Time to create
1.When accessed for the first time, it is created at this time <load-on-startup>The value of is negative, and the default is-1
2.When the server starts, create a <load-on-startup>The value of is positive, usually at 0-10 between
-->
<load-on-startup>5</load-on-startup>
</servlet>
<servlet-mapping>
<servlet-name>demo2</servlet-name>
<url-pattern>/demo2</url-pattern>
</servlet-mapping>
3, Annotation configuration for servlet version 3.0
Benefit: you don't need to configure it in web.xml
Steps:
1. Create a Java EE project and select servlet3.0 or above
2. Define a class to implement servlet interface
3. Review methods
4. Use @ WebServlet annotation on the class for configuration
When creating a module, do not check the Web.xml under Version.
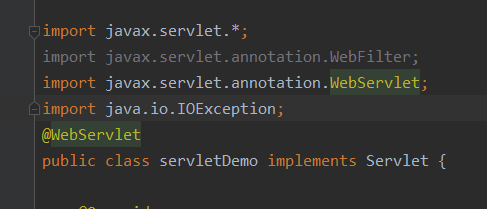
Check the WebServlet and select the WebServlet after @ instead of @, crtl+b

The virtual path needs to be configured. Write it after @ WebServlet
@WebServlet(urlPatterns = "/demo")
Test:
You can also write the resource path of the servlet directly, which can also be accessed
@WebServlet("/demo2")
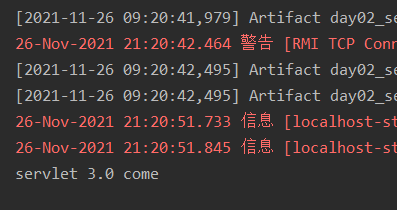
get!!!