Note: This series blog was translated from Nathan Vaughn's Shaders Language Tutorial and has been authorized by the author. If reprinted or reposted, please be sure to mark the original link and description in the key position of the article after obtaining the author's consent as well as the translator's. If the article is helpful to you, click this Donation link to buy the author a cup of coffee.
Note: this series of blog posts is translated from Nathan Vaughn of Shader Language Tutorial . The article has been authorized by the author for translation. If you reprint it, please be sure to obtain it at author and translator After agreeing, indicate the original link and description in the key position of the article. If you think the article is helpful to you, click here Reward link Buy the author a cup of coffee.
Hello, friends! Welcome to tutorial 15 of the Shadertoy series. This article will discuss how to use channels and buffers in Shadertoy to create multiple channel shaders with textures.
Channels
Shadertoy uses a concept called channel to obtain different types of data. At the bottom of the page, there are four black box options: iChannel0, iChannel1, iChannel2, and iChannel3
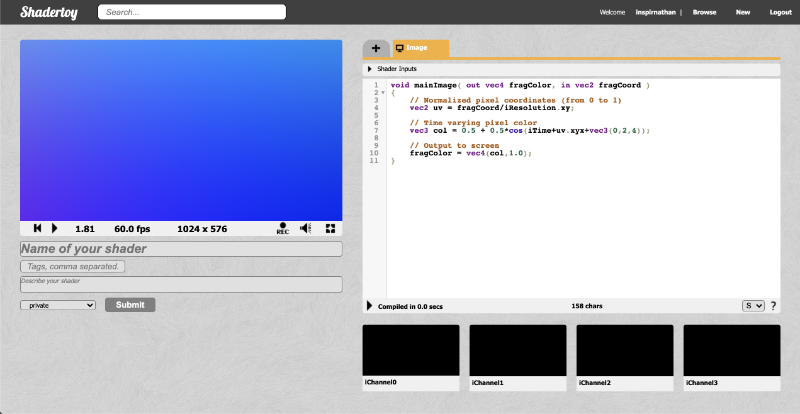
Click any channel and a pop-up box will pop up. We can select a variety of interactive elements, (textures), (Cubemaps), (Volumes), (Videos) video and (Music) music.
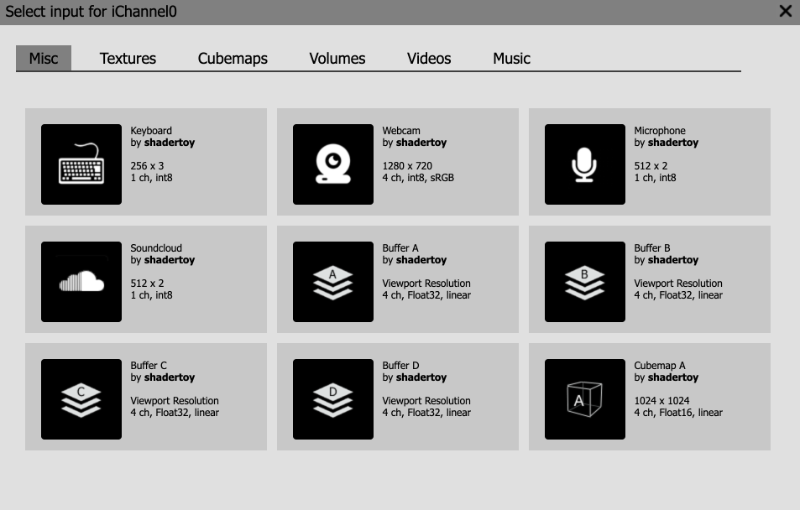
In the (other) "Misc" tab, interactive elements can be selected: keyboard, camera, microphone, or playing music from SoundCloud. buffers, A,B,C,D can create multi-channel shaders. You can think of them as additional shaders in shader pipeline channels. "CubeMap A" is a special shader program that allows you to create your own sky box. And pass it to the buffer or your image program, which we will focus on in the next tutorial.
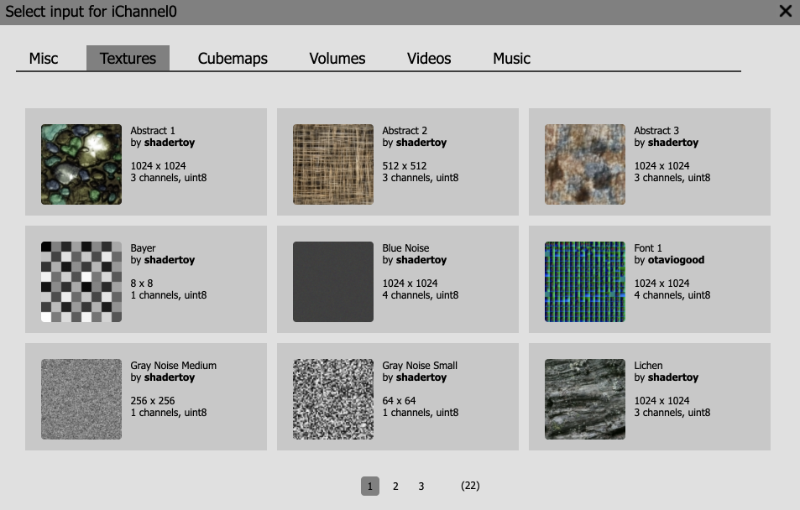
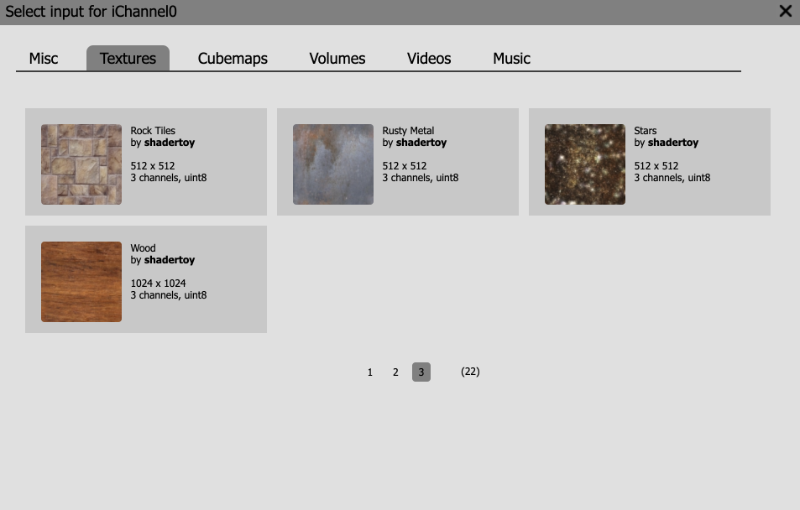
In the next tab, you can find three available 2D texture maps. The 2D texture is regarded as the pixels extracted from the image. In the process of writing this article, you can only use the textures provided by yourself, not imported by yourself. But there are still many ways to get around this restriction.
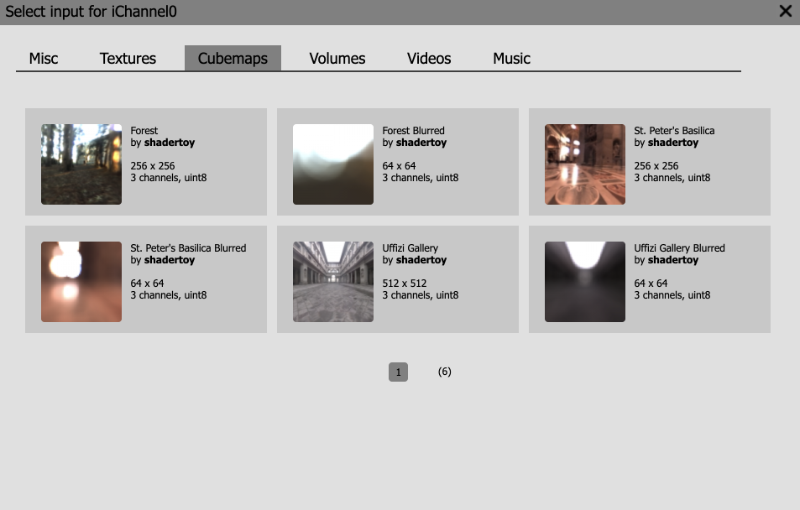
The CubeMaps tab contains multiple cube maps to choose from. We will mention them in the next tutorial. Cube mapping technology is often used in Unity In the rendering engine of this 3D game, you feel that you are in a surrounded world.
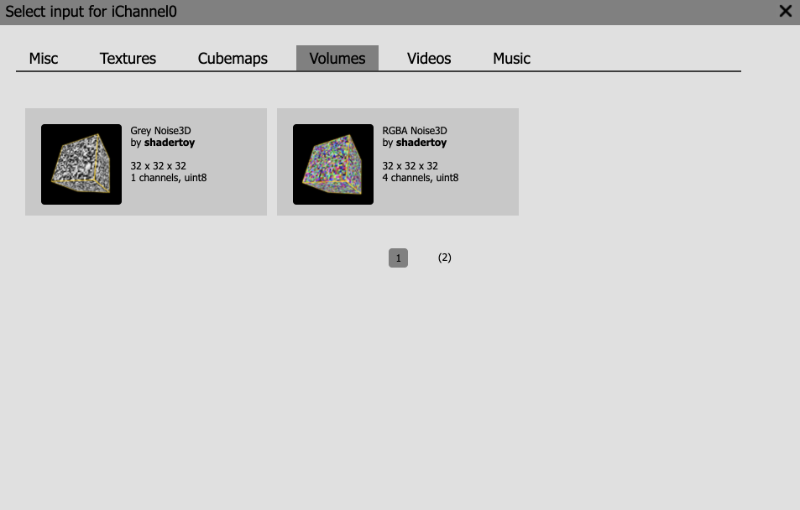
The volume tab bar contains 3D textures. A typical 2D texture uses UV coordinates to access data on the x (u) and y (v) axes. You can idealize 3D texture into a cube from which pixels can be extracted, such as pulling data from 3D space.
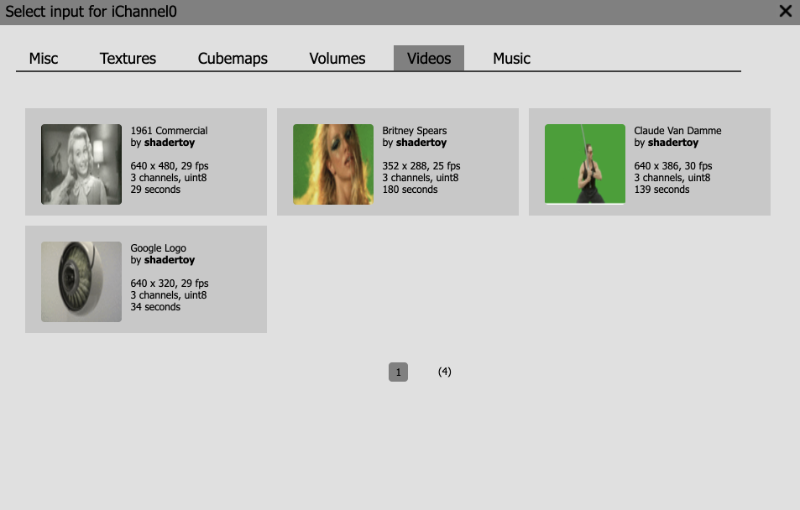
The Videos tab contains 2D textures that change over time. That is, you can play video on the Shadertoy canvas. The purpose of using video on Shadertoy is to let developers experience some late effects or picture effects, which depend on the data returned from the previous frame. Britney Spears and Claude Van Damme videos Is a good way to experience this special effect.
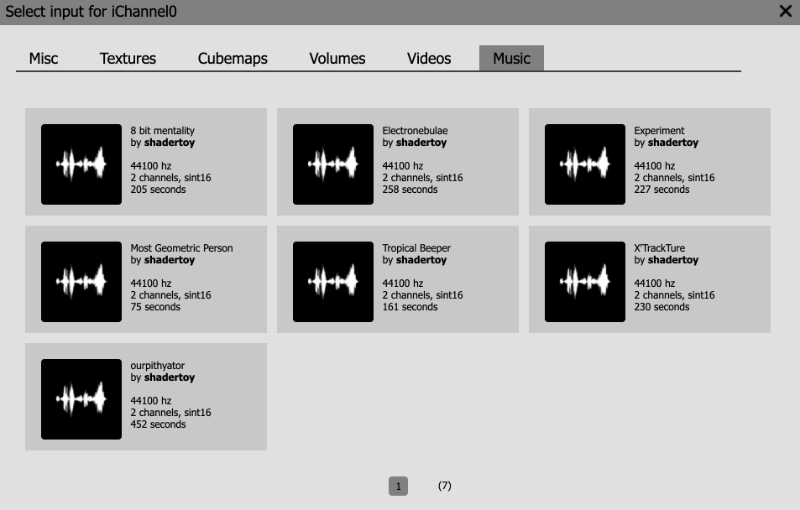
Finally, the Music tab allows us to experience a variety of Music effects. If you select a Music in a channel, the concert will play automatically when someone accesses your shader clip.
Use texture
Using textures in Shadertoy is a very simple thing. Click to open a new shader and replace the code as follows:
  void mainImage( out vec4 fragColor, in vec2 fragCoord )
{
  vec2 uv = fragCoord/iResolution.xy; // Normalized pixel coordinates (from 0 to 1)

  vec4 col = texture(iChannel0, uv);

  fragColor = vec4(col); // Output to screen
}
Then click iChannel0. When the pop-up window appears, select the texture label bar. Let's choose the "Abstract 1" texture and take a look at some details of the pop-up menu bar.
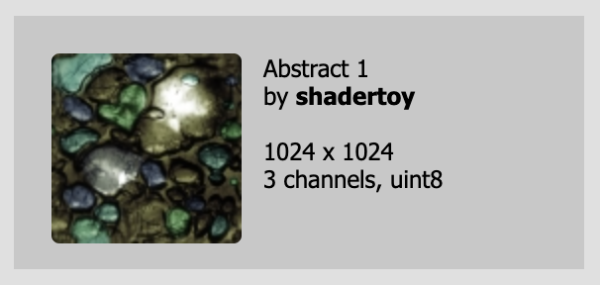
The above figure shows that the resolution of this texture is 1024 * 1024 pixels, which means it is more suitable for square canvas. It contains three channels (red, green, blue) using unit8 type, unsigned integer bytes.
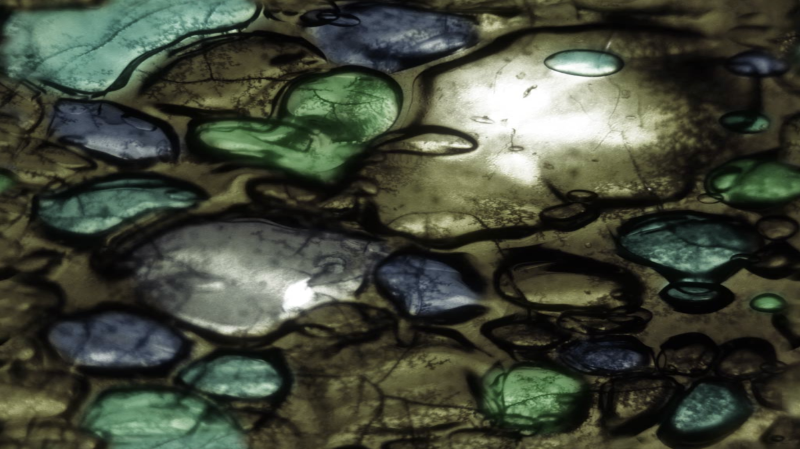
We click > "Abstarct1" to load the texture into iChannel0. Then, run the shader program. You will see a complete texture on the Shadertoy canvas.
Next, let's analyze this shader program:
  void mainImage( out vec4 fragColor, in vec2 fragCoord )
{
  vec2 uv = fragCoord/iResolution.xy; // Normalized pixel coordinates (from 0 to 1)

  vec4 col = texture(iChannel0, uv);

  fragColor = vec4(col); // Output to screen
}
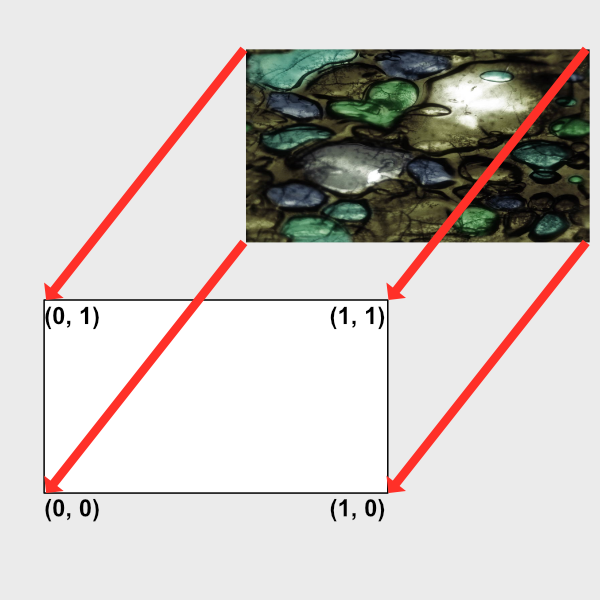
UV coordinates are set between 0 and 1, which are the x-axis and y-axis respectively. Remember, the starting point is (0,0) and starts in the lower left corner. Using iChannel0 and UV coordinates, Texture function Get texture elements from textures.
A texture element represents the specified value of a coordinate on the texture. For 2D textures, such as pictures, a voxel represents a pixel value. We sampled the 2D texture and positioned the UV coordinates between 0 and 1 along the image. You can also use UVmap to map textures to the entire canvas.
For 3D textures, you can imagine that a texture element is a pixel value in 3D coordinates. 3D textures are generally used to deal with noise production scenarios, or ray stepping algorithms. In general, it is rare.
You may wonder what iChannel0 is and why it is passed as a parameter and a parameter to the texture function. This is because Shadertoy handles many things automatically for you. The sampler is the way to bind texture units. The type of sampler will vary according to the type of resource loaded in the channel you use. In this example, we upload 2D textures in iChannel0, so iChannel0 will be a sampler2d type. You can OpenGl Wikipedia page to learn about the types of these samplers. Suppose you want to create a method that passes a special channel. You can implement it through the following code.
  vec3 get2DTexture( sampler2D sam, vec2 uv ) {
  return texture(sam, uv).rgb;
}

void mainImage( out vec4 fragColor, in vec2 fragCoord )
{
  vec2 uv = fragCoord/iResolution.xy; // Normalized pixel coordinates (from 0 to 1)

  vec3 col = vec3(0.);

  col = get2DTexture(iChannel0, uv);
  col += get2DTexture(iChannel1, uv);

  fragColor = vec4(col,1.0); // Output to screen
}
Click iChannel1, select Abstract3 texture, run the code, and you can see that the two images are merged together.
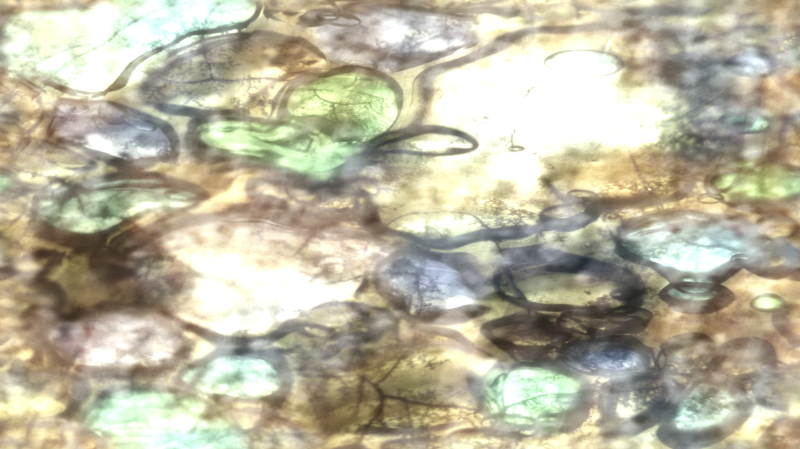
The get2DTexture method creates and receives a parameter of type sampler2D. Using 2D texture in the channel, Shadertoy will automatically return the data of sampler2D class to you. If you want to play video on Shadertoy's canvas, you can follow the same rules for 2D textures. Just select the video for iChannel0, and you can see the video playing automatically.
Channel settings
So now let's see what these channels can do for us. First, copy the following code into your shader:
  void mainImage( out vec4 fragColor, in vec2 fragCoord )
{
  vec2 uv = fragCoord/iResolution.xy; // Normalized pixel coordinates (from 0 to 1)

  vec4 col = texture(iChannel0, uv);

  fragColor = vec4(col); // Output to screen
}
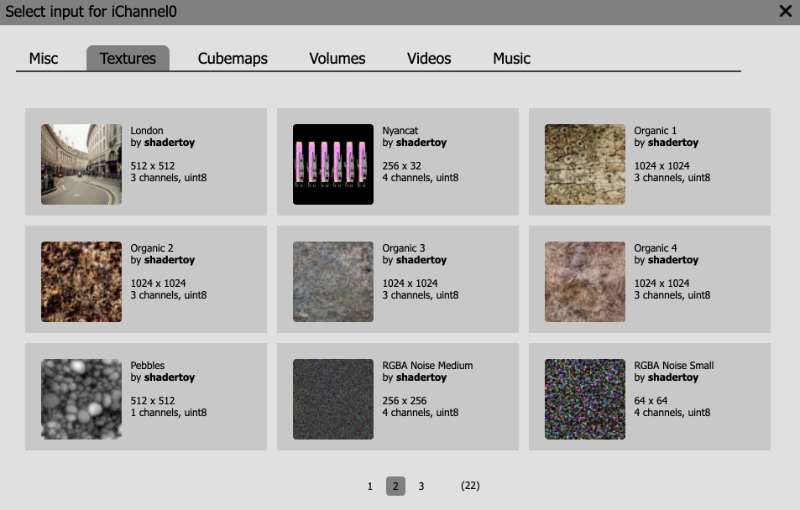
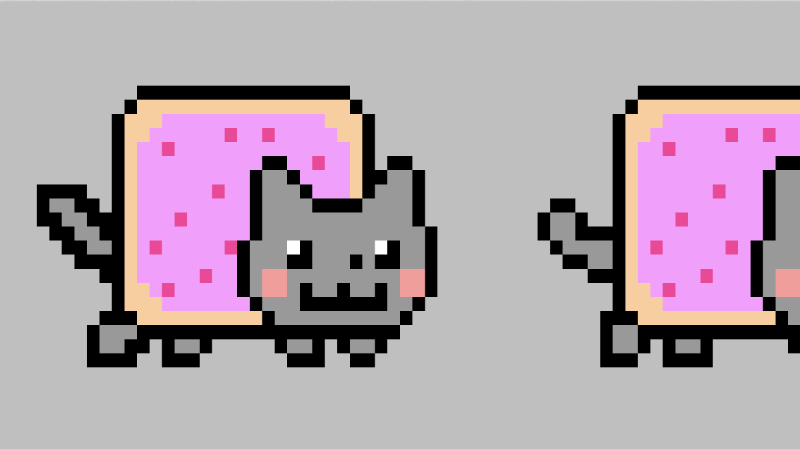
Then, use a new texture. Click iChannel0, switch to the "texture" tab, turn to page 2, and you can see a "Nyancat" texture.
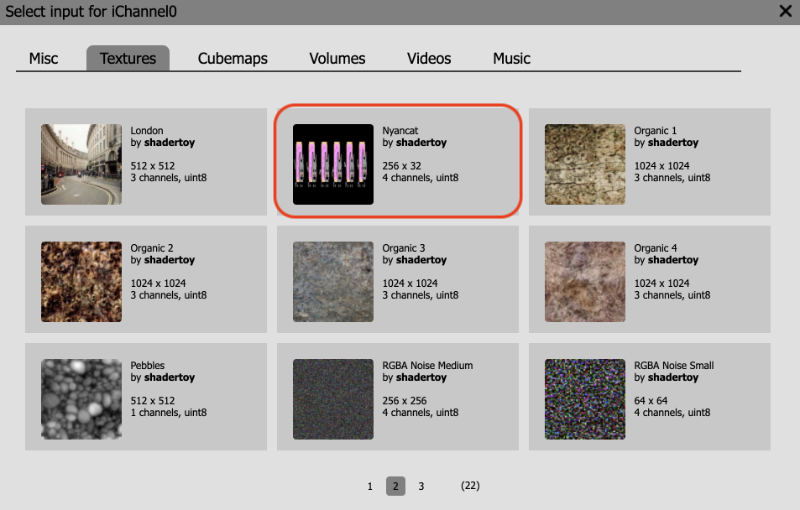
"Nyancat" texture is a 256 * 32 picture with 4 color channels. Click this texture and it will appear in iChannel0.

Run the code and you'll see the picture, but it's a little fuzzy.
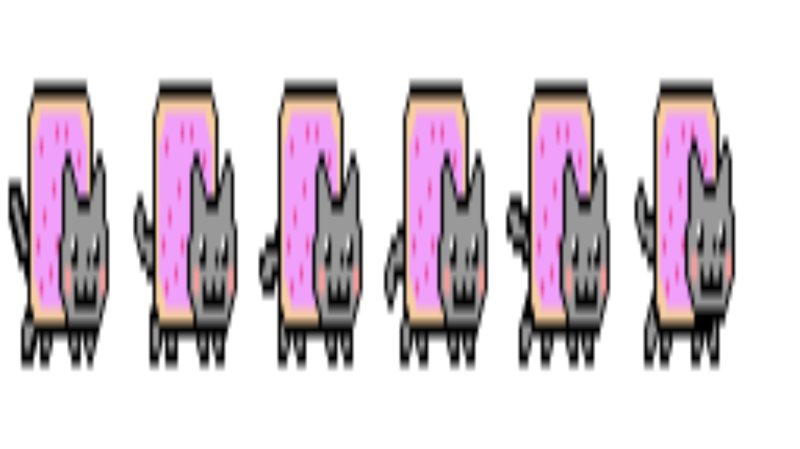
To fix this blur, click the settings button in the lower right corner.
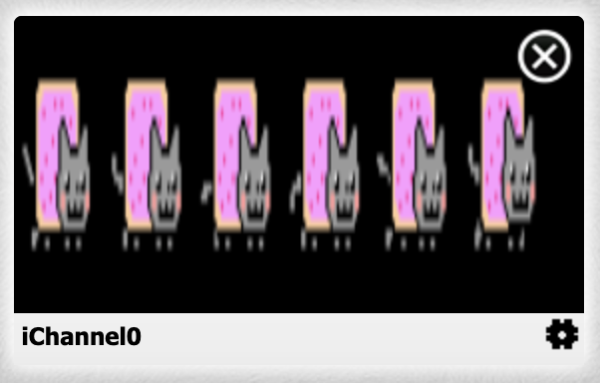
After clicking, a setting menu will pop up: Filter, Wrap, and VFlip.
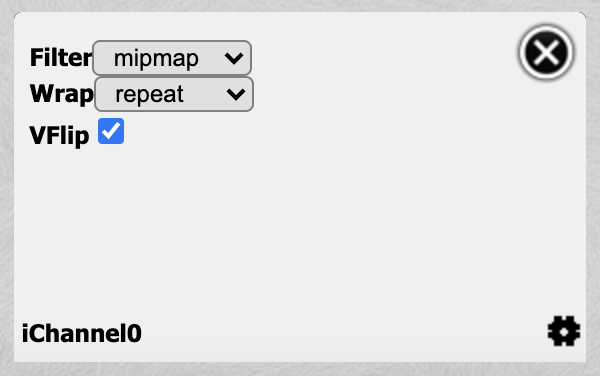
The Filter option allows us to adjust and modify the algorithm type to Filtering texture algorithm . The dimension of the texture is not always consistent with the Shadertoy canvas, so filter is usually used to sample the texture. By default, the filter option is set to mipmap. Click the drop-down menu, select near and use the near eighbor difference algorithm. This algorithm is very useful in keeping pixelation.
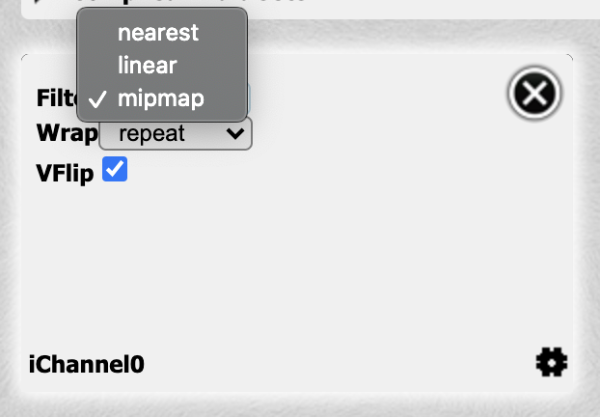
Select filter as near EST, and you can see a clear texture image.
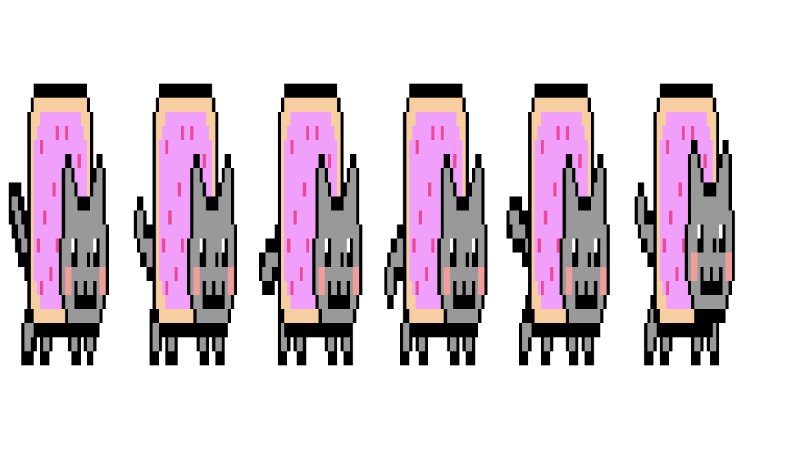
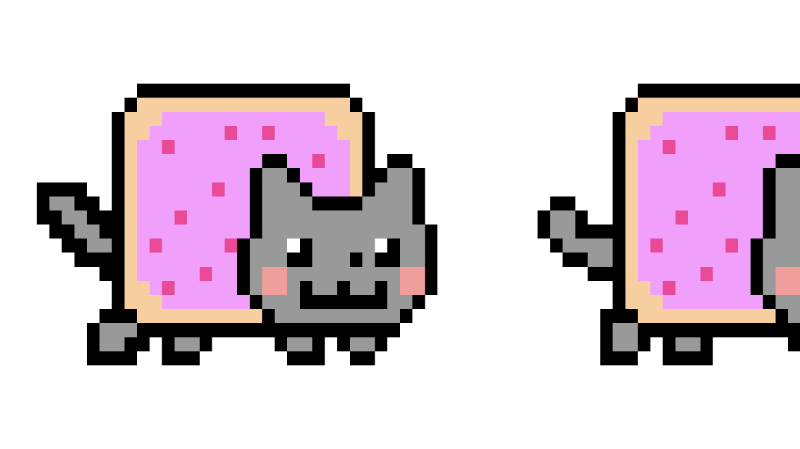
The texture looks a little square. We fixed this problem by scaling it by 0.25 units.
  void mainImage( out vec4 fragColor, in vec2 fragCoord )
{
  vec2 uv = fragCoord/iResolution.xy; // Normalized pixel coordinates (from 0 to 1)

  uv.x *= 0.25;

  vec4 col = texture(iChannel0, uv);

  fragColor = vec4(col); // Output to screen
}
Running the above code, our texture image looks normal.
Use the VFlip option to flip the texture picture up and down. Uncheck the check box to set the texture flip option.
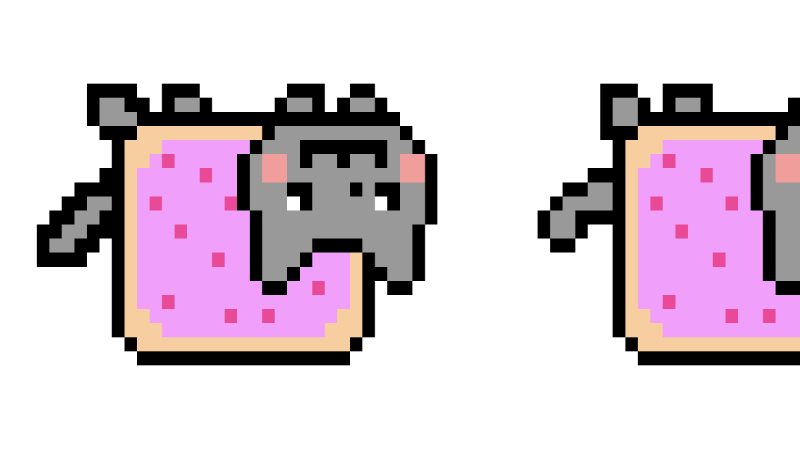
Go back and check the VFlip option to return a normal picture. Then we move UV X and iTime can rotate the texture.
  void mainImage( out vec4 fragColor, in vec2 fragCoord )
{
  vec2 uv = fragCoord/iResolution.xy; // Normalized pixel coordinates (from 0 to 1)

  uv.x *= 0.25;

  uv.x -= iTime * 0.05;

  vec4 col = texture(iChannel0, uv);

  fragColor = vec4(col); // Output to screen
}
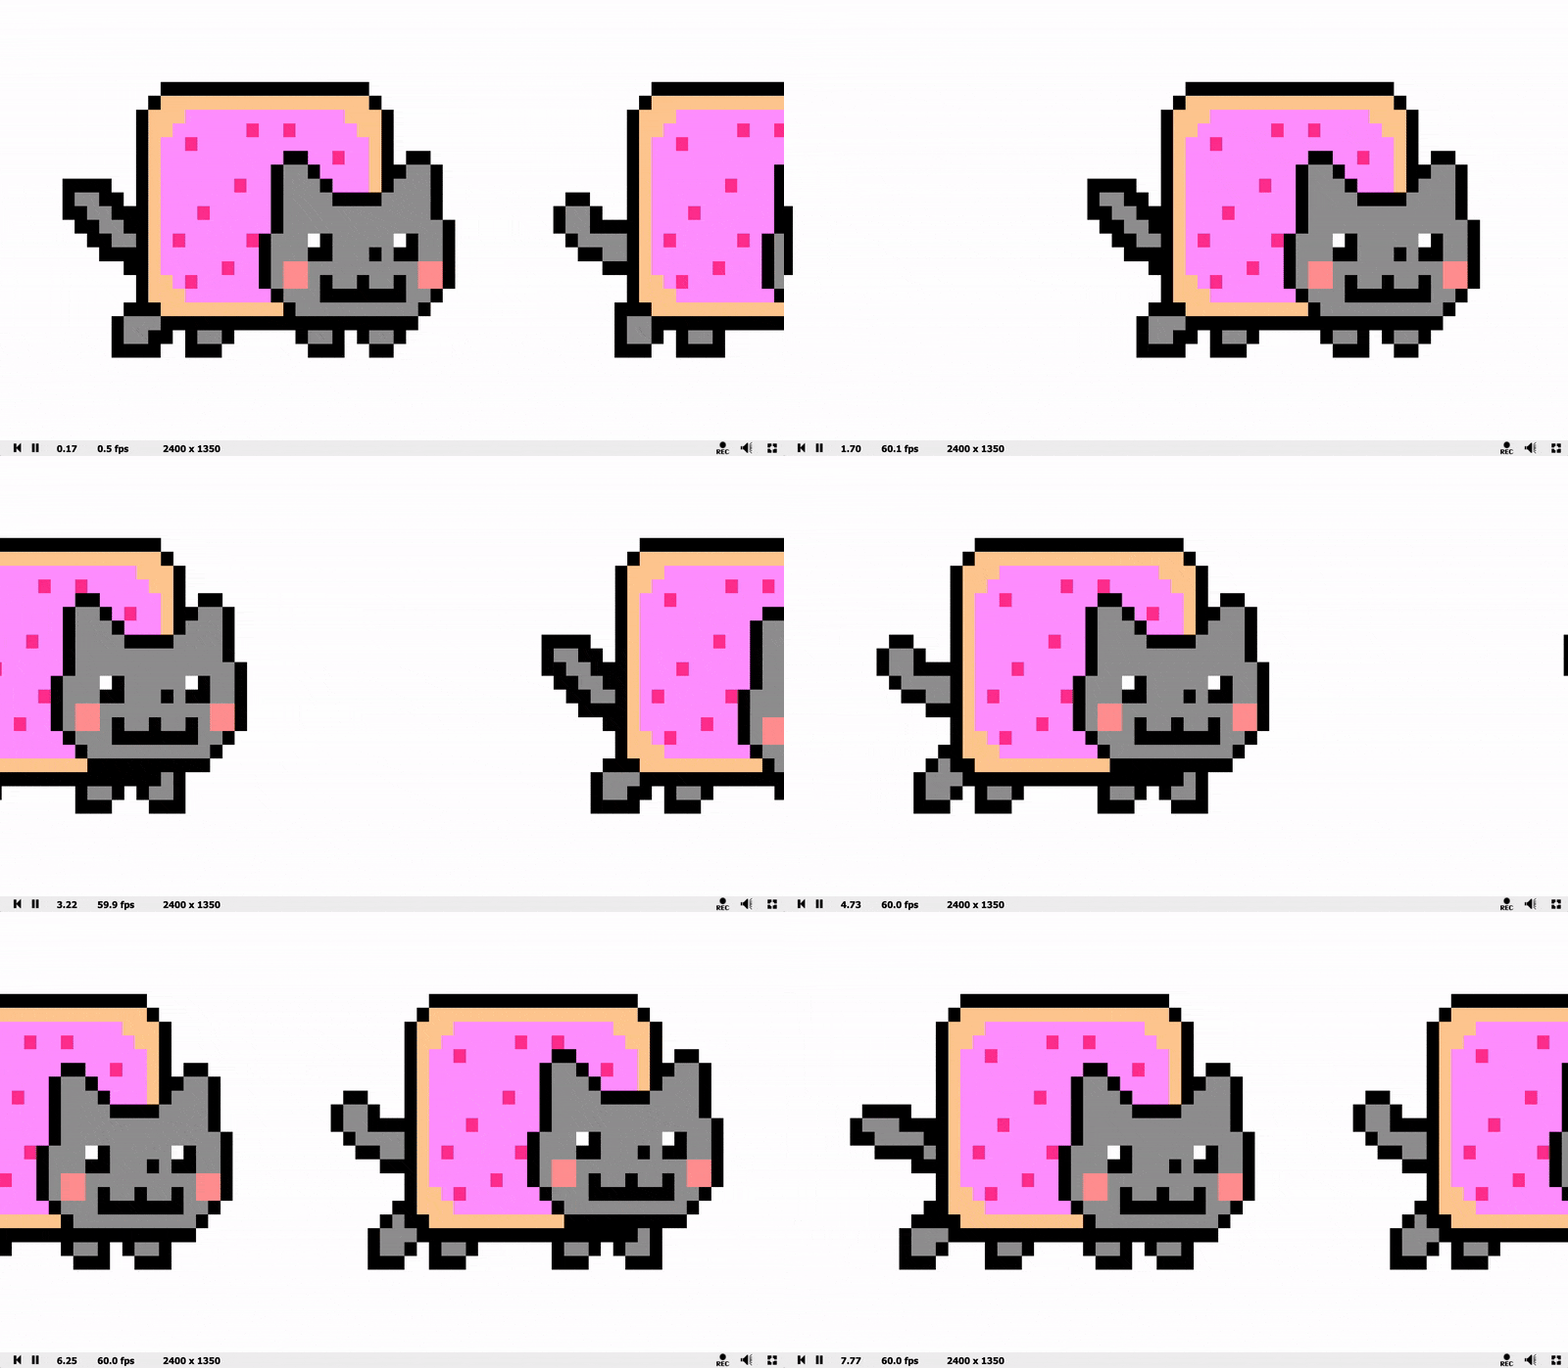
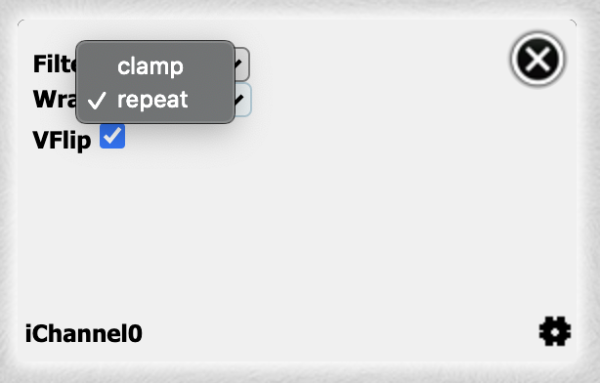
By default, wrap mode is repeated. This means that when the UV coordinates are outside the range of 0 to 1, the texture will be sampled again between 0 and 1. uv.x is getting smaller and smaller, and it will eventually be 0, but the sample will be smart enough to find a suitable value. If you don't want repeated effects, you can set wrap mode to clamp.
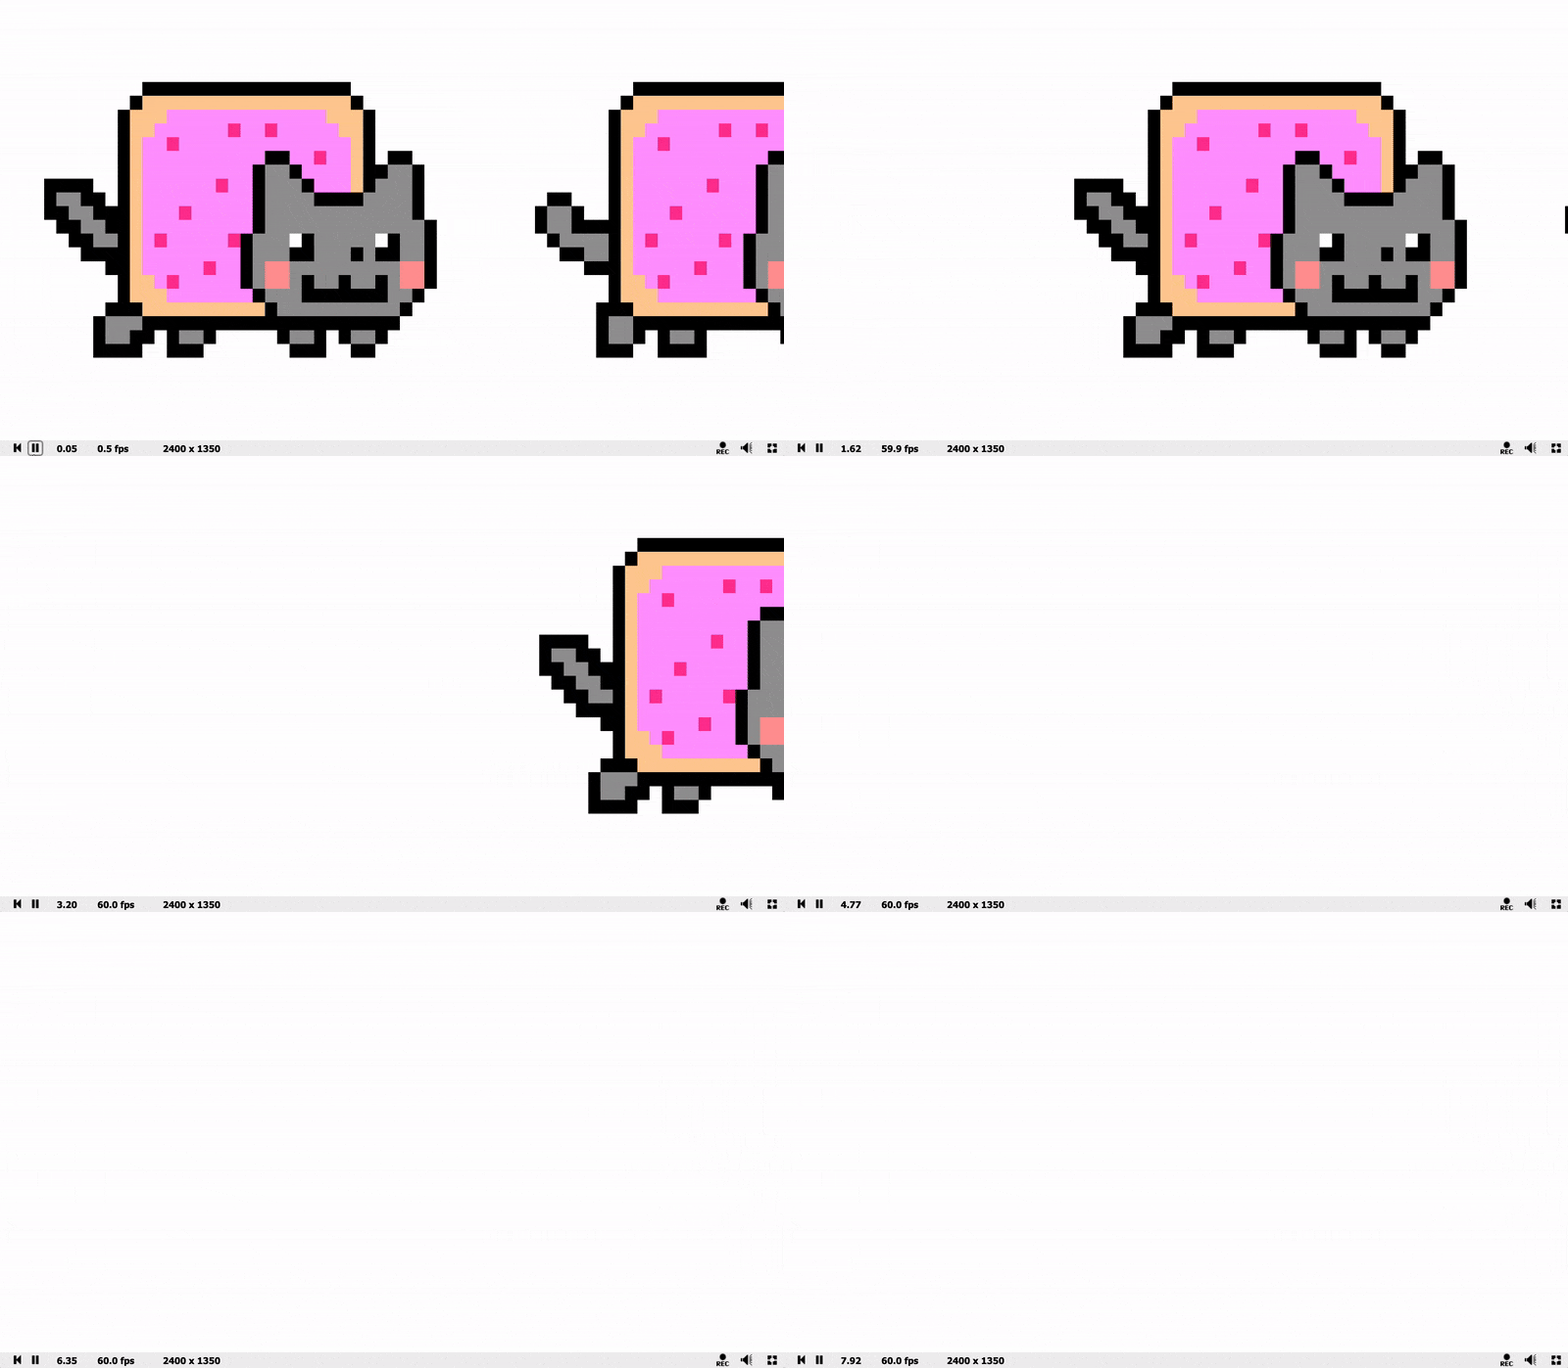
If you reset the time to 0, then you can see the UV coordinates from 0 to 1 The texture image disappears.
Texture images provide us with an alpha channel, and we can easily set the transparency of the background. Make sure the time is set to the initial state, and then run the above code.
  void mainImage( out vec4 fragColor, in vec2 fragCoord )
{
  vec2 uv = fragCoord/iResolution.xy; // Normalized pixel coordinates (from 0 to 1)

  vec4 col = vec4(0.75);

  uv.x *= 0.25;
  uv.x -= iTime * 0.05;

  vec4 texCol = texture(iChannel0, uv);

  col = mix(col, texCol, texCol.a);

  fragColor = vec4(col); // Output to screen
}
In this way, we set a transparent background for the texture.
Note that most textures have only three color channels. Some textures have only one channel, such as Bayer texture. Only one red channel is used to store data, but the other three channels do not. This causes you to see only red. Some textures are used to make noise or to create other types of graphics. You can even use textures to store information to change the terrain structure. Texture objects are really useful.
buffer
Shadertoy provides support for buffering. You can run different buffers in completely different shaders. Each shader will output the final fragColor, which can be used as other shaders, and finally passed to the mainImage function to output the color result. There are four types of buffers: BufferA, BufferB, BufferC and BufferD. Each buffer can hold four channel values. To access the buffer, we use one of them. Let's practice now. At the top of your editor, you can see an image bar label. The image tag is our main shader program. To add a buffer, simply click the plus sign.
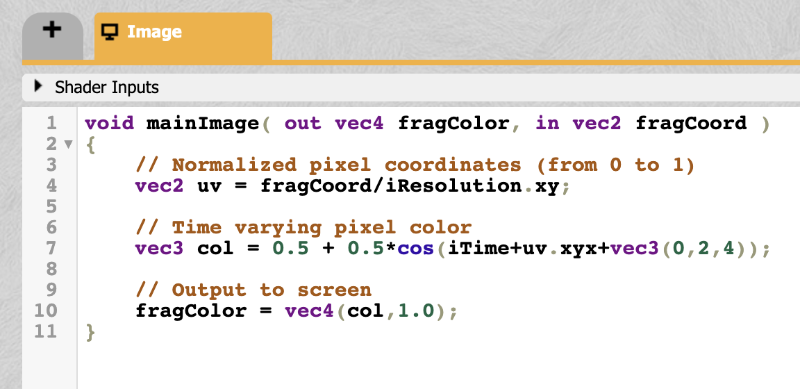
Click the drop-down menu and select common, sound, and several options such as BufferA, BufferB, BufferC, BufferD and CubeMapA.
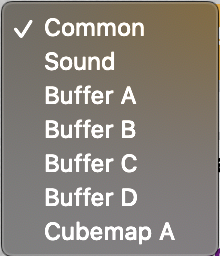
The Common option is used to share code in different shaders (all buffers, including other shader sounds and CubemapA). Sound options let's create a voice Shader. The cubemap option lets us generate a cube map. In this article, we try each buffer shader. These shaders are ordinary and simple shaders, returning a shader fragment of type vec4 (red, green, blue, transparent); Select a BufferA You can see the code of the template below.
  void mainImage( out vec4 fragColor, in vec2 fragCoord )
{
  fragColor = vec4(0.0,0.0,1.0,1.0);
}
It seems that the code simply returns blue. Let's go back to the image tab. Click ichannel0 to switch to the other (Misc) tab. Select BufferA. You can now use BufferA in ichannel0. In the image shader, paste the following code:
  void mainImage( out vec4 fragColor, in vec2 fragCoord )
{
  vec2 uv = fragCoord/iResolution.xy;

  vec3 col = texture(iChannel0, uv).rgb;

  col += vec3(1, 0, 0);

  // Output to screen
  fragColor = vec4(col, 1.0);
}
Run the above code and you can see that the whole canvas turns purple. This is because we extract the blue color value from BufferA, transfer it to the Image shader, and then add a red to the blue. The result is the purple we see on the screen. In essence, buffering provides us with more room to play. You can implement the functions of the whole shader in BufferA, and then pass the results to more buffers. Finally, the result is passed to the main shader as the final output. Think of them as a pipeline channel through which the color can be transmitted all the time. This is why programs that use buffering or add multiple shaders are also called multichannel shaders.
Using the keyboard
You may have seen some Shaders You can use the keyboard to control the scene. I wrote one Shaders , show how to move objects, store the value of each key through the keyboard and buffer, and see this shader, you can see how we use multiple channels. In BufferA, you can see the following code:
  // Numbers are based on JavaScript key codes: https://keycode.info/
const int KEY_LEFT  = 37;
const int KEY_UP    = 38;
const int KEY_RIGHT = 39;
const int KEY_DOWN  = 40;

vec2 handleKeyboard(vec2 offset) {
    float velocity = 1. / 100.; // This will cause offset to change by 0.01 each time an arrow key is pressed

    // texelFetch(iChannel1, ivec2(KEY, 0), 0).x will return a value of one if key is pressed, zero if not pressed
    vec2 left = texelFetch(iChannel1, ivec2(KEY_LEFT, 0), 0).x * vec2(-1, 0);
    vec2 up = texelFetch(iChannel1, ivec2(KEY_UP,0), 0).x * vec2(0, 1);
    vec2 right = texelFetch(iChannel1, ivec2(KEY_RIGHT, 0), 0).x * vec2(1, 0);
    vec2 down = texelFetch(iChannel1, ivec2(KEY_DOWN, 0), 0).x * vec2(0, -1);

    offset += (left + up + right + down) * velocity;

    return offset;
}

void mainImage( out vec4 fragColor, in vec2 fragCoord )
{
    // Return the offset value from the last frame (zero if it's first frame)
    vec2 offset = texelFetch( iChannel0, ivec2(0, 0), 0).xy;

    // Pass in the offset of the last frame and return a new offset based on keyboard input
    offset = handleKeyboard(offset);

    // Store offset in the XY values of every pixel value and pass this data to the "Image" shader and the next frame of Buffer A
    fragColor = vec4(offset, 0, 0);
}
In the Image shader, you can see the following code:
float sdfCircle(vec2 uv, float r, vec2 offset) {
float x = uv.x - offset.x;
float y = uv.y - offset.y;
float d = length(vec2(x, y)) - r;
return step(0., -d);
}
vec3 drawScene(vec2 uv) {
vec3 col = vec3(0);
// Fetch the offset from the XY part of the pixel values returned by Buffer A
vec2 offset = texelFetch( iChannel0, ivec2(0,0), 0 ).xy;
float blueCircle = sdfCircle(uv, 0.1, offset);
col = mix(col, vec3(0, 0, 1), blueCircle);
return col;
}
void mainImage( out vec4 fragColor, in vec2 fragCoord )
{
vec2 uv = fragCoord/iResolution.xy; // <0, 1>
uv -= 0.5; // <-0.5,0.5>
uv.x *= iResolution.x/iResolution.y; // fix aspect ratio
vec3 col = drawScene(uv);
// Output to screen
fragColor = vec4(col,1.0);
}
Draw a circle and use the keyboard to move it. In fact, we apply the value of the key to the offset value of the circle.
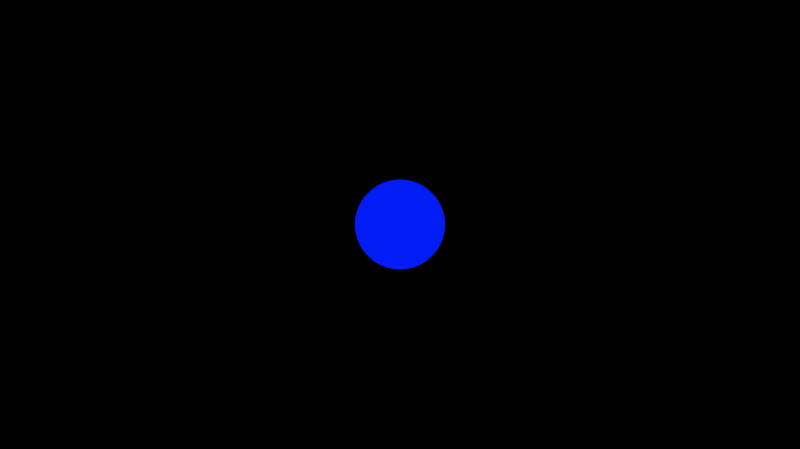
If you watch BufferA carefully, you will find that I invoke myself in iChannel0. What's going on? When you use yourself in the buffera shader, you get the value of the previous frame of the fragColor. This is not recursion. Recursion is not allowed in GLSL code, but only iteration. But this does not prevent us from using frame buffering frame by frame.
texelFeth The texel() function finds a single texel in a texture. But the keyboard is not a real texture. So how does it work? Shadertoy essentially stores all the information in the form of texture, so we have the right to access the texture to obtain any information. texelFeth checks whether a keyboard is pressed, determines whether to go back 0 or forward 1, and then multiplies it by a veclosity value to adjust the displacement coordinates. The displacement value will be passed to the next frame. Finally, it is passed to the main shader. If the running rate of the scene is 60 frames, that is, the switching speed of one frame is one sixtieth of a second, take the BufferA value of the last frame between multiple shaders, and then draw the pixels on the canvas. This loop will be executed 60 times per second. Other interactive elements, such as microphones, are accessed in this way. You can read Inigo Quilez Create examples about how to use various interactive elements in Shadertoy.
summary
Texture is a very important concept in computer graphics and game development. GLSL and other languages provide specific functions for accessing texture data. Shadertoy also provides us with many convenient methods to quickly access interactive elements. You can use textures to store color values, or other completely different data types, such as height, displacement, depth, or whatever you want. Check out the resources below to learn how to use more interactive elements.
Reference resources
Khronos: Data Type (GLSL)
Khronos: texture
Khronos: texelFetch
Khronos: Sampler (GLSL)
2D Movement with Keyboard
Input - Keyboard
Input - Microphone
Input - Mouse
Input - Sound
Input - SoundCloud
Input - Time
Input - TimeDelta
Input - 3D Texture
Example - mainCubemap
Cheap Cubemap