In the past, when writing papers, I used to use word to roll up documents, and finally save pdf. The pdf documents generated in this way are always uncomfortable, but they feel that the learning cost of latex is high and they are not interested in learning.
But sooner or later, I have to learn. I spent an afternoon learning about latex and configuring the latex writing environment in vscode. In general, it is to feel the stone to cross the river and record some problems and pits you encounter.
Download and install texlive
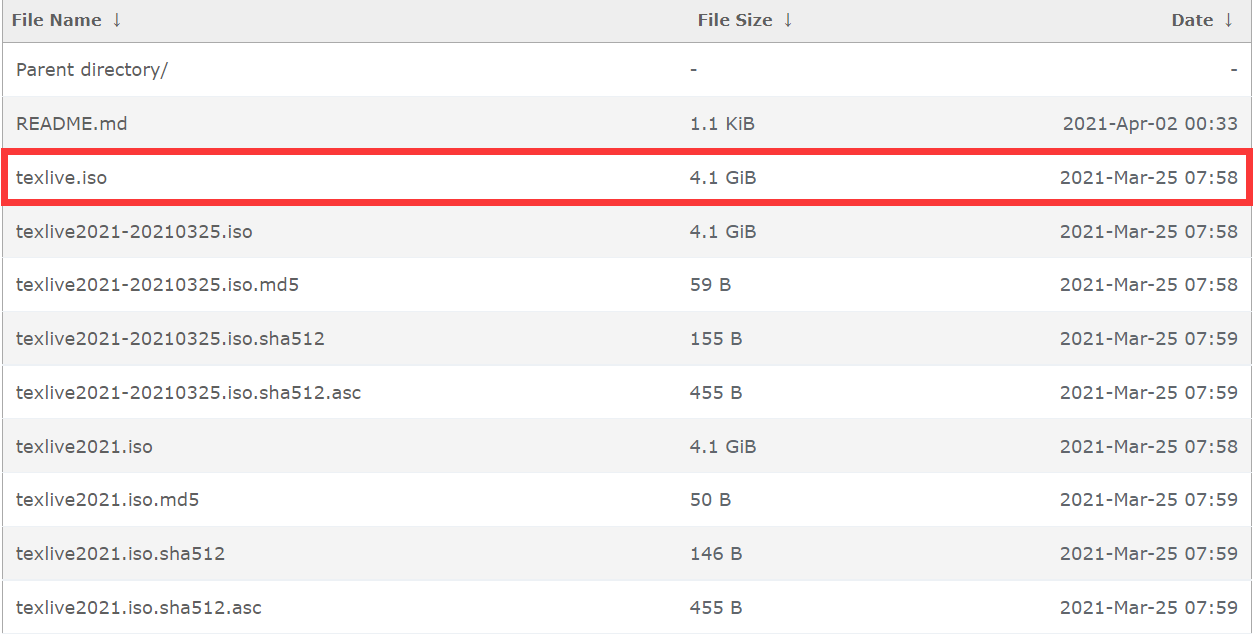
There is not much nonsense here. Directly post a domestic mirror link of Huawei Texlive Download
Select the following iso image to download
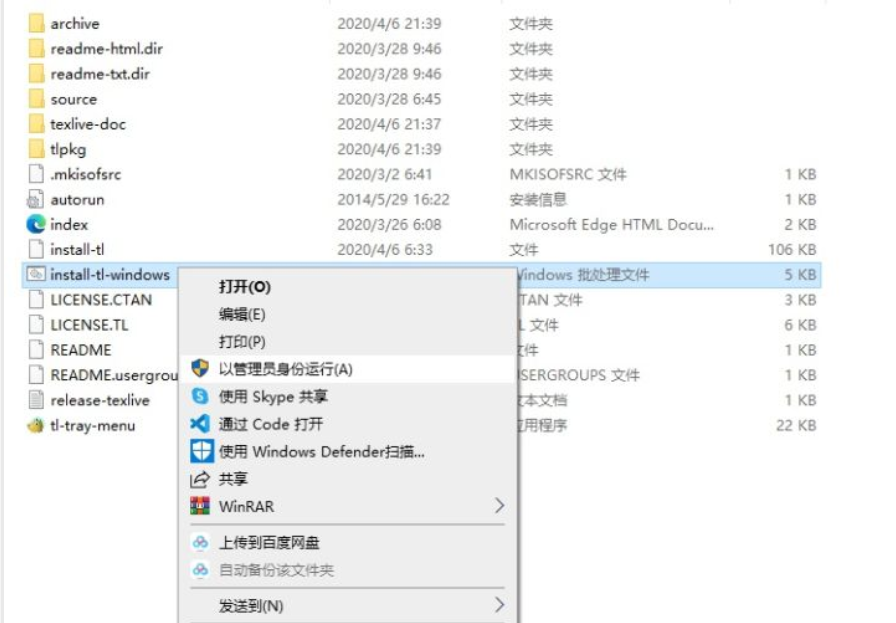
Open the iso file and run install TL windows as an administrator
Click Advanced to enter Advanced settings, modify the installation path, and directly confirm all the way (anyway, I can't understand other settings, so I checked all macro packages)
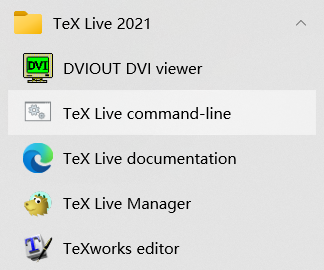
After the installation is completed, you will find a Tex Live 2021 in your start menu option, and open the Texworks editor
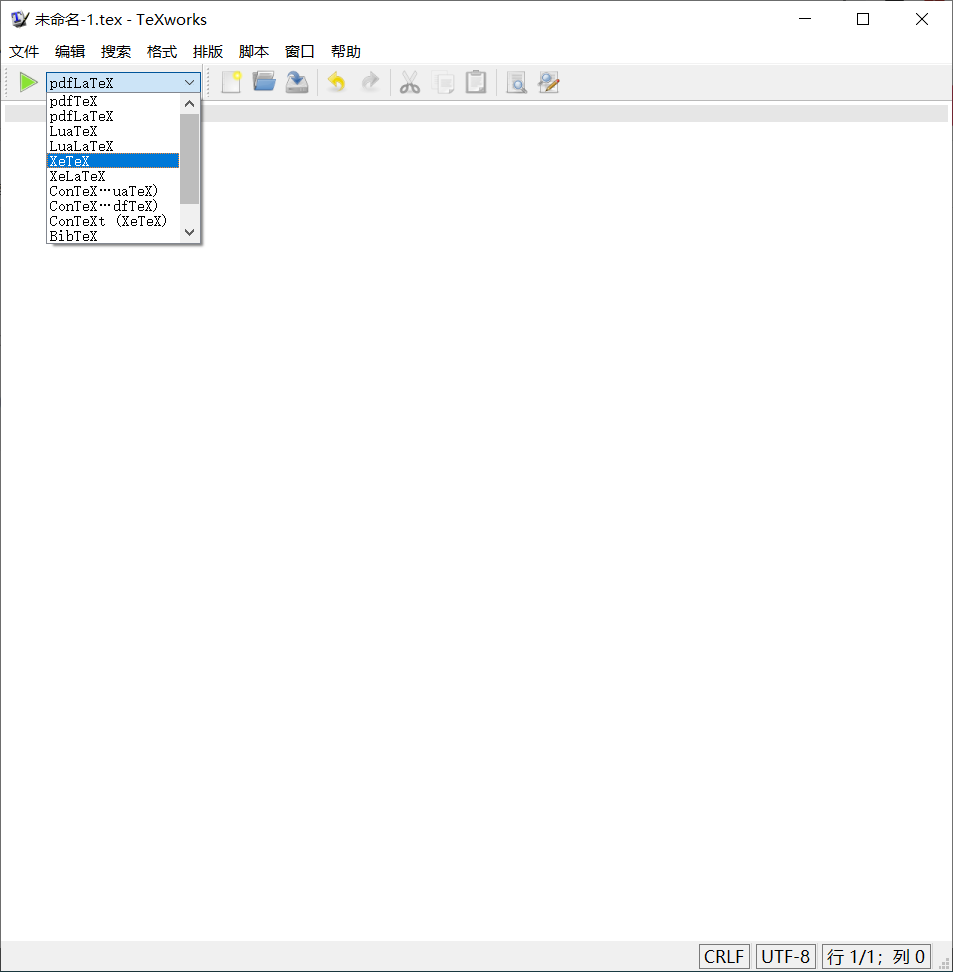
This is the default editor of the whole Tex. after writing the code in it, select different compilation methods to compile according to different needs
Among them, the meaning of pdfTex, pdfTex, XeTex, etc. and their development history should be determined by Baidu.
Then I started typing the code according to the online tutorial and called the macro package... After typing two lines, I found something wrong. There was neither code prompt nor automatic indentation. Who would write with this.
Then Baidu gave it a look. Sure enough, everyone is Eight Immortals crossing the sea. Then use vscode to configure the environment and write Tex.
Download vscode
There's nothing to say
Install the latex plug-in on vscode
Open the vs left extension, search for LaTeX Workshop and install it
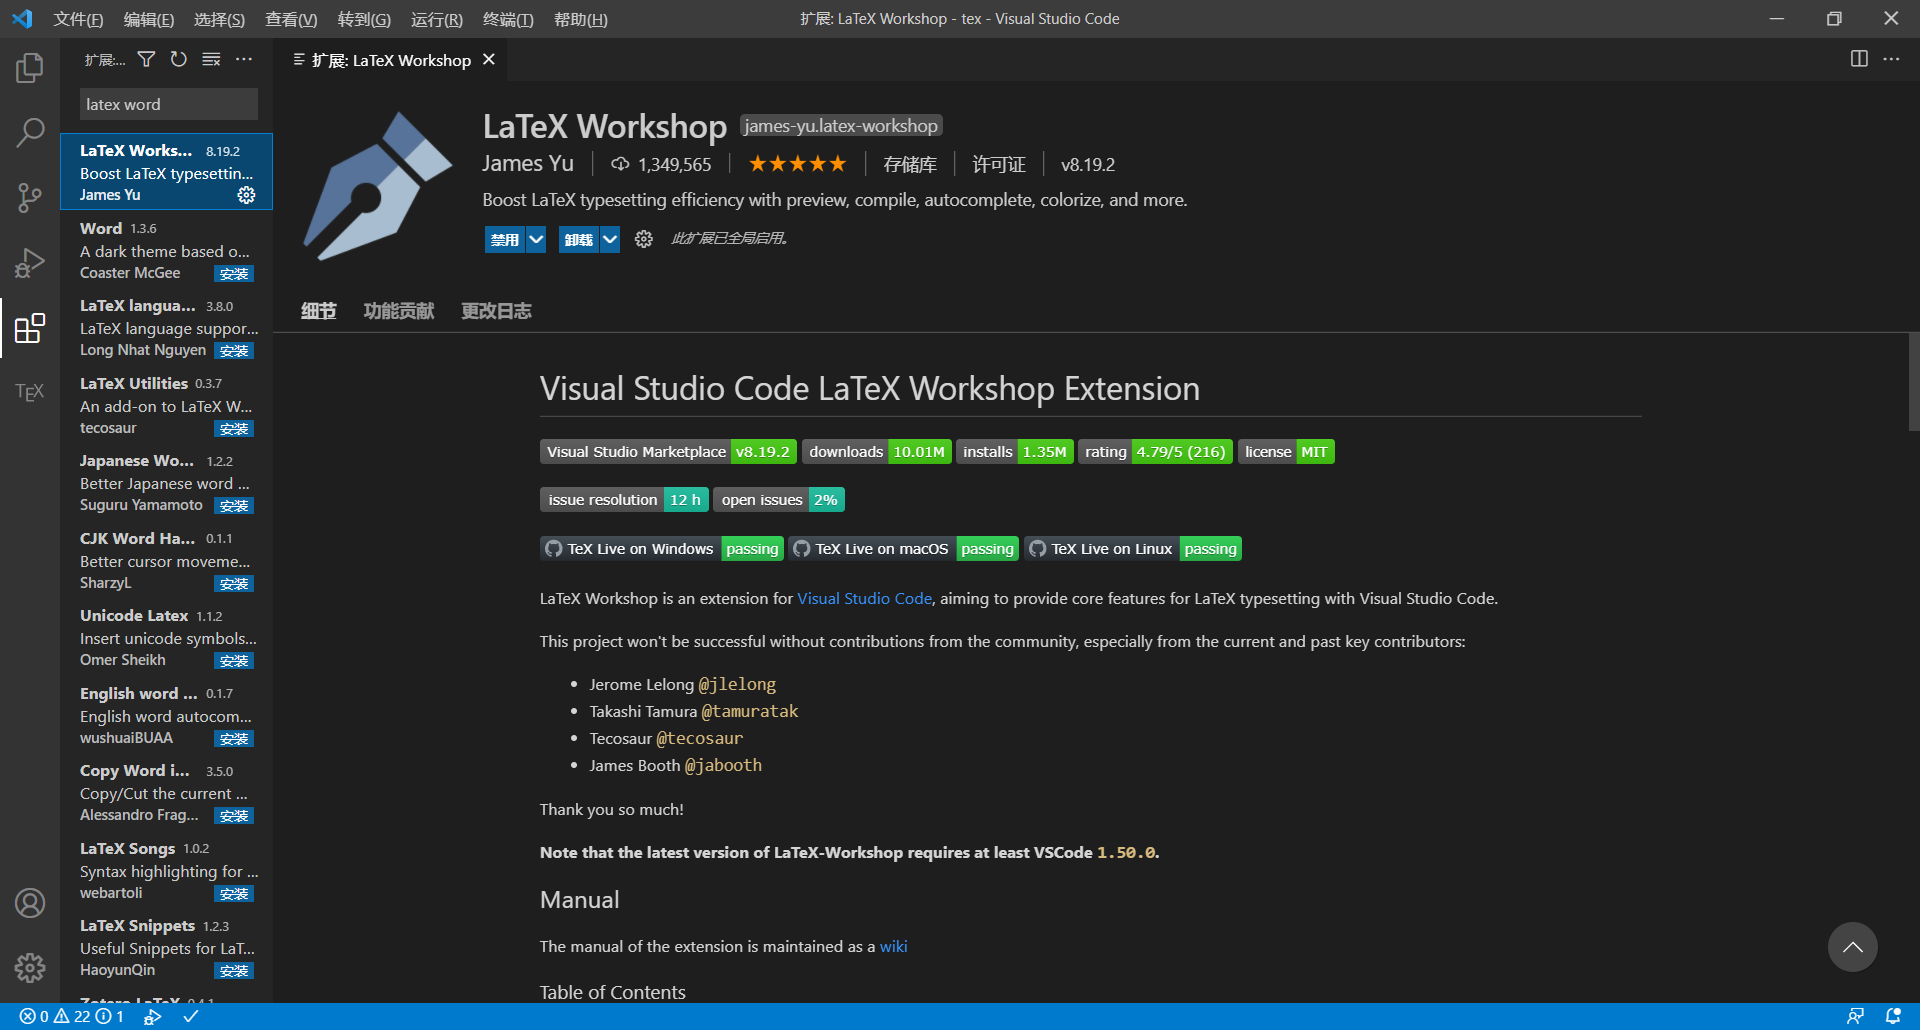
Looking back at our code, good guy, it has been highlighted, and the code has prompt function
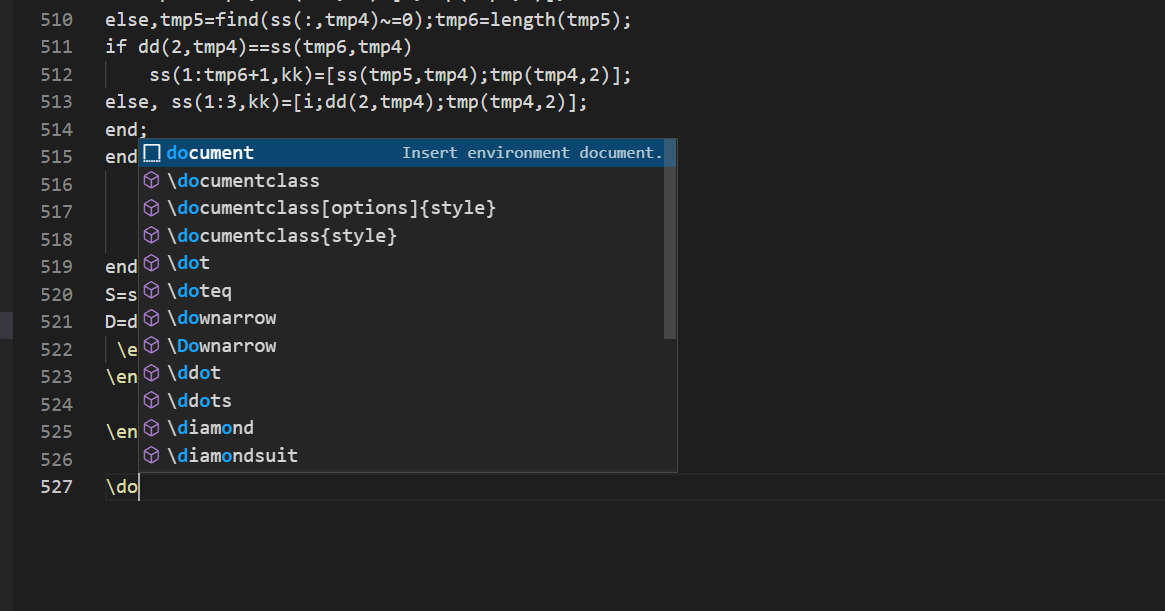
The default compilation tool for this plug-in is latexmk
We need to configure our own compilation chain
(latex has different compilation tools and why it needs to be compiled multiple times, which will not be repeated here Portal , the teacher speaks very well)
Press F1 in the vscode interface and enter setjson to open the setting
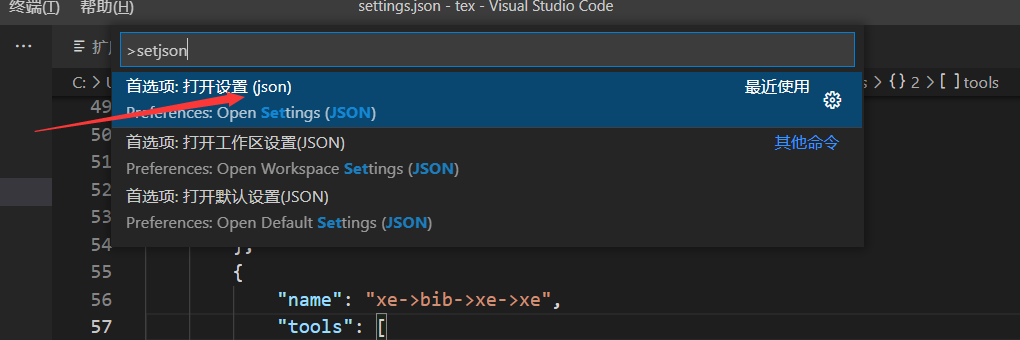
Add the following settings and save
"latex-workshop.latex.tools": [
        {
            "name": "xelatex",
            "command": "xelatex",
            "args": [
                "-synctex=1",
                "-interaction=nonstopmode",
                "-file-line-error",
                "%DOCFILE%"
            ]
        },
        {
            "name": "pdflatex",
            "command": "pdflatex",
            "args": [
                "-synctex=1",
                "-interaction=nonstopmode",
                "-file-line-error",
                "%DOCFILE%"
            ]
        },
        {
            "name": "bibtex",
            "command": "bibtex",
            "args": [
                "%DOCFILE%"
            ]
        },
    ],
    "latex-workshop.latex.recipes": [
        {
            "name": "xelatex",
            "tools": [
                "xelatex"
            ],
        },
        {
            "name": "pdflatex",
            "tools": [
                "pdflatex"
            ]
        },
        {
            "name": "xe->bib->xe->xe",
            "tools": [
                "xelatex",
                "bibtex",
                "xelatex",
                "xelatex"
            ]
        },
        {
            "name": "pdf->bib->pdf->pdf",
            "tools": [
                "pdflatex",
                "bibtex",
                "pdflatex",
                "pdflatex"
            ]
        }
    ],
Configure forward and reverse search
When the number of words and length of our paper are large, it is very inconvenient for us to find the modified content in the code, so we need to configure the forward and reverse search of vscode.
In fact, the new version of latex workshop already supports the self-contained forward and reverse search of pdf preview (ctrl+alt+j and ctrl + left mouse button). However, in order to be familiar with the following process, I reconfigured the forward and reverse search function of extended pdf preview according to the online steps
Here we use a compact and powerful pdf preview software sumatraPDF
, download and install (remember to check allow preview during installation)
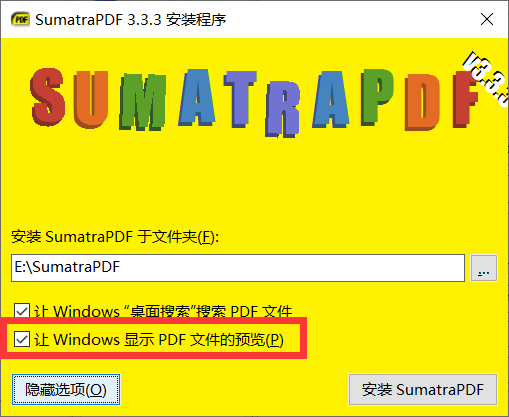
Then continue to add the following code in the settings:
    "latex-workshop.view.pdf.viewer": "external",
    "latex-workshop.view.pdf.external.viewer.command": "E:/SumatraPDF/SumatraPDF.exe",
    "latex-workshop.view.pdf.external.viewer.args": [
        "-forward-search",
        "%TEX%",
        "%LINE%",
        "-reuse-instance",
        "-inverse-search",
        "\"E:/VS Code/Code.exe\" \"E:/VS Code/resources/app/out/cli.js\" -gr \"%f\":\"%l\"",
        "%PDF%"
    ],
    "latex-workshop.view.pdf.external.synctex.command": "E:/SumatraPDF/SumatraPDF.exe",
    "latex-workshop.view.pdf.external.synctex.args": [
        "-forward-search",
        "%TEX%",
        "%LINE%",
        "-reuse-instance",
        "-inverse-search",
        "\"E:/VS Code/Code.exe\" \"E:/VS Code/resources/app/out/cli.js\" -gr \"%f\":\"%l\"",
        "%PDF%",
    ],
"latex-workshop.view.pdf.viewer": "external",
This item is to configure the pdf preview in vscode and set it as external (Extended)
Note: the original settings are the same
"latex-workshop.view.pdf.viewer": "tab",
Remember to delete this item or change its value to external to avoid code coverage failure
"latex-workshop.view.pdf.external.viewer.command": "E:/SumatraPDF/SumatraPDF.exe",
This item is the path to configure SumatraPDF
Remember to change the path and drive letter of vscode in the specific code block
Let's look at the effect:
Forward search
As you can see, we click preview and the SumatraPDF window will pop up automatically
Click the SyncTex from cursor button on the left, and the PDF will automatically jump to the corresponding position
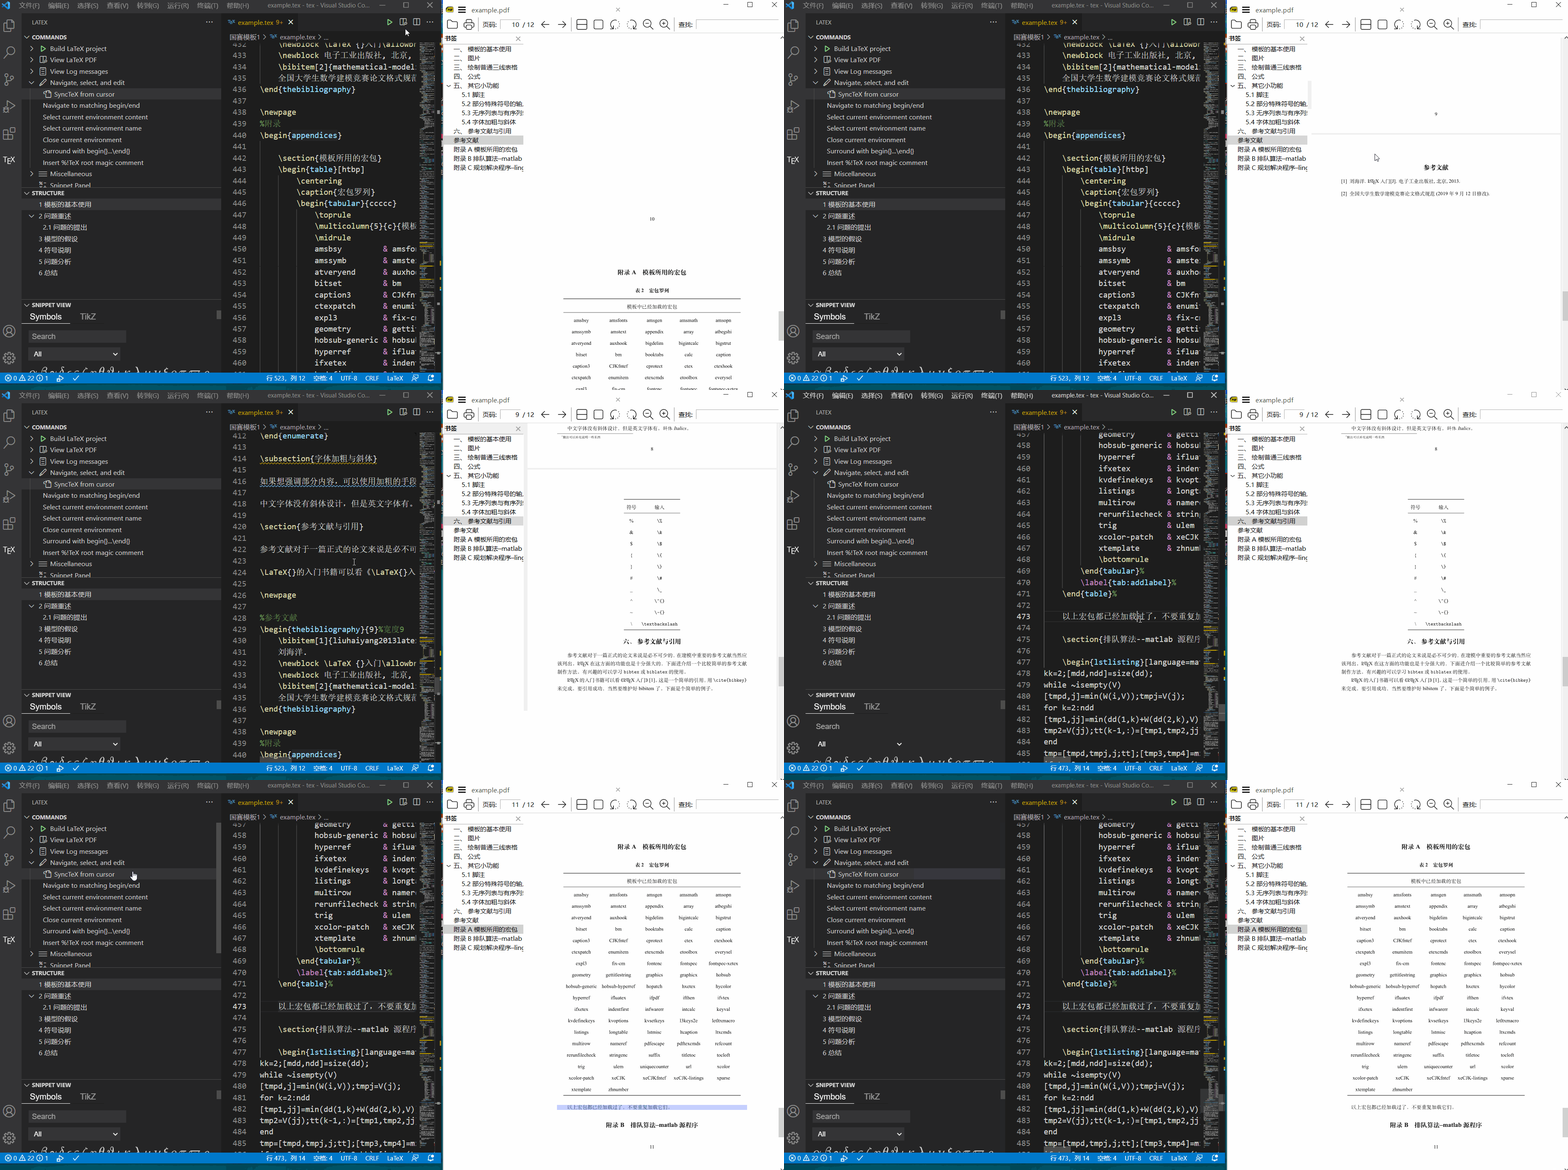
Reverse search
We can double-click in the PDF to find the location of the code in reverse
You can also bind forward search to shortcuts:
F1 - > search keyjson - > select "open keyboard shortcut (JSON)" - > enter the following setting code:
{
    "key": "alt+s",
    "command": "latex-workshop.synctex",
    "when": "editorTextFocus && !isMac"
},
Bind forward search to alt+s
Save completed!
reference resources:
https://zhuanlan.zhihu.com/p/38178015
https://zhuanlan.zhihu.com/p/186249349
https://zhuanlan.zhihu.com/p/142963562
https://github.com/James-Yu/LaTeX-Workshop/issues/637#issuecomment-473145503
Official wiki of workshop plug-in: https://github.com/James-Yu/LaTeX-Workshop/wiki
Learning about LaTex
Post some good tutorials for everyone to learn
Why does LaTeX compile multiple times
VSCode write latex
LaTeX mathematical formula
LateX Basics - formats and commands
Complete solution of LateX typesetting
Question message
But it seems easier to write tex in linux environment?
Free research
\end{document}