advantage
- The configuration becomes simple. In most cases, you can use the default configuration;
For example, maven dependency, using starter to simplify maven configuration - The construction of the project is simple, with a built-in framework for integrating the third party and no configuration integration;
- The deployment of the project is simple, with embedded Servlet containers, such as Tomcat, Jetty, etc;
The project can be run directly in the form of jar package without war; - It provides many functions, such as application monitoring, etc;
Project environmental preparation
- JDK, version 1.8 or above is recommended;
- Development tools, Eclipse is used here;
- Database, mysql is used here;
- springboot, version 2.4.5 is used here;
Official website: https://spring.io/projects/spring-boot - Project management tool: maven. Version 3.3 required+
Step 1: build the initial springboot environment
- Open eclipse and right-click to create a new maven project
(Note: here, eclipse has configured Maven environment, and eclipse integration Maven will be supplemented later);
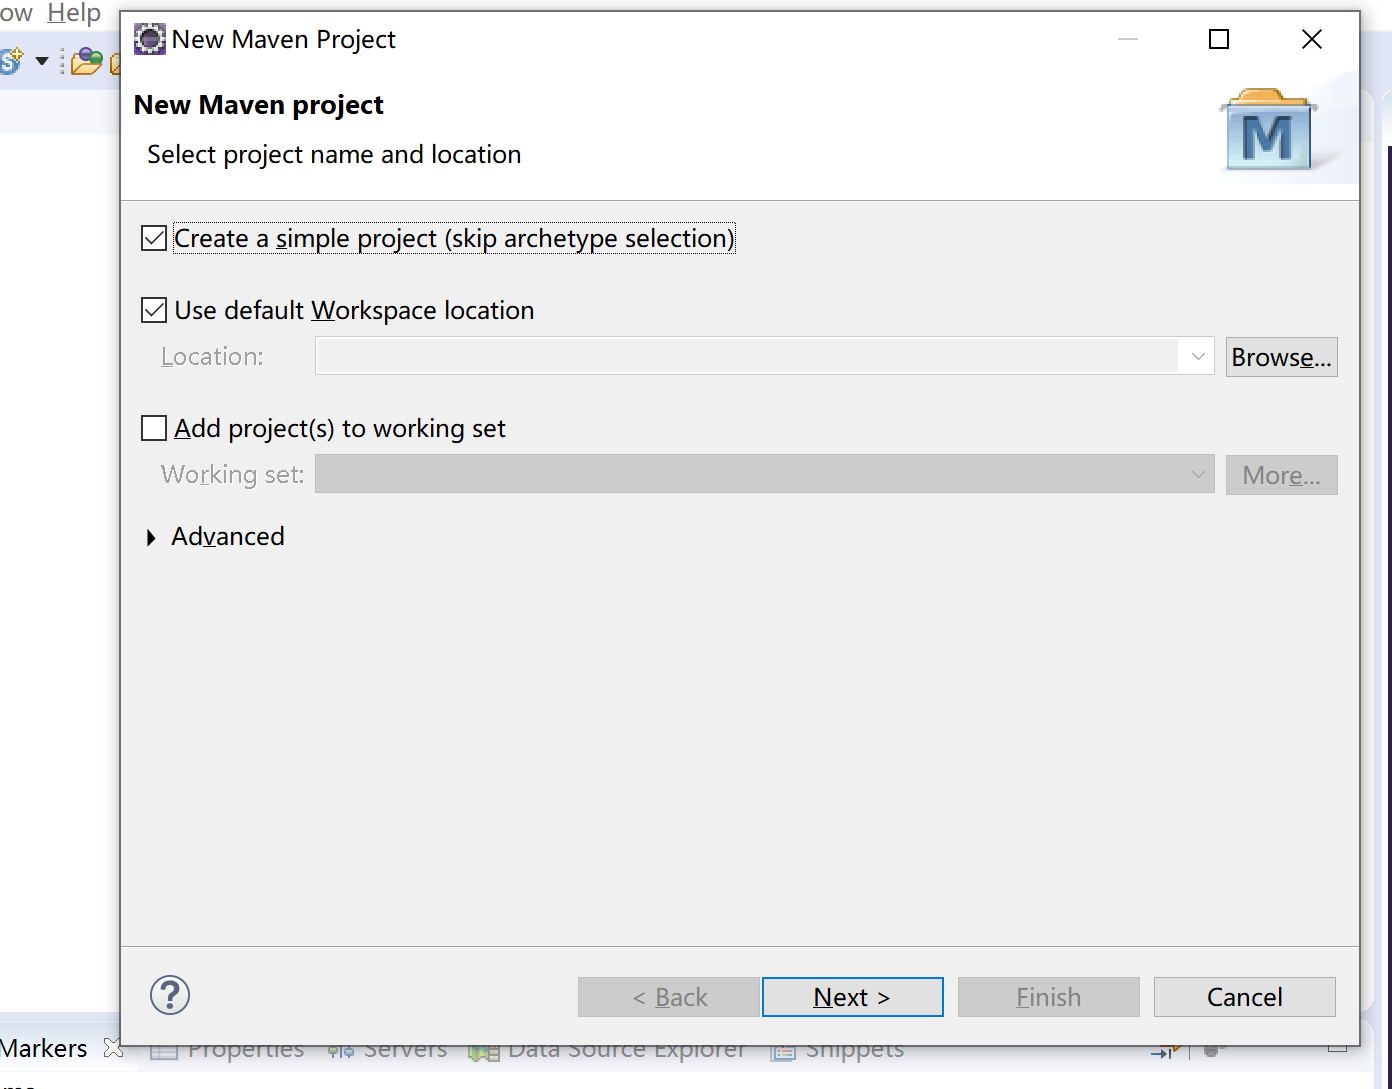
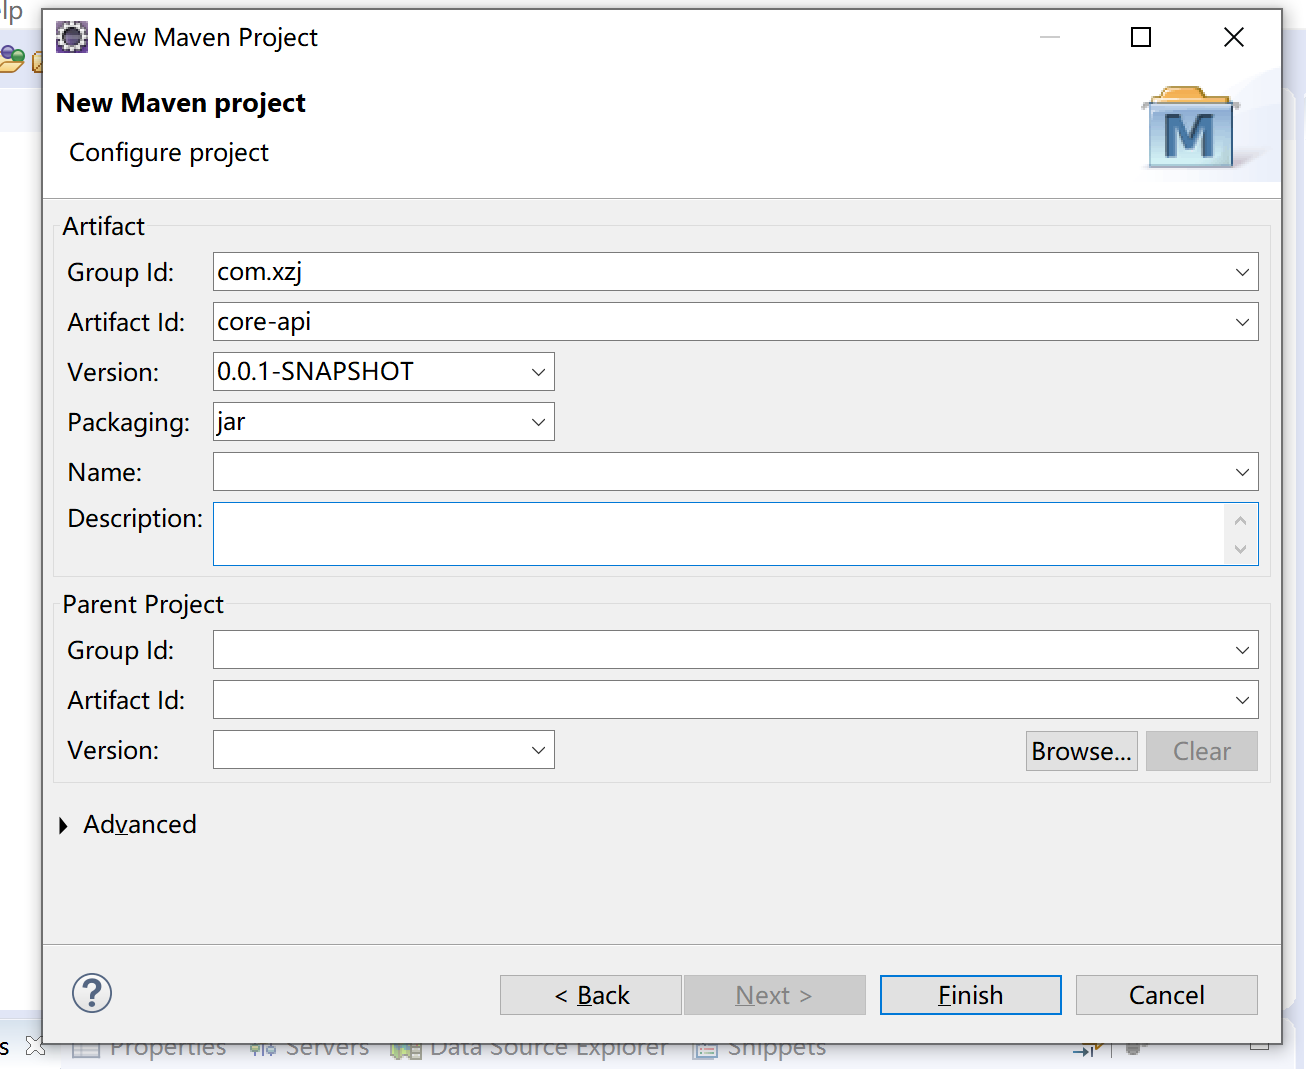
- Fill in the organization and project name, type it into a jar package, and click Finish to finish;
- Configure pom file, build springboot parent factory, add dependency and save;
<!-- structure springboot project -->
	<parent>
		<groupId>org.springframework.boot</groupId>
		<artifactId>spring-boot-starter-parent</artifactId>
		<version>2.4.5</version>
	</parent>

<!-- Add classpath dependency -->
	<dependencies>
		<dependency>
			<groupId>org.springframework.boot</groupId>
			<artifactId>spring-boot-starter-web</artifactId>
		</dependency>
	</dependencies>
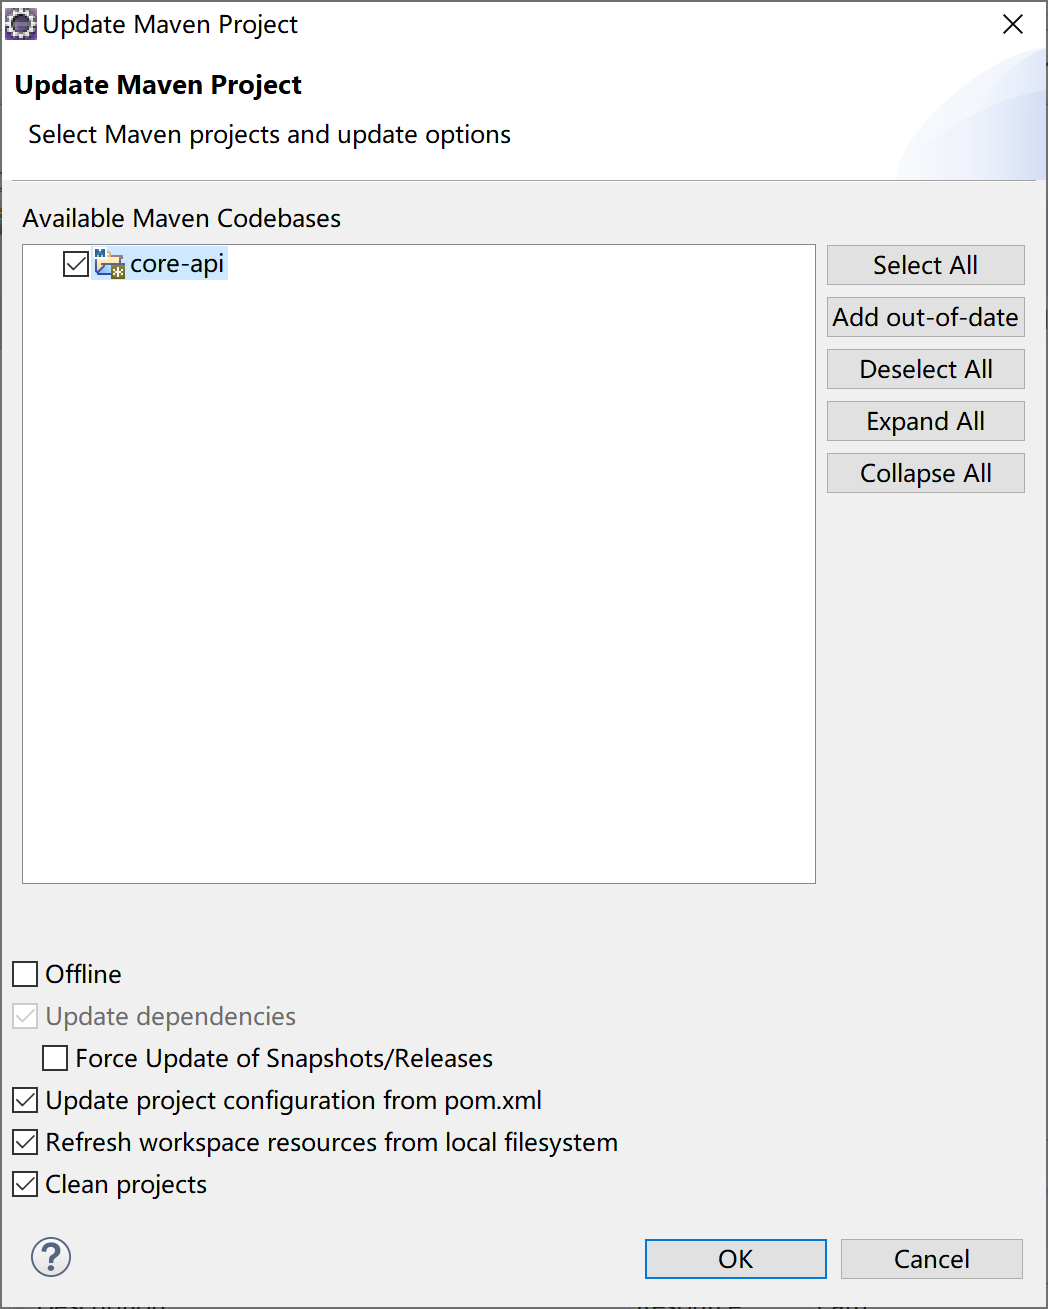
- For project update, right click / Maven/update Project/ok to complete the initial springboot environment;
(after changing the pom.xml file, you usually need to execute update project to update the external dependent jar package, so as to let eclipse know the changed contents)
Run springboot
-
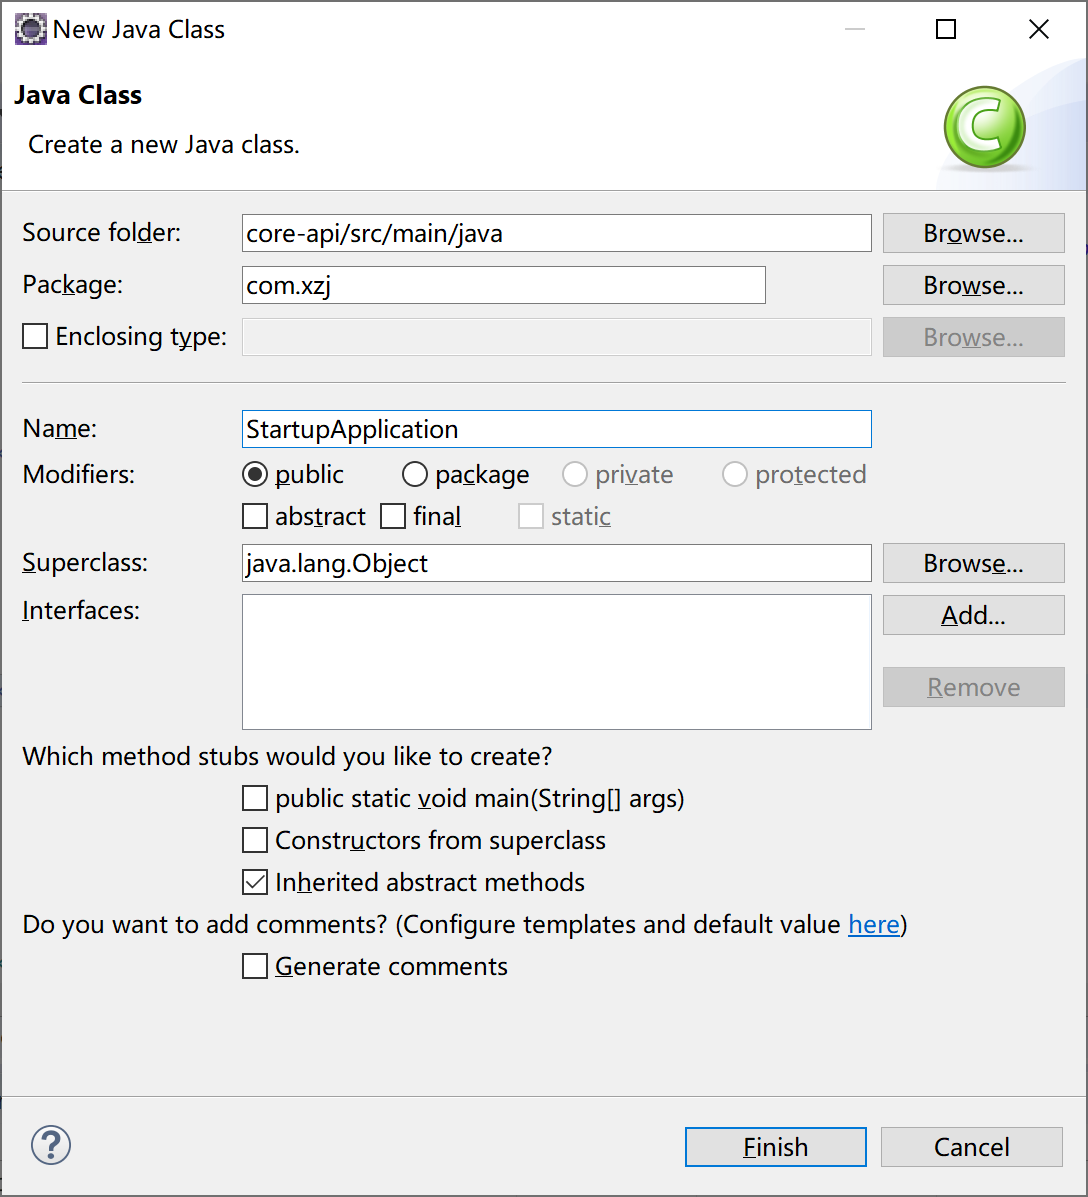
Create a class. The class is not important. The class name and path can be arbitrary
-
Write the main function to indicate the startup class, load the startup class and run springboot
/**
 * springboot Startup class
 * @author jie
 */
 //Indicates that the current class is the startup class of springboot
 //The startup class contains configuration annotations, enabling automatic scanning and other annotations. Annotations under the current startup class and its descendants can be scanned
@SpringBootApplication
public class StartupApplication {

	public static void main(String[] args) {
		//Start class loading (parameter 1: start class bytecode; parameter 2: parameters required for operation)
		SpringApplication.run(StartupApplication.class, args);
	}
}
Getting started with springboot
1. Spring MVC integrates seamlessly and writes controller
//Contains @ Controller and @ ResponseBody
@RestController
@RequestMapping("/springmvc")
public class TestController {

	@RequestMapping("/hello")
	public String hello() {
		return "hello springboot";
	}
}
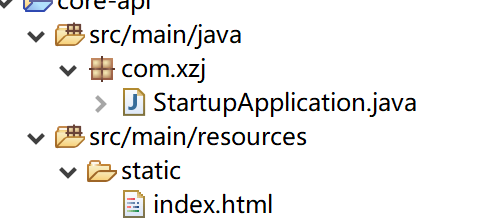
Using static files (such as html) in spring boot
1. Create a new folder "static" under resource. Static files can be placed in this directory.
(question: why is it named static under resource?
Because this is the default path defined by springboot. The default home page is index html)
Integrating mybatis in springboot
1. Introduction of mybatis and database dependency into POM
	<!-- mybatis -->
		<dependency>
            <groupId>org.mybatis.spring.boot</groupId>
            <artifactId>mybatis-spring-boot-starter</artifactId>
            <version>1.3.2</version>
        </dependency>
        <!-- mysql -->
        <dependency>
            <groupId>mysql</groupId>
            <artifactId>mysql-connector-java</artifactId>
        </dependency>
        <!-- druid -->
        <dependency>
			<groupId>com.alibaba</groupId>
			<artifactId>druid</artifactId>
			<version>1.1.10</version>
		</dependency>
2. Create a table user in the database
DROP TABLE IF EXISTS auth_user;
CREATE TABLE auth_user
(
  id int(11) NOT NULL AUTO_INCREMENT COMMENT 'PK',
	user_name VARCHAR(20) not null,
	password VARCHAR(20) not null,
	PRIMARY KEY(id)
)ENGINE=InnoDB AUTO_INCREMENT=1 DEFAULT CHARSET=utf8mb4 COLLATE=utf8mb4_unicode_ci ROW_FORMAT=COMPACT COMMENT='User table';

//explain:
//The difference between utf8 and utf8mb4: mb4 means most bytes 4, which is specially used to be compatible with four byte unicode.
//The maximum character length of utf8 encoding is 3 bytes. If a 4-byte wide character is encountered, an exception will be inserted. Such as Emoji expression.
//The rules of COLLATE character encoding and sorting will affect the comparison query results of order By, group by, where and other statements.
//_ ci suffix: the abbreviation of case sensitive, that is, it is case independent, that is, when searching for 'A' and 'A' in the query, it is the same.
//_ The COLLATE suffix of cs is Case Sensitive, that is, Case Sensitive.
//ROW_FORMAT, physical line record format. Partial hardware problems, not detailed.
3. Here, I like to set the configuration file first and create a new YML main configuration file under resource: application yml. And set the content.
(question: what is the difference between properties and yml?
In fact, they are just configuration files. The difference is only in different formats. For example, properties are represented by '‘ Separate, while yml files are separated by ':'.
And the tree structure of yml file provides better support for Chinese. I recommend yml)
 spring:
  profiles:
    active: dev
    ##There will be many development environments in real projects, and the configurations of different environments are different. Here, specify which configuration file to load when the project runs
    ##The multi environment configuration file name in Spring Boot needs to meet the requirements of application - {profile} Format of YML
4. Create a new YML development environment configuration file under resource: application-dev.yml. And set the content.
server:
  port: 8080 ##Specifies which port the project runs on

## Database connection
spring:
  datasource:
    type: com.alibaba.druid.pool.DruidDataSource  ##Type of data source
    username: root
    password: root
    url: jdbc:mysql://localhost:3306/test?useUnicode=true&characterEncoding=utf-8&useSSL=true&serverTimezone=UTC
    driver-class-name: com.mysql.cj.jdbc.Driver

## Path of mybatis configuration mapping file
mybatis:
  mapper-locations: classpath:mapper/*Mapper.xml  ##Scan mapper files
  type-aliases-package: com.xzj.entity ##When mapping to entity classes in the configuration file, you can omit changing the pathname
  configuration:
    log-impl: org.apache.ibatis.logging.stdout.StdOutImpl ## mybatis statement console printing
5. After the configuration file is configured, you can start writing java code. Direct code:
Entity class
public class UserEntity implements Serializable {
	private Long id;
	private String userName;
	private String password;

	public Long getId() {
		return id;
	}
	public void setId(Long id) {
		this.id = id;
	}
	public String getUserName() {
		return userName;
	}
	public void setUserName(String userName) {
		this.userName = userName;
	}
	public String getPassword() {
		return password;
	}
	public void setPassword(String password) {
		this.password = password;
	}
}
Dao layer interface
@Mapper
public interface UserDao {
	public List<UserEntity> queryUserByName(String name);
}
Service layer interface
public interface UserService {
	List<UserEntity> list(String name);
}
Service layer implementation class
@Service
public class UserServiceImpl implements UserService {

	@Autowired
	private UserDao userDao;

	@Override
	public List<UserEntity> list(String name){
		List<UserEntity> userList = userDao.queryUserByName(name);
		return userList;
	}
}
Controller layer
@RestController
@RequestMapping("/test")
public class TestController {

	@Autowired
	private UserService userService;

	@RequestMapping("/list/{name}")
	private List<UserEntity> list(@PathVariable("name") String name){
		return userService.list(name);
	}
}
6. Create a mapper folder under resource and write the mapper file (corresponding to the path rules in the configuration file):
<?xml version="1.0" encoding="UTF-8"?>
<!DOCTYPE mapper PUBLIC "-//mybatis.org//DTD Mapper 3.0//EN" "http://mybatis.org/dtd/mybatis-3-mapper.dtd">
<mapper namespace="com.xzj.dao.UserDao">

    <select id="queryUserByName" resultType="com.xzj.entity.UserEntity">
        select * from auth_user where username like concat(concat('%',#{id}),'%')
    </select>
</mapper>
7. At this time, a springboot project is built by us. You can run the startup class and try the following:
http://localhost:8080/test/list/dm

Looking at the console, the integration of the springboot project and mybatis was successful

Here, the springboot is simply built.
Self summary:
I've been working for nearly a year. In the business I've been busy working all day, my knowledge has disappeared quietly without being used in my work. I haven't taken notes for a year. I use one article: spring boot simple construction and reopening.
Learn endlessly and improve yourself.
Finally, the technology is not good, and the writing may not be very good. If there are mistakes in the article, I hope you guys can help point them out; Small partners who feel beneficial can also pay attention to one wave and make progress together.