As a person who wants to let the computer do some repetitive operations for himself all day, let him touch it well 🐟. So I taught myself the module to control the mouse and keyboard: pyautogui the following are some of my learning experiences: (the code is not very good, for reference only.)
Learning pyautogui module: main learning: screen coordinates, mouse method, keyboard method, prompt box.
1, Screen coordinates:
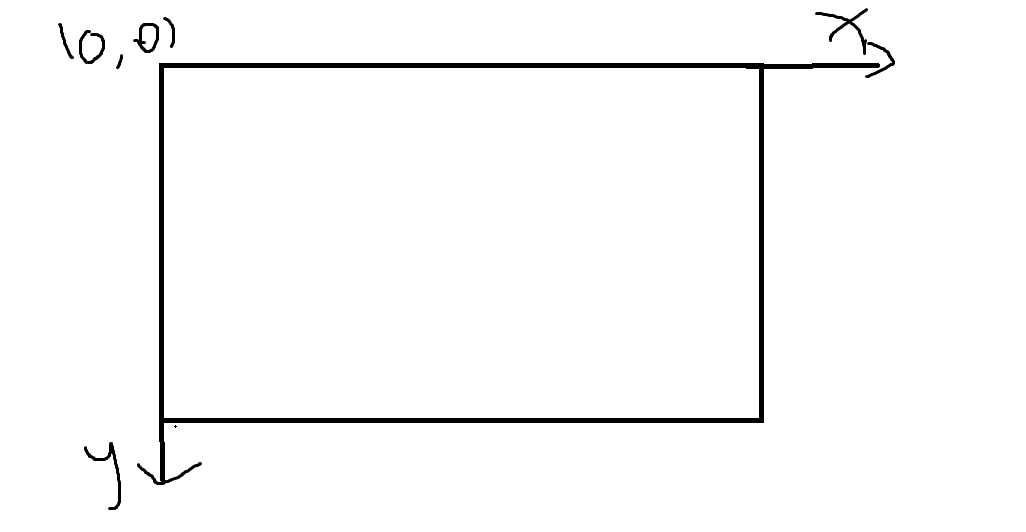
Unlike the coordinate system learned in high school, the positive direction of its y axis is downward, and the width and height of the screen are determined by the screen fraction.
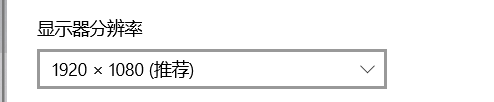
For example: the width of the screen is 1920 and the height is 1080. (Note: counting starts from 0, so subtract one after determining the coordinates.) after understanding the coordinates of the l screen, you will enter the real learning of the code.
II
1. Installation of pyautogui module: pip install pyautogui
After installing the module, you can import it: import pyautogui
2. Some common operations for the screen:
screenWidth, screenHeigth = pyautogui.size()
print(screenWidth,screenHeigth)
# Returns two integers, the width and height of the screen
# -----------------------------
print(pyautogui.onScreen(500,500))
# Judge whether the coordinates are on the screen. If yes, return true.
# ---------------------------------
currentMousex , currentMousey = pyautogui.position()
print(currentMousex,currentMousey)
# Returns the current mouse position
# -----------------------------
For these three methods, I think pyautogui The position () method is very practical. It will return the position of the current coordinate. We can use this method to write a circular statement to locate the coordinate of a point.
3. The operation of the mouse is to click and double-click the scroll wheel:
pyautogui.click(button ='left')
# Click the current mouse position
pyautogui.click(x=200,y=200)
# Click the location of the current coordinate
pyautogui.doubleClick()
# Double click the current mouse position
pyautogui.doubleClick(x=200,y=200)
# Double click the location of the current coordinate
The click operation is shown above, but the value should be noted: a. when passing in parameters, both parameters must be passed in; b. when in the corner of the screen, pyautogui should be used Failsafe(), otherwise the program will report an error. c. There are buttons in the click method to control the left and right buttons of the mouse. Just pass in 'left' or 'right' to control the left or right buttons of the mouse. If you do not pass in, it defaults to 'left'
****Operation of mouse wheel
# pyautogui.scroll(clicks=amount_to_scroll, x=moveToX, y=moveToY)
pyautogui.scroll(5, 20, 2) # First position the mouse on a certain coordinate and operate the wheel
pyautogui.scroll(10) # Scroll up 10 spaces
pyautogui.scroll(-10) # Scroll down 10 spaces
Note that a positive value means scrolling up and a negative value means scrolling down
Of course, when we operate the mouse, we can not only click, but also many operations:
#pyautogui.moveTo ( 500 , 500 ,Duration= 2 , Make up room= pyautogui.easeInOutQuad )  # Use the gap / jog function to move the mouse for more than 2 seconds.
pyautogui.moveTo ( 418, 73, 2,pyautogui.easeInOutQuad)  # Use the gap / jog function to move the mouse for more than 2 seconds
# Slowly move the mouse to the specified position
#-------------------------------
pyautogui.dragTo(200,200,button = 'left')
pyautogui.dragTo(500,500,2,button='left')
# Position the mouse over a point, and then press and hold the left button to move the mouse to another coordinate
pyautogui.dragRel(0, -60, duration=0.2)
# Press and hold the left mouse button first, and then drag upward
The above code can realize long press the left key to move, or long press the left key to move first.
In our automation, we can't avoid inputting content
pyautogui.write('Text content',interval = 0.25)  # Enter the time interval for each key
# Realize text information input
# ----------------------------------
4. Keyboard operation:
pyautogui.press('Enter')
# Simulate pressing Enter
pyautogui.keyDown('Enter')
# Simulate pressing Enter
pyautogui.hotkey('Ctrl','c')
# Press multiple keys at the same time
# ----------------------------------—
The above method can be used to simulate the pressing of one key or multiple keys
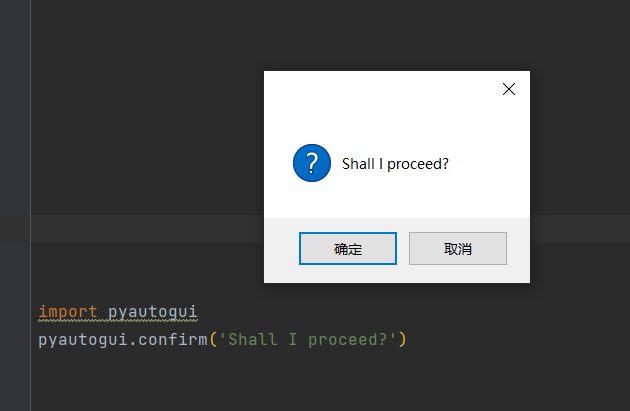
5. Message box
pyautogui.confirm('Shall I proceed?')
pyautogui.confirm('Enter option.', buttons=['A', 'B', 'C'])
pyautogui.prompt('What is your name?')
pyautogui.password('Enter password (text will be hidden)')
For example, pyautogui Confirm ('shall I proceed?) will generate the following prompt box. The contents of the prompt box can be made by yourself
6. Screen capture:
pyautogui.screenshot('./haha.png')
# Full screen capture
pyautogui.screenshot('./ee.png',region=(0,0, 300, 400))
# The parameters in the region are (x,y, width and height)Share: do not duplicate the py file name with the module name, otherwise an error will be reported:
AttributeError: module 'pyautogui' has no attribute 'size'