Button class component (radio button and check box)
- Radio button
-
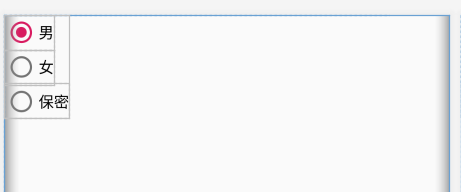
Radio button: usually a circular icon, with some descriptive text beside it. In most cases, radio buttons appear in groups. Only one radio button in a group can be selected at the same time.

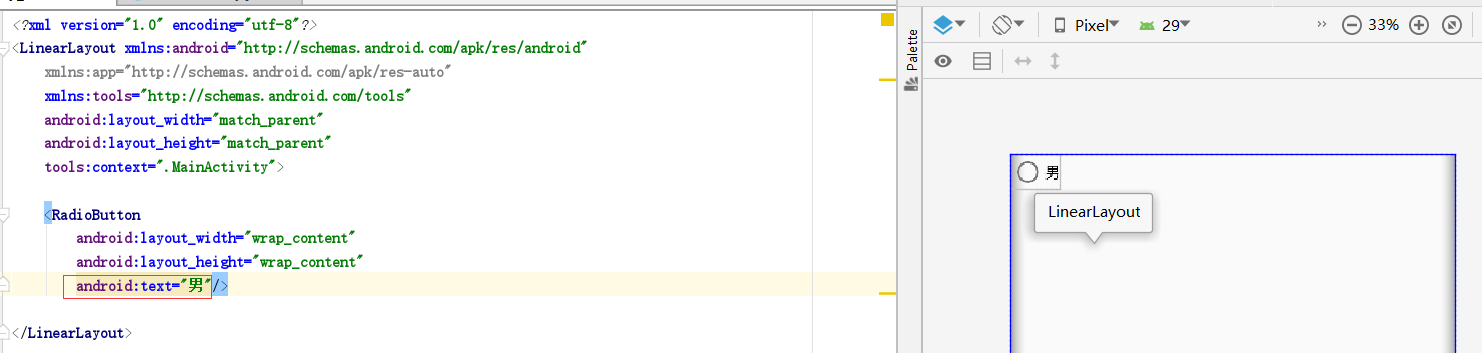
In the activity main.xml file, use the RadioButton label to define radio buttons.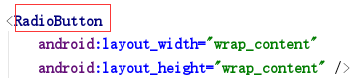
-
Properties:
-
android:text: add descriptive text for radio buttons.
-
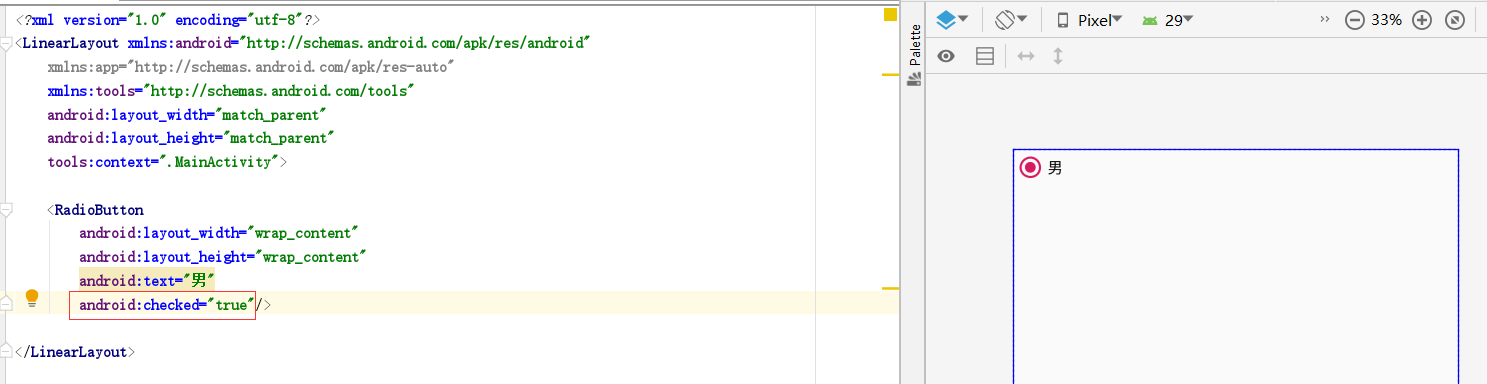
android:checked: set the radio button to be selected by default. If the value is true, it is selected by default; otherwise, it is not selected by default. The default value is false.
-
android:text: add descriptive text for radio buttons.
-
Use the RadioGroup tab to set the radio button group:
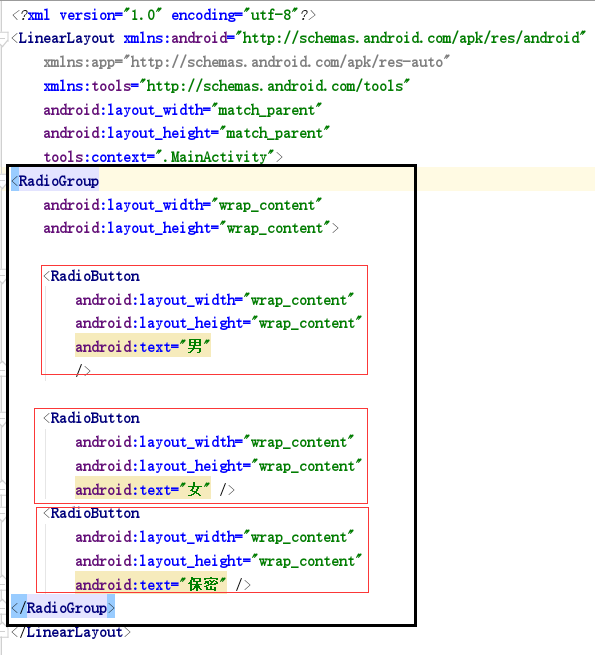
If you don't use RadioGroup to wrap these three RadioButton s, you are not a radio button group. Because each button can be selected at the same time. -
Gets the value of the selected radio button in the radio button group:
- Method 1: obtain when the selection status changes (the originally selected male, now select female, at this time obtain female)
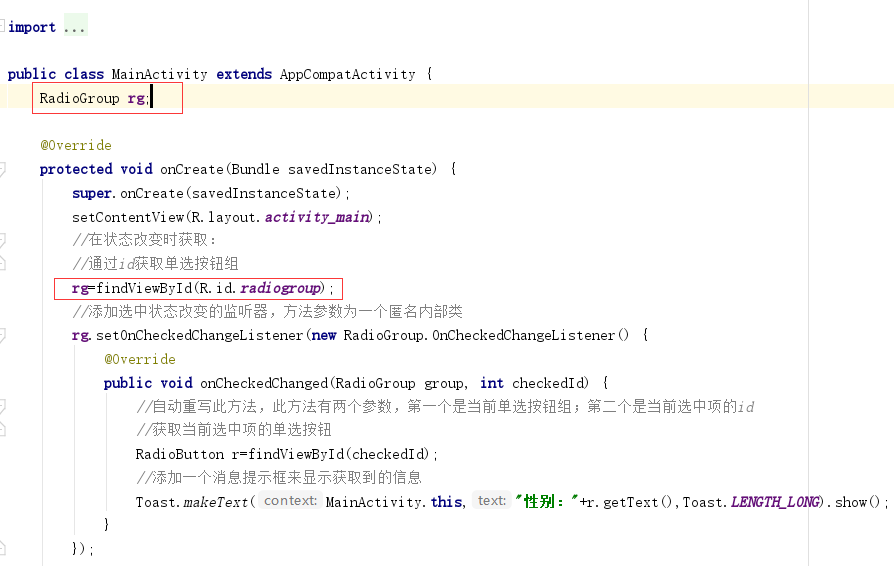
Set the id property for the radio button group to get the radio button group in the Java file: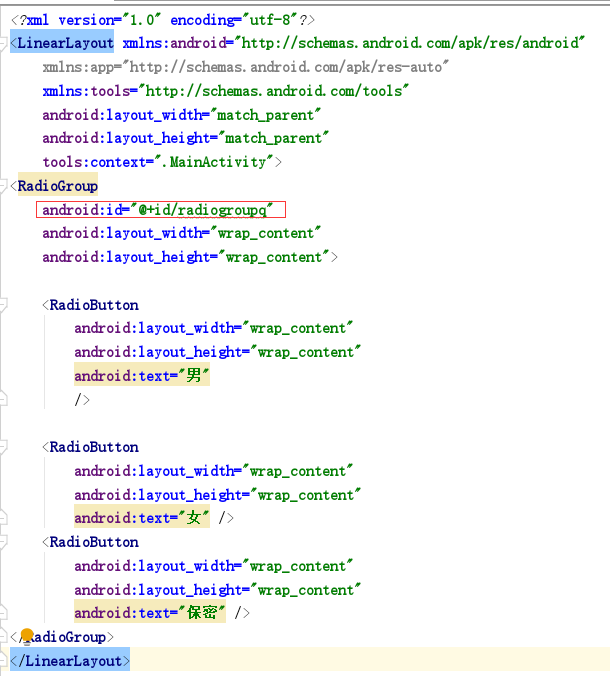
Write the following code in MainActivity.java file: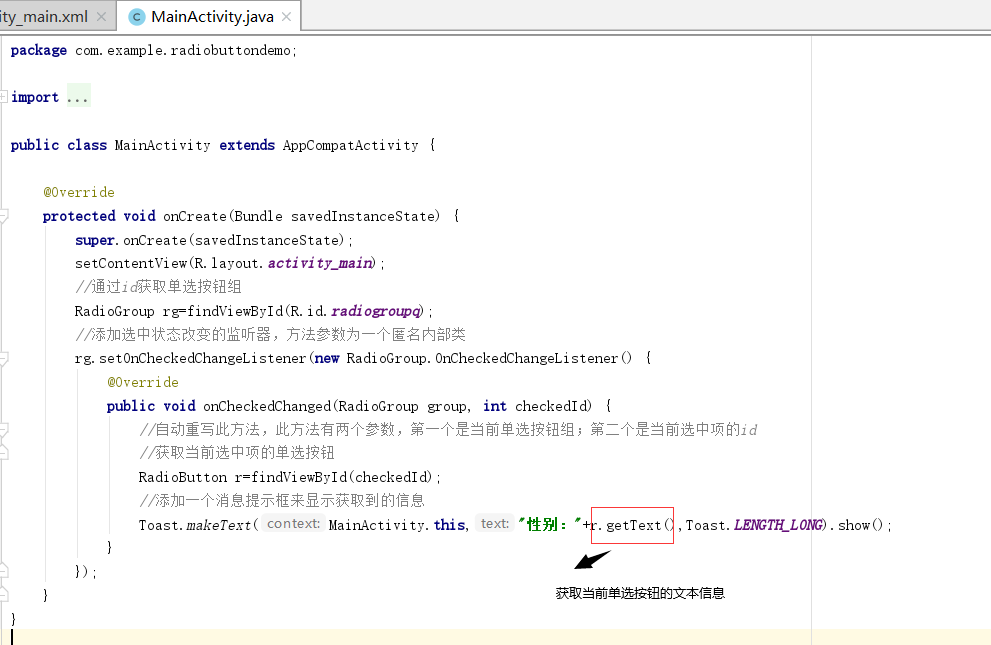
Operation result:
- Method 2: obtain when clicking other buttons (such as submit button)
First add a click Submit button with id tj: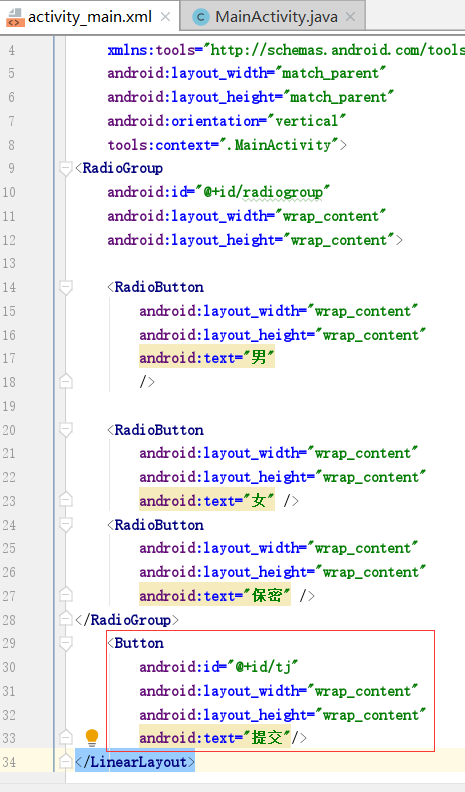
Add the following code to MainActivity.java file:
- Method 1: obtain when the selection status changes (the originally selected male, now select female, at this time obtain female)
package com.example.radiobuttondemo;

import androidx.appcompat.app.AppCompatActivity;

import android.os.Bundle;
import android.view.View;
import android.widget.Button;
import android.widget.RadioButton;
import android.widget.RadioGroup;
import android.widget.Toast;

public class MainActivity extends AppCompatActivity {
    RadioGroup rg;

    @Override
    protected void onCreate(Bundle savedInstanceState) {
        super.onCreate(savedInstanceState);
        setContentView(R.layout.activity_main);
        //Obtain when the state changes:
        //Get radio button group by id
        rg=findViewById(R.id.radiogroup);
        //Add a listener with the selected state changed. The method parameter is an anonymous inner class
        rg.setOnCheckedChangeListener(new RadioGroup.OnCheckedChangeListener() {
            @Override
            public void onCheckedChanged(RadioGroup group, int checkedId) {
                //Automatically override this method, which has two parameters: the first is the current radio button group; the second is the id of the currently selected item
                //Get radio button for current selection
                RadioButton r=findViewById(checkedId);
                //Add a message prompt box to display the acquired information
                Toast.makeText(MainActivity.this,"Gender:"+r.getText(),Toast.LENGTH_LONG).show();
            }
        });

        //When clicking the submit button, obtain:
        //Get submit button by id
        Button tj=findViewById(R.id.tj);
        //Add click event listener for submit button
        tj.setOnClickListener(new View.OnClickListener() {
            @Override
            public void onClick(View v) {
                //Traverse the radio button group through a for loop statement to find the radio button selected
                //getChildCount() is the number of subcomponents that get the current component
                for(int i=0;i<rg.getChildCount();i++){
                    //Get current radio button
                    RadioButton r=(RadioButton) rg.getChildAt(i);
                    //Determine whether the acquired radio button is selected
                    if (r.isChecked()){
                        //Check to show content
                        Toast.makeText(MainActivity.this,r.getText(),Toast.LENGTH_LONG).show();
                        //Only one button in the radio button group can be selected. If you perform this step, it is proved that none of the following buttons have been selected
                        //It can improve the code efficiency without traversal judgment.
                        break;
                    }
                }
            }
        });
    }
}
Be careful: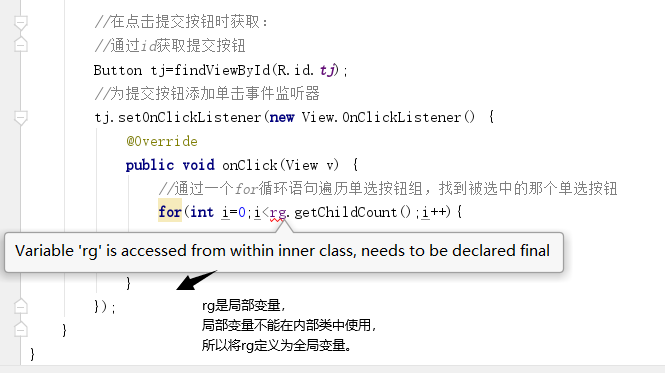
Operation result:
Because there are two methods in the above code, there are two kinds of running results:
When the status is changed (click the confidential radio button), it will display: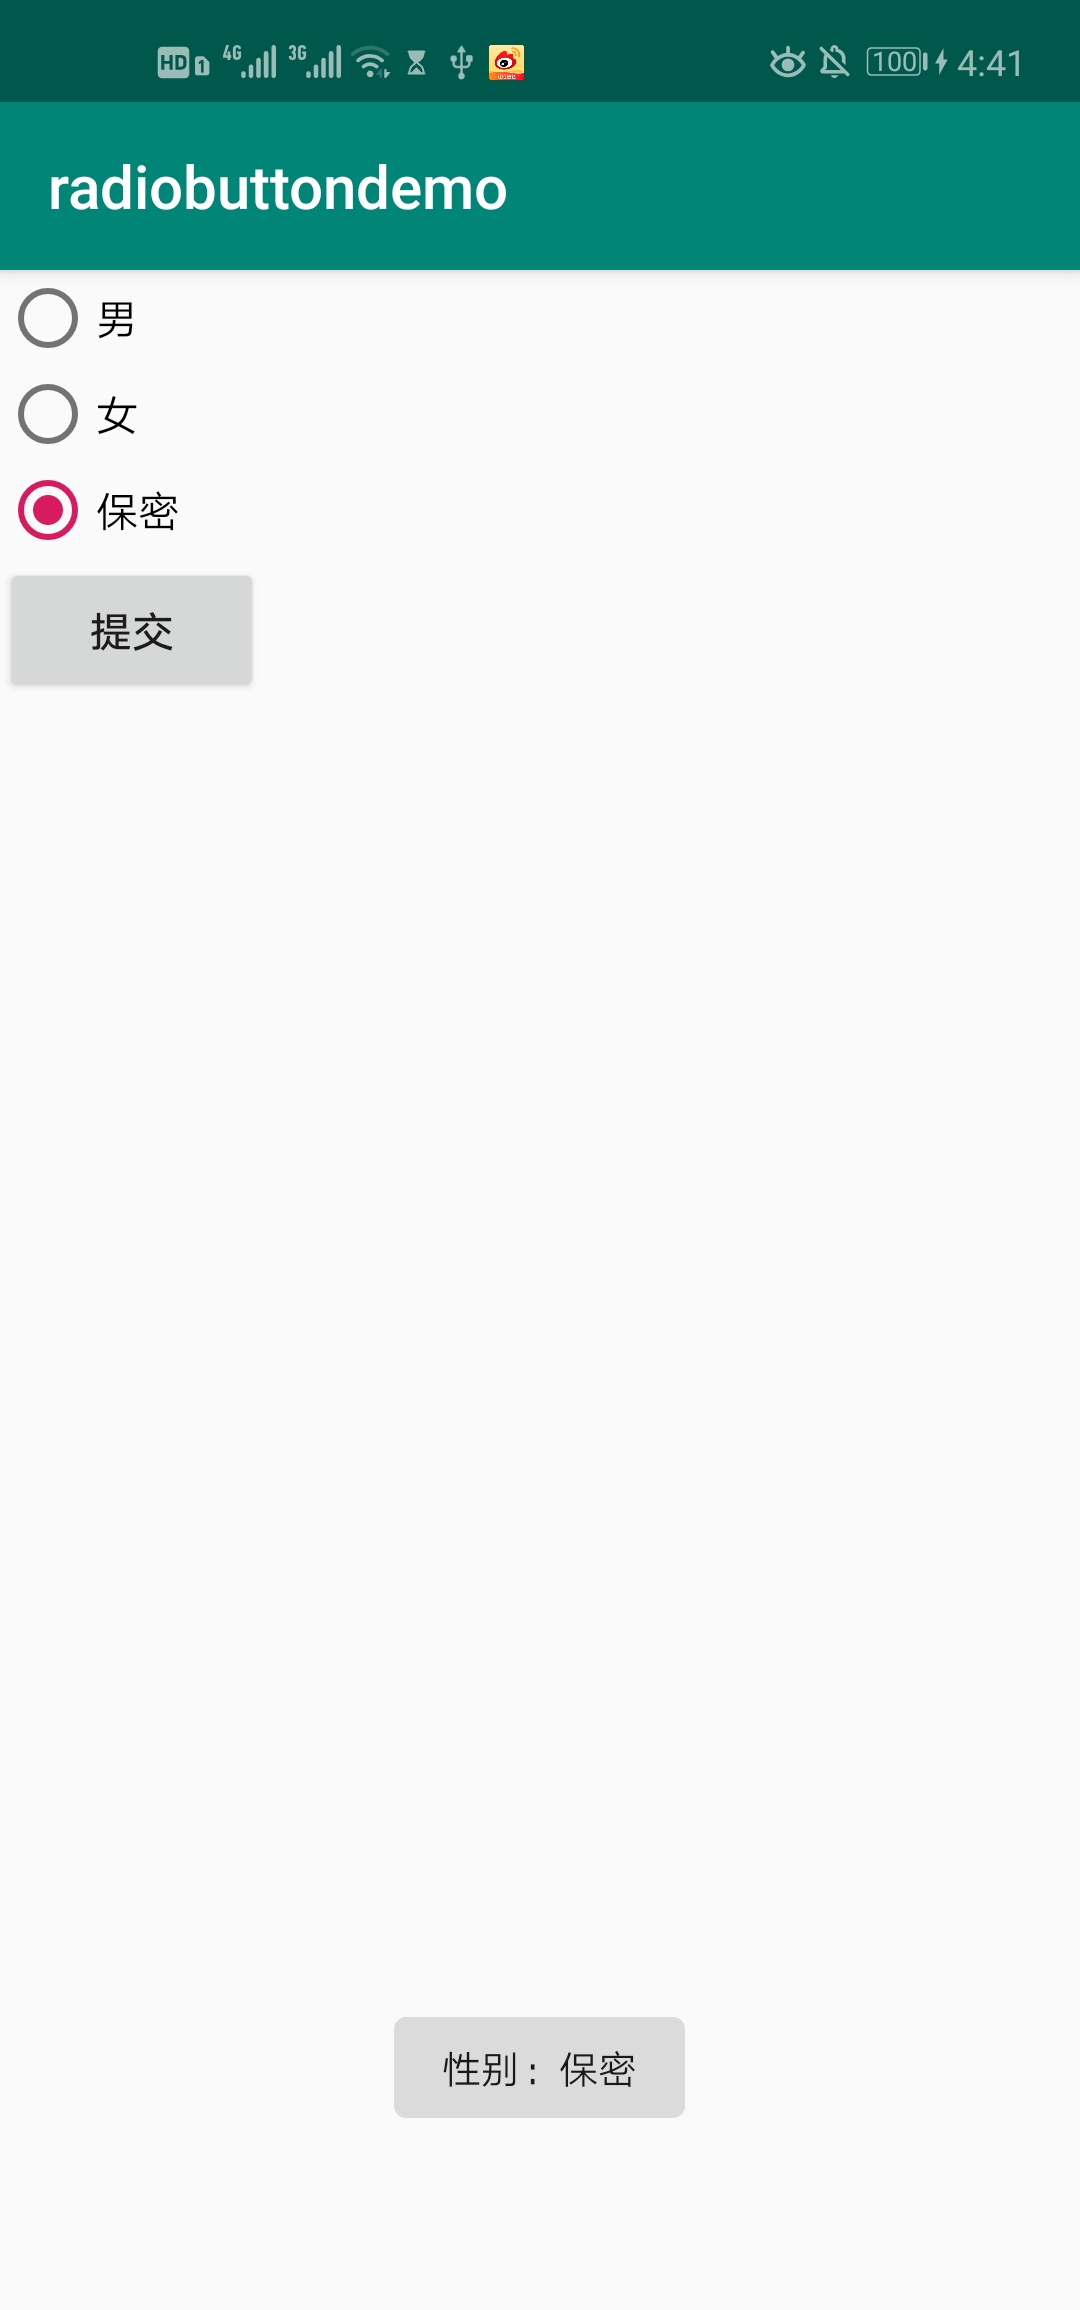
When clicking the submit button: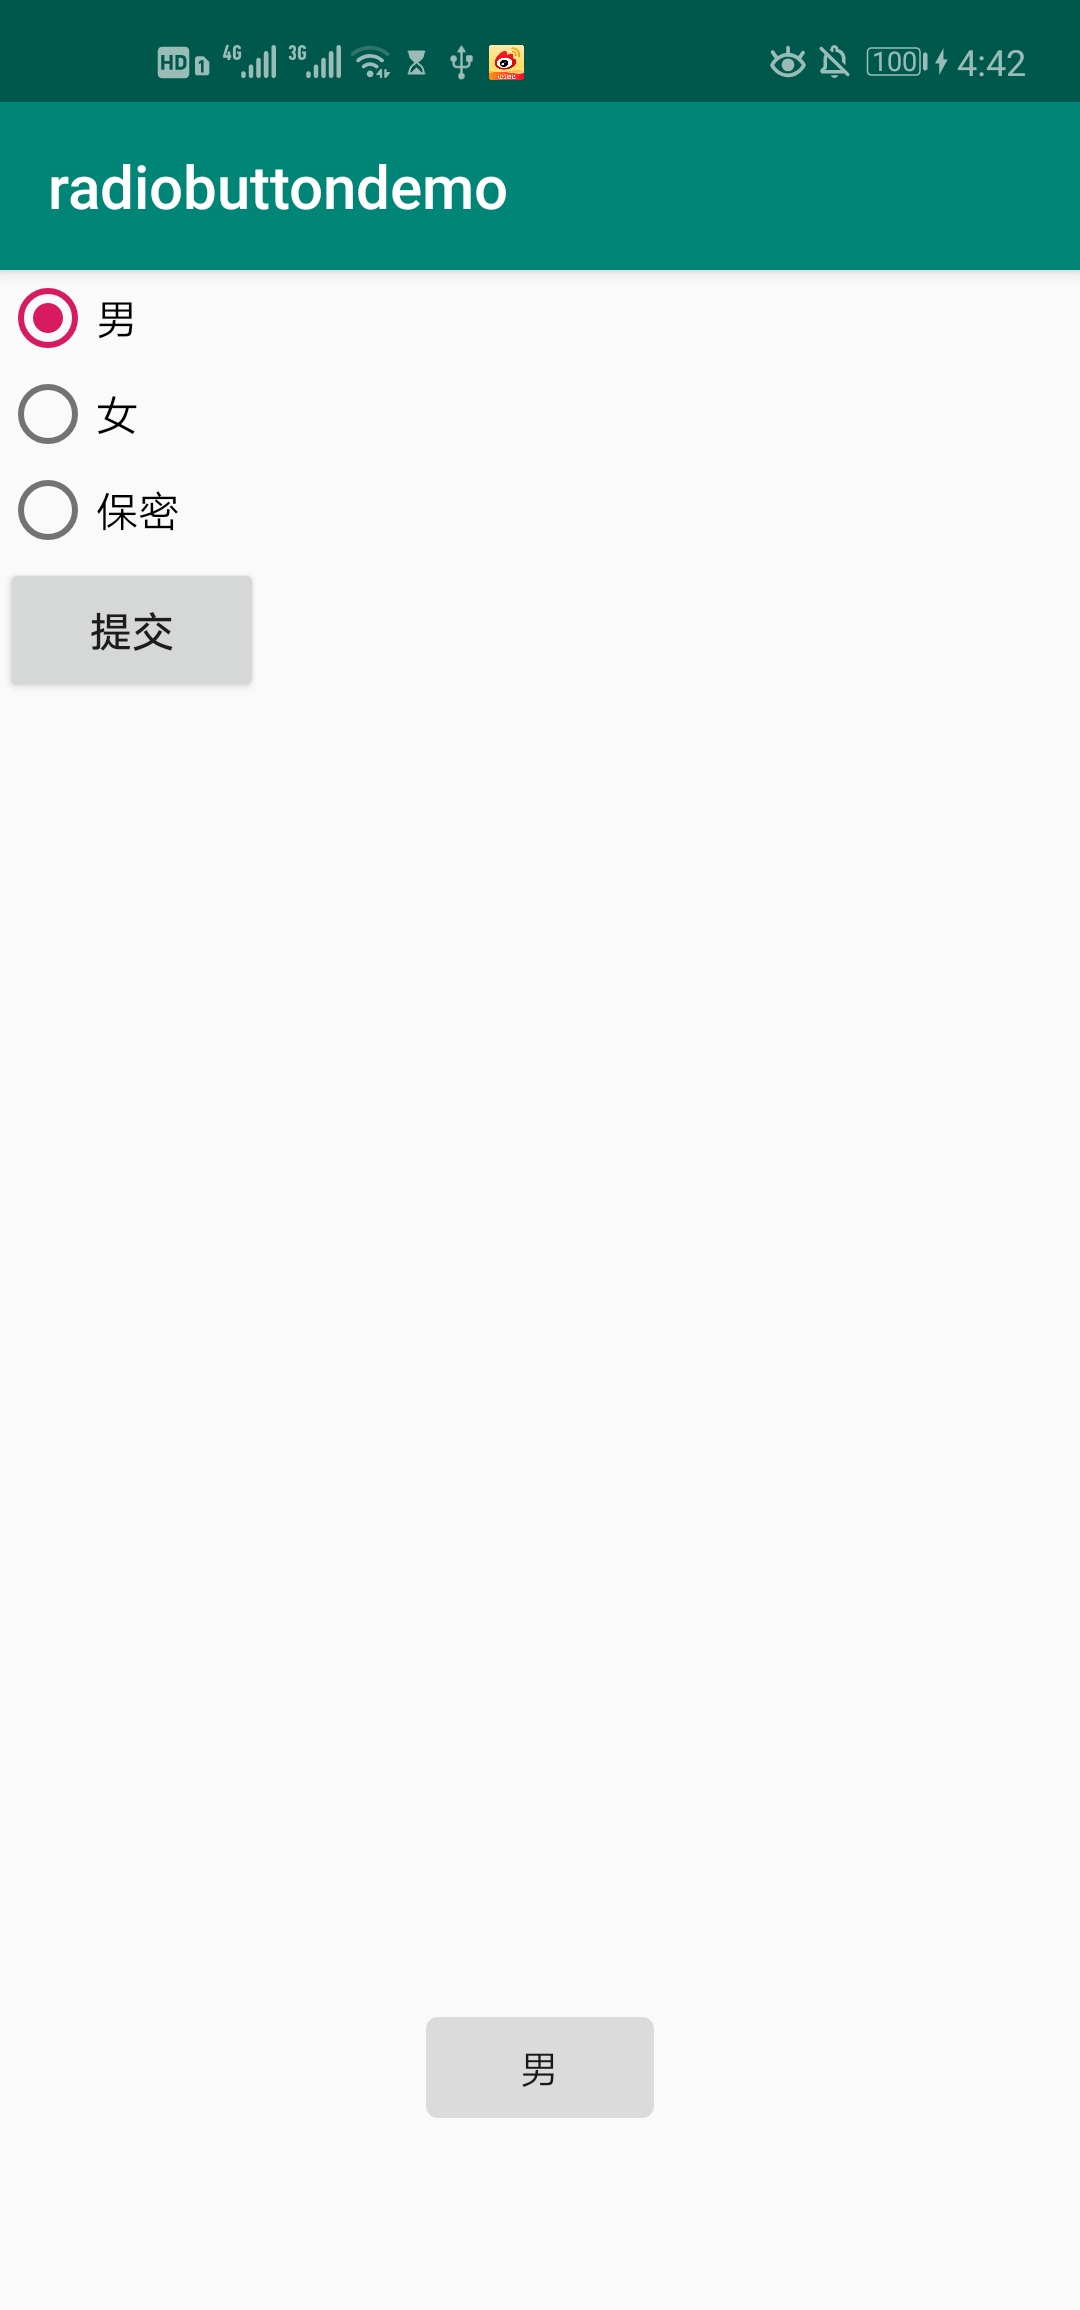
- Check box
-
Check box: usually it is a box icon with some descriptive text beside it. Different from the radio button: the check box supports multiple selection settings, and each button provides the selected state and the unchecked state.

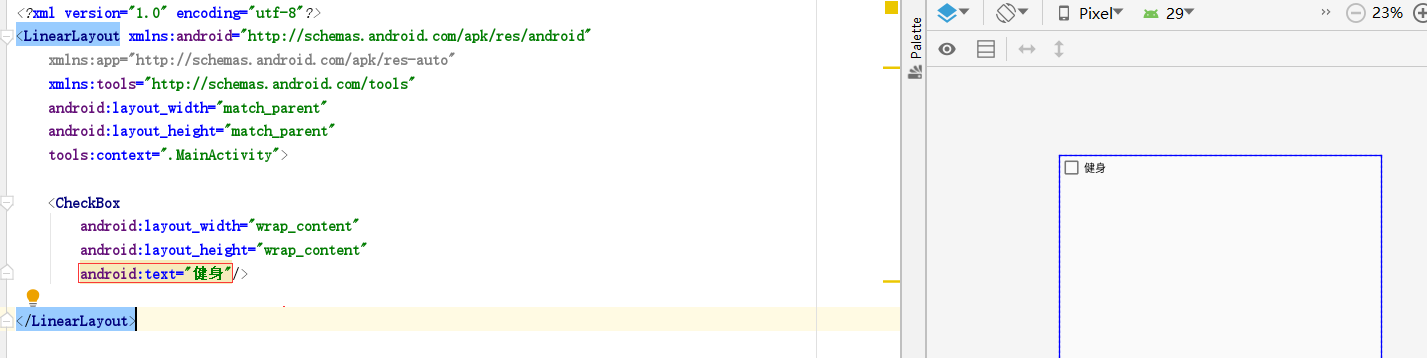
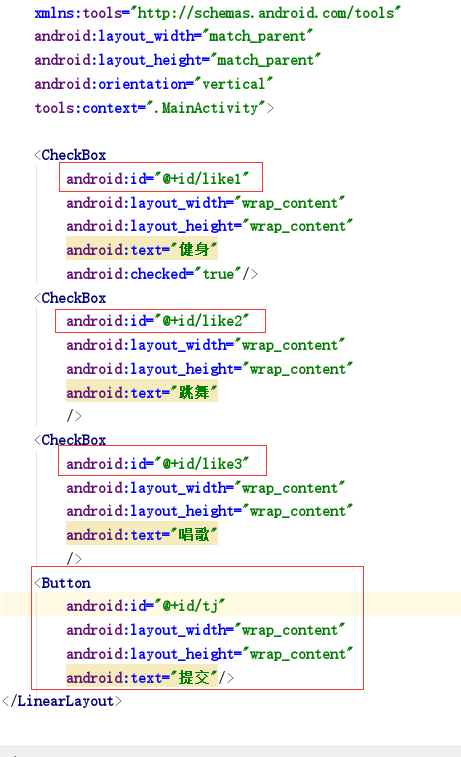
In the activity main.xml file, use the CheckBox tag to define the check box: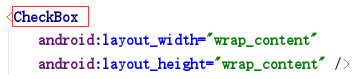
-
Properties:
-
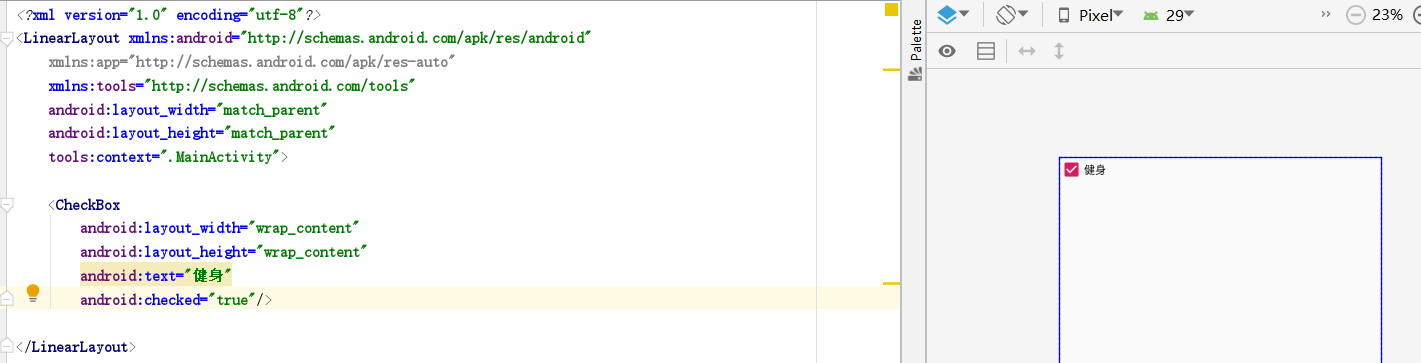
android:text: add descriptive text next to the box icon.
-
android:checked: set the current check box to be selected by default. The value of true is selected by default.
-
android:text: add descriptive text next to the box icon.
-
Add multiple check boxes:
You don't need to wrap a RadioGroup like a RadioButton, just add multiple check box components directly: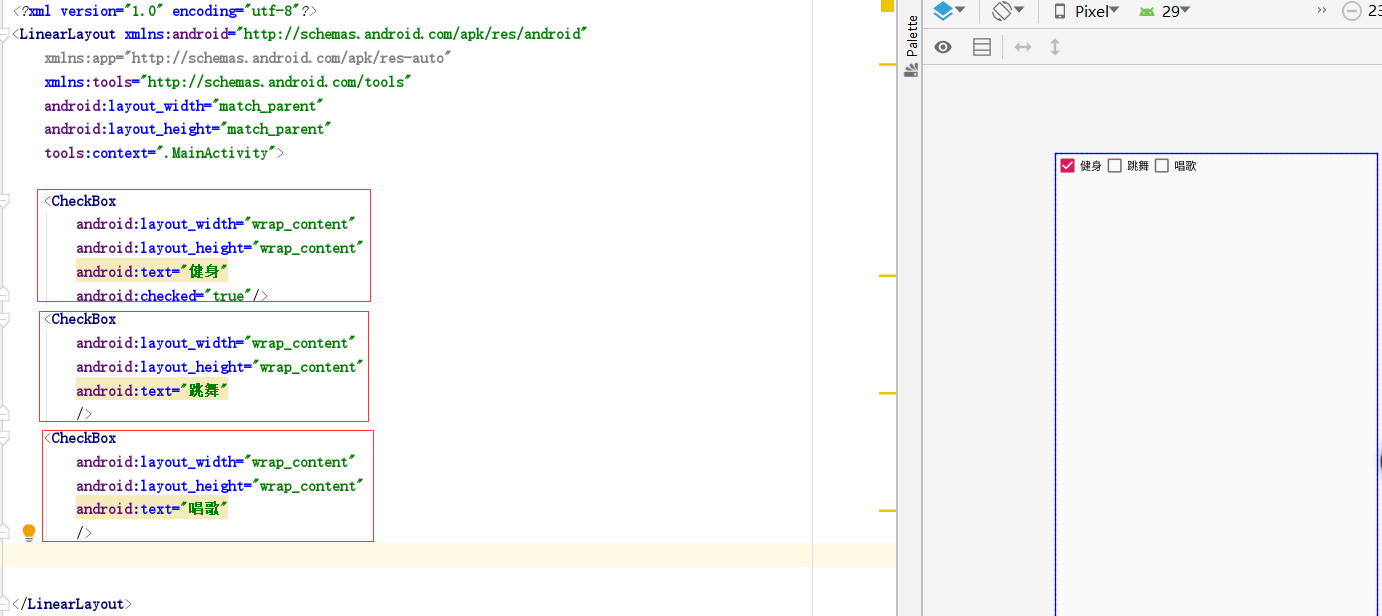
-
Get the value of the selected check box in multiple check boxes:
Define an id for each check box component and a submit button component at the same time:
Then write the following code in the Java file:
package com.example.checkboxdemo;
import androidx.appcompat.app.AppCompatActivity;
import android.os.Bundle;
import android.view.View;
import android.widget.Button;
import android.widget.CheckBox;
import android.widget.CompoundButton;
import android.widget.TableRow;
import android.widget.Toast;
import java.util.ArrayList;
import java.util.List;
public class MainActivity extends AppCompatActivity {
//Define a List of submit buttons, checkboxes, and save checkboxes
private Button button;
private CheckBox checkBox1,checkBox2,checkBox3;
private List<CheckBox> checkBoxList=new ArrayList<>();
@Override
protected void onCreate(Bundle savedInstanceState) {
super.onCreate(savedInstanceState);
setContentView(R.layout.activity_main);
//Initialize control:
button=findViewById(R.id.tj);
checkBox1=findViewById(R.id.like1);
checkBox2=findViewById(R.id.like2);
checkBox3=findViewById(R.id.like3);
//Add the check box component to the list
checkBoxList.add(checkBox1);
checkBoxList.add(checkBox2);
checkBoxList.add(checkBox3);
//Set click button monitor for submit button
button.setOnClickListener(new View.OnClickListener() {
@Override
public void onClick(View v) {
//Because of multiple choices, the result may be multiple option splicing, involving string splicing.
//So create a string variable sb of StringBuffer type.
StringBuffer sb=new StringBuffer();
//Traverse the check box List to determine the status of each check box
for (CheckBox checkBox : checkBoxList) {
if(checkBox.isChecked()){
//If the current check box is selected, the result is spliced on sb
sb.append(checkBox.getText().toString()+" ");
}
}
//Judge whether the string sb is not empty. First, judge whether the sb object is null. Only when it is not null can judge whether its content is empty
if(sb!=null &&"".equals(sb.toString())){
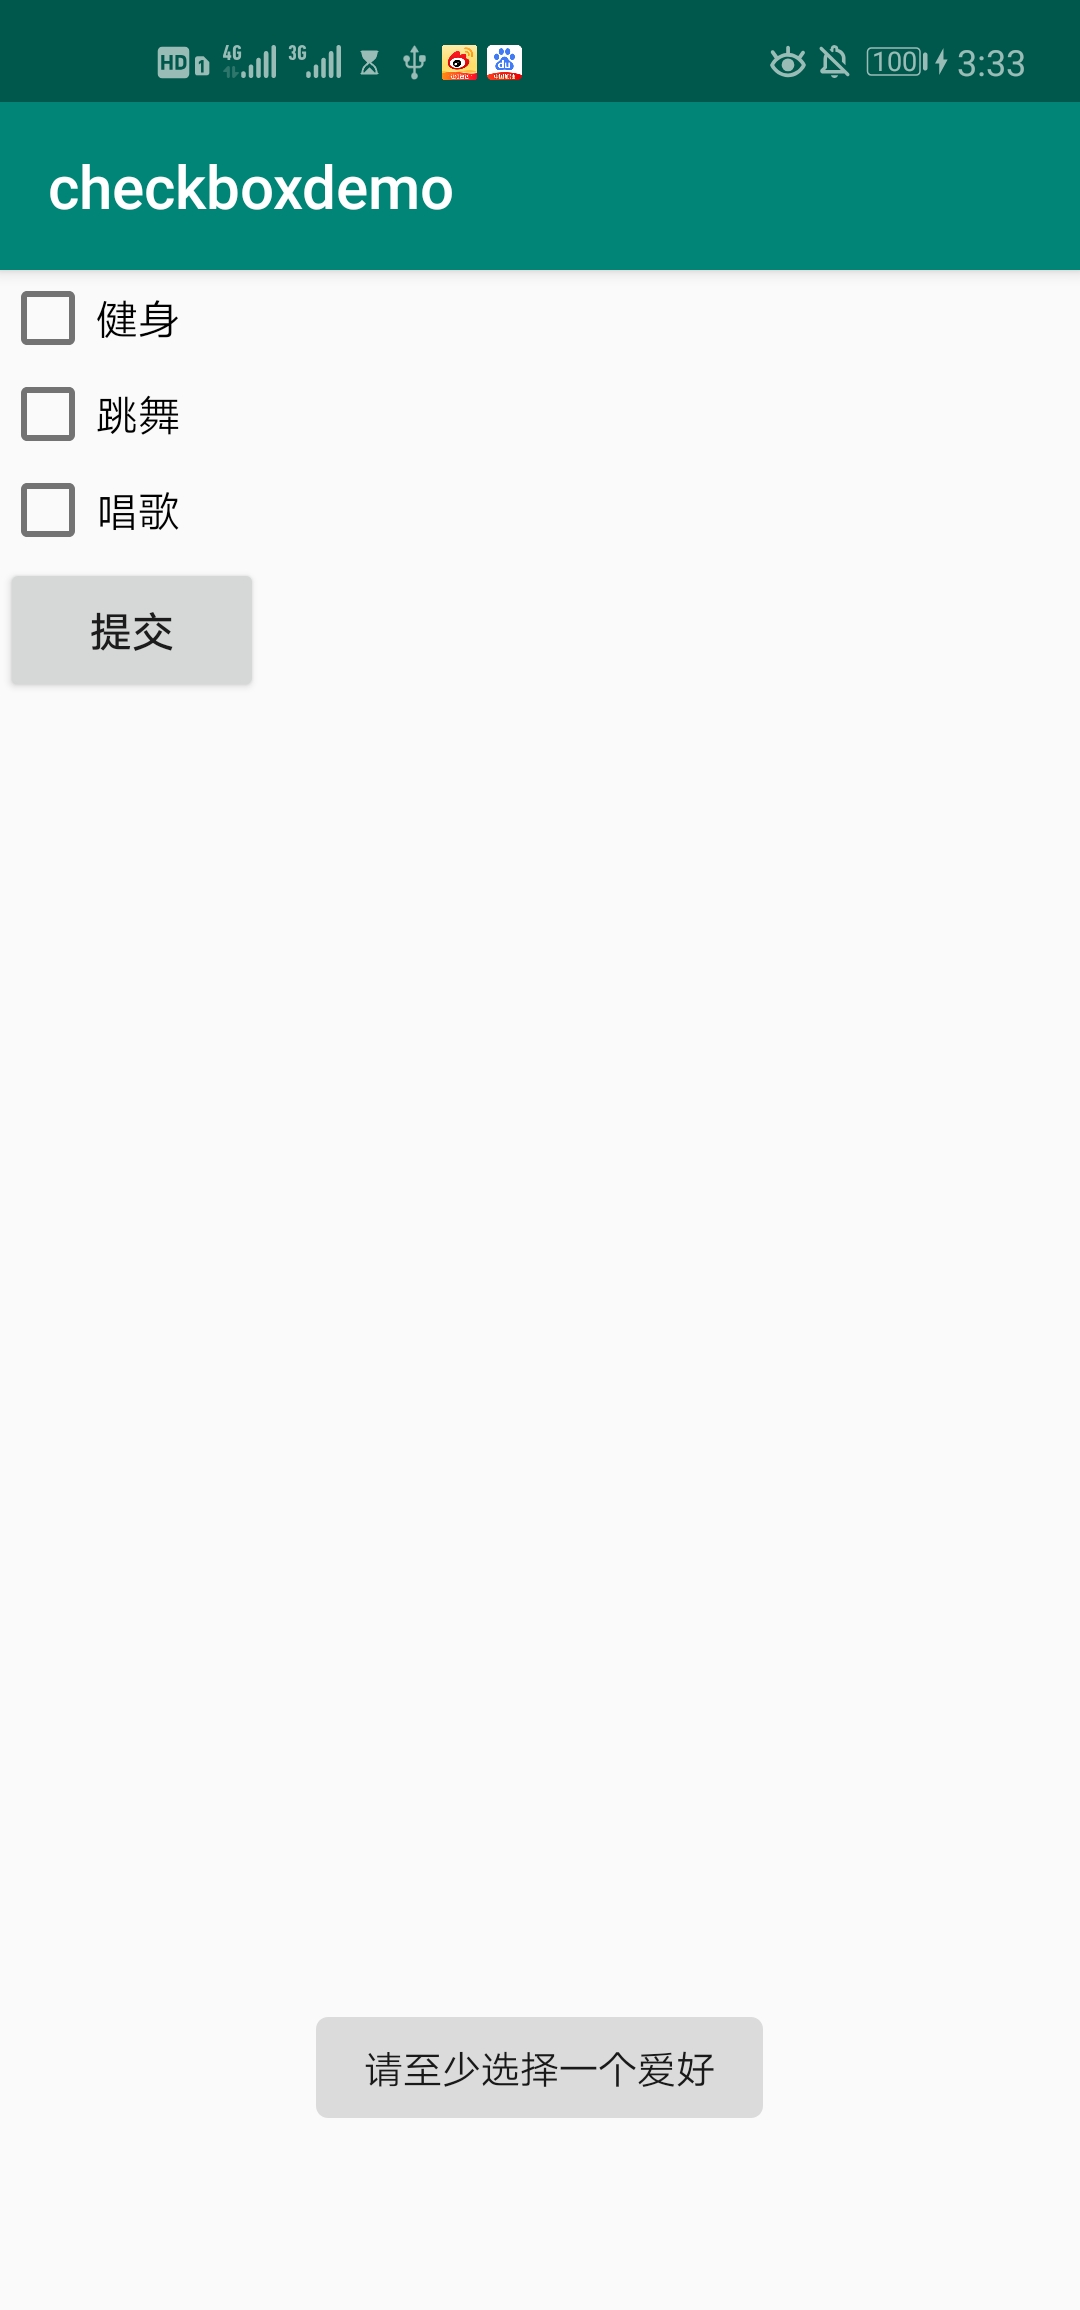
Toast.makeText(MainActivity.this,"Please select at least one hobby",Toast.LENGTH_LONG).show();
}else{
Toast.makeText(MainActivity.this,"Your hobbies are:"+sb,Toast.LENGTH_LONG).show();
}
}
});
}
}
Operation result: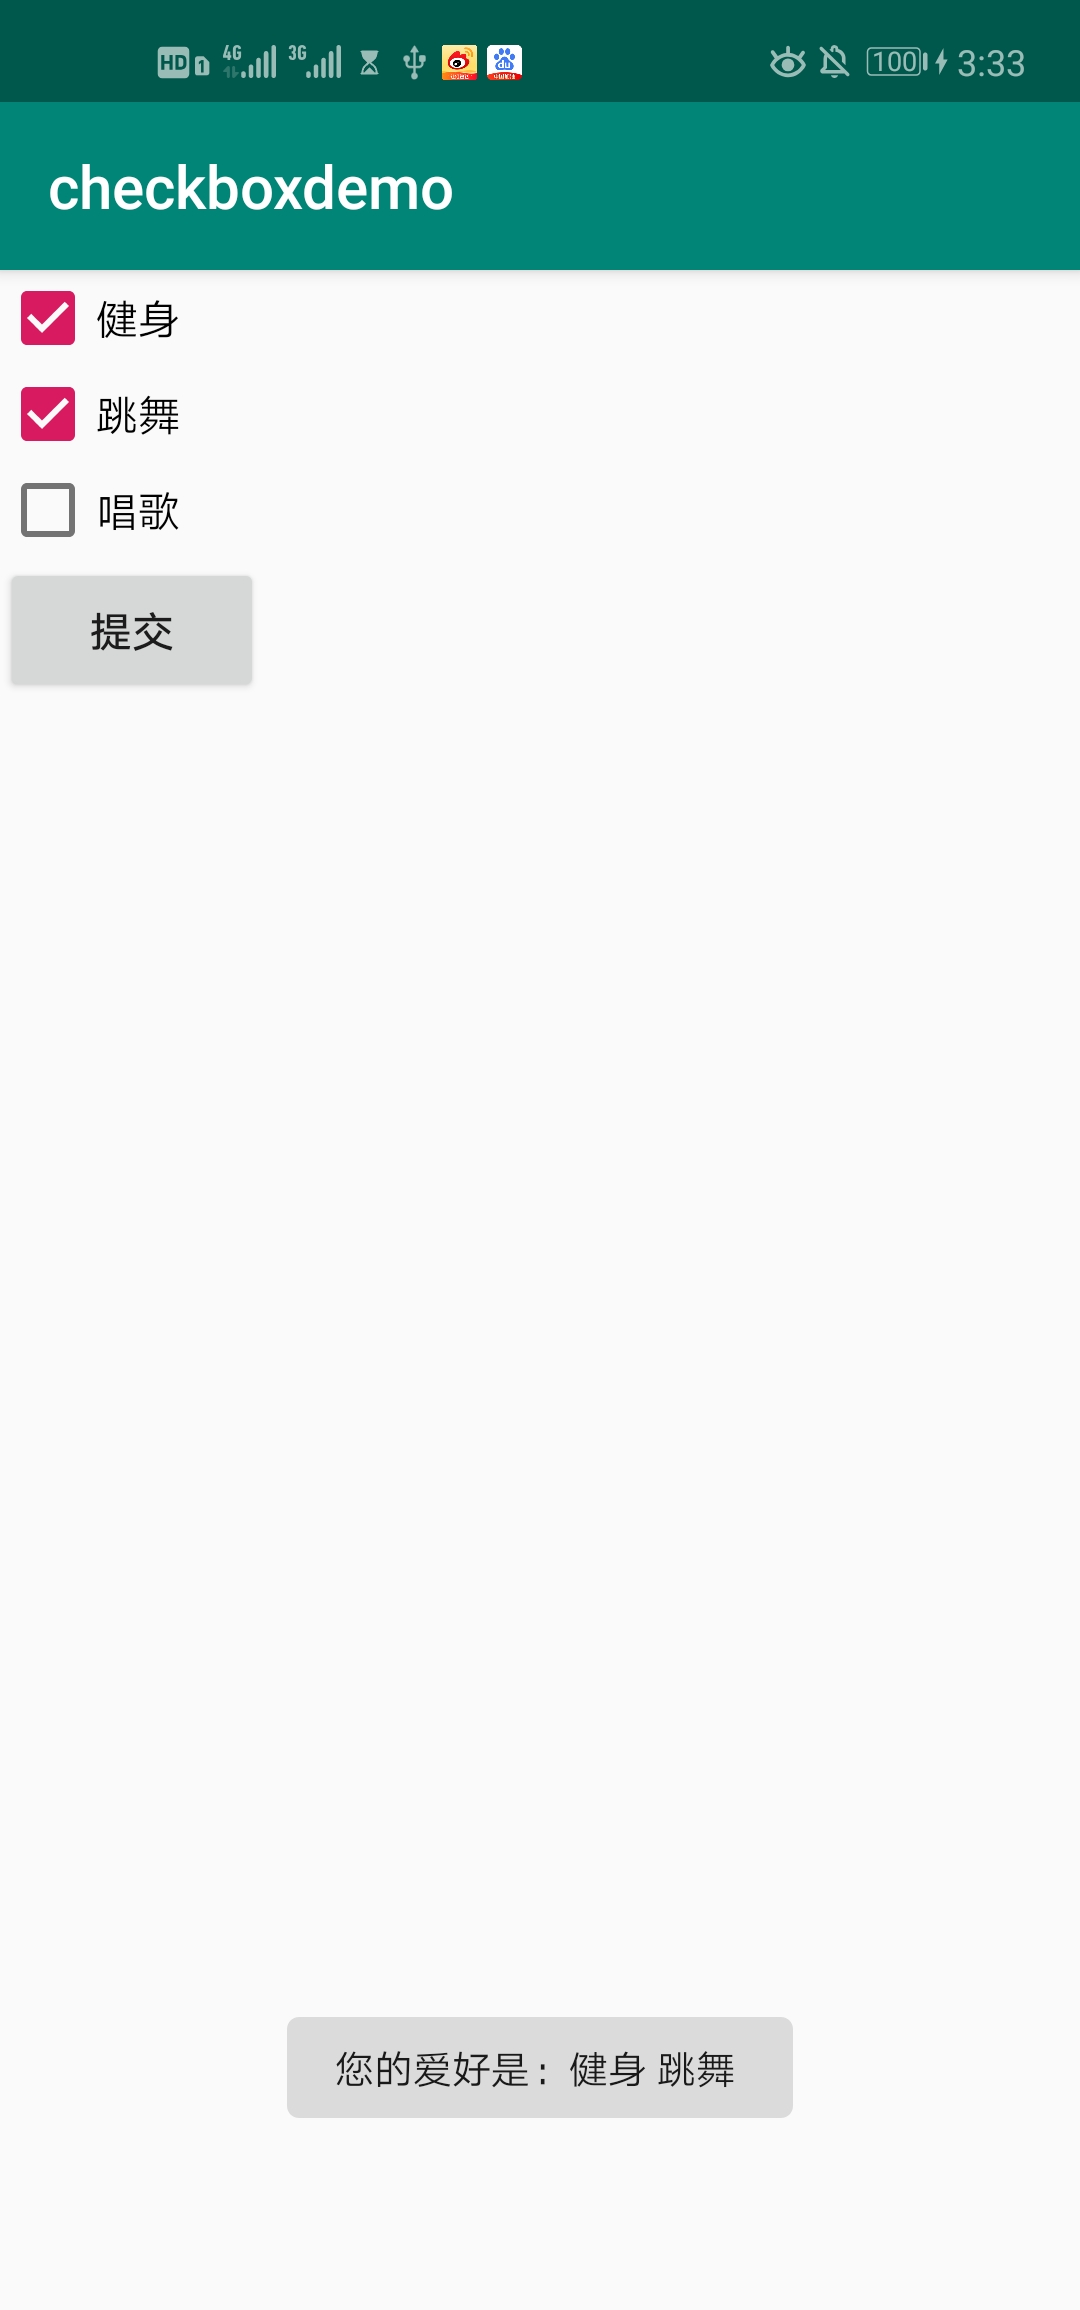
Be careful:
- Why use StringBuffer instead of String?
During String splicing, String directly creates a new object, whose content is the content of the original object and the content to be spliced together; StringBuffer is after splicing the content to be spliced to the content of the current object. The main reason is that the bottom layer of String is decorated with final, which is equivalent to a constant, which cannot be changed. - ==And equals:
==It is used to judge whether the left and right sides are the same object when judging the object; equals determines whether the value of the object is equal. See for details. The difference between equals and = = in Java.

