Simulation of d3js various forces
d3js is a library that can freely combine graphics
My understanding is that simple graphics, such as column chart, pie chart and bar chart, can be directly used with eckarts if the requirements are not high. The degree of freedom needs to be higher, d3js needs to be used, and pixi needs to be used frequently
I accidentally found that d3js can simulate various forces and analyze them after learning. I hope you can praise me and give me more motivation. After ten likes, share an d3js introductory tutorial next week
The effect is as follows
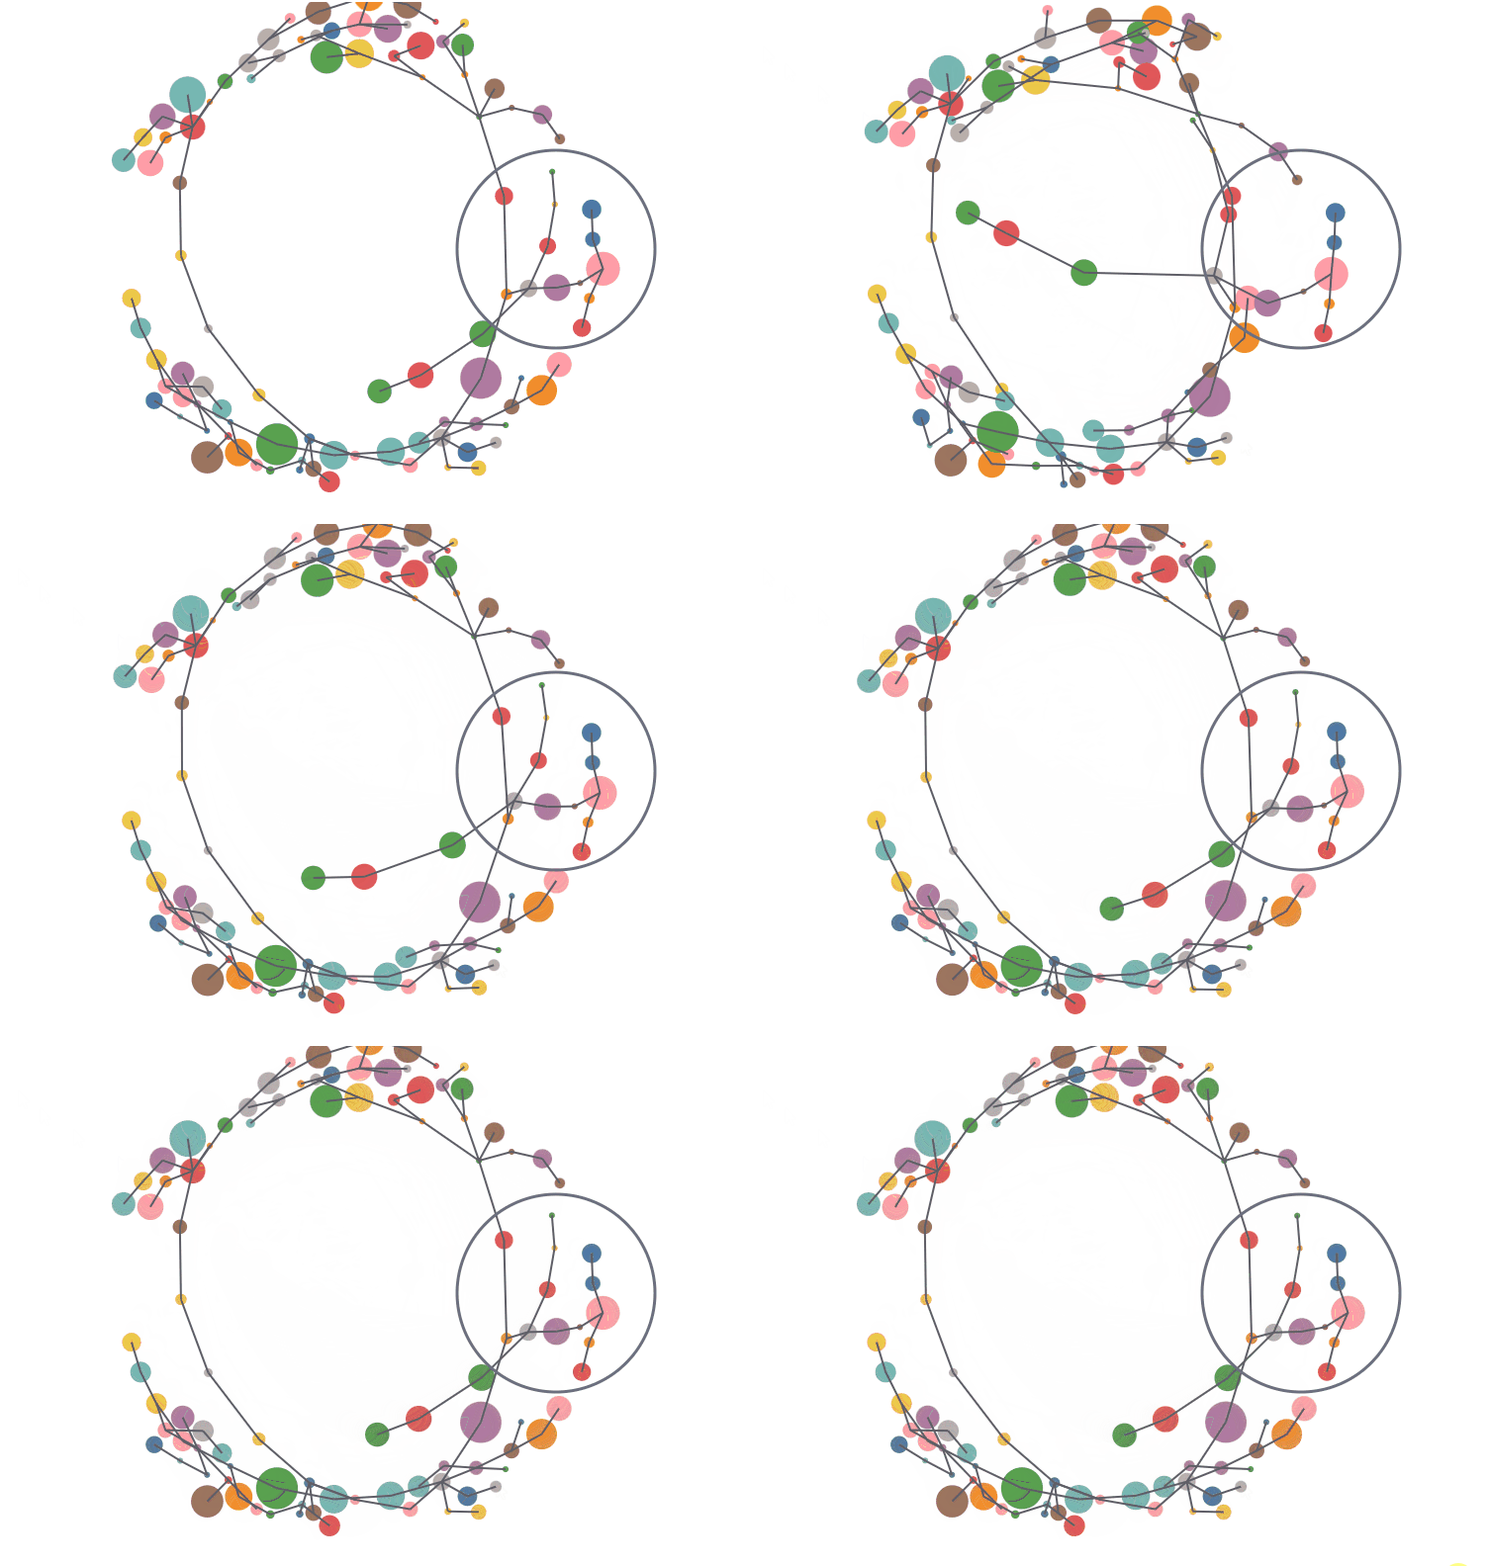
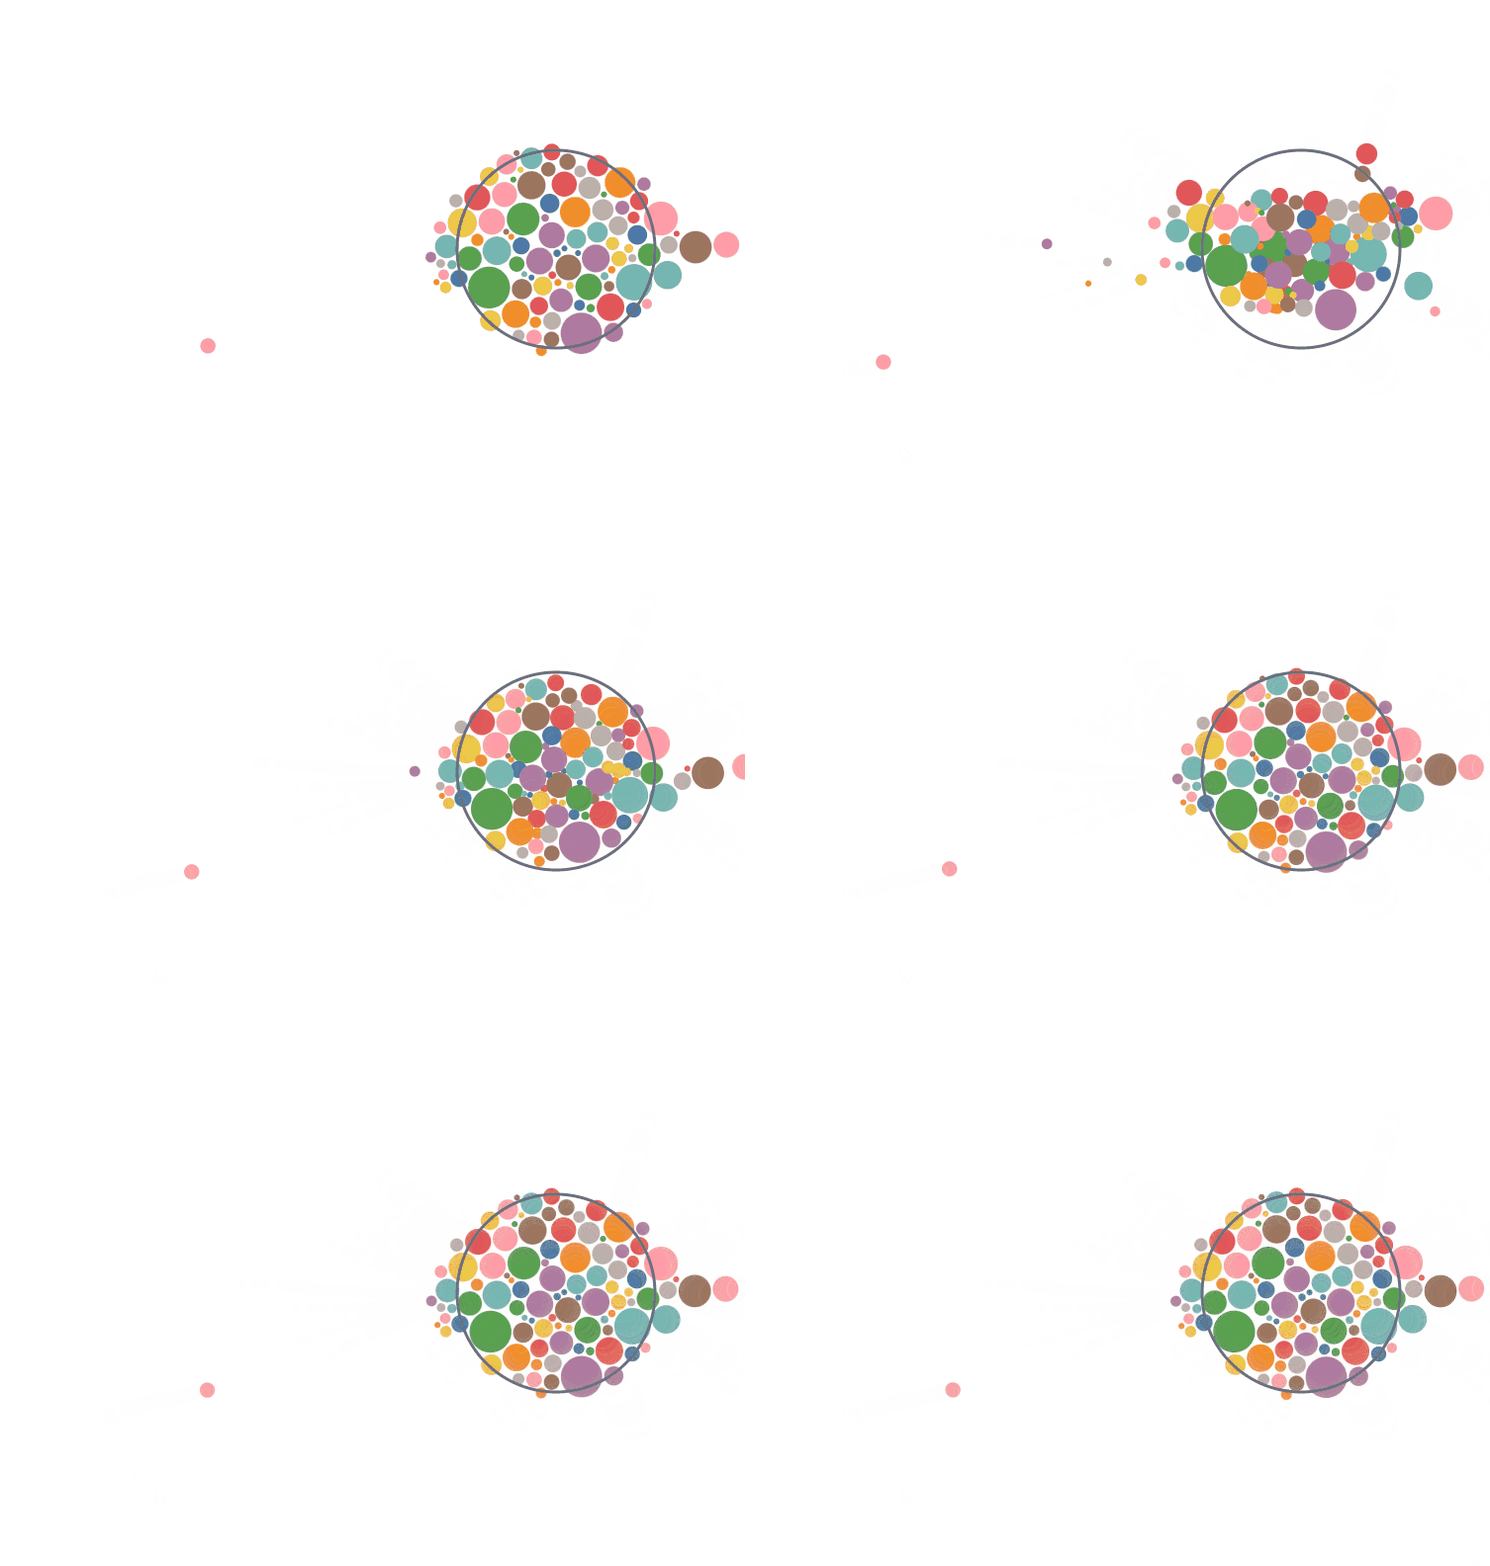
1. Create data
First, create two sets of JSON data. Here I use online data. One set of data records the information of each point, and the other set of data records the connection information.
// Node information file node_data.json
[
    {"x": 30.5, "y": 100.7, "r": 4},
    ...
]

// File edge of connection information_ data. json
[
    {"source": 0, "target": 98},
    ...
]
2. Code structure
The simulation of force is divided into four steps
- Load data
- Create simulation variables
- Bind data and draw graphics
- Update graphics in frame callback function
// step 1
const nodes = await d3.json("/force/node_data.json");

// step 2
const sim = d3.forceSimulation(nodes)
	.force('Name of force', ...)
    .on('tick', tick_function);

// step3
const node = svg.selectAll("circle")
            .data(nodes)
            .enter()
            .append('circle');

// step4
tick_function(){
    // Update drawing
}
3. Force at positions x and y
The specific position x and y have medium tension to pull other graphics towards themselves, such as making the specific position the center of the picture frame
const sim = d3.forceSimulation(nodes)
    // Tension at specified position
    .force('x', d3.forceX(width/2))
    .force('y', d3.forceY(height/2));

You can set the force. The larger the force, the stronger the tension, and the smaller the tension, the weaker
const sim = d3.forceSimulation(nodes)
    // Tension at specified position
    .force('x', d3.forceX(width/2).strength(0.06))
    .force('y', d3.forceY(height/2).strength(0.06))

4. Impact force
If you do not want all figures to coincide, you need to use the collision force. The collision force takes the coordinates as the center of the circle and sets the collision radius. There will be no coincidence within the collision radius. For example, combine the position force with the collision force
const sim = d3.forceSimulation(nodes)
    // Tension at specified position
    .force('x', d3.forceX(width/2).strength(0.06))
    .force('y', d3.forceY(height/2).strength(0.06))
    // Impact force, radius
    .force('collide', d3.forceCollide().radius(10))
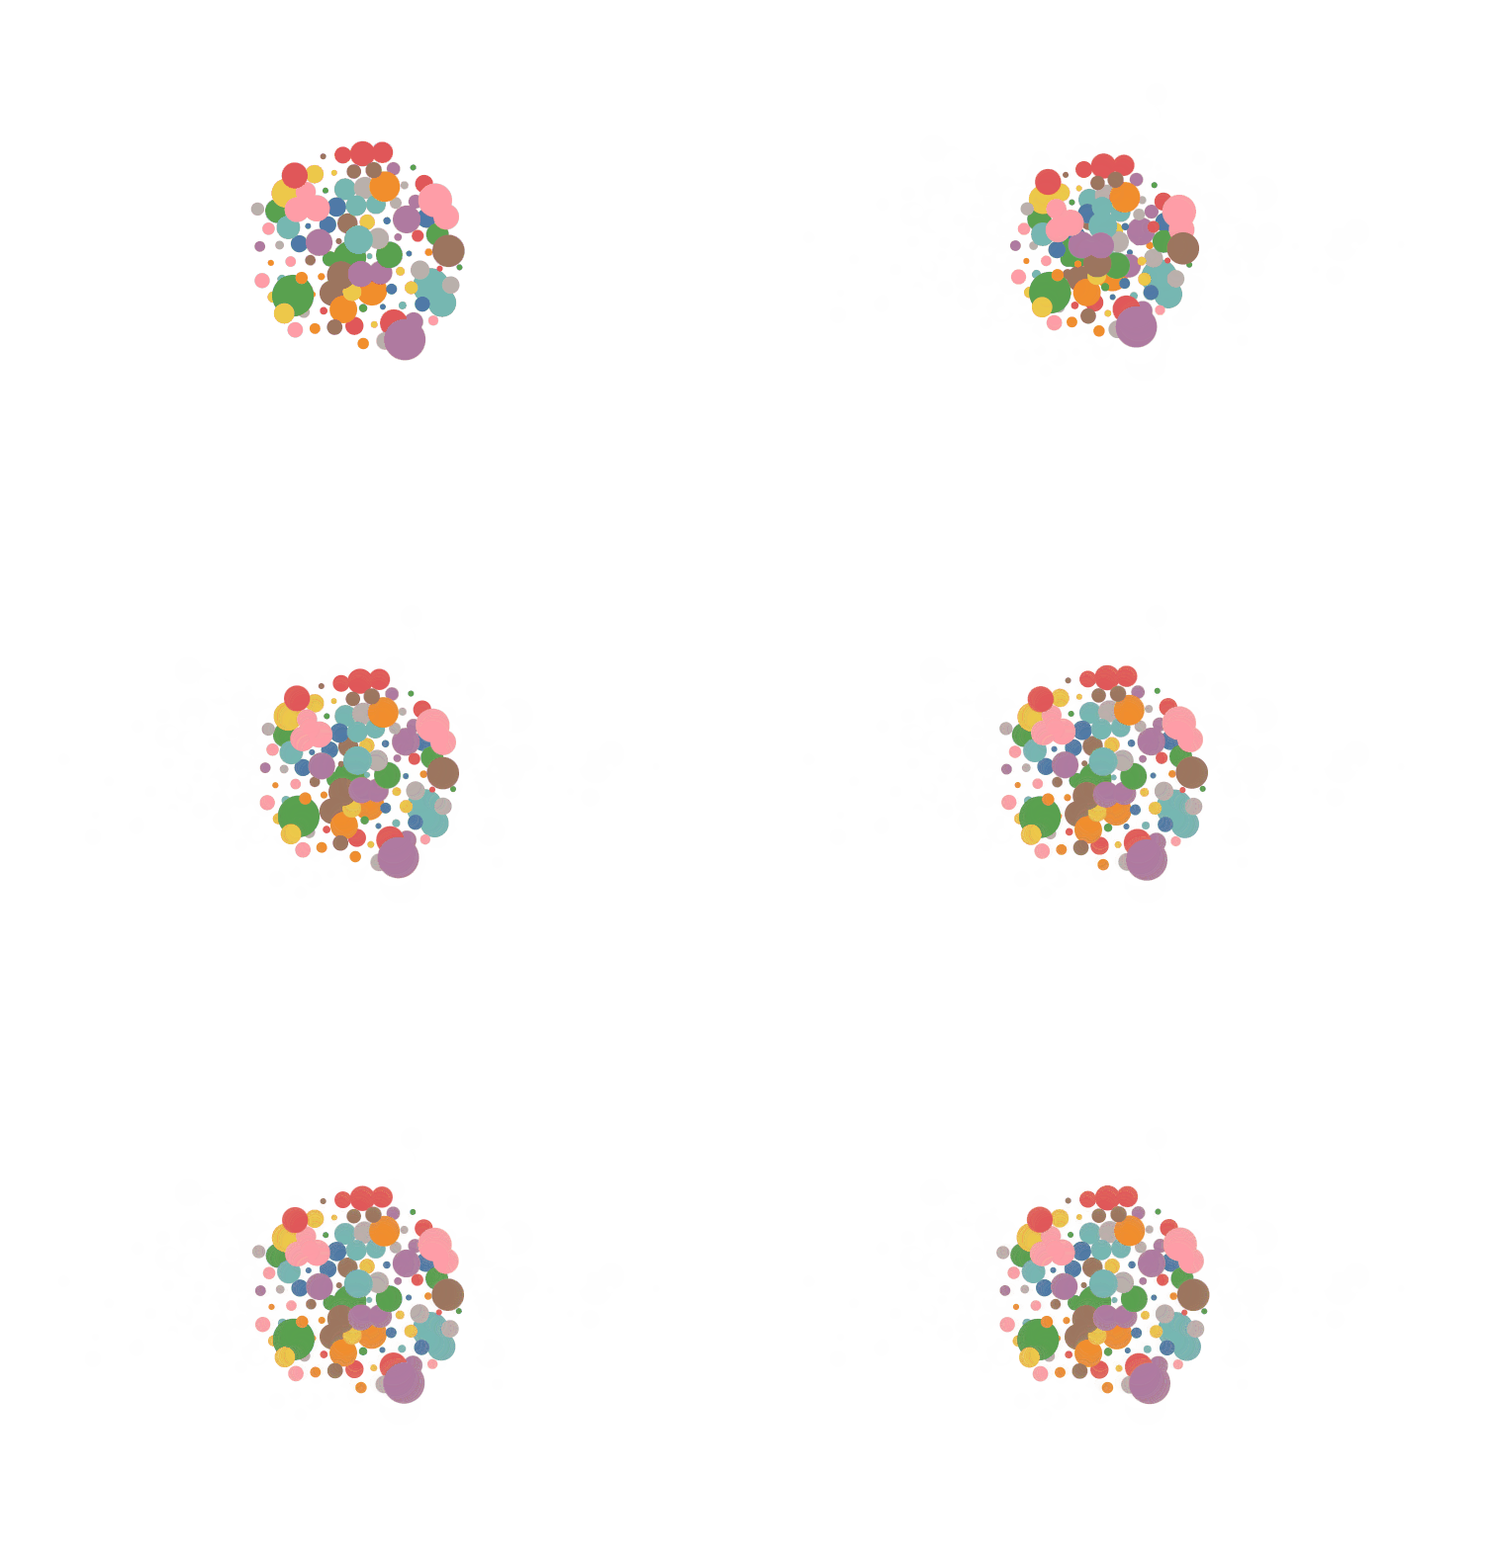
We will find that some figures have overlapping parts, because we set a fixed radius, and the radius of some figures is greater than the fixed radius, so we need to set the radius dynamically
const sim = d3.forceSimulation(nodes)
    // Tension at specified position
    .force('x', d3.forceX(width/2).strength(0.06))
    .force('y', d3.forceY(height/2).strength(0.06))
    // Impact force, radius
    .force('collide', d3.forceCollide().radius(d=>d.r+1))
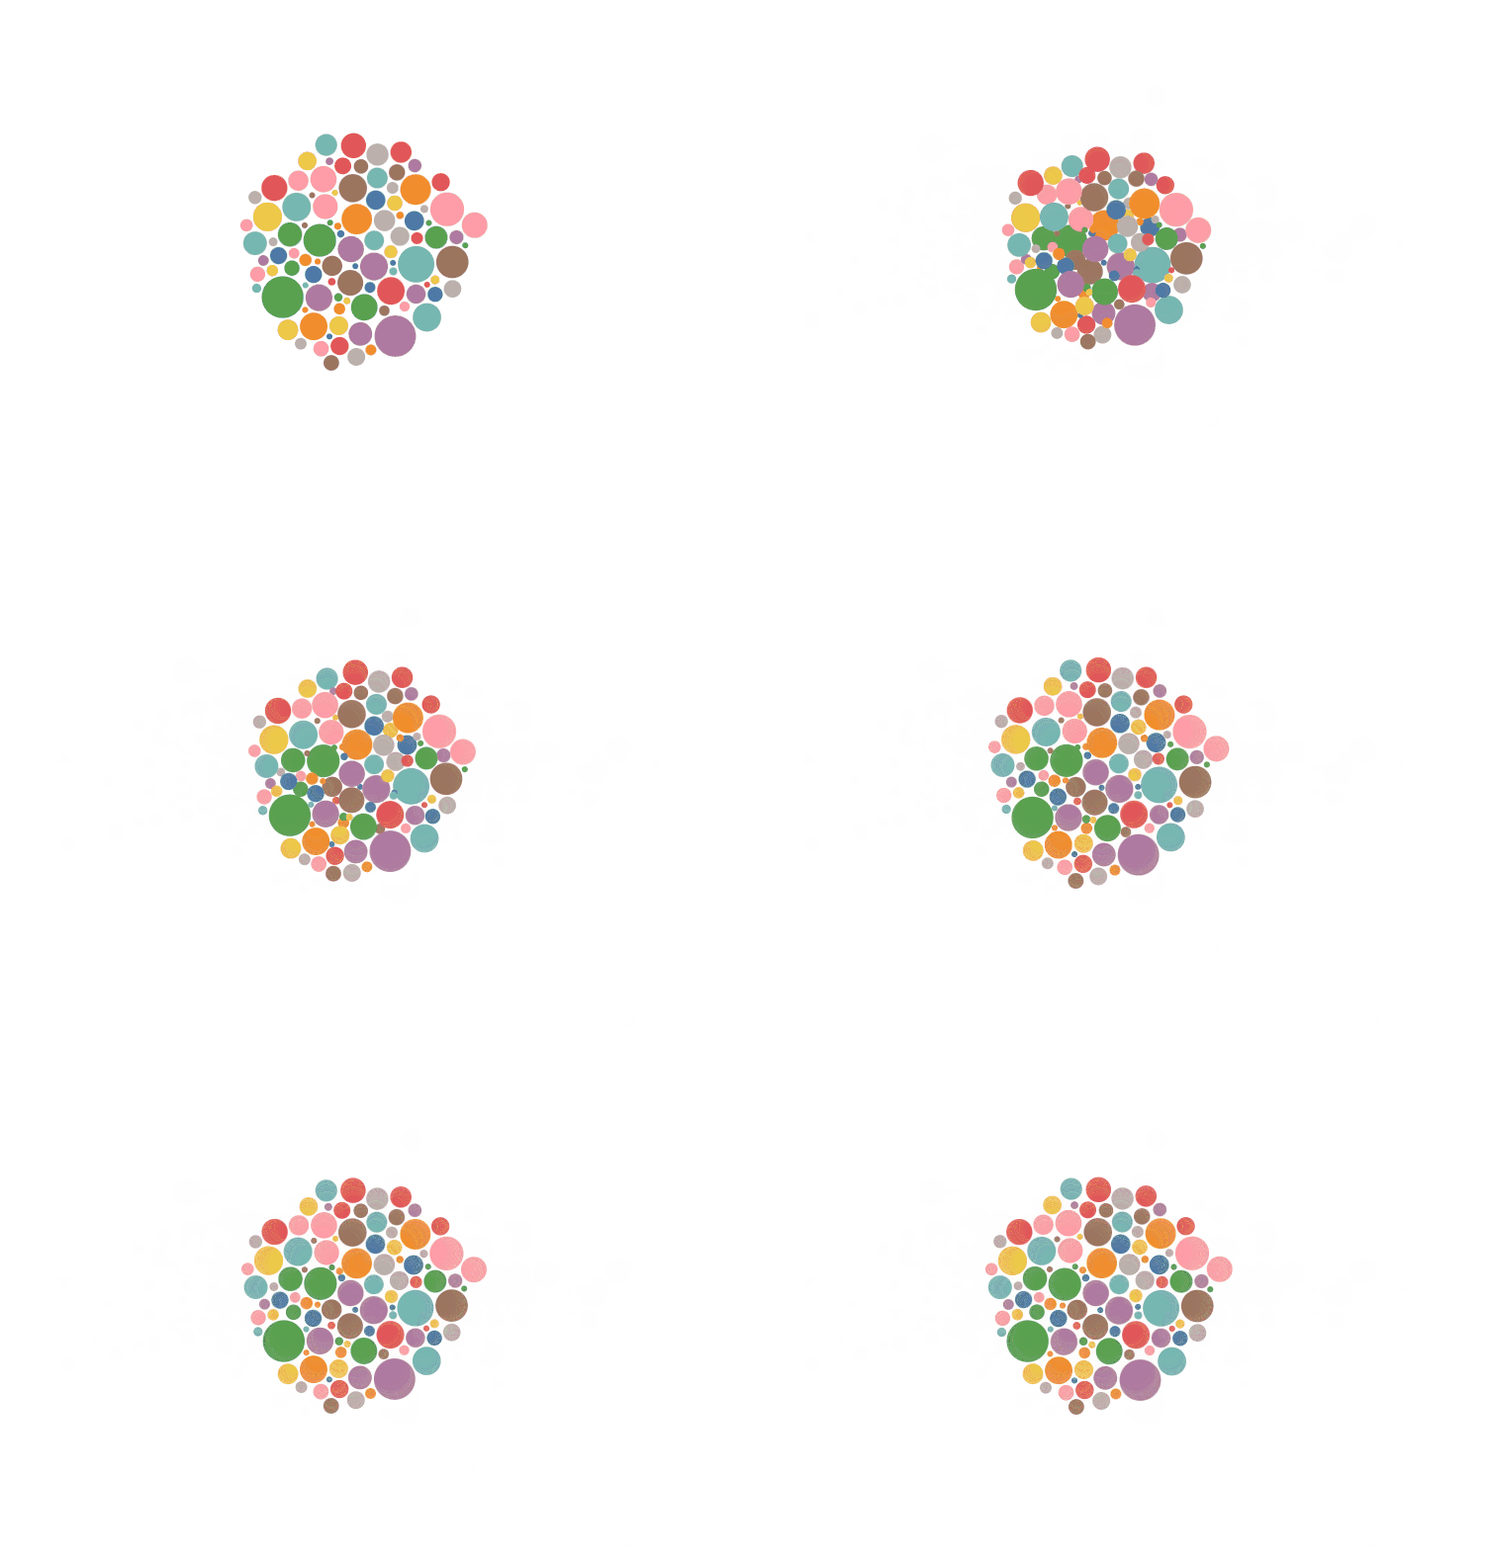
5. Atomic force
Here is my own name. In fact, this force is called many body force, which means that each figure has a force on other figures. If this force is positive, it represents attraction. If this force is negative, it represents repulsion
const sim = d3.forceSimulation(nodes)
    // Atomic force, positive attraction
    .force('charge', d3.forceManyBody().strength(7))
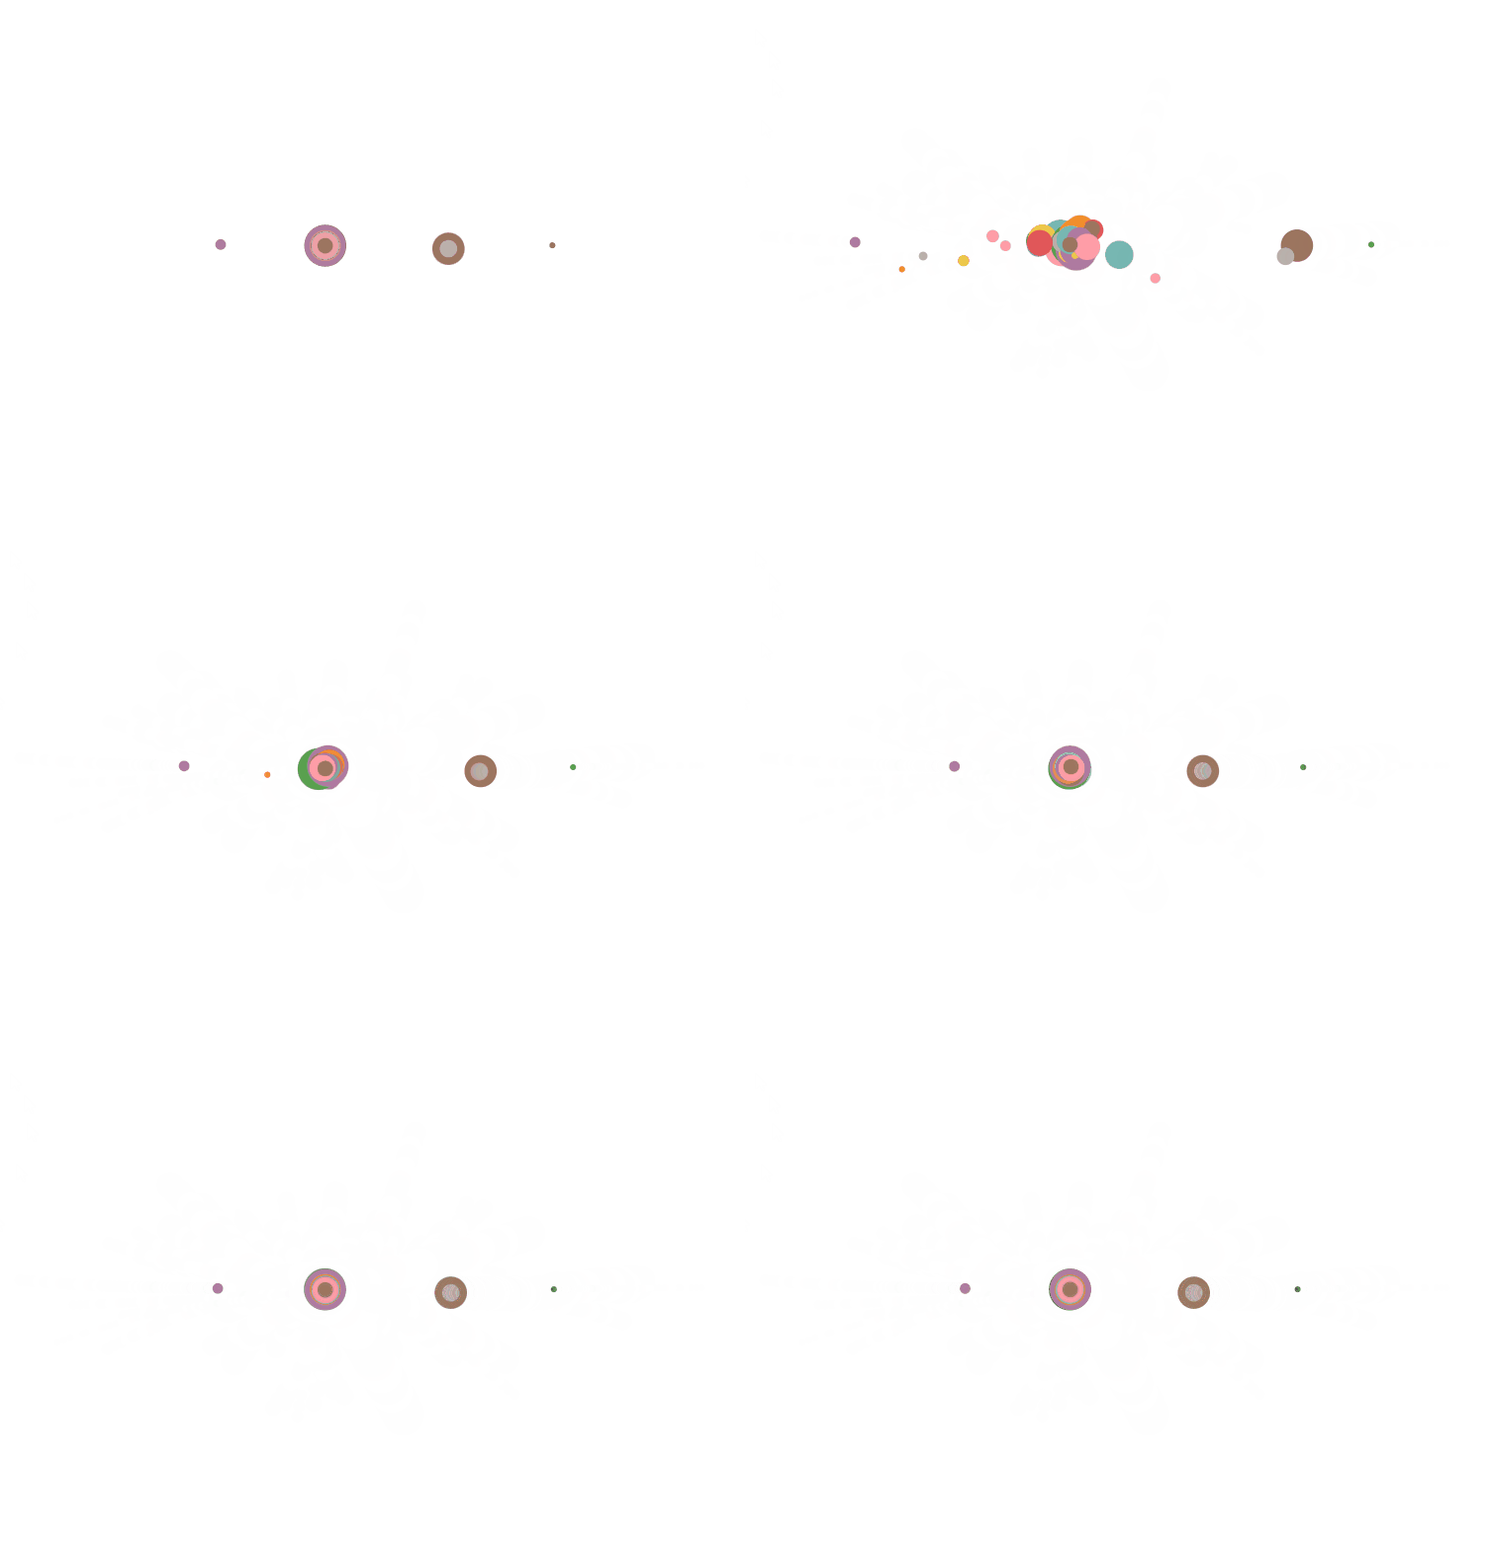
Look at the removal force
const sim = d3.forceSimulation(nodes)
    // Atomic force, positive attraction
    .force('charge', d3.forceManyBody().strength(-7))
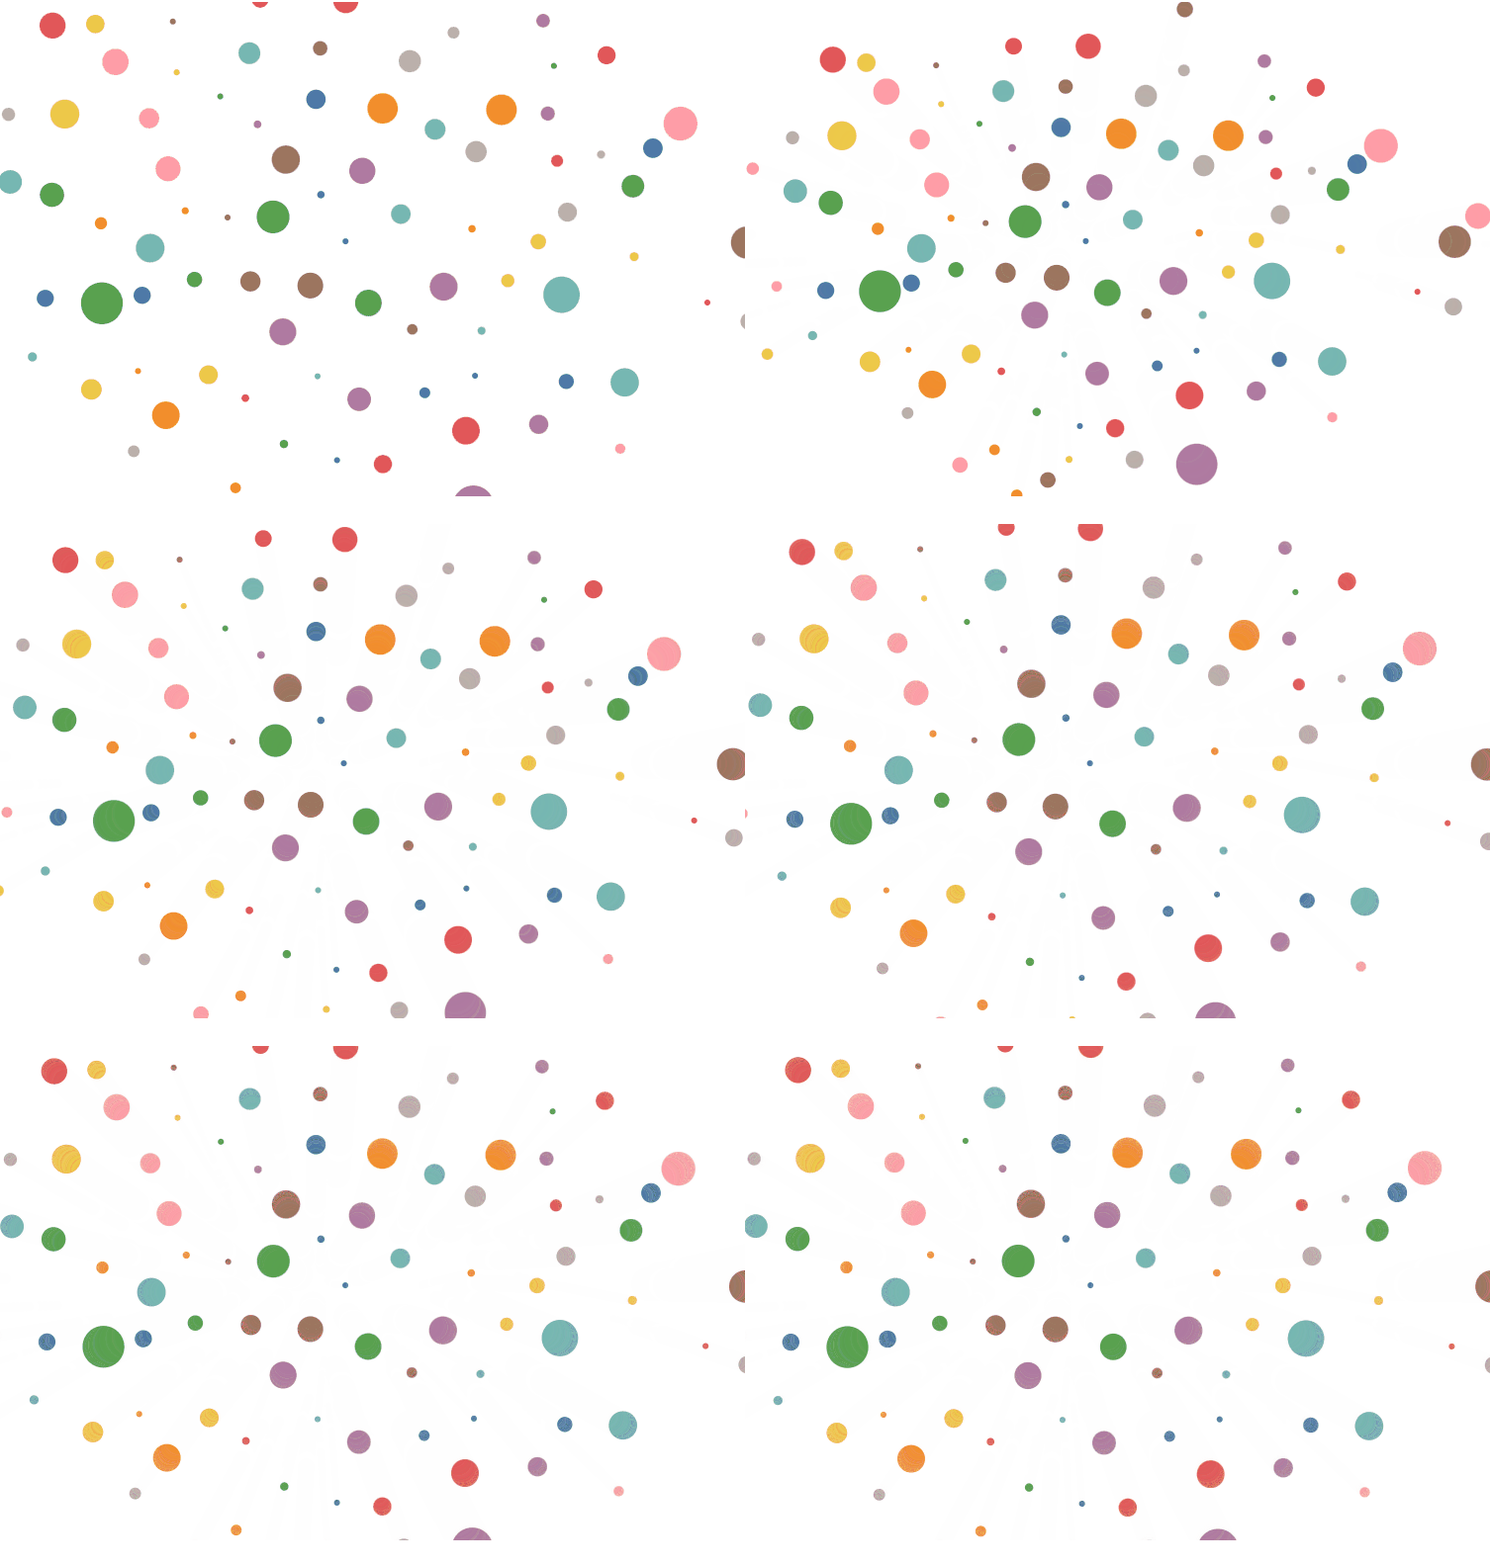
When the atomic force is attractive, all the figures are aggregated, which is not good-looking. Add the collision force and see the effect
const sim = d3.forceSimulation(nodes)
    // Impact force, radius
    .force('collide', d3.forceCollide().radius(d=>d.r+1))
    // Atomic force, positive attraction
    .force('charge', d3.forceManyBody().strength(7))
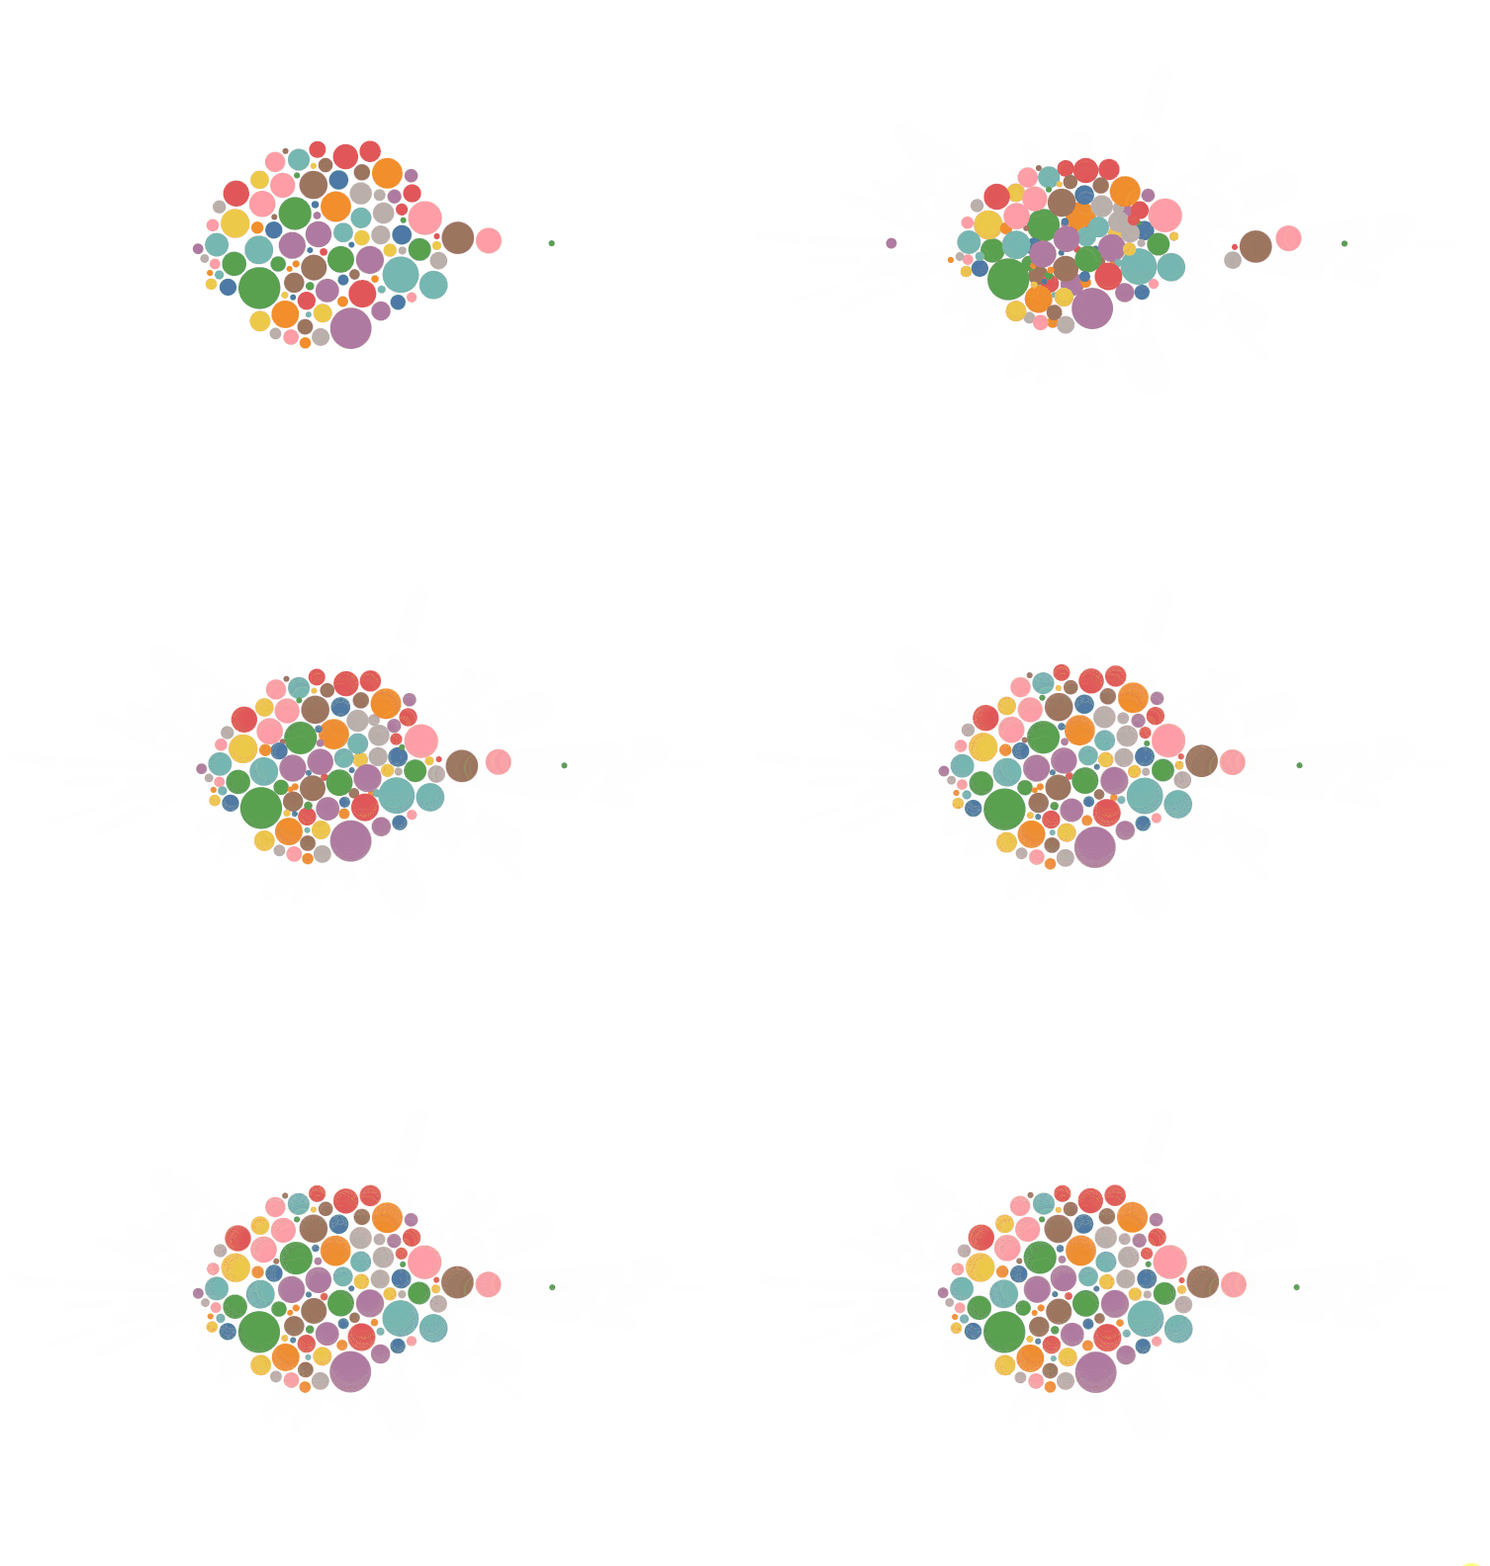
It seems that the effect is similar to the position force, but the core content is completely different. The atomic force represents that each figure has its own force on other figures, and the position force is the attraction of a point to other figures
6. Link force
It indicates the force generated by the connecting line, which is similar to a spring. It pulls back when it is far away and pushes out when it is close
const sim = d3.forceSimulation(nodes)
    // Link force
    .force('link', d3.forceLink(edges))
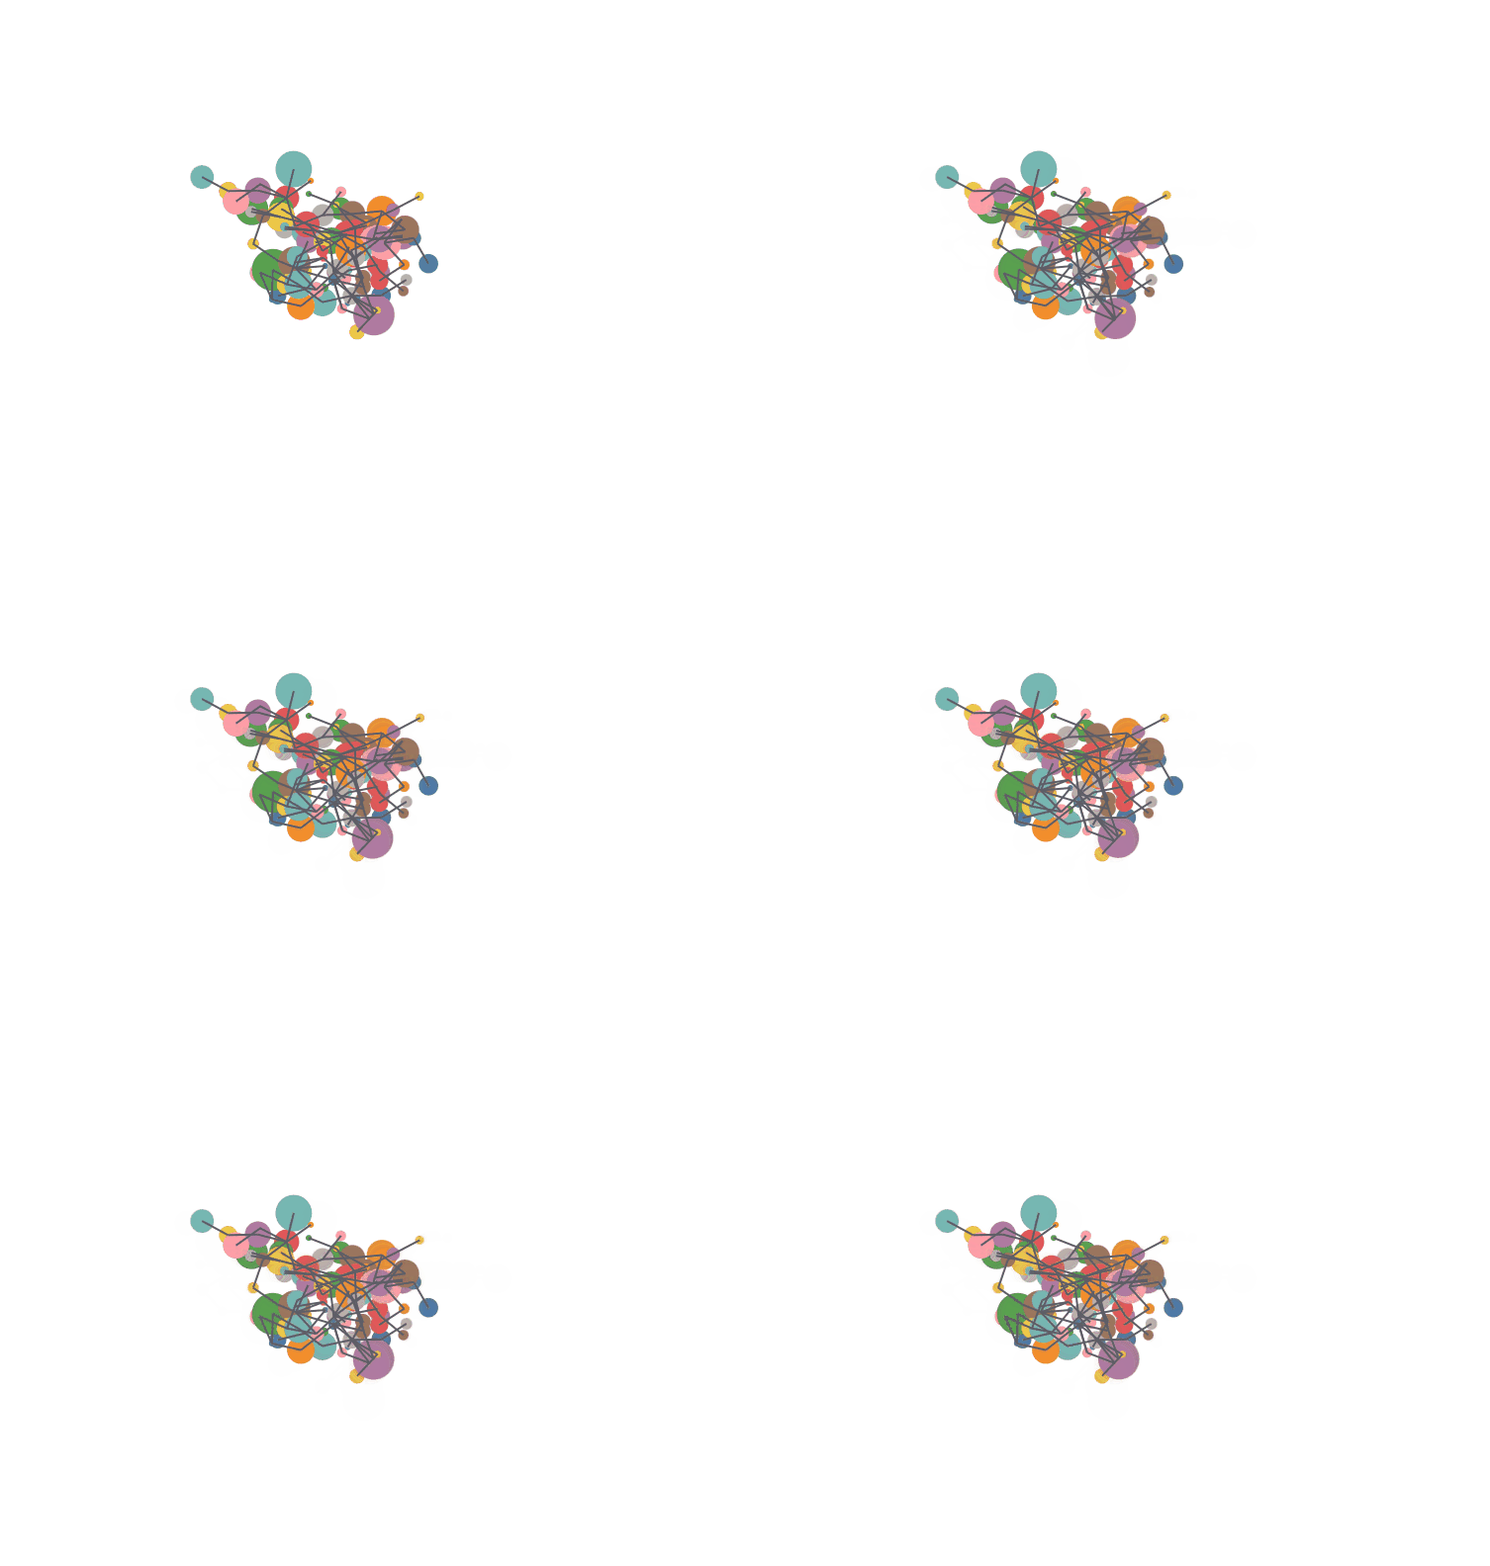
Or add a collision force to the link force and the atomic force just learned to see the effect
const sim = d3.forceSimulation(nodes)
    .force('collide', d3.forceCollide().radius(d=>d.r+1))
    // Atomic force
    .force('charge', d3.forceManyBody().strength(-7))
    // Link force
    .force('link', d3.forceLink(edges))
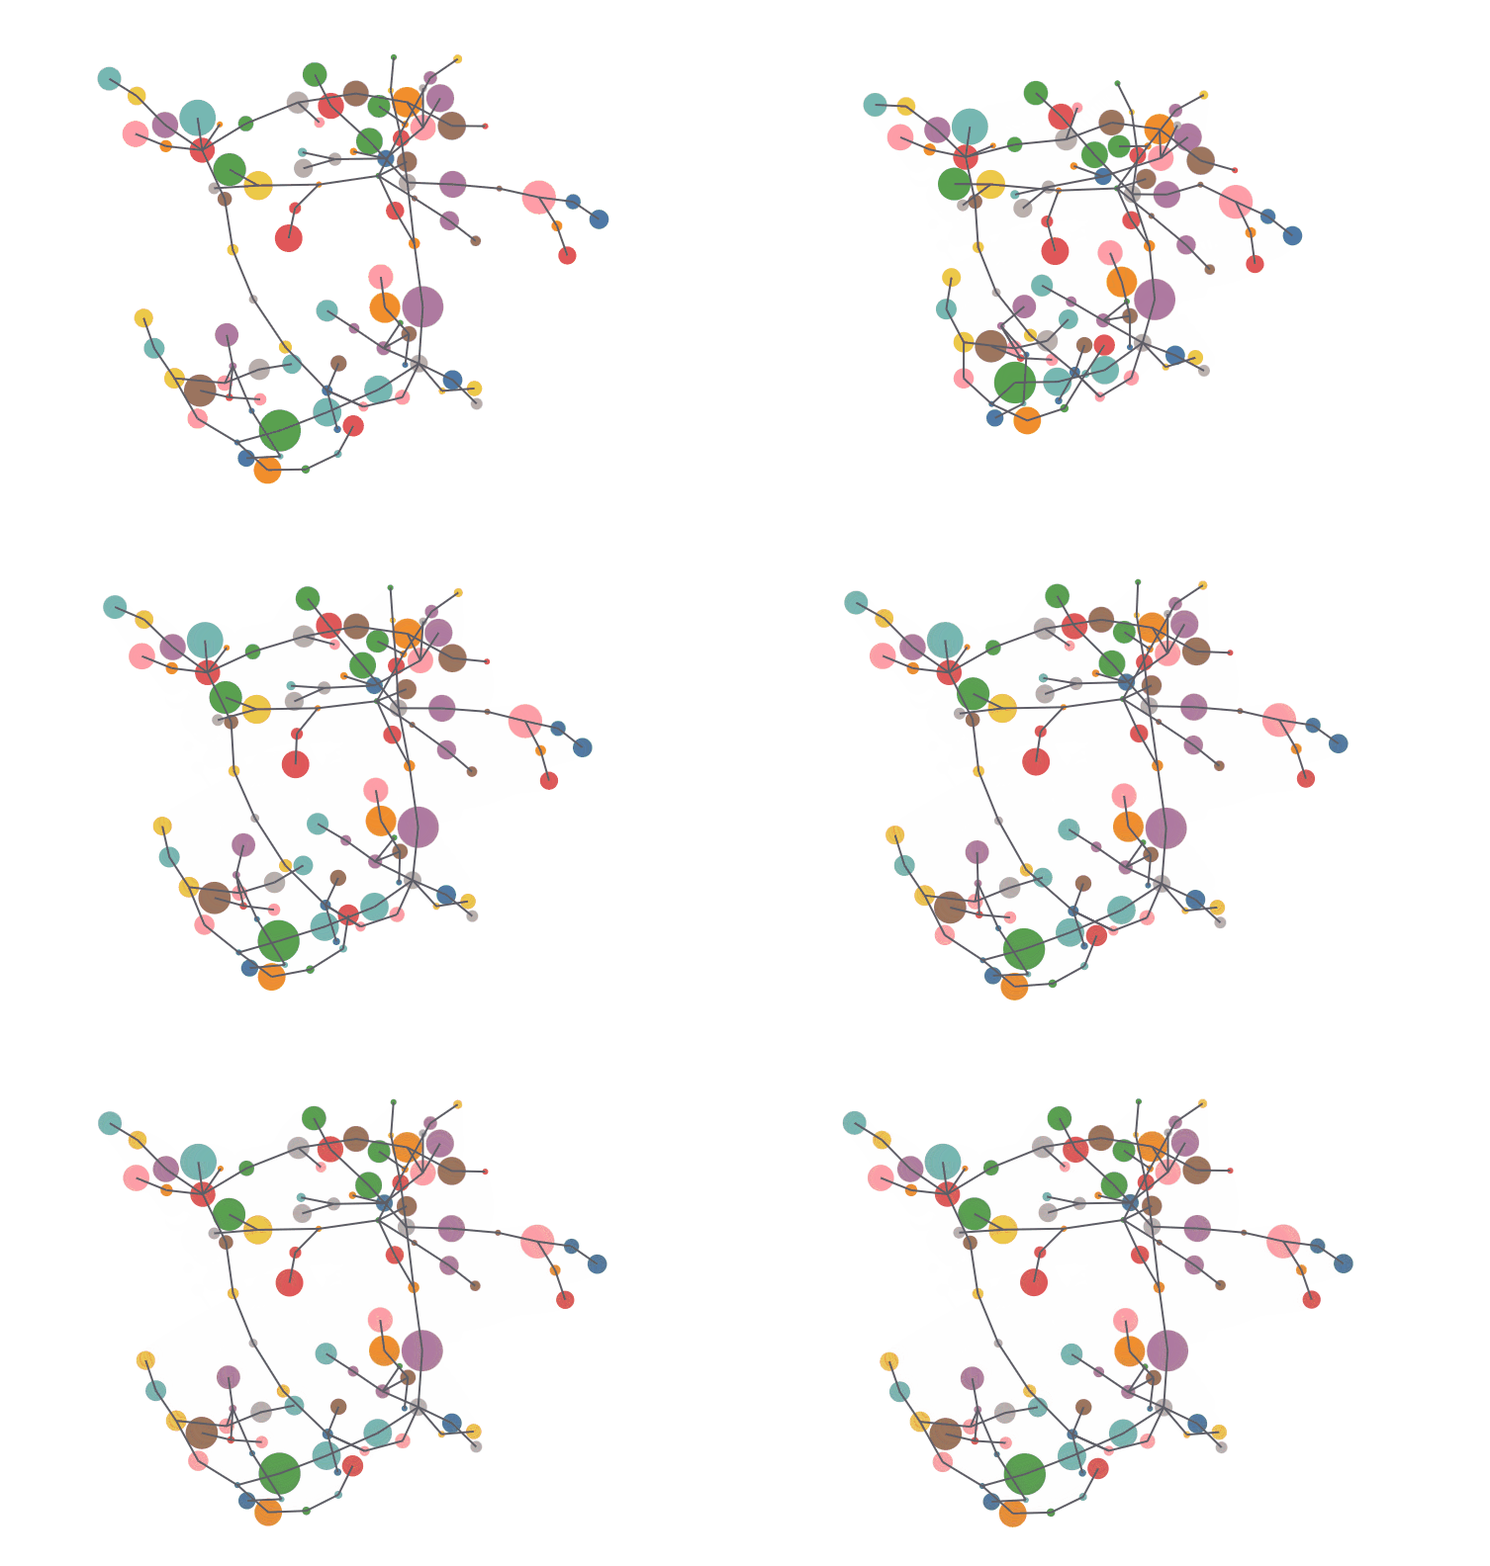
It doesn't feel like flowers are in full bloom
7. Radial force
We can define a circle. Every point on the circle will have a force pointing from the center of the circle to the point, which will make all the graphics focus on the circle again
const sim = d3.forceSimulation(nodes)
	// Radial force
    .force('radial', d3.forceRadial(240, width/2, height/2))
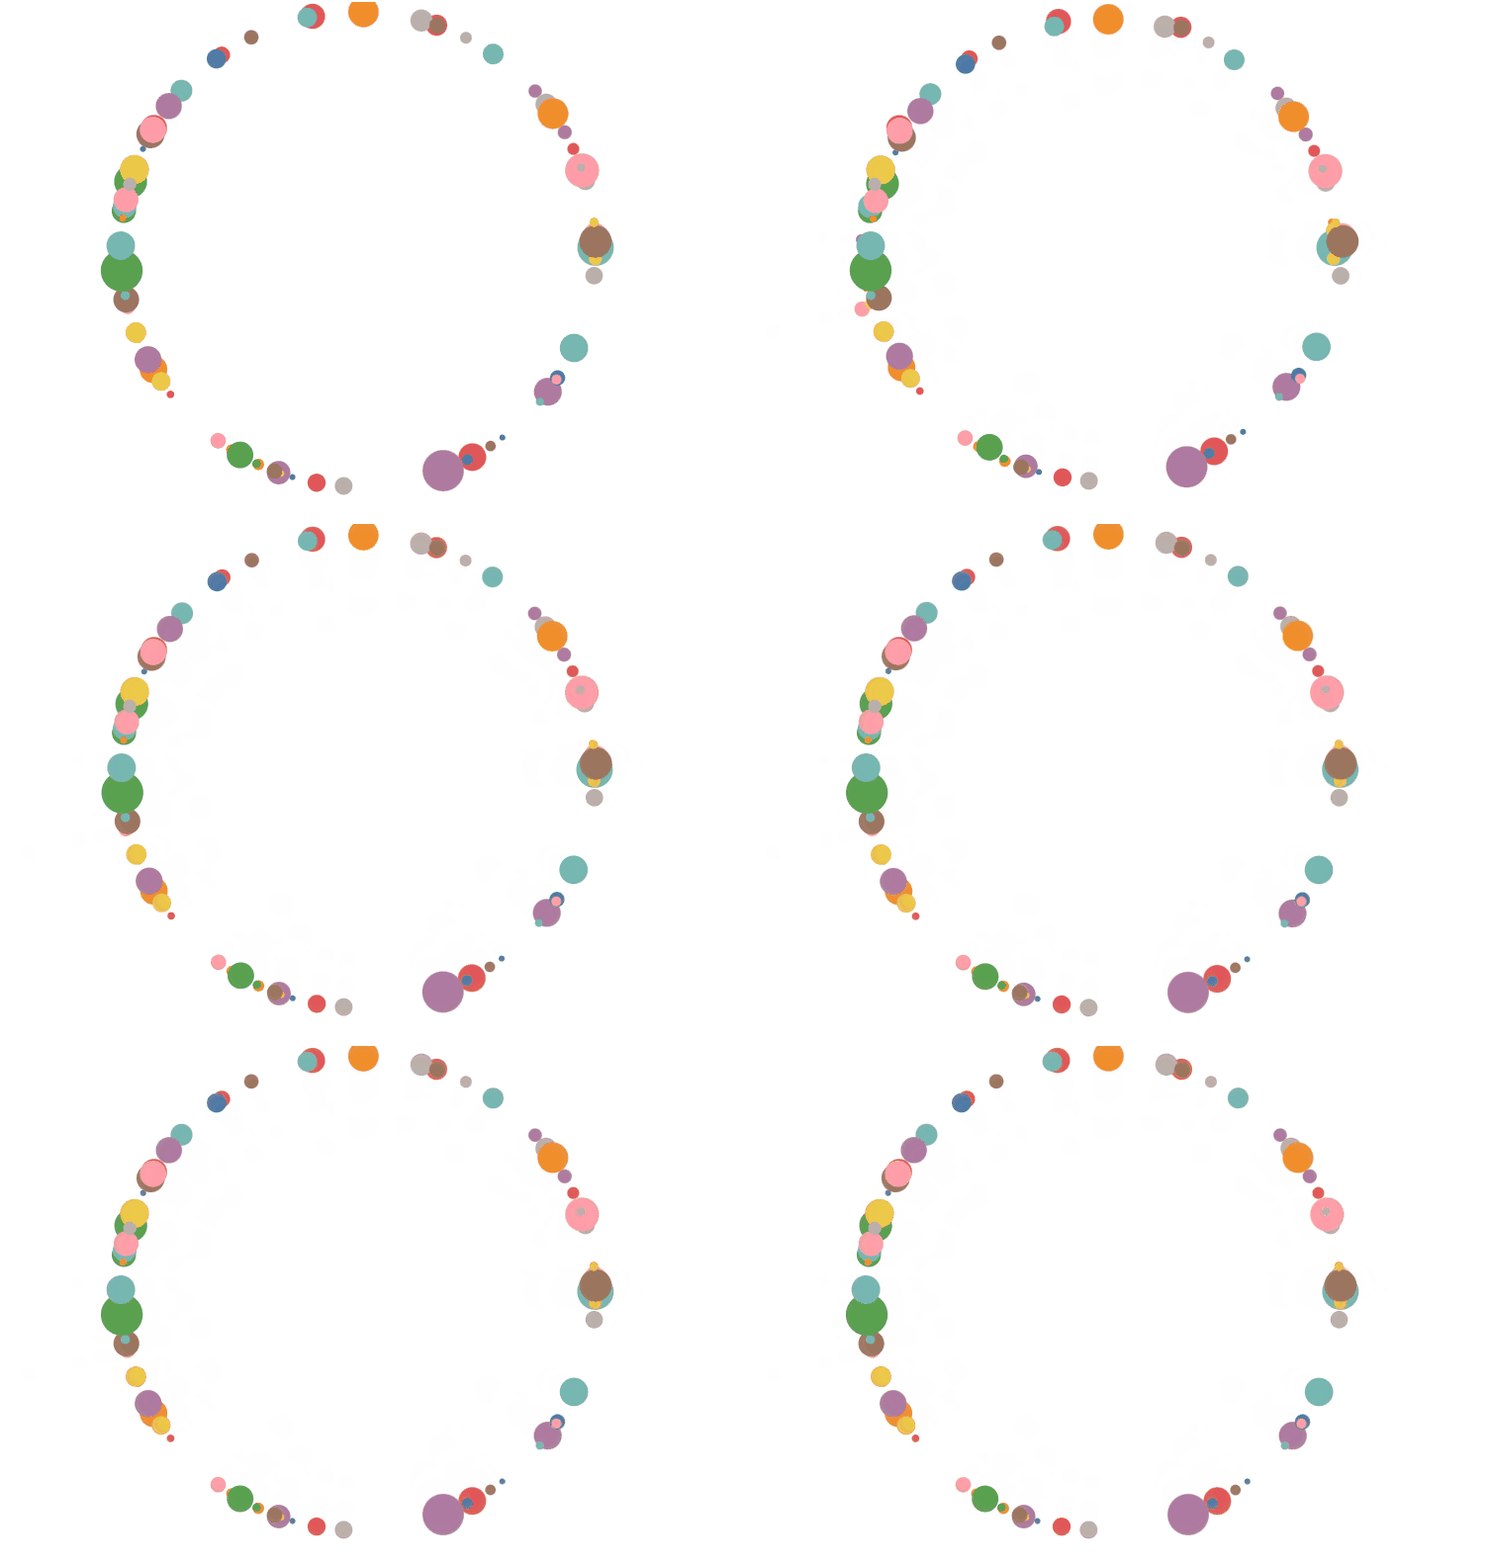
Radial force makes all figures on a circle, and the figures coincide directly. It's not beautiful. Try adding other forces
const sim = d3.forceSimulation(nodes)
   	// Collision force
    .force('collide', d3.forceCollide().radius(d=>d.r+1))
    // Atomic force
    .force('charge', d3.forceManyBody().strength(-7))
    // Radial force
    // .force('radial', d3.forceRadial(240, width/2, height/2))
    .force('radial', d3.forceRadial(d => d.r+200, width/2, height/2))
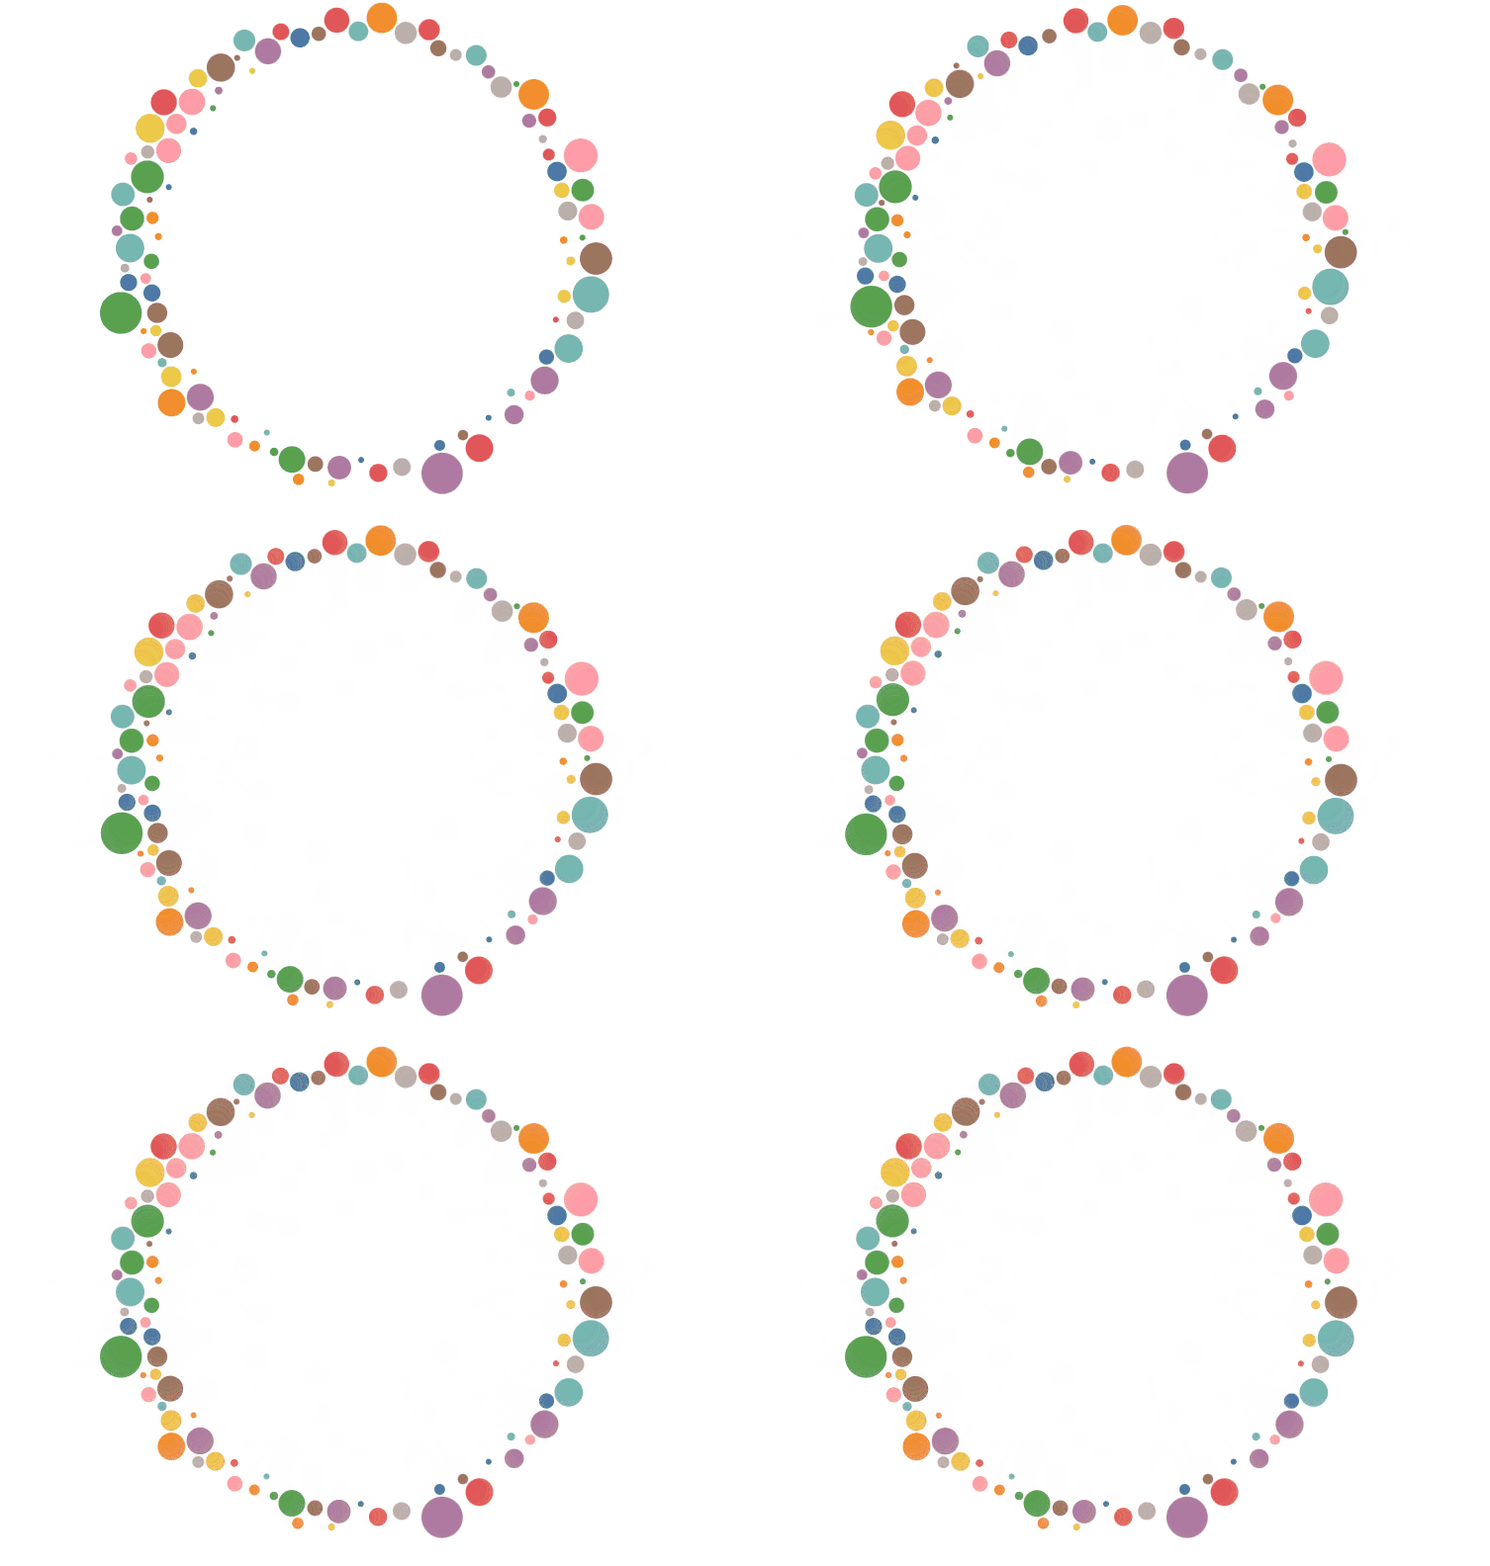
Changing the radial force radius to dynamic generation, does it look much better after adding collision force and atomic force
8. Central force
The central force also defines a circle. This force tends to move the figure into the circle. This force should be used in conjunction with other forces
const sim = d3.forceSimulation(nodes)
    // Collision force
    .force('collide', d3.forceCollide().radius(d=>d.r+1))
    // Atomic force
    .force('charge', d3.forceManyBody().strength(7))
    // Central force, planning
    .force('center', d3.forceCenter(centerForce.x, centerForce.y))
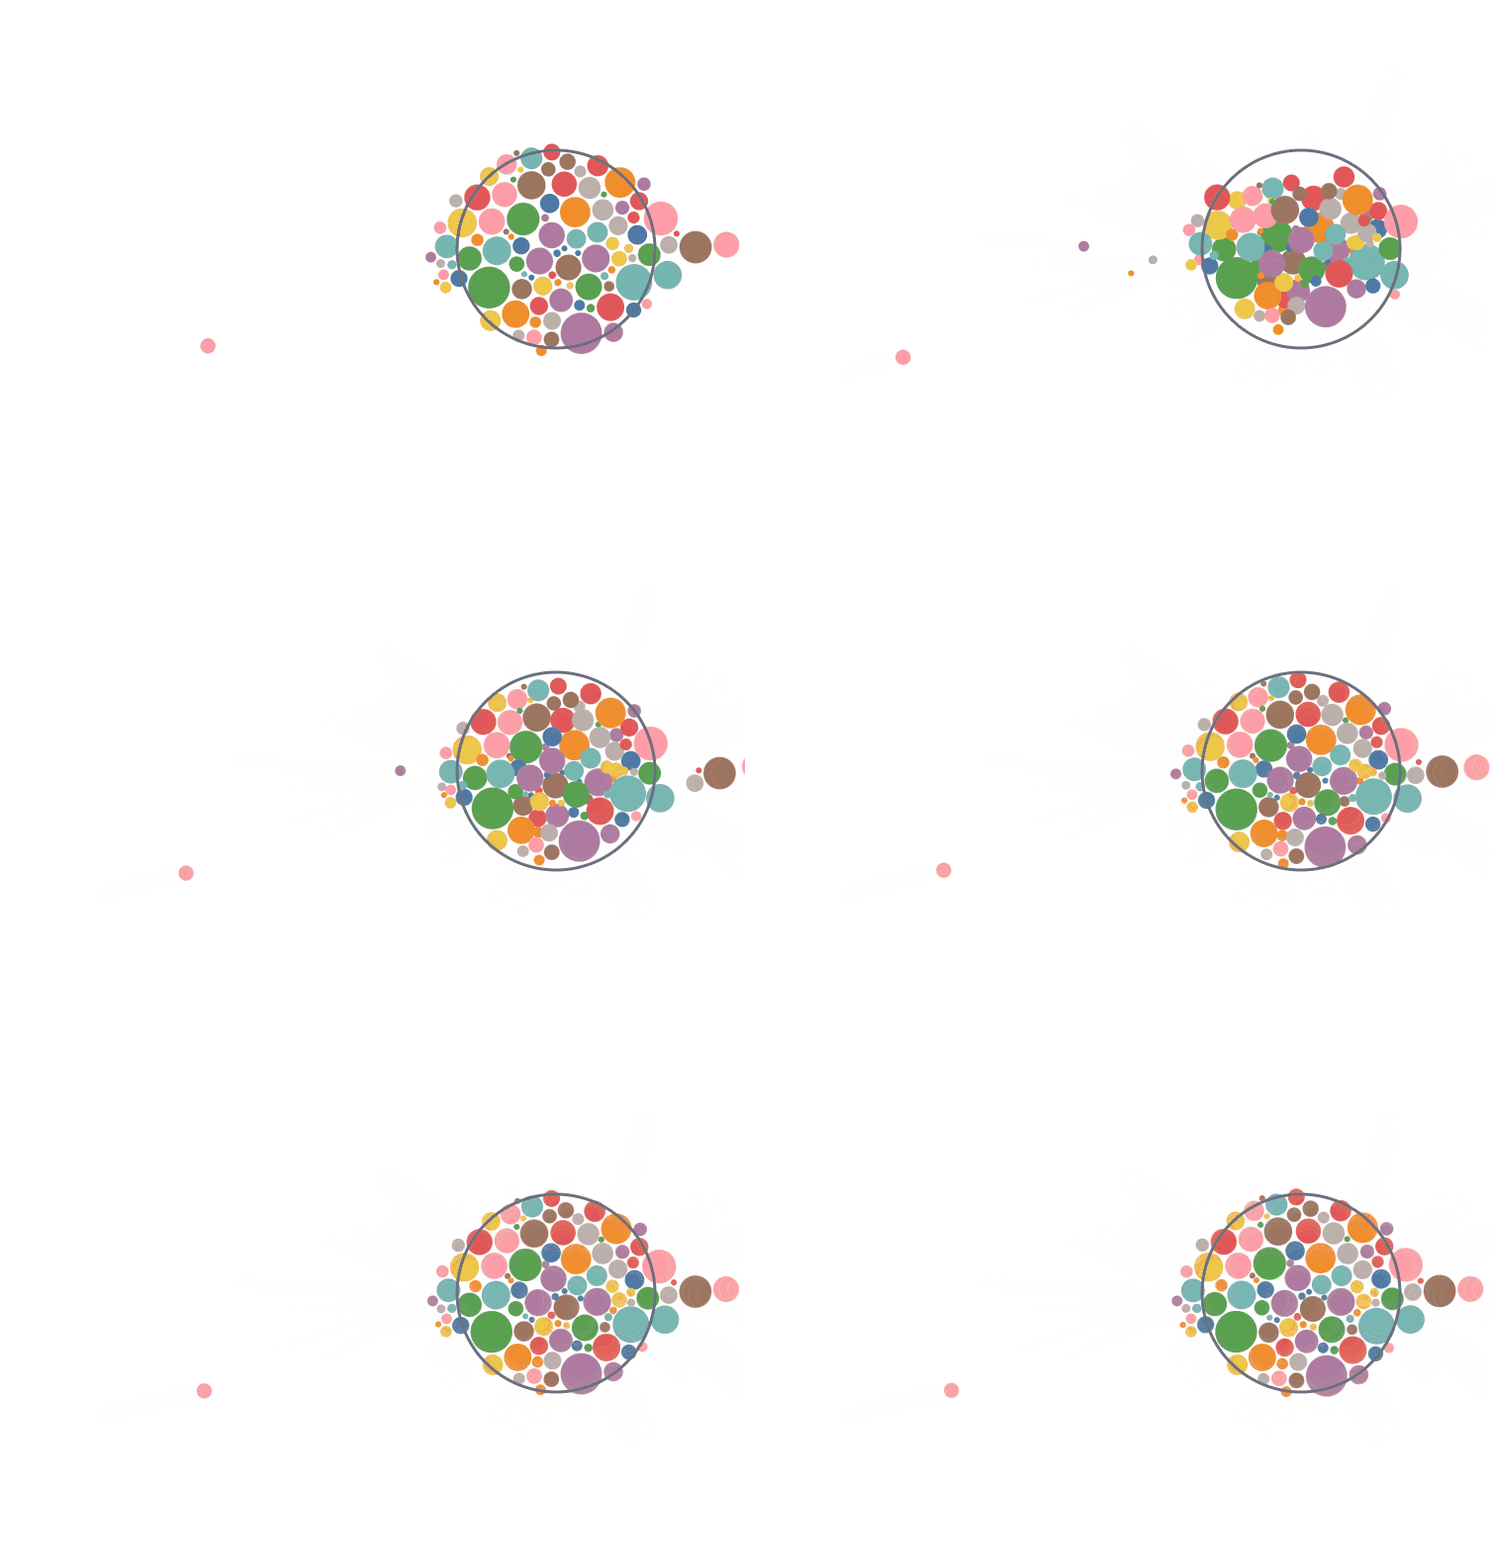
9. Code analysis
<!DOCTYPE html>
<html lang="zh">
<head>
    <meta charset="UTF-8">
    <title>Title</title>
</head>
<body>
<script src="/lib/d3.v7.min.js"></script>
<script type="module">
    const width=1000, height = 500;
    const svg = d3.select("body")
        .append("svg").attr('width', width).attr('height', height);

    // Select color system
    const color = d3.scaleOrdinal(d3.schemeTableau10)

    async function load(){
        // Load data
        const nodes = await d3.json("/force/node_data.json");
        const edges = await d3.json("/force/edge_data.json");

        // Bind data and form a circle
        const node = svg.selectAll("circle")
            .data(nodes)
            .enter()
            .append('circle')
            .attr("cx", d=>d.x)
            .attr("cy", d=>d.y)
            .attr("r", d=>d.r)
            .attr("fill", (d, i)=>color(i));

		// Bind data and form lines
        const lines = svg.selectAll('lines')
            .data(edges)
            .enter()
            .append('line')
            .attr('x1',d=>nodes[d.source].x)
            .attr('x2',d=>nodes[d.target].x)
            .attr('y1',d=>nodes[d.source].y)
            .attr('y2',d=>nodes[d.target].y)
            .attr('stroke', "#5d5d66")
            .attr('stroke-width', 2)

        const centerForce = {
            x: 700,
            y: 250
        }

        // Create a circle with a central force
        svg.append('circle')
            .attr('cx', centerForce.x)
            .attr('cy', centerForce.y)
            .attr('r', 100)
            .attr('stroke', '#6b6f80')
            .attr('stroke-width', 3)
            .attr('fill', "#00000000")

        // Force simulation
        const sim = d3.forceSimulation(nodes)
            // Tension at specified position
            // .force('x', d3.forceX(width/2))
            // .force('y', d3.forceY(height/2))
            // .force('x', d3.forceX(width/2).strength(0.06))
            // .force('y', d3.forceY(height/2).strength(0.06))
            // Collision force
            // .force('collide', d3.forceCollide().radius(10))
            .force('collide', d3.forceCollide().radius(d=>d.r+1))
            // Atomic force
            .force('charge', d3.forceManyBody().strength(7))
            // Link force
            // .force('link', d3.forceLink(edges))
            // Radial force
            // .force('radial', d3.forceRadial(240, width/2, height/2))
            // .force('radial', d3.forceRadial(d => d.r+200, width/2, height/2))
            // Central force, planning
            .force('center', d3.forceCenter(centerForce.x, centerForce.y))
        // .stop()
        //  .tick(100);


        sim.on("tick", () => {
            // sim directly changed
            node.attr("cx", function(d){ return d.x;})
                .attr("cy", function(d){ return d.y;});


            lines.attr('x1',d=>d.source.x)
                .attr('y1',d=>d.source.y)
                .attr('x2',d=>d.target.x)
                .attr('y2',d=>d.target.y);
        })
    }
    load()
</script>
</body>
</html>
If you think it's good, give me a praise. Only praise can have motivation. Write d3js introductory tutorial next week after ten likes