1, Construction method
At present, there are four main types. I don't need to see them again. I've compared them many times. I can directly choose the OS mode. The disadvantage is that this virtual machine can only run the function of HASS, but it has strong stability than everything else

Installing HassOS in the virtualization station of Unicom
Install HassOS as a virtual machine. No matter windows, linux, Qunhui or unraid systems, x86 hosts that support virtual machines can be installed in this way.
Step 1: download the HassOS image compressed package
github download address:
https://github.com/home-assistant/operating-system/releases
Select hassos_ova-5.13.vmdk.xz
Download the HassOS image package download the HassOS image package
Baidu online disk download link https://pan.baidu.com/s/1meLrpaDYqgyNGA3h1CNdNw , extraction code: wcys
Step 2: unzip the image file and import it into NAS
The file format after decompression is VMDK. The file size is 1.61GB in the format of virtual hard disk created by common VMware virtual machine.
Unzip the image file and import NAS unzip the image file and import NAS
Step 3: convert image format
Use the image converter to convert the file from vmdk format to img format. Open the virtualization station, open the converter, and select the source file and the converted image location. Click OK and the system will run in the background. The conversion takes 3 minutes.
Open image converter open image converter
Select source file and post conversion mirror location select source file and post conversion mirror location
The system background executes the conversion task, and the system background executes the conversion task
Step 4: establish HassOS virtual machine
1. Click create to enter the parameter configuration interface and set the virtual machine name.
2. Select linux as the operating system. HassOS is based on debian, but there is no debian option in the version. I chose an Ubuntu version at will. I guess the version selection should have little impact.
3. UEFI, UEFI and UEFI must be selected when starting firmware.
4.cpu and memory parameters are optional, and 2G of 1 core is enough.
5. Use the existing image, select the converted img file, and click OK.
HassOS virtual machine parameter configuration HassOS virtual machine parameter configuration
Step 5: open HassOS virtual machine
Start the virtual machine and open the remote desktop until homeassistant login: is displayed, that is, the virtual machine is successfully started. Close the remote desktop, and the HassOS virtual machine ip address appears in the virtual machine list.
HassOS virtual machine not turned on state HassOS virtual machine not turned on state
Remote desktop display login is successful. Remote desktop display login is successful
Status after HassOS virtual machine startup status after HassOS virtual machine startup
Step 6: wait
ip:8123 to open the hash interface. Wait 20 minutes.
The first start-up takes a long time, and the first start-up takes a long time
Step 7: create an account and enter the hass management interface
The create account interface appears, and set the name, user name and password. The user name should be in English.
Create account create account
Next, set the location, time zone, altitude, etc.
Setting location, time zone and other information setting location, time zone and other information
Next, click finish.
Default, next default, next
Enter the hass management interface. Note that there is a Supervisor in the lower left corner.
hassos interface
2, Installing HACS - cumbersome
https://www.bilibili.com/video/BV1Hz4y1k7PE?spm_id_from=333.999.0.0
3, Make HACS work better - failure
Installing the portal plug-in
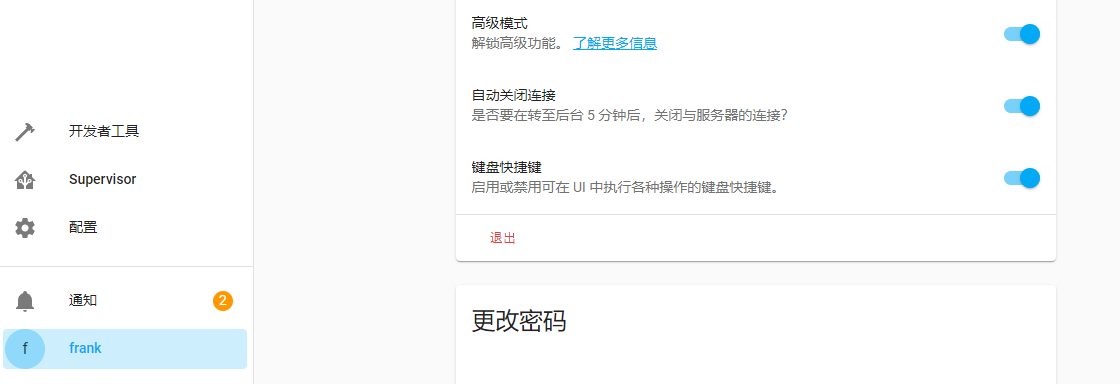
Turn on advanced mode
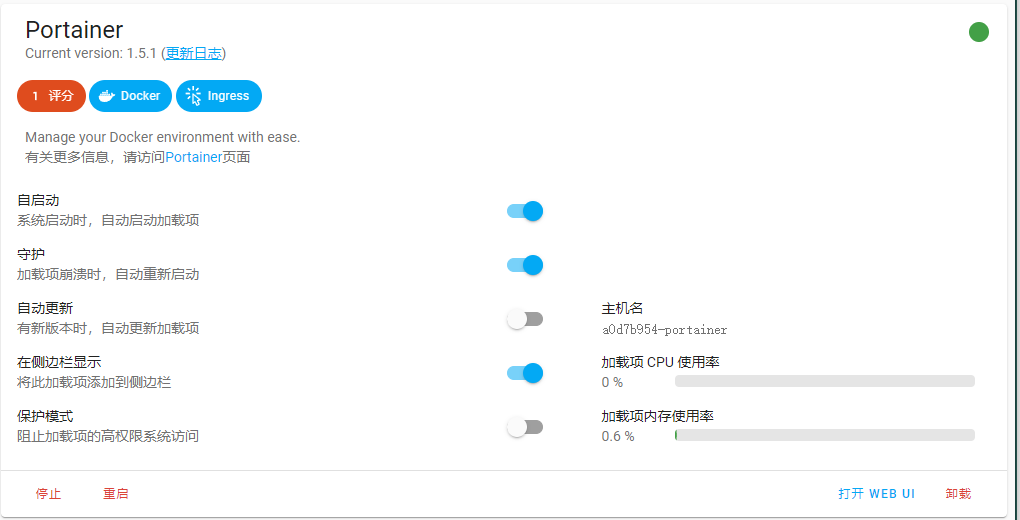
Install the portal plug-in and disable protected mode
Manage portal
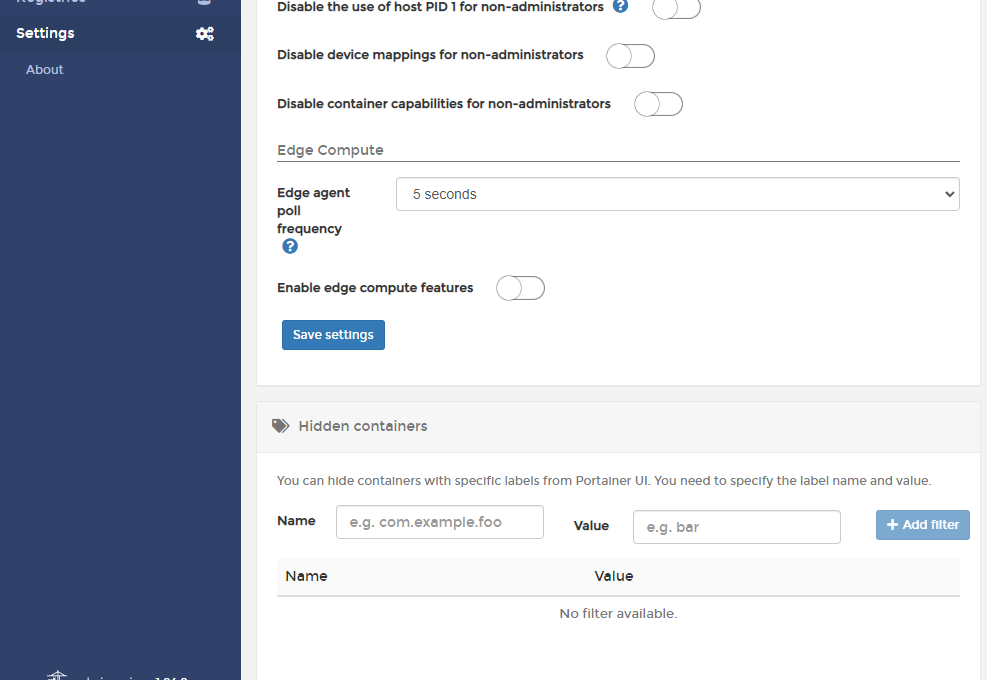
Close hidden containers
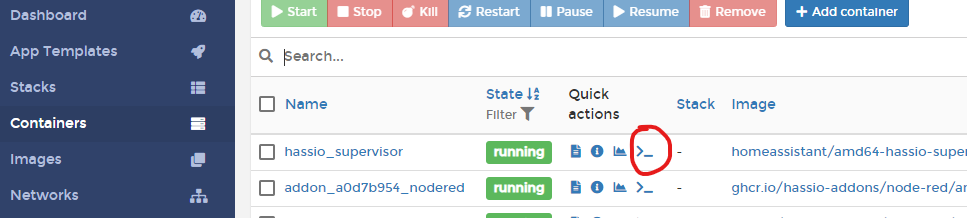
Connect the console of supervisor and homeassistant respectively
input
vi /etc/hosts
Optimize github optimization
140.82.114.4 github.com
140.82.114.10 nodeload.github.com
140.82.114.6 api.github.com
140.82.114.10 codeload.github.com
185.199.108.133 raw.github.com
185.199.108.153 training.github.com
185.199.108.153 assets-cdn.github.com
185.199.108.153 documentcloud.github.com
185.199.108.154 help.github.com

# domain: githubstatus.com
185.199.108.153 githubstatus.com

# domain: fastly.net
199.232.69.194 github.global.ssl.fastly.net

# domain: githubusercontent.com
185.199.108.133 raw.githubusercontent.com
185.199.108.154 pkg-containers.githubusercontent.com
185.199.108.133 cloud.githubusercontent.com
185.199.108.133 gist.githubusercontent.com
185.199.108.133 marketplace-screenshots.githubusercontent.com
185.199.108.133 repository-images.githubusercontent.com
185.199.108.133 user-images.githubusercontent.com
185.199.108.133 desktop.githubusercontent.com
185.199.108.133 avatars.githubusercontent.com
185.199.108.133 avatars0.githubusercontent.com
185.199.108.133 avatars1.githubusercontent.com
185.199.108.133 avatars2.githubusercontent.com
185.199.108.133 avatars3.githubusercontent.com
185.199.108.133 avatars4.githubusercontent.com
185.199.108.133 avatars5.githubusercontent.com
185.199.108.133 avatars6.githubusercontent.com
185.199.108.133 avatars7.githubusercontent.com
185.199.108.133 avatars8.githubusercontent.com
# End of the section
It should have been good, but it can't be seen in the configuration log now. It can't be connected to raw githubusercontent. com
The suggestion is to connect a mobile phone or something