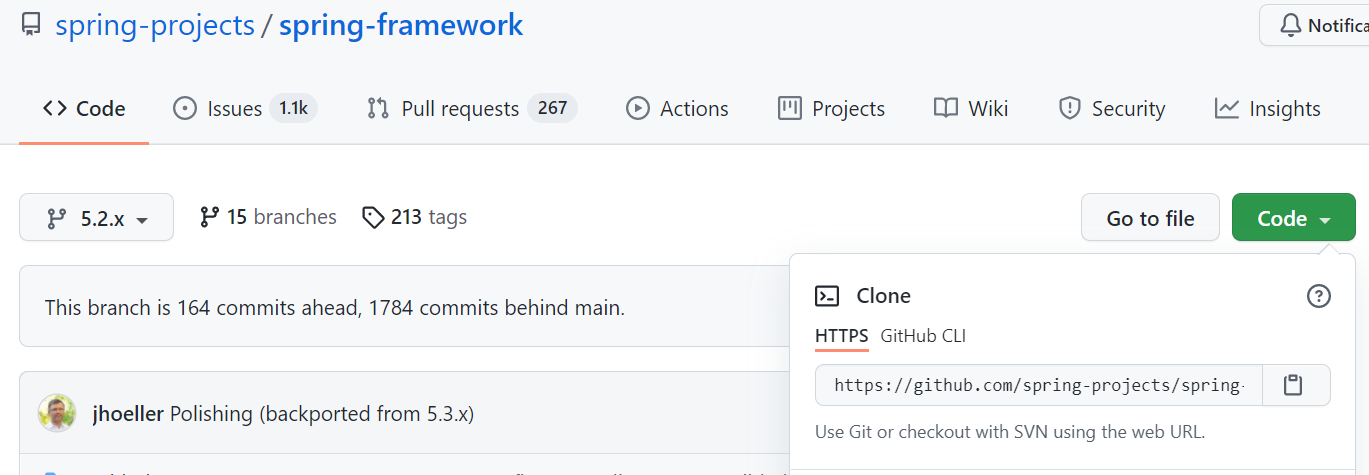
1. Spring source code download address:
https://github.com/spring-projects/spring-framework , version 5.2 x
2. Install Gradle:
Spring relies on Gradle build tools to manage package dependencies
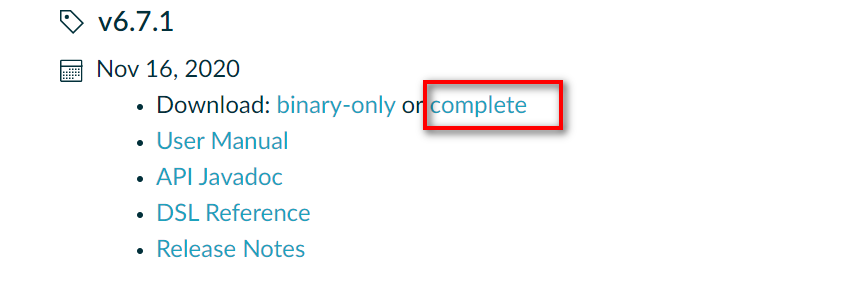
(1) Gradle download address: https://services.gradle.org/distributions/ or https://gradle.org/releases/
(2) Configure environment variables
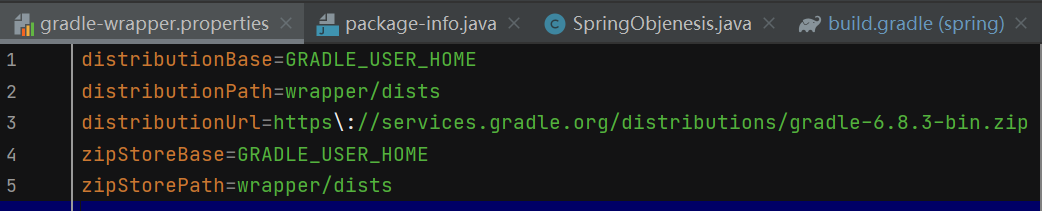
Variable name: Grade_ USER_ Home (the variable name should be consistent with the information in gradle-wrapper.properties)
Variable value: C: \ users \ gradle-6.8 3-bin\7ykxq50lst7lb7wx1nijpicxn\gradle-6.8. 3 (file decompression path)
System variable path:% grade_ USER_ HOME%\bin
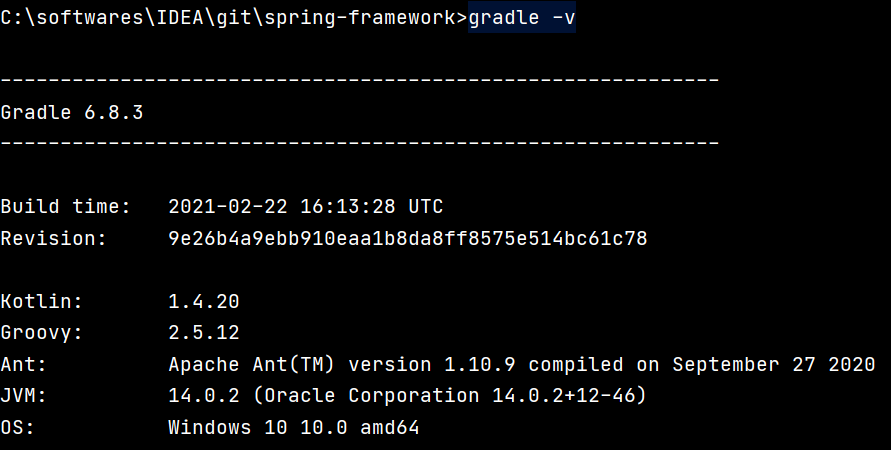
Test configuration succeeded: open cmd and enter gradle -v
Problems encountered during installation (I):
Note: the version of gradle that needs to be downloaded corresponds to the version of jdk and gradle plug-in
Previously compiled 5.2 X version of the source code, encountered an error, because the compilation of spring has requirements for the gradle version. Let's take a look at spring 5.2 X source code build Gradle information:

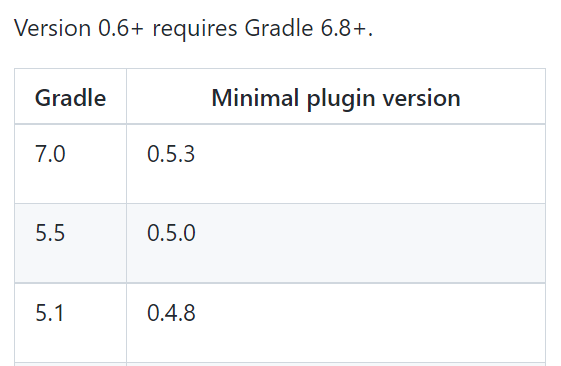
The version of JMH (JMH gradle plugin) is 0.6 4. JMH corresponds to gradle, and JMH is 0.6 4 the corresponding gradle version is 6.8 +. View on the official website: https://github.com/melix/jmh-gradle-plugin
If the Gradle version is incorrect, various errors will be reported, such as:
1)Only Project build scripts can contain plugins {} blocks
2)This version of the JMH Gradle plugin requires Gradle 6+, .........
(3) Configure gradle project properties
Idea, click file --- setting --- build, execution and deployment
Create a new in D:\Program Files The gradle folder (selected according to your situation) is used as the main directory of the jar package warehouse downloaded by gradle. By default, it is C:\Users\Administrator\.gradle

(4) Build Springboot project
1) create a springboot project in Idea and use Gradle to manage package dependencies, file --- new project
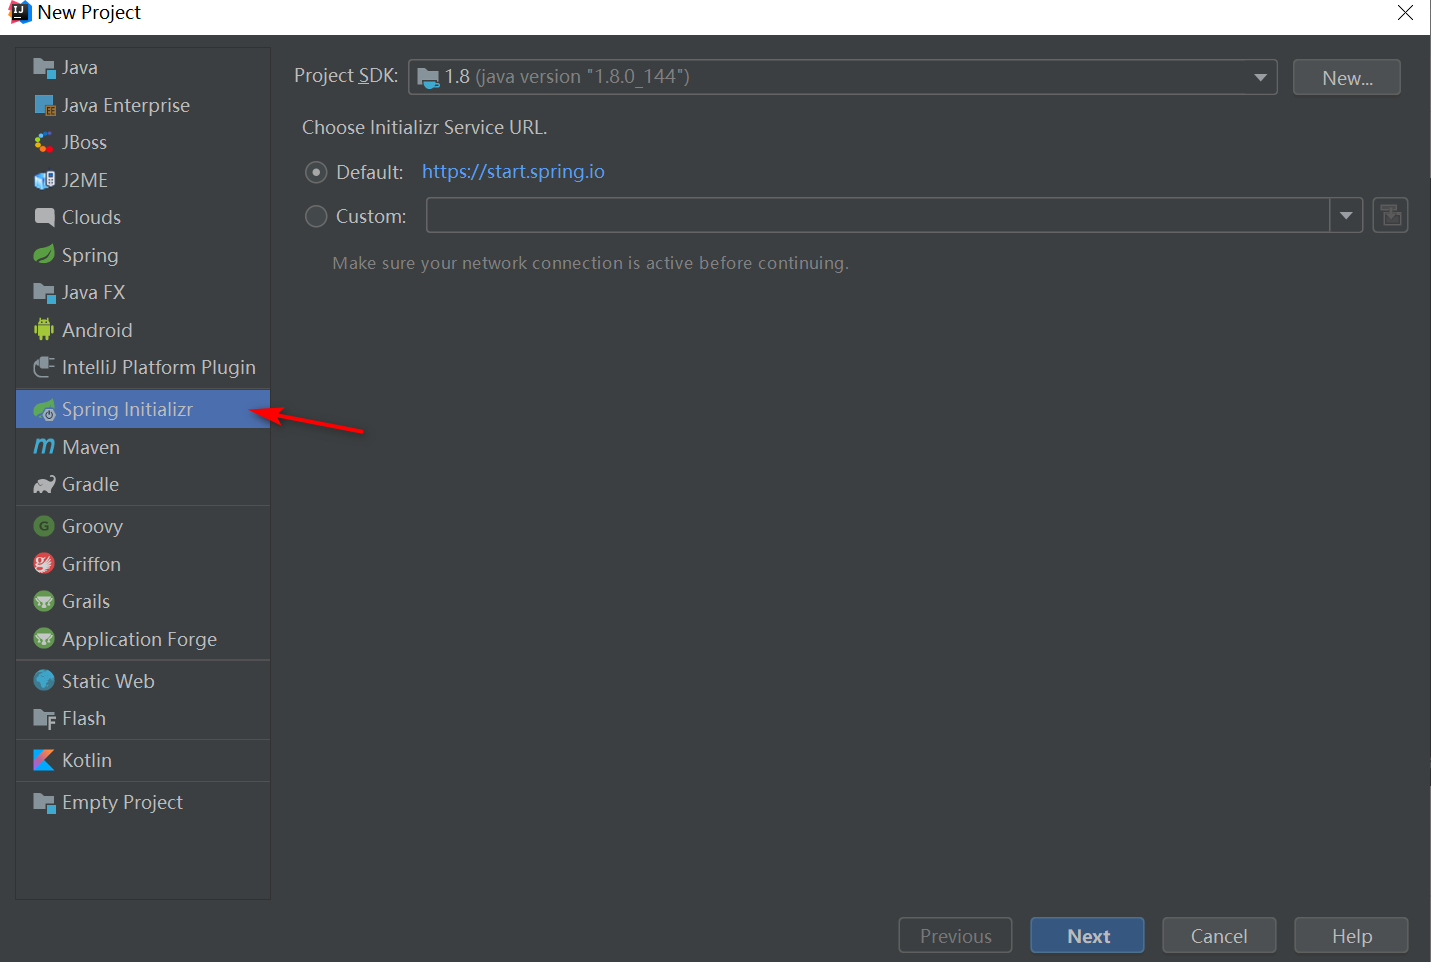
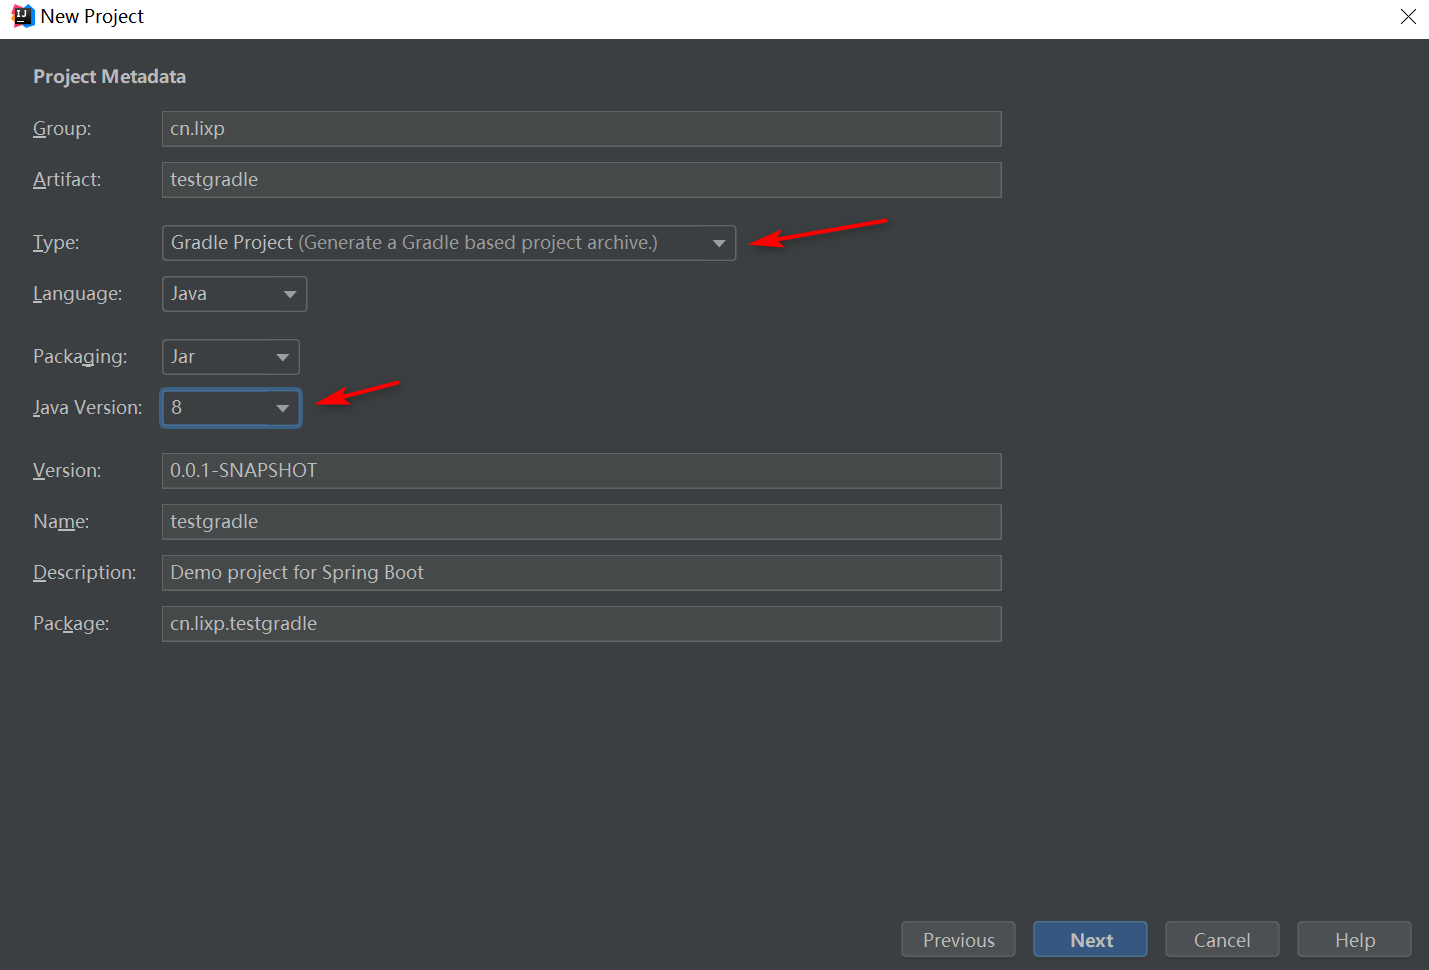
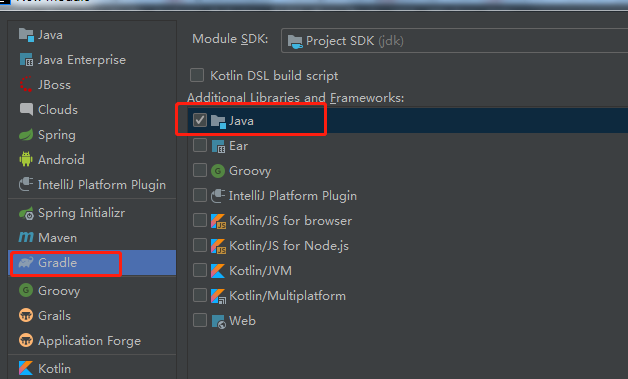
2) click next, Type and select Gradle project
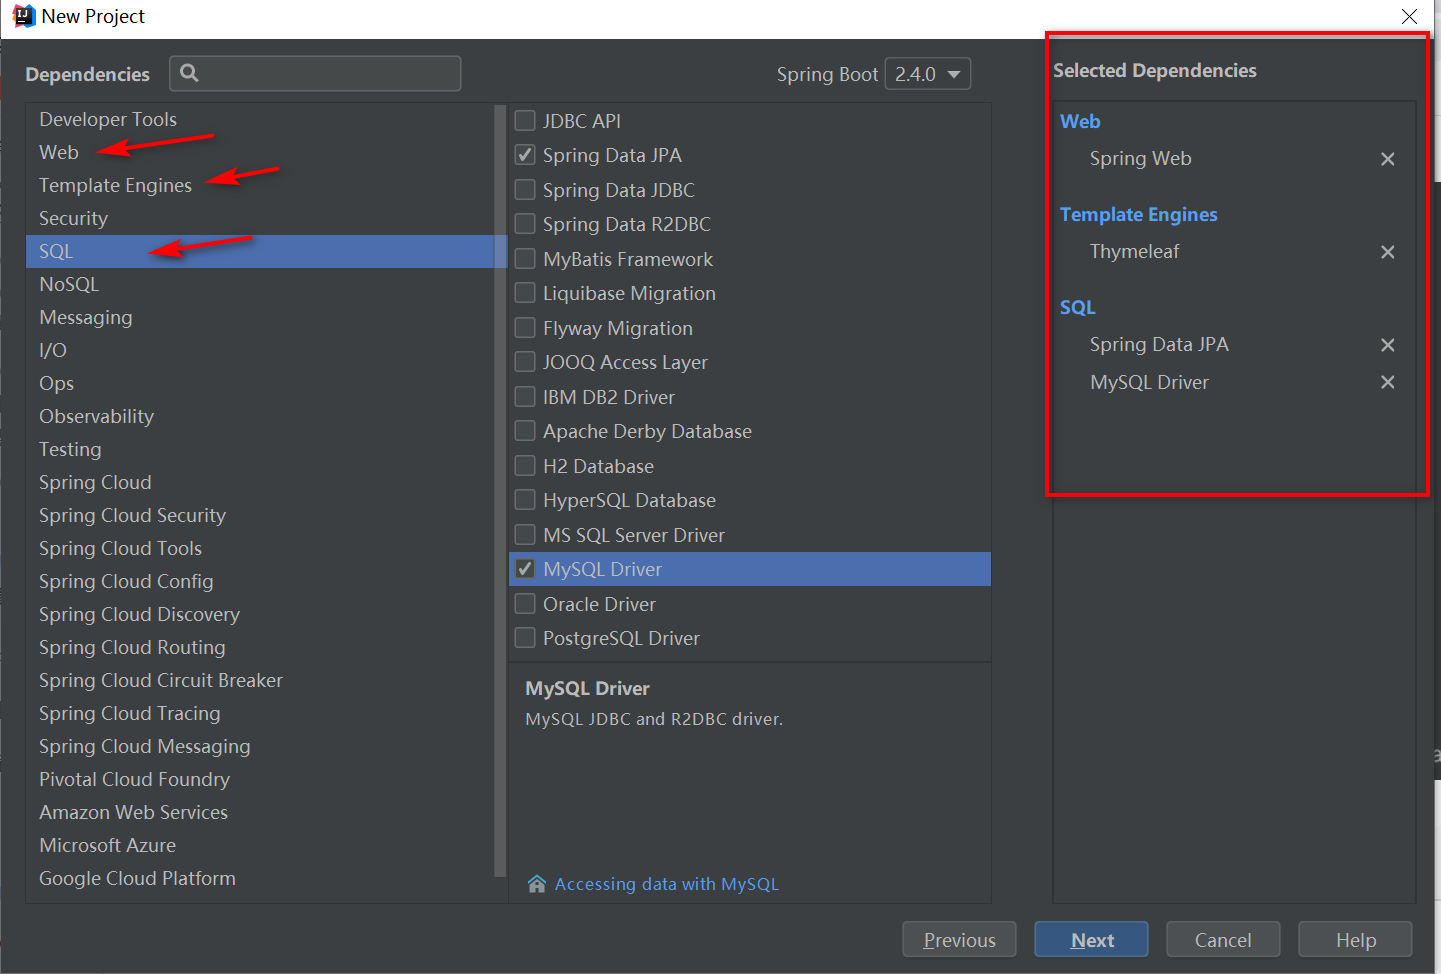
3) click next, click the dependency to be added in the leftmost category, select in the middle window, and the selected dependency is displayed in the rightmost window
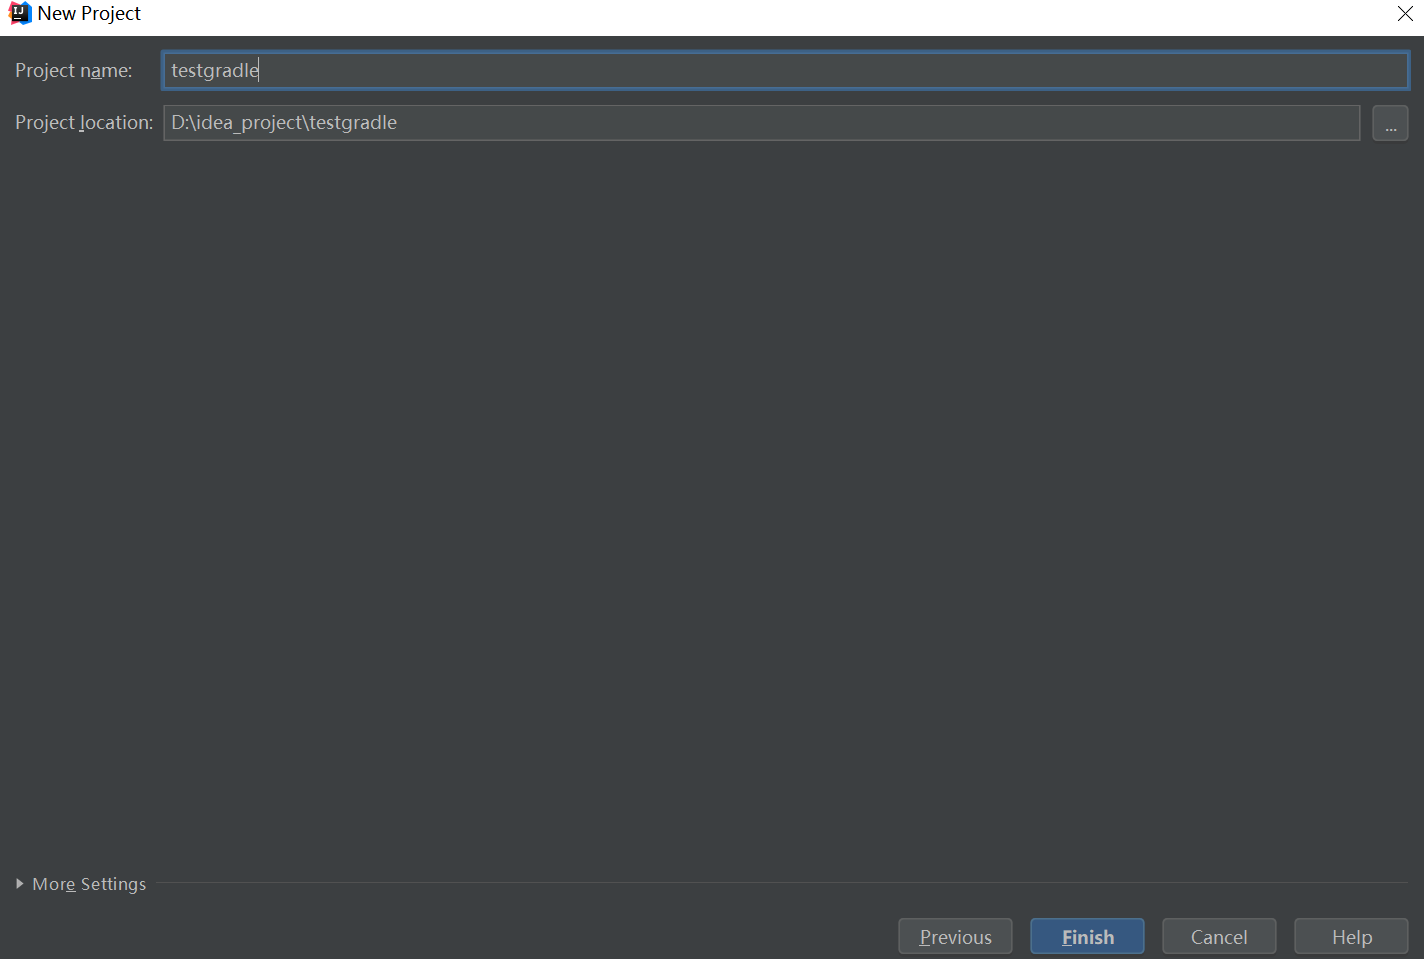
4) click next and fill in the project name and path
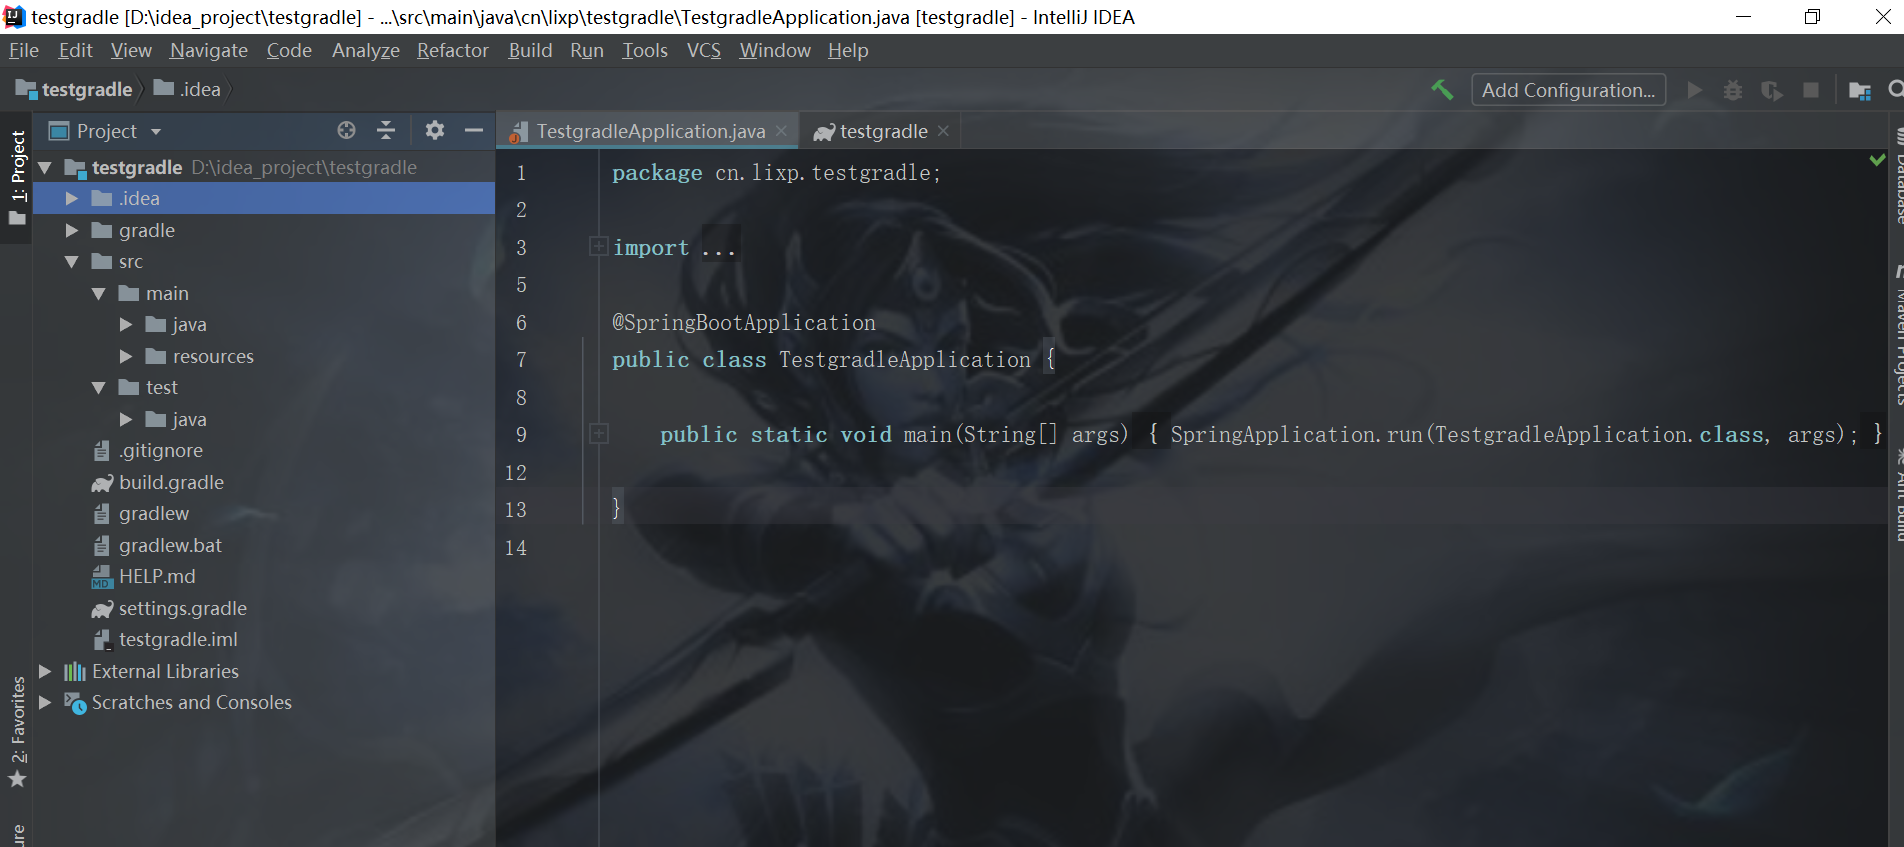
5) click finish to complete the project creation. The project directory structure is shown in the figure.
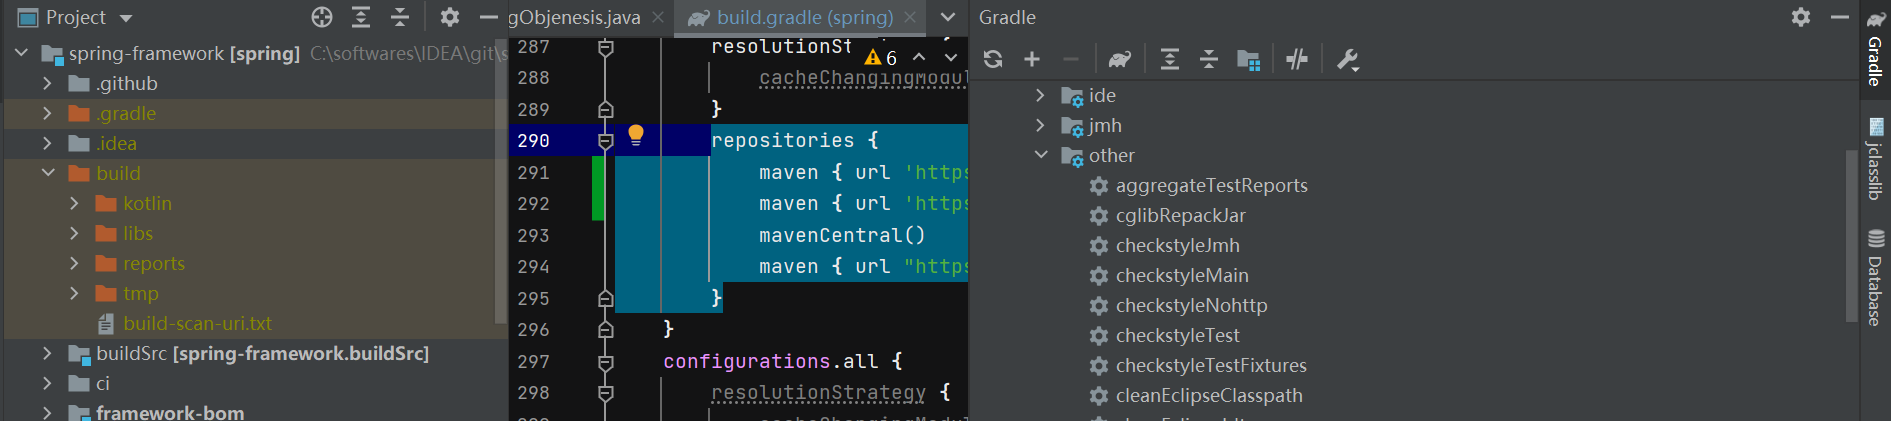
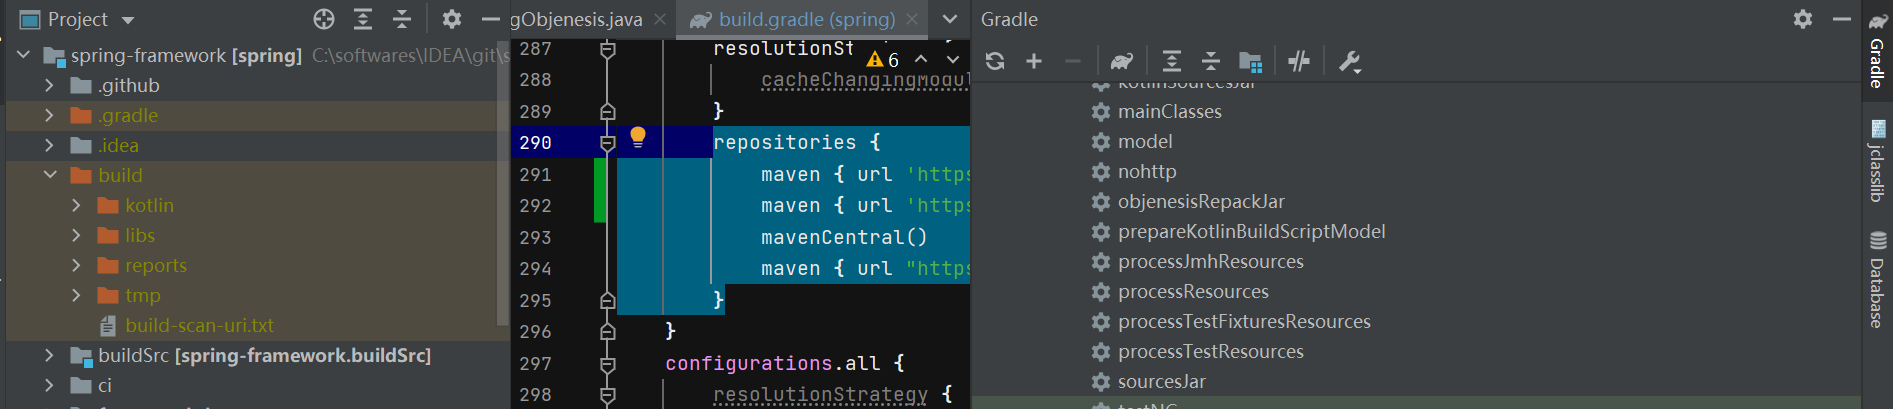
6) pay attention to a very important step: click finish to download the dependent package after entering the project. It is very slow to use the default foreign maven source. It is recommended to use Ali's domestic image source for download and edit build Gradle configuration file, about 291 lines
repositories {
			maven { url 'https://maven.aliyun.com/nexus/content/groups/public/' }
			maven { url 'https://maven.aliyun.com/nexus/content/repositories/jcenter' }
			mavenCentral()
			maven { url "https://repo.spring.io/libs-spring-framework-build" }
		}
3. Java version:
JDK8 262 or later versions are required in the official documents. But my JDK version is 201 and JRE version is 281. There are always some inexplicable errors, so try changing it to a higher version of 291.

4. Compile Spring source code framework
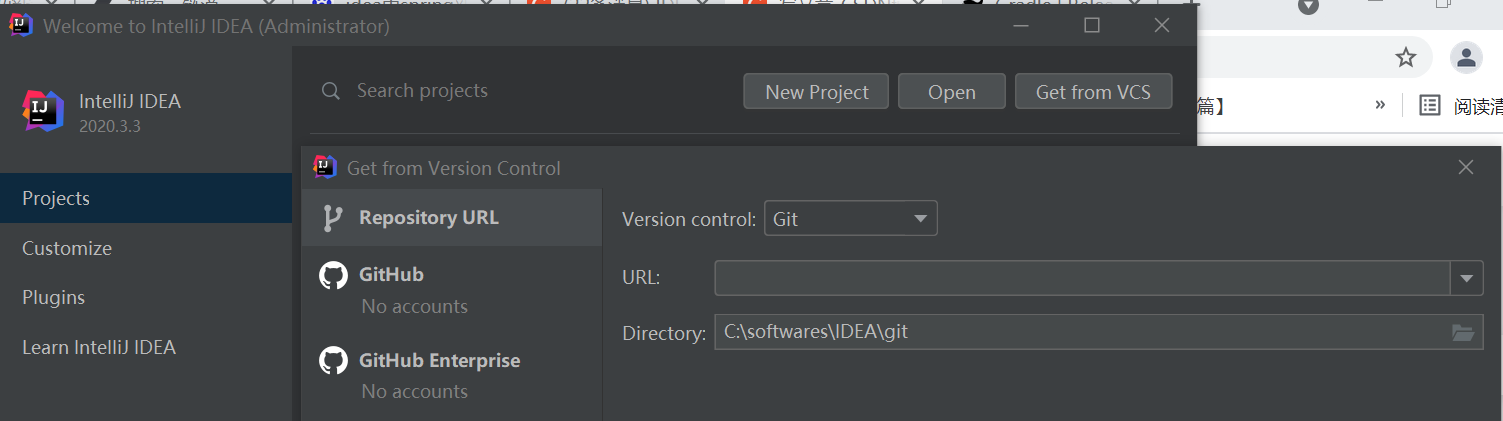
Select 5.2. From the Spring download website X version clone url:
Open idea, enter the url, source code address and project home directory, and click finish to enter the automatic project creation process:
5. Problems encountered in compiling source code
(1) the compilation of cglib and objectiveness is wrong. Spring repackages the latest cglib and objectiveness and needs to re introduce them

Click cglibRepackerJar and objectenesisrepackerjar to perform the task of reintroducing the two packages
 (2) A build scan was not published as you have not authenticated with server 'ge.spring.io' error. Just comment out ge.spring.io in setting.gradle
6. After compilation, create your own project and use the source code
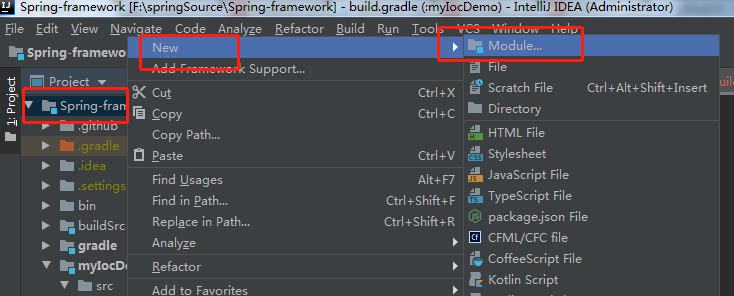
(1) create your own module
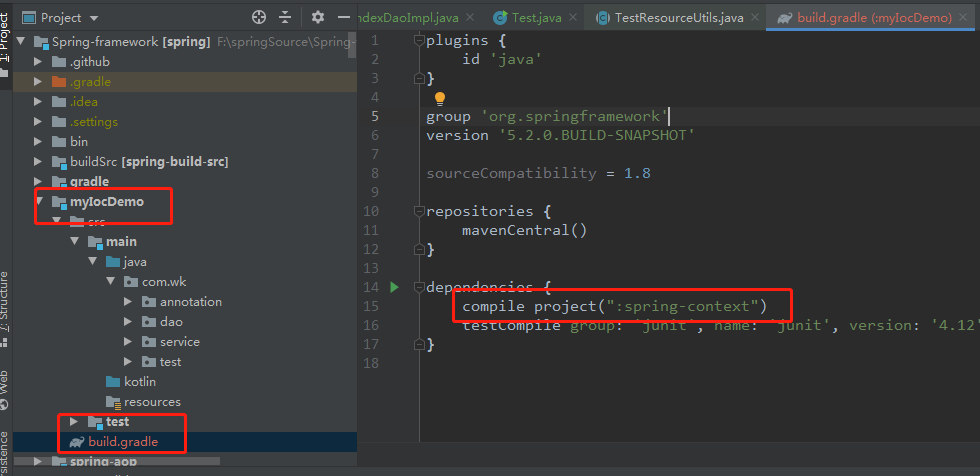
(2) after creating the module, we need to add the dependency on spring in the gradle file
(3) then start to build your own project: introduce spring classes into the project
7. To create a test module:
(1) Junit test code is provided in each module, which can be used directly, added or modified.
(2) create your own test module:
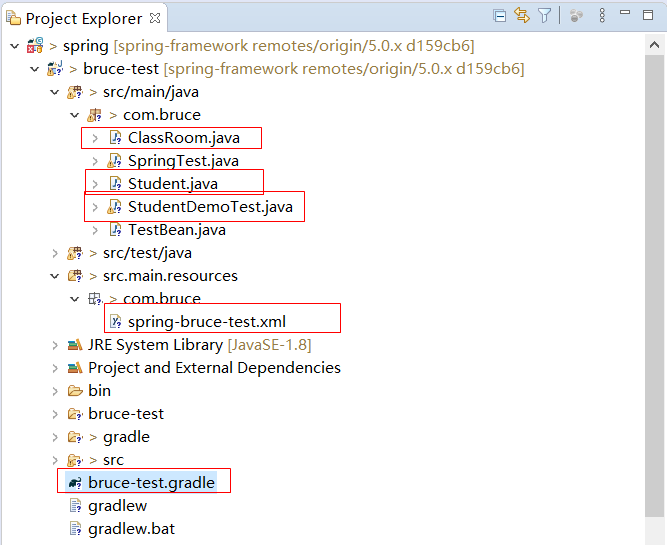
(3) create a sub module folder in the spring project, such as Bruce test
(4) add the build.gradle file in the folder and change its name to be consistent with the module name, bruce-test.gradle
(5) introduce sub modules into settings.gradle in the spring project, for example, add include "Bruce test" in the file
(6) right click gradle -- > refresh on the spring project
(7) then create src.main.java, src.main.resources, src.test.java and other folders
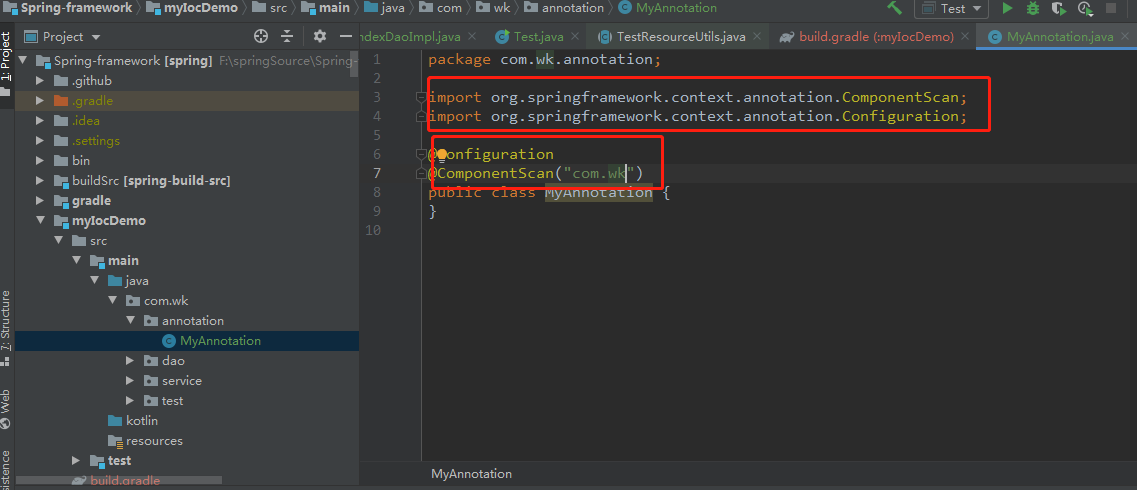
(8) create a package name and add a class file.
1) Gradle dependency configuration Bruce test Gradle:
Refer to spring test in the spring test module Gradle file. At present, this article only tests the spring context, that is, the functions related to the spring container, so only configure the optional (Project (": Spring context")).
description = "Spring TestContext Framework"
dependencies {
    compile(project(":spring-core"))
    optional(project(":spring-aop"))
    optional(project(":spring-beans"))
    optional(project(":spring-context"))
    optional(project(":spring-jdbc"))
    optional(project(":spring-orm"))
    optional(project(":spring-tx"))
    optional(project(":spring-web"))
    optional(project(":spring-webflux"))
    optional(project(":spring-webmvc"))
    optional(project(":spring-websocket"))
2)Student.java:
package com.bruce;

public class Student {
    private int age;
    private String name;

    public int getAge() {
        return age;
    }

    public void setAge(int age) {
        this.age = age;
    }

    public String getName() {
        return name;
    }

    public void setName(String name) {
        this.name = name;
    }
}
3)ClassRoom.java:
package com.bruce;

public class ClassRoom {
    private Student student;

    public Student getStudent() {
        return student;
    }

    public void setStudent(Student student) {
        this.student = student;
    }
}
4) spring container (context) configuration file:
<?xml version="1.0" encoding="UTF-8"?>
<beans xmlns="http://www.springframework.org/schema/beans" xmlns:xsi="http://www.w3.org/2001/XMLSchema-instance"
       xsi:schemaLocation="http://www.springframework.org/schema/beans https://www.springframework.org/schema/beans/spring-beans-2.0.xsd">

    <bean id="classroom" class="com.bruce.ClassRoom">
        <property name="student" ref="student"/>
    </bean>

    <bean id="student" class="com.bruce.Student"></bean>
</beans>
5) the specific test class is studentdemotest java:
There are two ways:
Test with the main method:
package com.bruce;

import org.springframework.context.ApplicationContext;
import org.springframework.context.support.ClassPathXmlApplicationContext;

public class StudentDemoTest {

    public static void main(String[] args) {
        // TODO Auto-generated method stub
        ApplicationContext ac = new ClassPathXmlApplicationContext("com/bruce/spring-bruce-test.xml");
        Student student = (Student) ac.getBean("student");
        student.setAge(12);
        student.setName("bruce");
        ClassRoom classroom = (ClassRoom) ac.getBean("classroom");
        System.out.println(classroom);
        System.out.println("Debug: Student age" + classroom.getStudent().getAge());
        System.out.println("Debug: Student name" + classroom.getStudent().getName());
    }

}
Using Junit:
package com.bruce;

import org.junit.Test;
import org.springframework.context.ApplicationContext;
import org.springframework.context.support.ClassPathXmlApplicationContext;

public class StudentJunitTest {
    @Test
    public void contextTest() {
        ApplicationContext ac = new ClassPathXmlApplicationContext("spring-bruce-test.xml");
        Student student = (Student) ac.getBean("student");
        student.setAge(12);
        student.setName("bruce");
        ClassRoom classroom = (ClassRoom) ac.getBean("classroom");
        System.out.println(classroom);
        System.out.println("Debug: Student age" + classroom.getStudent().getAge());
        System.out.println("Debug: Student name" + classroom.getStudent().getName());
    }
}