Project integration Swagger
Learning objectives:
-
Understand the concept and function of Swagger
-
Master the integration of Swagger in the project and automatically generate API documents
About Swagger
Front and rear end separation
-
Front end - > front end control layer, view layer
-
Backend - > backend control layer, service layer and data access layer
-
The front and back end interact through API
-
The front and rear ends are relatively independent and loosely coupled
Problems arising
Front end and back-end integration, the front-end or back-end can not achieve "timely negotiation and early solution", which eventually leads to the centralized outbreak of problems
Solution
First, define the schema [outline of the plan] and track the latest API in real time to reduce the integration risk
Swagger
-
It is known as the most popular API framework in the world
-
Restful Api document online automatic generator = > API document and API definition are updated synchronously
-
Direct running, online testing API
-
Support multiple languages (such as Java, PHP, etc.)
-
Official website: https://swagger.io/
SpringBoot integration Swagger
-
SpringBoot integrates swagger = > springfox, two jar packages
-
Springfox-swagger2
-
swagger-springmvc
Using Swagger
Requirement: jdk 1.8 + otherwise swagger2 cannot run
Steps:
1. Create a new springboot web project
2. Add Maven dependency
<!-- https://mvnrepository.com/artifact/io.springfox/springfox-swagger2 -->
<dependency>
   <groupId>io.springfox</groupId>
   <artifactId>springfox-swagger2</artifactId>
   <version>2.9.2</version>
</dependency>
<!-- https://mvnrepository.com/artifact/io.springfox/springfox-swagger-ui -->
<dependency>
   <groupId>io.springfox</groupId>
   <artifactId>springfox-swagger-ui</artifactId>
   <version>2.9.2</version>
</dependency>
3. Write HelloController and test to ensure successful operation!
4. To use Swagger, we need to write a configuration class SwaggerConfig to configure Swagger
@Configuration //Configuration class
@EnableSwagger2// Turn on automatic configuration of Swagger2
public class SwaggerConfig {
}
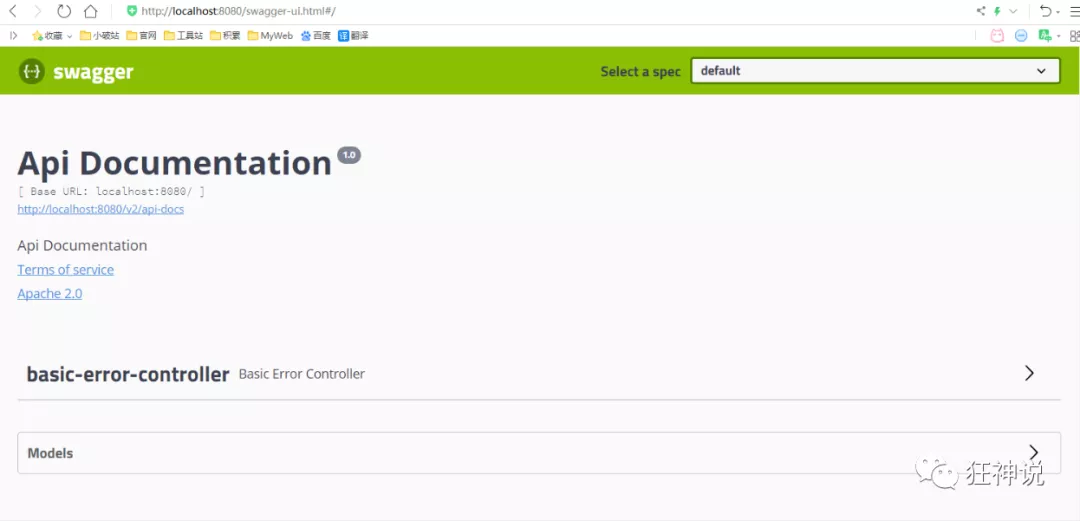
5. Access test: http://localhost:8080/swagger-ui.html, you can see the interface of swagger;
Configure Swagger
1. Swagger instance Bean is a Docket, so configure swagger by configuring the Docket instance.
@Bean //Configure docket to configure Swagger specific parameters
public Docket docket() {
   return new Docket(DocumentationType.SWAGGER_2);
}
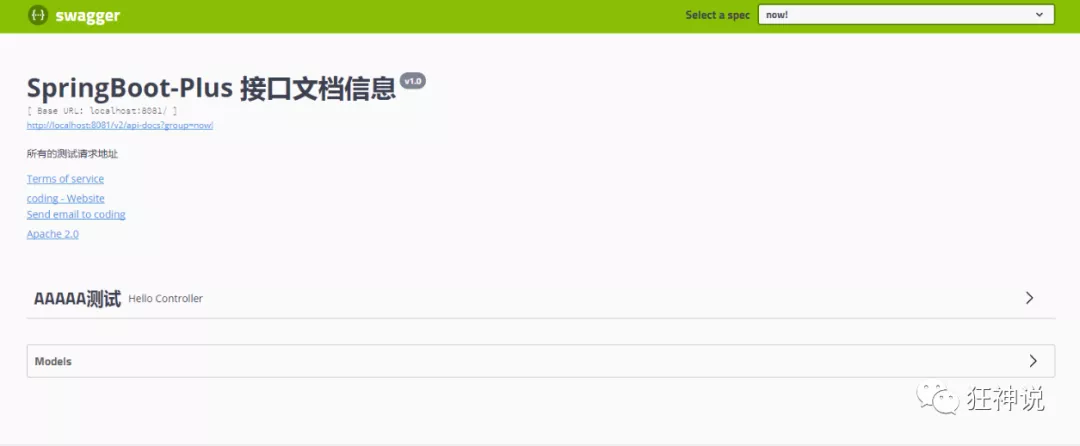
2. You can configure the document information through the apiInfo() attribute
//Configure document information
private ApiInfo apiInfo() {
   Contact contact = new Contact("Contact name", "http://xxx.xxx.com / contact access link "," contact email ");
   return new ApiInfo(
           "Swagger study", // title
           "Learn to demonstrate how to configure Swagger", // describe
           "v1.0", // edition
           "http://terms.service.url / organization link ", / / organization link
           contact, // contact information
           "Apach 2.0 permit", // permit
           "License link", // License connection
           new ArrayList<>()// extend
  );
}
3. apiInfo() on Docket instance Association
@Bean
public Docket docket() {
   return new Docket(DocumentationType.SWAGGER_2).apiInfo(apiInfo());
}
4. Restart the project and access the test http://localhost:8080/swagger-ui.html to see the effect;
Configure scan interface
1. When building a Docket, configure how to scan the interface through the select() method.
@Bean
public Docket docket() {
   return new Docket(DocumentationType.SWAGGER_2)
      .apiInfo(apiInfo())
      .select()// Pass select() method to configure the scanning interface. RequestHandlerSelectors configure how to scan the interface
      .apis(RequestHandlerSelectors.basePackage("com.kuang.swagger.controller"))
      .build();
}
2. Restart the project test. Since we configured to scan the interface according to the path of the package, we can only see one class
3. In addition to configuring the scanning interface through the package path, you can also configure other methods to scan the interface. Here are all the configuration methods:
any() // All interfaces in the project will be scanned
none() // Do not scan interfaces
// Scan the annotation on the method, such as withMethodAnnotation(GetMapping.class), and only scan the get request
withMethodAnnotation(final Class<? extends Annotation> annotation)
// Scan through the annotation on the class, such as withClassAnnotation(Controller.class) only scans interfaces in classes with controller annotations
withClassAnnotation(final Class<? extends Annotation> annotation)
basePackage(final String basePackage) // Scan interface according to package path
4. In addition, we can also configure interface scanning filtering:
@Bean
public Docket docket() {
   return new Docket(DocumentationType.SWAGGER_2)
      .apiInfo(apiInfo())
      .select()// Pass select() method to configure the scanning interface. RequestHandlerSelectors configure how to scan the interface
      .apis(RequestHandlerSelectors.basePackage("com.kuang.swagger.controller"))
       // Configure how to filter through path, that is, only the interfaces whose requests start with / kuang are scanned here
      .paths(PathSelectors.ant("/kuang/**"))
      .build();
}
5. The optional values here are
any() // Scan for any request
none() // No requests are scanned
regex(final String pathRegex) // Regular expression control
ant(final String antPattern) // Controlled by ant()

Configure Swagger switch
1. Configure whether to enable swagger through the enable() method. If false, swagger will not be accessible in the browser
@Bean
public Docket docket() {
   return new Docket(DocumentationType.SWAGGER_2)
      .apiInfo(apiInfo())
      .enable(false) //Configure whether Swagger is enabled. If false, it will not be accessible in the browser
      .select()// Pass select() method to configure the scanning interface. RequestHandlerSelectors configure how to scan the interface
      .apis(RequestHandlerSelectors.basePackage("com.kuang.swagger.controller"))
       // Configure how to filter through path, that is, only the interfaces whose requests start with / kuang are scanned here
      .paths(PathSelectors.ant("/kuang/**"))
      .build();
}
2. How to dynamically configure the display of swagger when the project is in the test and dev environment and not when it is in prod?
@Bean
public Docket docket(Environment environment) {
   // Set the environment in which you want to display swagger
   Profiles of = Profiles.of("dev", "test");
   // Judge whether you are currently in this environment
   // Receive this parameter through enable() to determine whether to display
   boolean b = environment.acceptsProfiles(of);

   return new Docket(DocumentationType.SWAGGER_2)
      .apiInfo(apiInfo())
      .enable(b) //Configure whether Swagger is enabled. If false, it will not be accessible in the browser
      .select()// Pass select() method to configure the scanning interface. RequestHandlerSelectors configure how to scan the interface
      .apis(RequestHandlerSelectors.basePackage("com.kuang.swagger.controller"))
       // Configure how to filter through path, that is, only the interfaces whose requests start with / kuang are scanned here
      .paths(PathSelectors.ant("/kuang/**"))
      .build();
}
3. You can add a dev configuration file to the project to see the effect!

Configure API grouping

1. If grouping is not configured, the default is default. Grouping can be configured through the groupName() method:
@Bean
public Docket docket(Environment environment) {
   return new Docket(DocumentationType.SWAGGER_2).apiInfo(apiInfo())
      .groupName("hello") // Configure grouping
       // Omit configuration
}
2. Restart item view group
3. How to configure multiple groups? To configure multiple groups, you only need to configure multiple docks:
@Bean
public Docket docket1(){
   return new Docket(DocumentationType.SWAGGER_2).groupName("group1");
}
@Bean
public Docket docket2(){
   return new Docket(DocumentationType.SWAGGER_2).groupName("group2");
}
@Bean
public Docket docket3(){
   return new Docket(DocumentationType.SWAGGER_2).groupName("group3");
}
4. Restart the project to view it
Entity configuration
1. Create a new entity class
@ApiModel("User entity")
public class User {
   @ApiModelProperty("user name")
   public String username;
   @ApiModelProperty("password")
   public String password;
}
2. As long as the entity is on the return value of the request interface (even generic), it can be mapped to the entity item:
@RequestMapping("/getUser")
public User getUser(){
   return new User();
}
3. Restart view test

Note: it's not because the annotation @ ApiModel makes the entity appear here, but as long as the entity appears on the return value of the interface method will be displayed here, and the annotations @ ApiModel and @ ApiModelProperty are just annotations for the entity.
@ApiModel adds comments to the class
@ApiModelProperty adds comments for class properties
Common notes
All annotations of Swagger are defined in io Swagger. Annotations package
The following are some frequently used ones that are not listed. You can refer to the instructions separately:
| Swagger annotation | Brief description |
| @Api(tags = "xxx module description") | Act on module classes |
| @ApiOperation("xxx interface description") | Act on interface methods |
| @ApiModel("xxxPOJO description") | Act on model classes: such as VO and BO |
| @ApiModelProperty(value = "xxx property description", hidden = true) | It acts on class methods and attributes. Setting hidden to true can hide the attribute |
| @ApiParam("xxx parameter description") | It acts on parameters, methods and fields, similar to @ ApiModelProperty |
@ApiOperation("Interface of mad God")
@PostMapping("/kuang")
@ResponseBody
public String kuang(@ApiParam("This name will be returned")String username){
   return username;
}
In this way, you can add some configuration information to some properties or interfaces that are difficult to understand, making it easier for people to read!
Compared with the traditional Postman or Curl test interface, using swagger is a fool's operation. It does not need additional documentation (well written itself is a document) and is less prone to errors. It only needs to enter data and click Execute. If it is combined with the automation frame, it can be said that there is basically no need for human operation.
Swagger is an excellent tool. At present, many small and medium-sized Internet companies in China are using it. Compared with the traditional way of first outputting Word interface documents and then testing, it is obviously more in line with the current rapid iterative development market. Of course, I would like to remind you that you should remember to turn off swagger in the formal environment. Firstly, for security reasons, and secondly, you can save runtime memory.
Expansion: other skin
We can import different packages to achieve different skin definitions:
1. Default access http://localhost:8080/swagger-ui.html
<dependency>
   <groupId>io.springfox</groupId>
   <artifactId>springfox-swagger-ui</artifactId>
   <version>2.9.2</version>
</dependency>
2. Bootstrap UI access http://localhost:8080/doc.html
<!-- introduce swagger-bootstrap-ui package /doc.html-->
<dependency>
   <groupId>com.github.xiaoymin</groupId>
   <artifactId>swagger-bootstrap-ui</artifactId>
   <version>1.9.1</version>
</dependency>

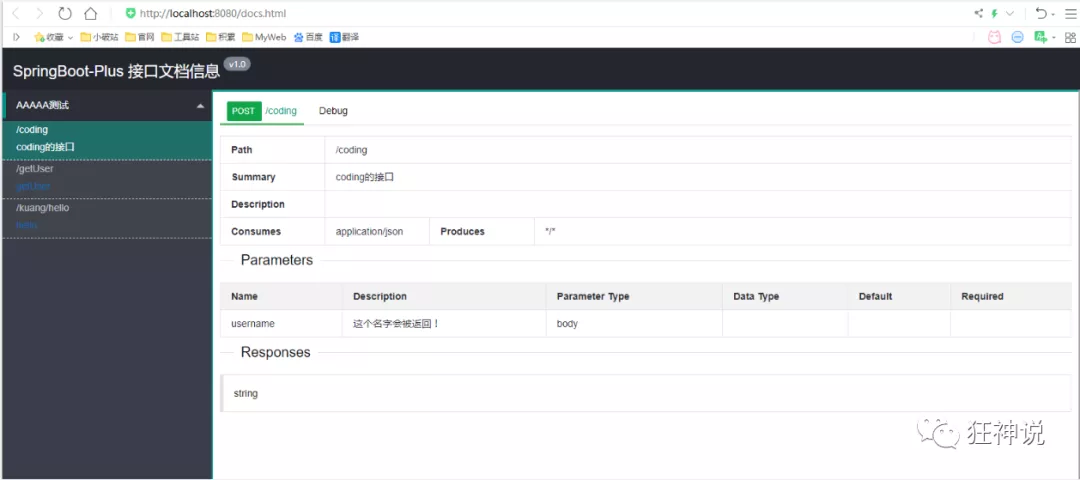
3. Layui UI access http://localhost:8080/docs.html
<!-- introduce swagger-ui-layer package /docs.html-->
<dependency>
   <groupId>com.github.caspar-chen</groupId>
   <artifactId>swagger-ui-layer</artifactId>
   <version>1.1.3</version>
</dependency>
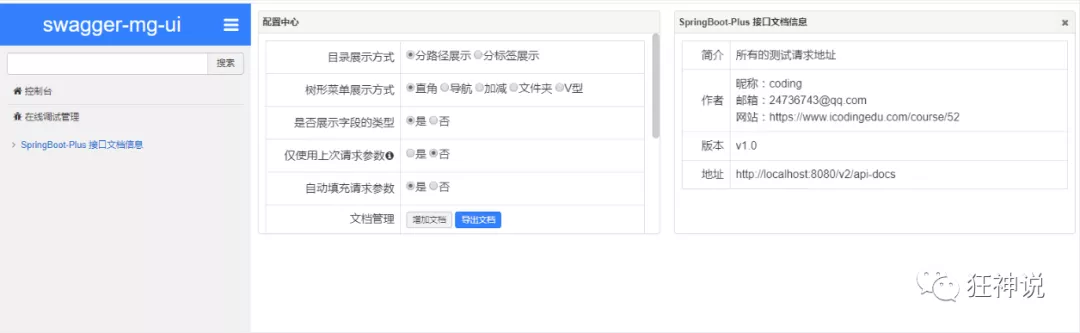
4. Mg UI access http://localhost:8080/document.html
<!-- introduce swagger-ui-layer package /document.html-->
<dependency>
   <groupId>com.zyplayer</groupId>
   <artifactId>swagger-mg-ui</artifactId>
   <version>1.0.6</version>
</dependency>