1, About Swagger
Swagger, the main API Builder based on openspecification, became an open source API. Swagger provides a set of methods to automatically generate documents through code and annotations, which will be very helpful to ensure the timeliness of API documents.
Swagger2: maintenance stopped in 17 years
Swagger3 (Open Api3): released in 2017
Open source tools provided on Swagger's official website:
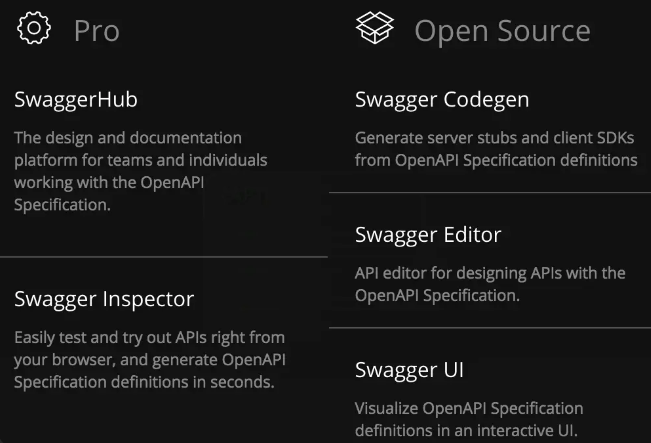
Swagger Codegen: through Codegen, the description file can be generated into interface documents in html format and cwiki form. At the same time, it can also generate server-side and client-side codes in multiple languages. Support localized generation through jar package, docker, node, etc. It can also be generated online in the later Swagger Editor.
Swagger UI: provides a visual UI page presentation description file. Check the relevant interfaces and make some simple interface requests. Supports online import of description files and local deployment of UI projects
Swagger Editor: an editor similar to the markdown editor for editing swagger description files, which supports real-time preview of the update effect of description files. Online editor and local deployment editor are also provided.
Swagger Inspector: similar to postman, it is an online version of postman that can test interfaces. It will return more information and save the actual request parameters and other data you requested than making an interface request in the Swagger UI.
Swagger Hub: it integrates all the functions of all the above projects. You can upload your description file to Swagger Hub by project and version. You can complete all the work of the above projects in Swagger Hub. You need to register an account, which is divided into free version and paid version.
Spring provided by swagger:
The project code based on spring MVC and Spring Boot projects can be automatically generated into JSON format description files
2, SpringBoot integrates Swagger3 steps:
1.pom. Introducing Swagger3 dependency in XML file
        <dependency>
            <groupId>io.springfox</groupId>
            <artifactId>springfox-boot-starter</artifactId>
            <version>3.0.0</version>
        </dependency>
2. Write Swagger3Config configuration class
package com.example.swaggerDemo.util;

import io.swagger.annotations.ApiOperation;
import org.springframework.context.annotation.Bean;
import org.springframework.context.annotation.Configuration;
import springfox.documentation.builders.ApiInfoBuilder;
import springfox.documentation.builders.PathSelectors;
import springfox.documentation.builders.RequestHandlerSelectors;
import springfox.documentation.oas.annotations.EnableOpenApi;
import springfox.documentation.service.ApiInfo;
import springfox.documentation.spi.DocumentationType;
import springfox.documentation.spring.web.plugins.Docket;
/**
 * @Author Xiaozhou classmate
 * @Date 2021/4/26 17:35
 * @Description Description: configuration of Swagger3Config
 */

//@Enable swagger2 is swagger2 Comments for version 0
//swagger changed to @ enableopentapi after 3.0
@Configuration
@EnableOpenApi//Turn on Swagger3
public class Swagger3Config {

    @Bean
    public Docket createRestApi(){
        //swagger settings, basic information, interfaces and paths to be parsed, etc
        return new Docket(DocumentationType.OAS_30)
                .apiInfo(apiInfo())
                .select()
                .apis(RequestHandlerSelectors.withMethodAnnotation(ApiOperation.class))//Set the scanning path. / / set how to locate the interface that needs to automatically generate documents. Here, locate the @ ApiOperation annotation on the method
                .paths(PathSelectors.any())Interface URI Path setting, any It is a full path, or it can be through PathSelectors.regex()Regular matching
                .build();
    }
    //Generate interface information, including title, contact person, contact information, etc
    private ApiInfo apiInfo(){
        return new ApiInfoBuilder()
                .title("Swagger3 Interface document")
                .description("It is applicable to the separation and unification of front and rear end interface documents")
                .version("1.0")
                .build();
    }

}
3. Instructions for use of swagger annotation
@Api: Used on the requested class to indicate the description of the class
    tags="The function of this class can be described in UI Comments seen on the interface"
    value="This parameter is meaningless, in UI You can't see it on the interface, so you don't need to configure it"

@ApiOperation: Used on the requested method to explain the purpose and function of the method
    value="Explain the purpose and function of the method"
    notes="Remarks of the method"

@ApiImplicitParams: Used on the requested method to represent a set of parameter descriptions
    @ApiImplicitParam: Used in@ApiImplicitParams Annotation that specifies various aspects of a request parameter
        name: Parameter name
        value: Chinese character description and interpretation of parameters
        required: Whether the parameter must be passed
        paramType: Where are the parameters placed
            · header --> Acquisition of request parameters:@RequestHeader
            · query --> Acquisition of request parameters:@RequestParam
            · path(be used for restful Interface)--> Acquisition of request parameters:@PathVariable
            · div((not commonly used)
            · form((not commonly used)
        dataType: Parameter type, default String,Other values dataType="Integer"
        defaultValue: Default value of parameter

@ApiResponses: Used in the method of a request to represent a set of responses
    @ApiResponse: Used in@ApiResponses In, it is generally used to express the response information of an error
        code: Number, e.g. 400
        message: Information, e.g"Request parameters are not filled in"
        response: The class that threw the exception

@ApiModel: Used on the response class to represent a message that returns response data
            (This is generally used in post When creating, use@RequestBody Such a scene,
            Request parameters cannot be used@ApiImplicitParam (when describing with notes)
@ApiModelProperty: Used on attributes to describe the attributes of the response class
4. Configuration of controller layer (example of usage position of Swagger3 annotation)
package com.example.swaggerDemo.controller;


import com.example.swaggerDemo.bean.JsonBean;
import com.example.swaggerDemo.service.IyunhuService;
import io.swagger.annotations.*;
import org.slf4j.Logger;
import org.slf4j.LoggerFactory;
import org.springframework.beans.factory.annotation.Autowired;
import org.springframework.web.bind.annotation.PostMapping;
import org.springframework.web.bind.annotation.RequestMapping;
import org.springframework.web.bind.annotation.RestController;

/**
 * @Author Xiaozhou classmate
 * @Date 2021/4/23 13:57
 * @Description Note: Test Swagger annotation usage
 */
@Api(tags = "Test interface document class")
@RestController
@RequestMapping("/test")
public class TestController {
    private static final Logger logger = LoggerFactory.getLogger(TestController.class);

    @Autowired
    IyunhuService service;

    @ApiOperation("transfer accounts")
    @PostMapping("/transfer")
    public Object transfer(JsonBean json) throws Exception{
        return service.transfer(json);
    };

    @ApiOperation("Transfer query")
    @ApiImplicitParams({
            @ApiImplicitParam(name = "payexacctno", value = "Enterprise account", dataType = "String", required = true),
            @ApiImplicitParam(name = "payexacctname", value = "Enterprise account name", dataType = "String", required = true),
            @ApiImplicitParam(name = "orderid", value = "order number", dataType = "String", required = true),
    })
    @PostMapping("/transferQuery")
    public Object transferQuery(JsonBean json) throws Exception{
        return service.transferQuery(json);
    };

}
5. Default address for starting project opening:
http://localhost:8080/swagger-ui/index.html
Note: (the access address of swagger2.xx version is: http://localhost:8080/swagger-ui.html)
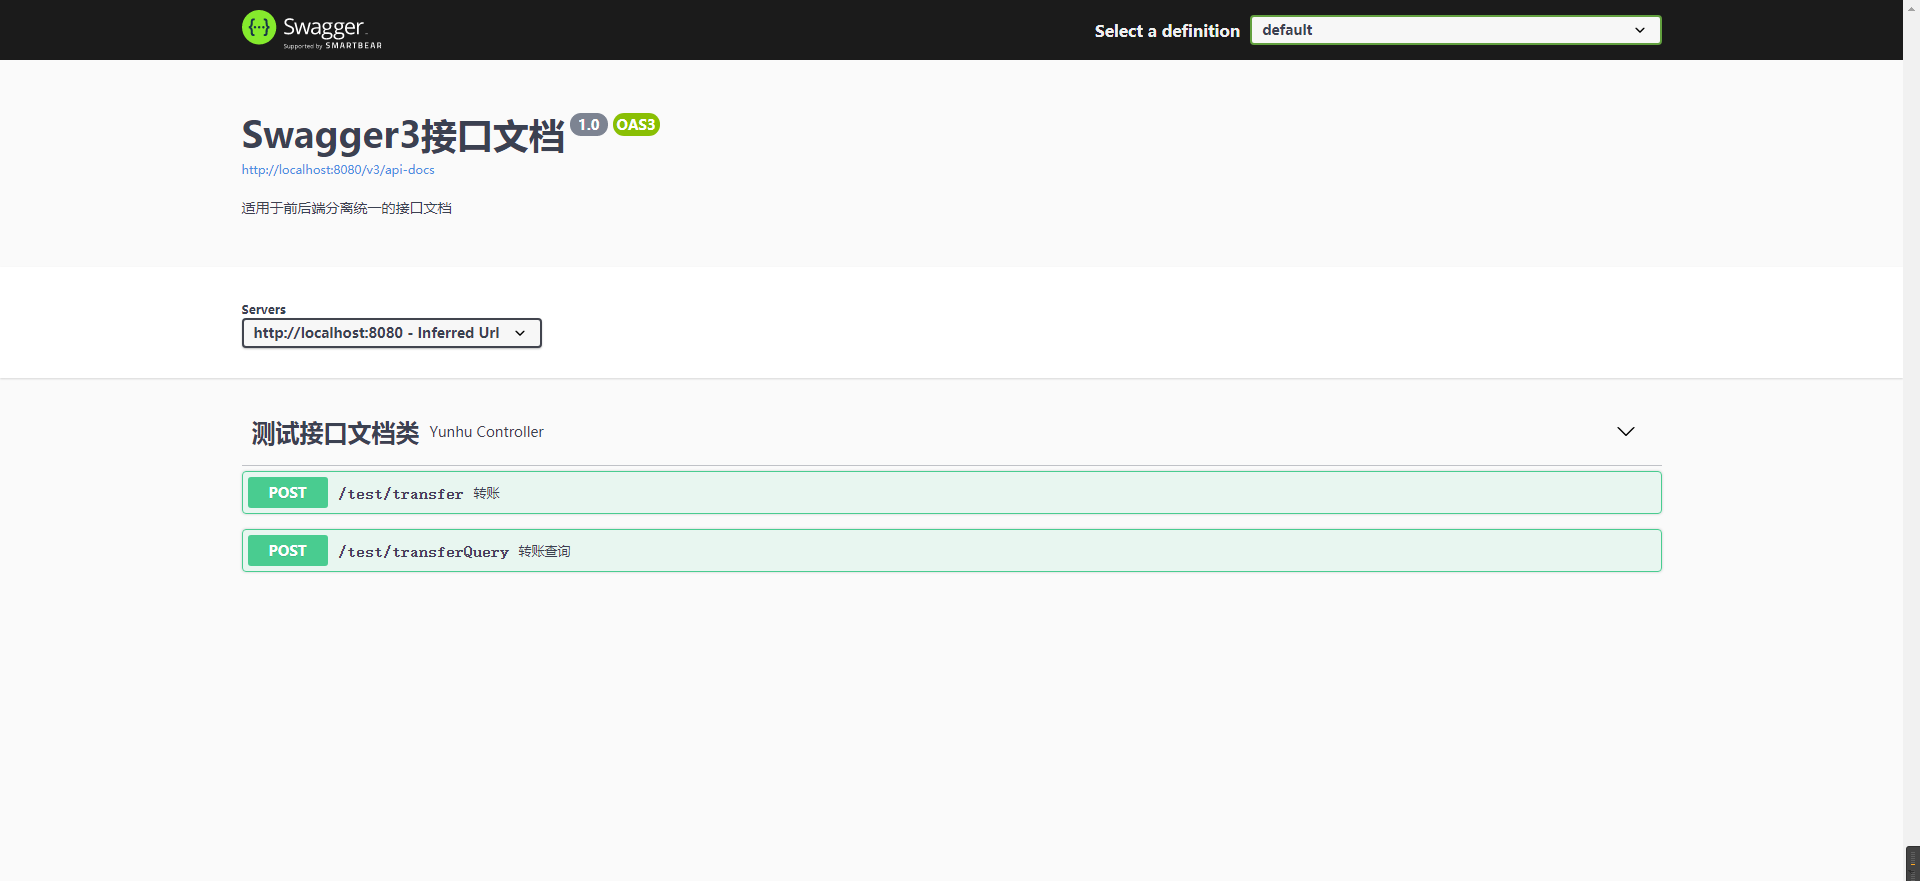
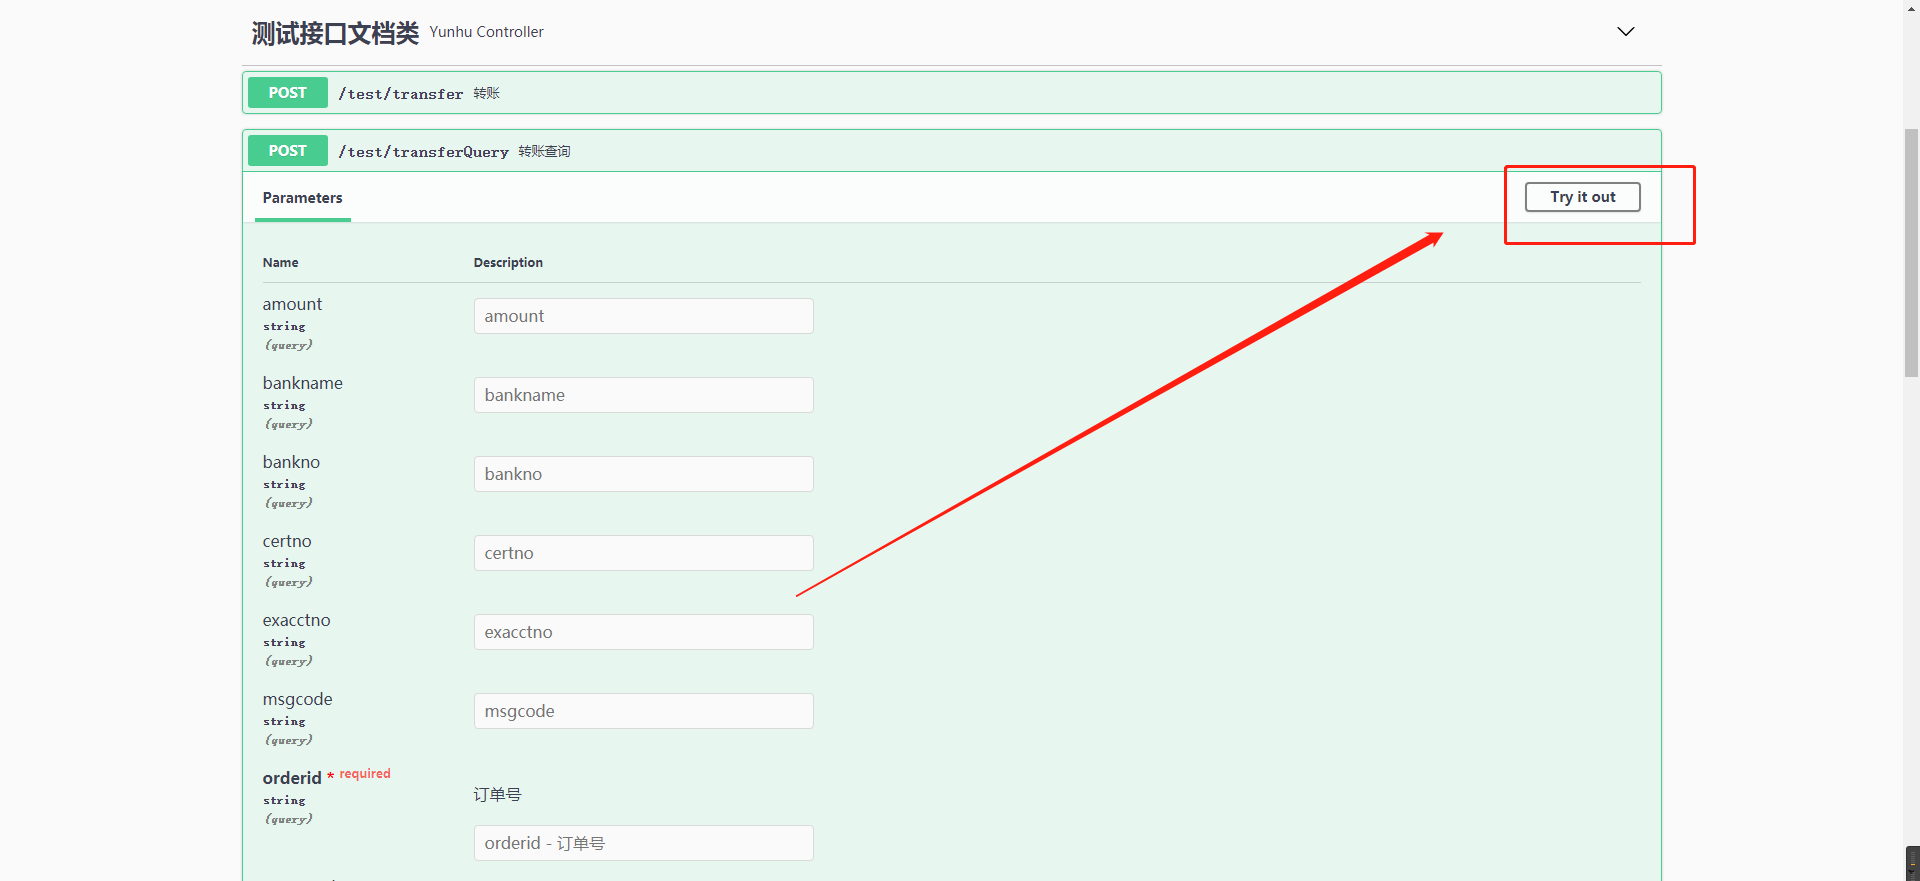
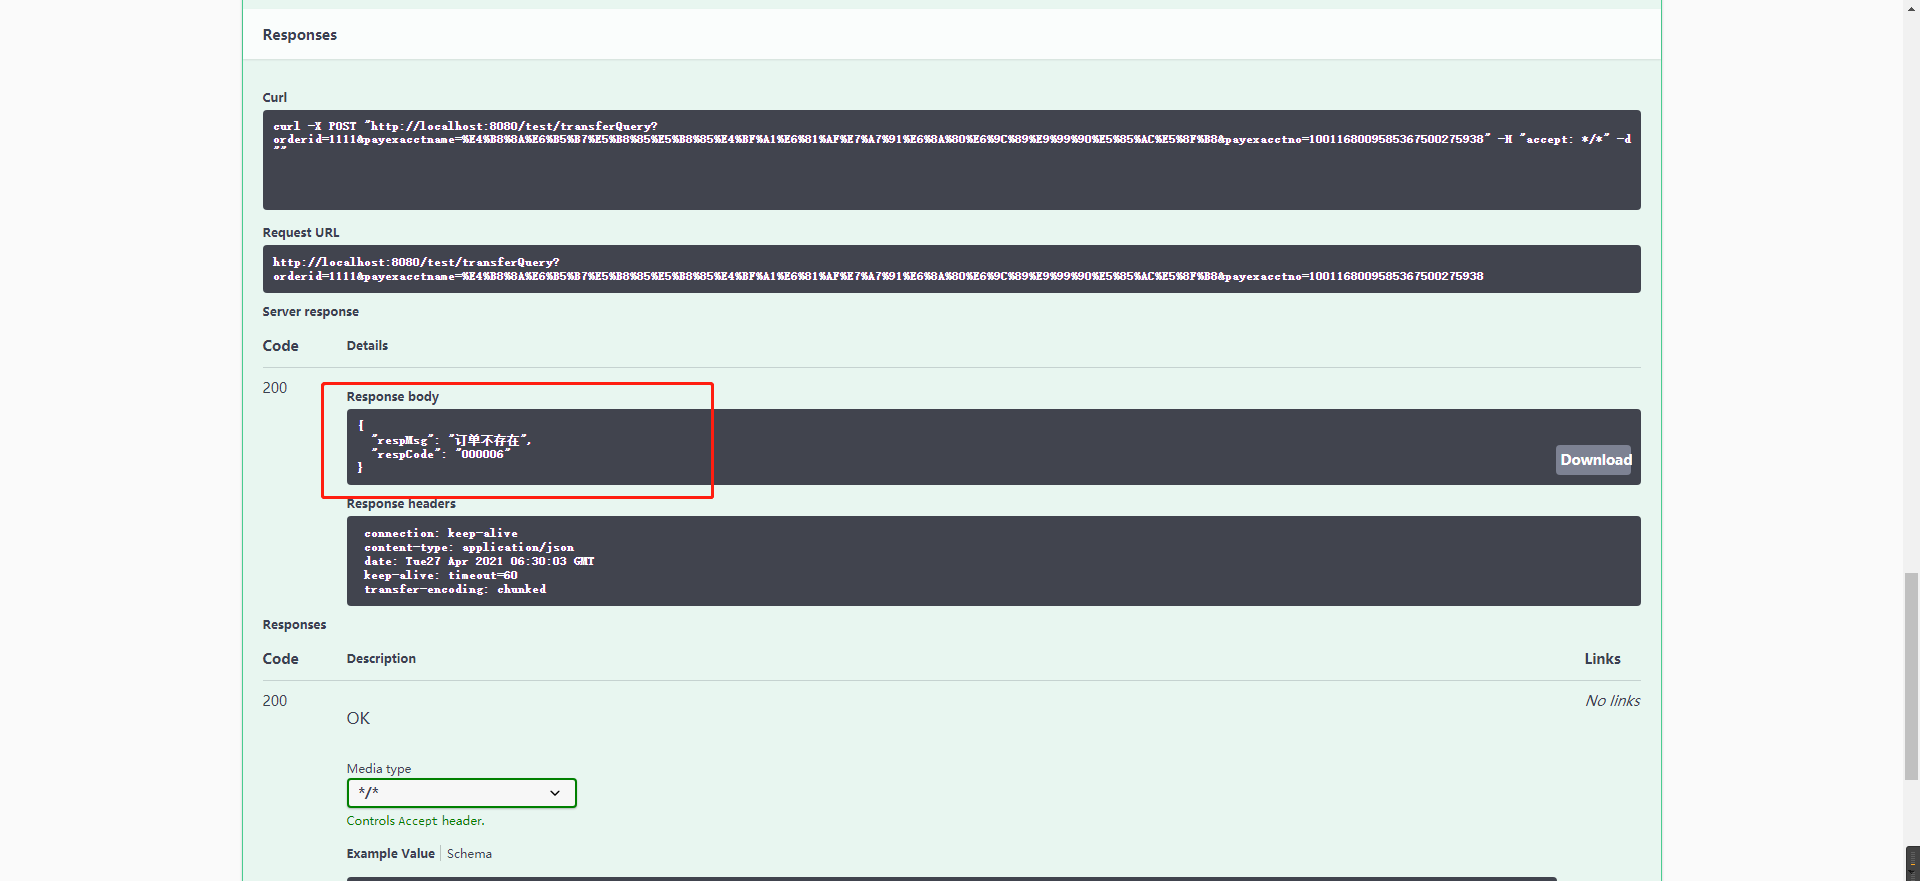
6. Online test
(1) Click Try it out and fill in the parameters
(2) Complete and perform the test
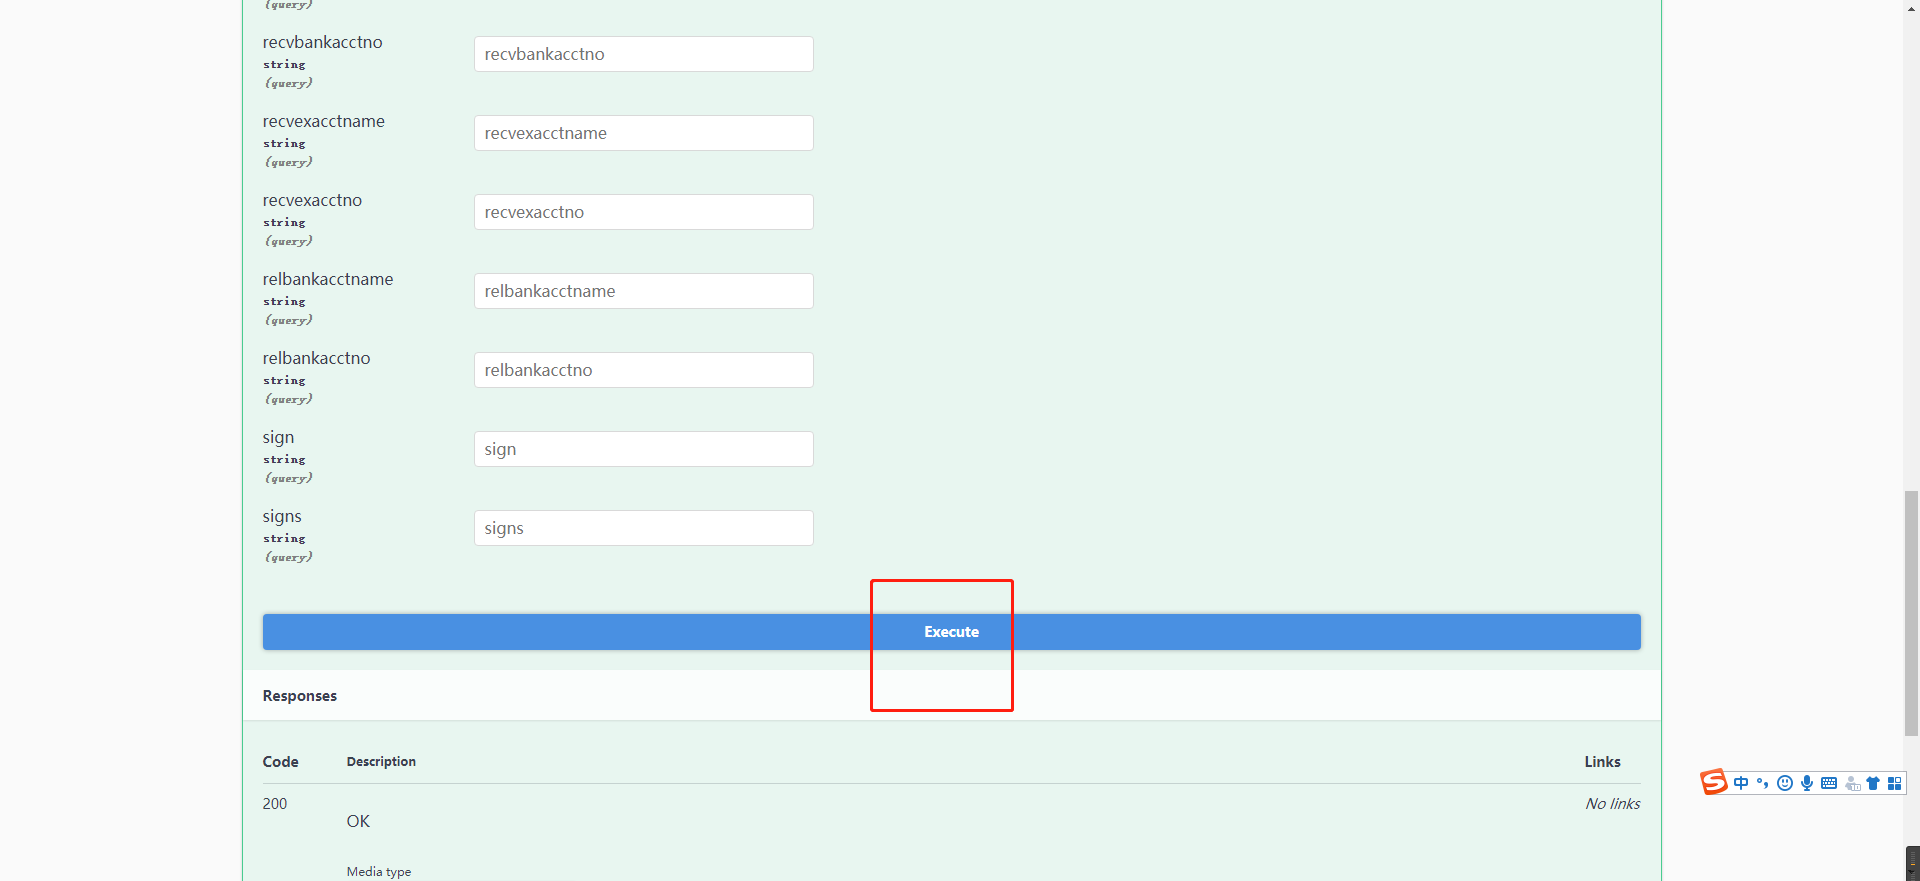
(3) The test results are shown below
About swagger3 0 and 2 XX configuration differences can be viewed in this article:
https://blog.csdn.net/weixin_44203158/article/details/109137799.
It's not easy to write. If it's helpful, you can pay attention, praise and collect~ ↩︎