SpringBoot learning notes Part03
1. Review of @ import basic usage
@The basic usage of Import annotation is to add the bytecode of the component to be imported into the container in the annotation attribute, and the component will be automatically registered in the container. In short, it is to quickly register components in the container.
Review three ways to register components in a container:
-
Package scanning + Component annotation (@ Component/@Controller/@Service/@Repository)
This method is limited to writing by yourself, because it is not so realistic to annotate the source code of the third-party package.
-
@Bean
It is mostly used for components in the third package.
-
@Import
Quickly import a component into the container. The default id is the full class name.
2. ImportSelector interface
ImportSelector is used to return the full class name array of the components to be imported. The usage can be summarized into two steps.
Step 1: create an implementation class of the ImportSelector interface. This class can customize the logic to return the components to be imported.
Parameter 1 AnnotationMetadata Class:
    The current dimension is stored@Import All annotation information of the annotated class. (i.e MyConfig.java (information for)


public class MyImportSelector implements ImportSelector {
    @Override
    public String[] selectImports(AnnotationMetadata annotationMetadata) {

        //AnnotationMetadata class stores all annotation information of the class currently annotated with @ Import annotation
		Set<String> annotationTypes = annotationMetadata.getAnnotationTypes();

		//The return value is the full class name of the component imported into the container (an empty array can be returned, but never null)
        return new String[0];
    }
}
The return value can be imported into the container with the full class name of the component, which is also an important function of ImportSelector.
public class MyImportSelector implements ImportSelector {
    @Override
    public String[] selectImports(AnnotationMetadata annotationMetadata) {

        return new String[]{"com.swz.domain.Blue","com.swz.domain.Yellow"};
    }
}
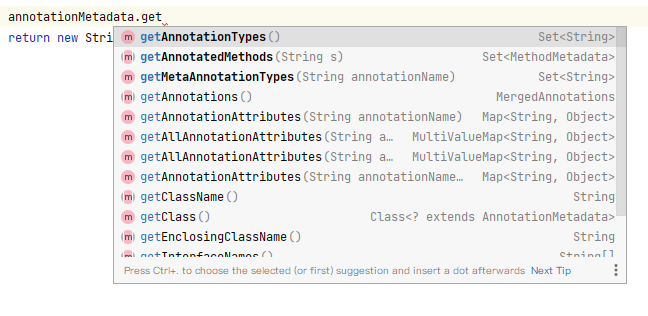
annotationMetadata. The get * () method can get the properties of all annotations or all class related information.

Step 2: add our new custom Import selector to the @ Import annotation.
@Import({Car.class,MyImportSelector.class})
@Configuration
public class MyConfig {
}
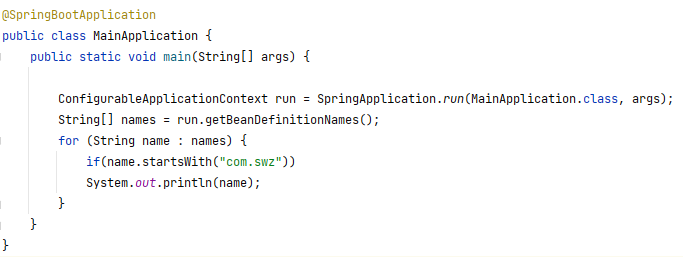
Start the springboot test wave, and there is no problem.


3. ImportBeanDefinitionRegistrar interface
The obvious difference between this interface and the previous interface is that the previous interface specifies the full class name, and springboot automatically creates it for you with the full class name as id. The ImportBeanDefinitionRegistrar interface is manually registered, including manually specifying the bean id and bean bytecode file.
The steps are also similar to the previous interface. There are two steps in total.
Step 1: create the implementation class of ImportBeanDefinitionRegistrar interface and use registry Registerbeandefinition () method to manually register the component. The first parameter is the beanid of the component, and the second parameter is an anonymous internal class. Pass in the bytecode file of the bean to be created.
Parameter 1 AnnotationMetadata class
    The current dimension is stored@Import All annotation information and other information of the annotated class (i.e MyConfig.java Information on the.
Parameter 2 BeanDefinitionRegistry class
    BeanDefinition Registration class for. You can add everything you need to add to the container bean,By calling registerBeanDefinition Register manually.


public class MyBeanDefinitionRegistrar implements ImportBeanDefinitionRegistrar {

    @Override
    public void registerBeanDefinitions(AnnotationMetadata importingClassMetadata, BeanDefinitionRegistry registry) {

        //Business logic: if there are Blue and Yellow objects in the container, create a rainbow object into the container
        boolean isContains1 = registry.containsBeanDefinition("com.swz.domain.Blue");
        boolean isContains2 = registry.containsBeanDefinition("com.swz.domain.Yellow");
        if(isContains1 && isContains2){
            registry.registerBeanDefinition("rainbow",new RootBeanDefinition(Rainbow.class));
        }

    }
}
Step 2: add our new custom Bean registrar to the @ Import annotation.
@Import({Car.class,MyImportSelector.class,MyBeanDefinitionRegistrar.class})
@Configuration
public class MyConfig {
}
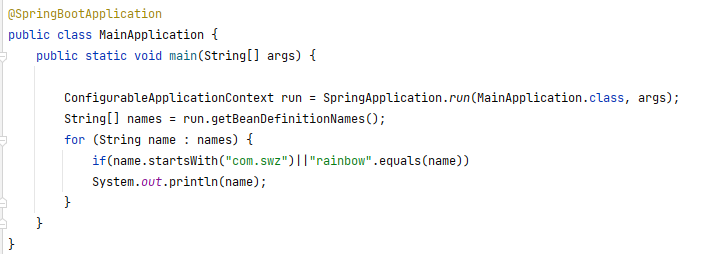
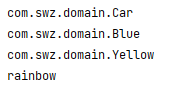
Start springboot and test it. There is no problem.

