Catalog
Consolidated message queuing (RabbitMQ)
Hot deployment:
- Add spring boot devtools to the pom.xml file.
<!--Hot deployment dependency-->
<dependency>
    <groupId>org.springframework.boot</groupId>
    <artifactId>spring-boot-devtools</artifactId>
    <optional>true</optional>
</dependency>- Add heating deployment configuration to application.yml file
spring:
  ...
  #Hot deployment configuration
  devtools:
    restart:
      enabled: true
      additional-paths: src/main/java
Consolidated message queuing (RabbitMQ)
- First, add RabbitMQ dependency in pom.xml
<!--RabbitMQ rely on-->
<dependency>
    <groupId>org.springframework.boot</groupId>
    <artifactId>spring-boot-starter-amqp</artifactId>
</dependency>- Add RabbitMQ configuration in the application.yml file
spring:
  ...
  rabbitmq:
    host: 192.168.10.144
    port: 15672
    username: admin
    password: administrator
- Configure a simple message queue in demo
package com.example.springbootdemo.cn.config;

import org.springframework.amqp.core.Queue;
import org.springframework.context.annotation.Bean;
import org.springframework.context.annotation.Configuration;

@Configuration
public class RabbitMQConfig {

    public static final String QUEUE_NAME = "spring-boot-queue-test";
    @Bean
    public Queue queue() {
        return new Queue(QUEUE_NAME);
    }
}
- Create producer
package com.example.springbootdemo.cn.service;

import com.example.springbootdemo.cn.config.RabbitMQConfig;
import org.springframework.amqp.core.AmqpTemplate;
import org.springframework.beans.factory.annotation.Autowired;
import org.springframework.stereotype.Service;

@Service
public class MQCustomer {

    @Autowired
    private AmqpTemplate rabbitTemplate;
    public void sendMessage(String message) {
        System.out.println("Start sending message... ..." + message);
        if (message == null || "".equals(message))
            message = "hello RabbitMQ!";
        rabbitTemplate.convertAndSend(RabbitMQConfig.QUEUE_NAME, message);
    }
}- Create consumer
package com.example.springbootdemo.cn.service;

import com.example.springbootdemo.cn.config.RabbitMQConfig;
import org.springframework.amqp.core.AmqpTemplate;
import org.springframework.amqp.rabbit.annotation.RabbitListener;
import org.springframework.beans.factory.annotation.Autowired;
import org.springframework.stereotype.Service;

@Service
public class MQConsumer {
    @Autowired
    private AmqpTemplate rabbitTemplate;
    @RabbitListener(queues = RabbitMQConfig.QUEUE_NAME)
    public void receiveMessage(String message) {
        System.out.println("================================received================================:\n" + message );
    }
}- Create test controller
package com.example.springbootdemo.cn.controller;

import com.example.springbootdemo.cn.service.MQCustomer;
import org.springframework.beans.factory.annotation.Autowired;
import org.springframework.stereotype.Controller;
import org.springframework.web.bind.annotation.RequestMapping;
import org.springframework.web.bind.annotation.RequestMethod;
import org.springframework.web.bind.annotation.RequestParam;
import org.springframework.web.bind.annotation.ResponseBody;

@Controller
public class RabbitMQTestController {

    @Autowired
    private MQCustomer mqCustomer;

    @ResponseBody
    @RequestMapping(value = "/sendMessage", method = RequestMethod.POST)
    public void sendMessage(@RequestParam(name = "message") String message) {
        mqCustomer.sendMessage(message);
    }
}
Installing RabbitMQ
- Environment CentOS 7.5
Rabbitmq [3.7.5] official website download address: http://www.rabbitmq.com/
Erlang will affect the operation of rabbitmq. There is a version comparison between the two. The address of the comparison is http://www.rabbitmq.com/which-erlang.html
erlang[20.0]http://erlang.org/download/otp_src_20.0.tar.gz
The erlang I installed before is version 19.3. The picture posted below is also version 19.3
- Installation steps
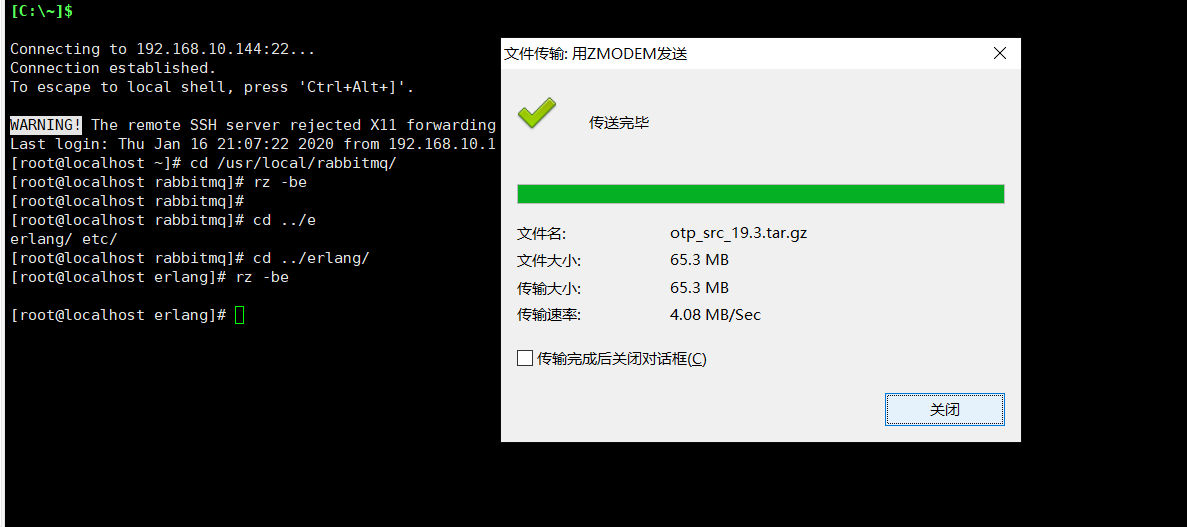
Extract the installation file: tar -zxvf OTP? SRC? 19.3.tar.gz
Enter the unzipped folder: CD OTP? SRC? 19.3/
Set erlang installation path:. / configure --prefix=/usr/local/rabbitmq/erlang
Install erlang: compile make install make install
Configuration environment variable: vi /etc/profile
Under profile file, add:
ERLANG_HOME=/usr/local/rabbitmq/erlang
export PATH=$PATH:$ERLANG_HOME/bin
export ERLANG_HOME
Refresh environment variable configuration: source /etc/profile
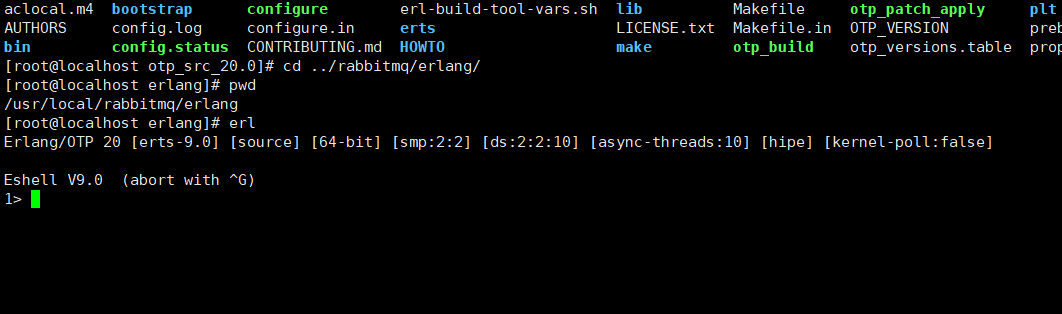
Enter erl to test whether the installation is successful
Enter halt(). Command to exit
- Installing RabbitMQ
The files with the suffix of tar.xz need to be decompressed once to get tar files: xz -d rabbitmq-server-generic-unix-3.7.5.tar.xz
Unpack the installation package: tar -xvf rabbitmq-server-generic-unix-3.7.5.tar
Configure environment variables:
vi /etc/profile
export PATH=$PATH:/usr/local/rabbitmq/rabbitmq_server-3.7.5/sbin
export RABBITMQ_HOME=/usr/local/rabbitmq/rabbitmq_server-3.7.5
Refresh environment variable configuration: source /etc/profile
Start rabbitmq service: rabbitmq server detached
Start rabbitmq: rabbitmqctl start_
View rabbitmq service status: rabbitmqctl status
Start management plug-in: rabbitmq plugins enable rabbitmq? Management
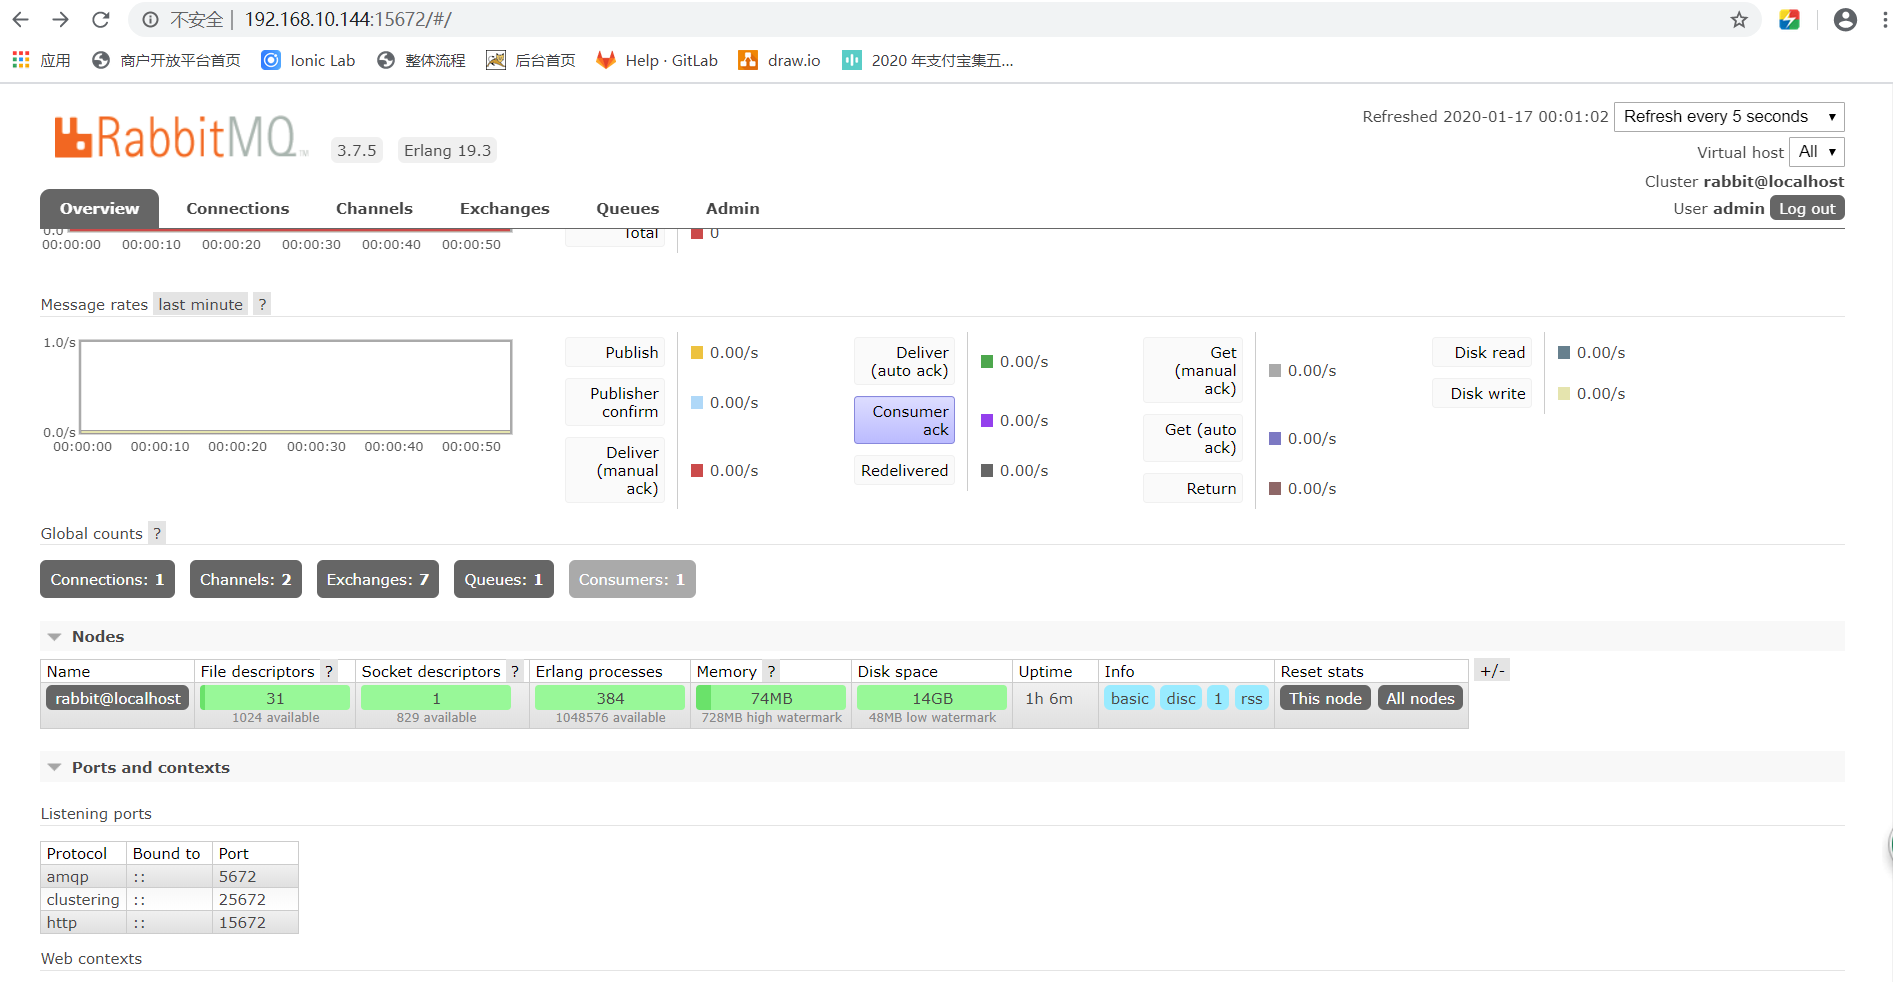
To access the visualization interface: http://192.168.10.144:15672/
Stop rabbitmq: rabbitmqctl stop app
View all users: rabbitmqctl list \
Add a new user: rabbitmqctl add "user admin 123123
Configure access rights for users: rabbitmqctl set ﹣ permissions - P "/" admin ". *" ". *" ". *"
View user permissions: rabbitmqctl list > User > permissions admin

Set tag: rabbitmqctl set "user" tags admin administrator
Delete default user: rabbitmqctl delete user guest

