1, Nacos distributed configuration
1. Nacos concept
Nacos provides key/value storage for storing configuration and other metadata, and provides server-side and client-side support for externalized configuration in distributed systems. Using Spring Cloud Alibaba Nacos Config, you can centrally manage the external attribute configuration of your Spring Cloud application in the Nacos Server.
Spring Cloud Alibaba Nacos Config is an alternative to Config Server and Client. The concepts on the Client and server are consistent with the Spring Environment and PropertySource. In the special bootstrap stage, the configuration is loaded into the Spring Environment. When an application goes from development to test to production through the deployment pipeline, you can manage the configuration between these environments and ensure that the application has everything it needs to run when migrating. For the acquisition and startup methods of Nacos, please refer to the official website of Nacos.
2. Nacos installation
- Nacos official website document: https://nacos.io/zh-cn/docs/quick-start.html
- Download Nacos: https://github.com/alibaba/nacos/releases/tag/1.3.2 (it is recommended to download version 1.3.2)
After downloading, modify bin / startup CMD, find the MODE, and modify the MODE from cluster to click MODE
set MODE="cluster"

Change to

set MODE="standalone"
Double click Startup CMD starts Nacos and directly accesses the prompted address. The default account password is Nacos
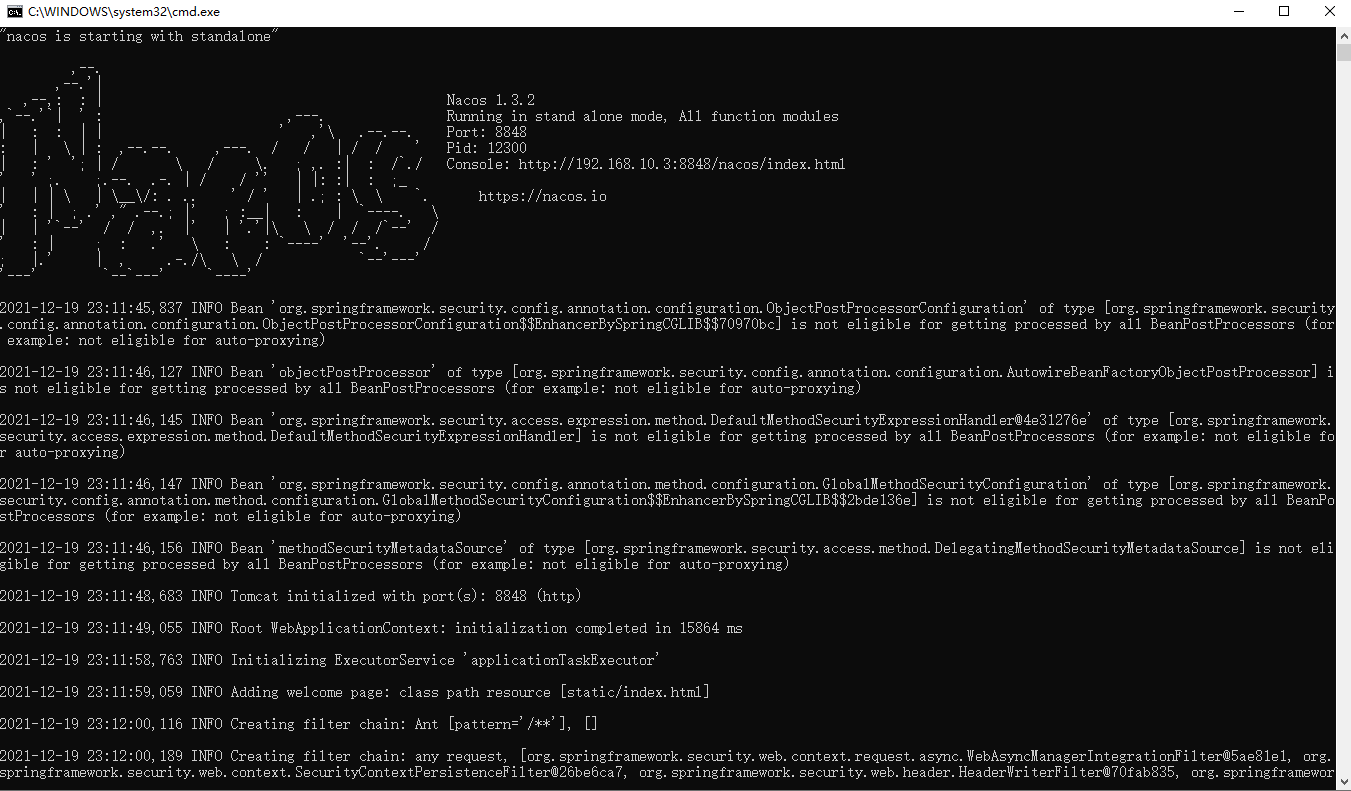
My visit address here is: http://192.168.10.3:8848/nacos/index.html
2, Nacos actual combat
1. Construction project
The project name is set to spring cloud Alibaba learn, which needs to be configured later
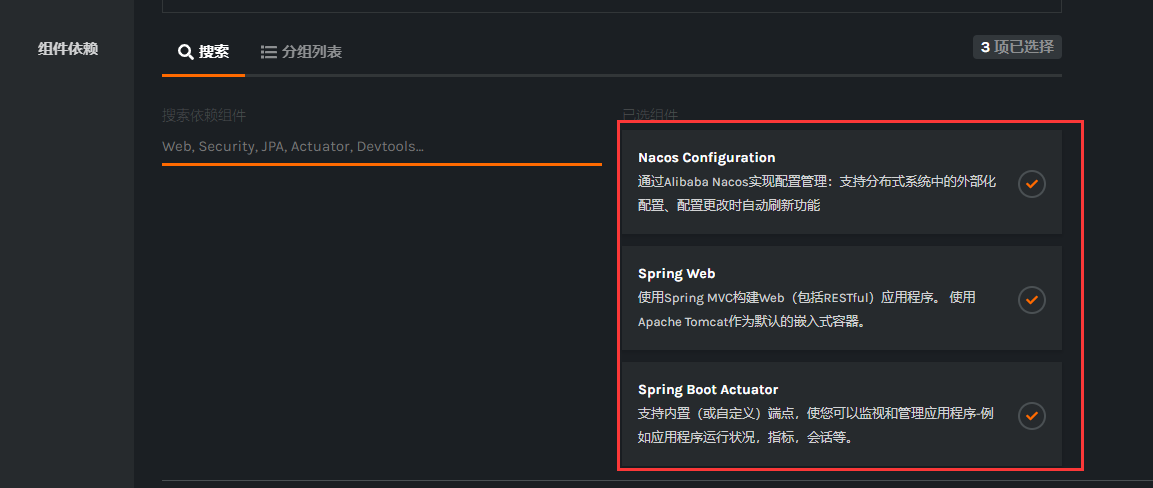
Use the scaffold provided on the official website( https://start.aliyun.com/bootstrap.html ), select the following components:
- Nacos Config
- Spring Web
- Spring Boot Actuator
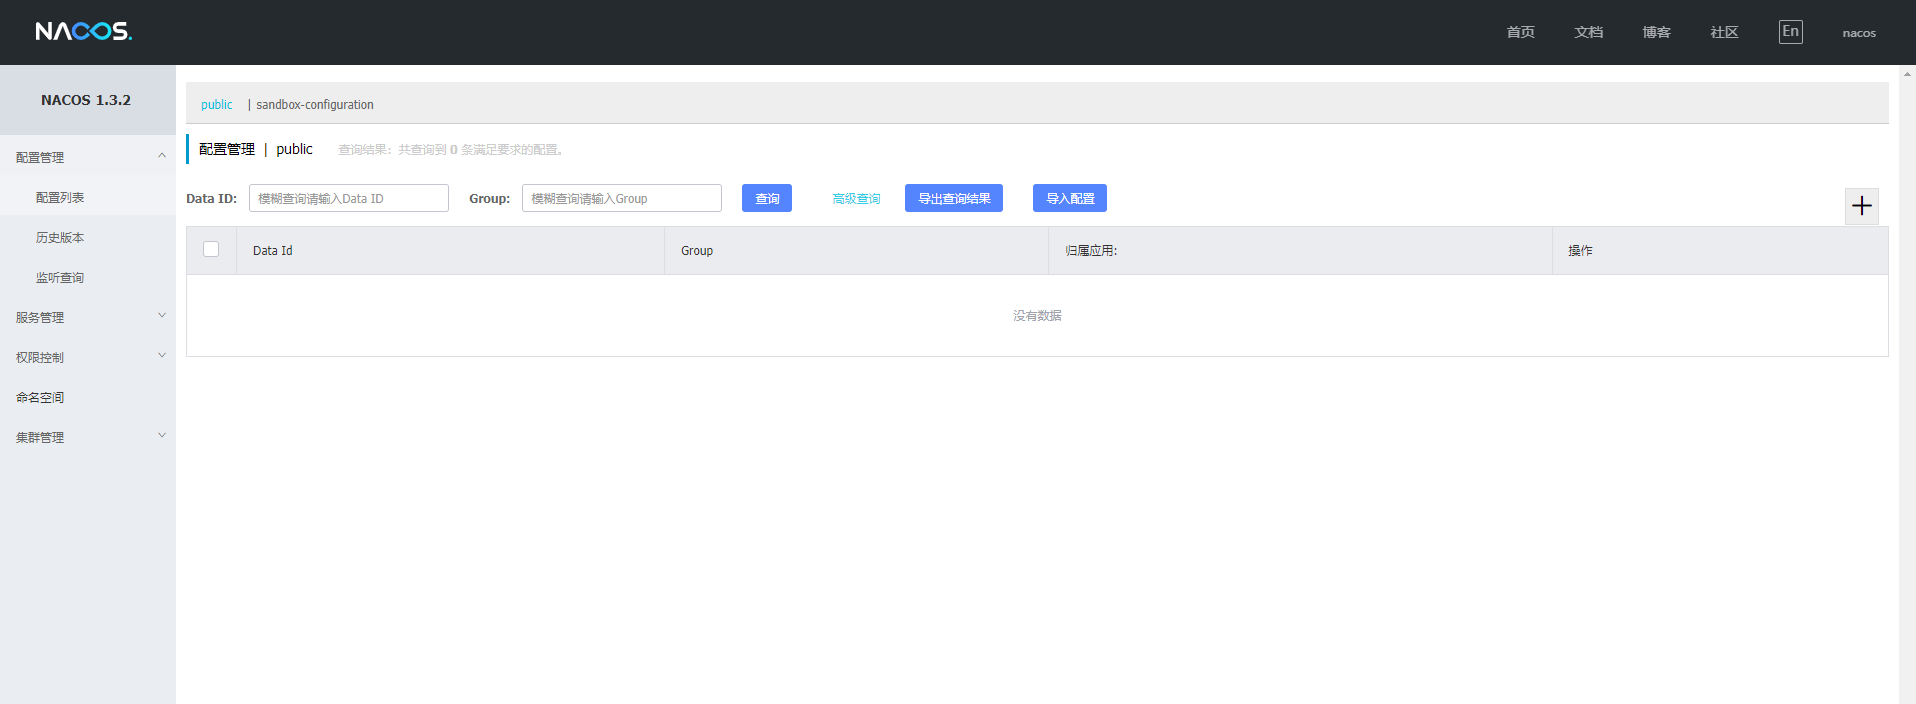
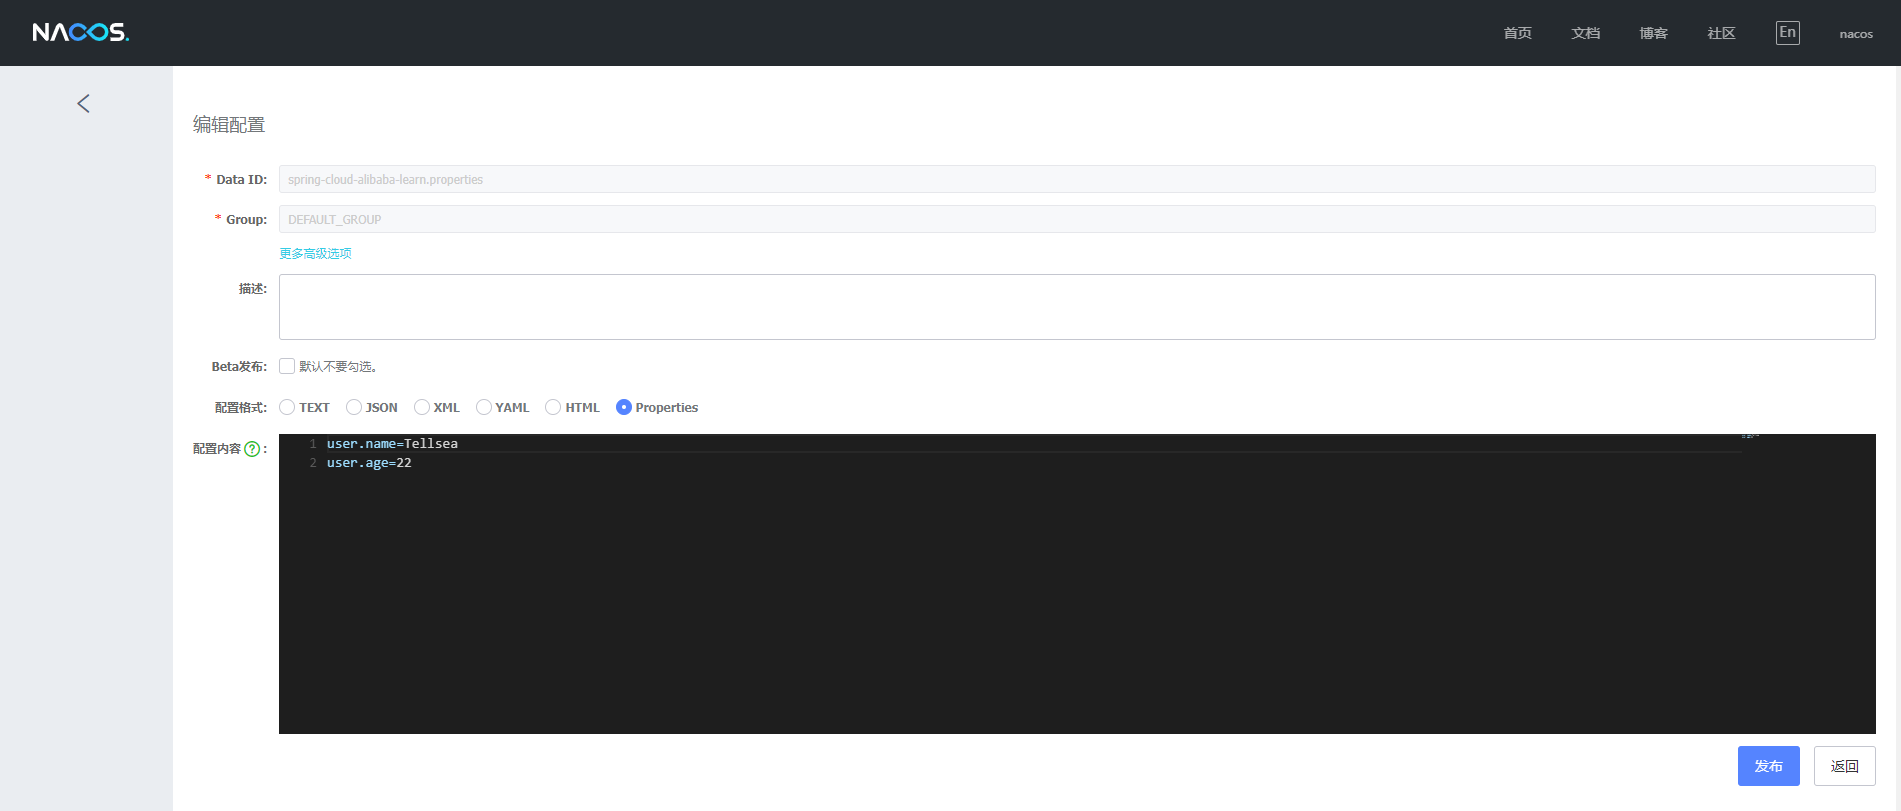
2. Configure Nacos
Add a spatial configuration in the namespace of Nacos: sandbox configuration
And add a new configuration. The configured DataID is spring cloud Alibaba learn properties
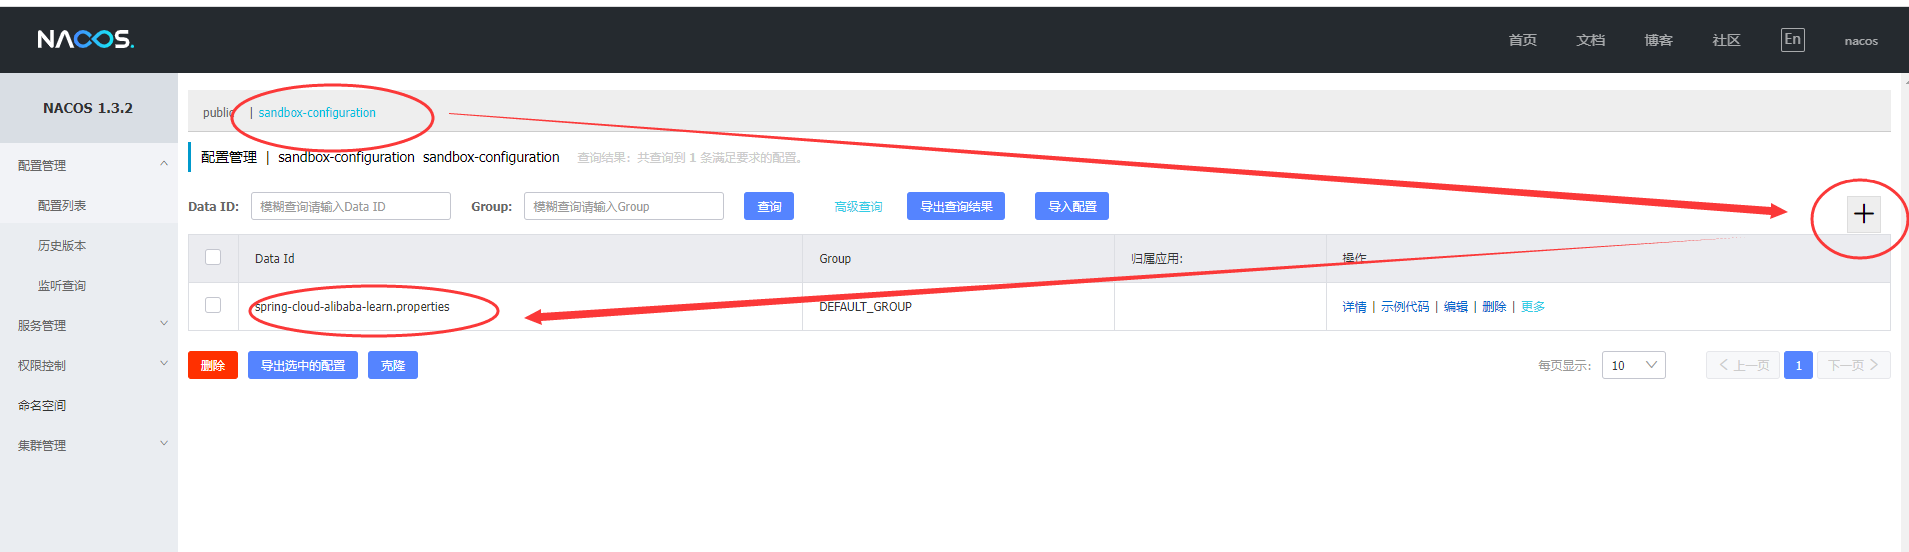
Then edit the configuration and add two properties
3. Project configuration
Modify bootstrap Properties file
# apply name
spring.application.name=spring-cloud-alibaba-learn

# Nacos help documentation: https://nacos.io/zh-cn/docs/concepts.html
# Nacos certification information
spring.cloud.nacos.config.username=nacos
spring.cloud.nacos.config.password=nacos
spring.cloud.nacos.config.contextPath=/nacos
# Set the server address of the configuration center
spring.cloud.nacos.config.server-addr=localhost:8848
# The namespace of the Nacos configuration center. Note that if you use the public namspace, do not fill in this value, just leave it blank
spring.cloud.nacos.config.namespace=sandbox-configuration
spring.cloud.nacos.config.file-extension=properties
4. Read configuration properties
package cn.tellsea;

import org.springframework.beans.factory.annotation.Value;
import org.springframework.boot.SpringApplication;
import org.springframework.boot.autoconfigure.SpringBootApplication;

import javax.annotation.PostConstruct;

/**
 * @author Tellsea
 * @date 2021/12/17
 */
@SpringBootApplication
public class SpringCloudAlibabaLearnApplication {

    @Value("${user.name}")
    private String userName;
    @Value("${user.age}")
    private int userAge;

    @PostConstruct
    public void init() {
        System.out.printf("[init] user name : %s , age : %d%n", userName, userAge);
    }

    public static void main(String[] args) {
        SpringApplication.run(SpringCloudAlibabaLearnApplication.class, args);
    }

}
If the console outputs the following information, the configuration is complete
[init] user name : Tellsea , age : 22
5. Implement dynamic refresh of Bean @Value property
Modify the startup class in the previous section, add @ RestController, @ RefreshScope annotations, and add an access interface
package cn.tellsea;

import org.springframework.beans.factory.annotation.Value;
import org.springframework.boot.SpringApplication;
import org.springframework.boot.autoconfigure.SpringBootApplication;
import org.springframework.cloud.context.config.annotation.RefreshScope;
import org.springframework.web.bind.annotation.RequestMapping;
import org.springframework.web.bind.annotation.RestController;

import javax.annotation.PostConstruct;

/**
 * @author Tellsea
 * @date 2021/12/17
 */
@SpringBootApplication
@RestController
@RefreshScope
public class SpringCloudAlibabaLearnApplication {

    @Value("${user.name}")
    private String userName;
    @Value("${user.age}")
    private int userAge;

    @PostConstruct
    public void init() {
        System.out.printf("[init] user name : %s , age : %d%n", userName, userAge);
    }

    @RequestMapping("/user")
    public String user() {
        return String.format("[HTTP] user name : %s , age : %d", userName, userAge);
    }

    @PreDestroy
    public void destroy() {
    	// It can be observed here that after modifying the configuration, the destruction method is called.
        System.out.printf("[destroy] user name : %s , age : %d%n", userName, userAge);
    }

    public static void main(String[] args) {
        SpringApplication.run(SpringCloudAlibabaLearnApplication.class, args);
    }

}
We can see the console like your output information using the browser access interface http://localhost:8080/user , same output, same configuration
Then we modify the configuration of nacos and set user Age = 20, modified to user Age = 99, and then request the user interface to view the configuration information. It is the modified configuration parameter. It should be noted here that refreshing beans in this way is to modify the attribute value by destroying the beans and reinitializing them
6. Implement dynamic refresh of @ ConfigurationProperties Bean property
Create an entity class of User
package cn.tellsea.nacosconfig;

import org.springframework.boot.context.properties.ConfigurationProperties;
import org.springframework.cloud.context.config.annotation.RefreshScope;

/**
 *
 * @author Tellsea
 * @date 2021/12/20
 */
@RefreshScope
@ConfigurationProperties(prefix = "user")
public class User {

    private String name;
    private int age;

    public String getName() {
        return name;
    }

    public void setName(String name) {
        this.name = name;
    }

    public int getAge() {
        return age;
    }

    public void setAge(int age) {
        this.age = age;
    }

    @Override
    public String toString() {
        return "User{" +
                "name='" + name + '\'' +
                ", age=" + age +
                '}';
    }
}
Modify the configuration of the startup class
package cn.tellsea;

import cn.tellsea.nacosconfig.User;
import org.springframework.beans.factory.annotation.Autowired;
import org.springframework.beans.factory.annotation.Value;
import org.springframework.boot.SpringApplication;
import org.springframework.boot.autoconfigure.SpringBootApplication;
import org.springframework.boot.context.properties.EnableConfigurationProperties;
import org.springframework.cloud.context.config.annotation.RefreshScope;
import org.springframework.web.bind.annotation.RequestMapping;
import org.springframework.web.bind.annotation.RestController;

import javax.annotation.PostConstruct;
import javax.annotation.PreDestroy;

/**
 * @author Tellsea
 * @date 2021/12/17
 */
@SpringBootApplication
@RestController
@RefreshScope
@EnableConfigurationProperties(User.class)
public class SpringCloudAlibabaLearnApplication {

    @Value("${user.name}")
    private String userName;
    @Value("${user.age}")
    private int userAge;

    @Autowired
    private User user;

    @PostConstruct
    public void init() {
        System.out.printf("[init] user name : %s , age : %d%n", userName, userAge);
    }

    @RequestMapping("/user")
    public String user() {
        return String.format("[HTTP] user name : %s , age : %d", userName, userAge);
    }

    @RequestMapping("/user2")
    public String user2() {
        return "[HTTP] " + user;
    }

    @PreDestroy
    public void destroy() {
        System.out.printf("[destroy] user name : %s , age : %d%n", userName, userAge);
    }


    public static void main(String[] args) {
        SpringApplication.run(SpringCloudAlibabaLearnApplication.class, args);
    }

}
Then modify the configuration parameters of nacos, and then access the user2 interface to get the modified Bean
[HTTP] User{name='Tellsea', age=99}
7. Monitor to realize dynamic refresh of Bean attribute
package cn.tellsea;

import cn.tellsea.nacosconfig.User;
import com.alibaba.cloud.nacos.NacosConfigManager;
import com.alibaba.nacos.api.config.listener.AbstractListener;
import org.springframework.beans.factory.annotation.Autowired;
import org.springframework.boot.ApplicationRunner;
import org.springframework.boot.SpringApplication;
import org.springframework.boot.autoconfigure.SpringBootApplication;
import org.springframework.boot.context.properties.EnableConfigurationProperties;
import org.springframework.cloud.context.config.annotation.RefreshScope;
import org.springframework.context.annotation.Bean;
import org.springframework.web.bind.annotation.RestController;

import java.io.IOException;
import java.io.StringReader;
import java.util.Properties;

/**
 * @author Tellsea
 * @date 2021/12/17
 */
@SpringBootApplication
@RestController
@RefreshScope
@EnableConfigurationProperties(User.class)
public class SpringCloudAlibabaLearnApplication {

    @Autowired
    private User user;
    @Autowired
    private NacosConfigManager nacosConfigManager;

    @Bean
    public ApplicationRunner runner() {
        return args -> {
            String dataId = "spring-cloud-alibaba-learn.properties";
            String group = "DEFAULT_GROUP";
            nacosConfigManager.getConfigService().addListener(dataId, group, new
                    AbstractListener() {
                        @Override
                        public void receiveConfigInfo(String configInfo) {
                            System.out.println("[Listener] " + configInfo);
                            System.out.println("[Before User] " + user);
                            Properties properties = new Properties();
                            try {
                                properties.load(new StringReader(configInfo));
                                String name = properties.getProperty("user.name");
                                int age = Integer.valueOf(properties.getProperty("user.age"));
                                user.setName(name);
                                user.setAge(age);
                            } catch (IOException e) {
                                e.printStackTrace();
                            }
                            System.out.println("[After User] " + user);
                        }
                    });
        };
    }

    public static void main(String[] args) {
        SpringApplication.run(SpringCloudAlibabaLearnApplication.class, args);
    }

}
Observe log output
user.age=22, type=properties
[Listener] user.name=Tellsea
user.age=22
[Before User] User{name='Tellsea', age=99}
[After User] User{name='Tellsea', age=22}
8. Nacos provides breakpoint monitoring
The following breakpoint monitoring information is available in the configuration file
# Actor web access port
management.server.port=8081
management.endpoints.jmx.exposure.include=*
management.endpoints.web.exposure.include=*
management.endpoint.health.show-details=always
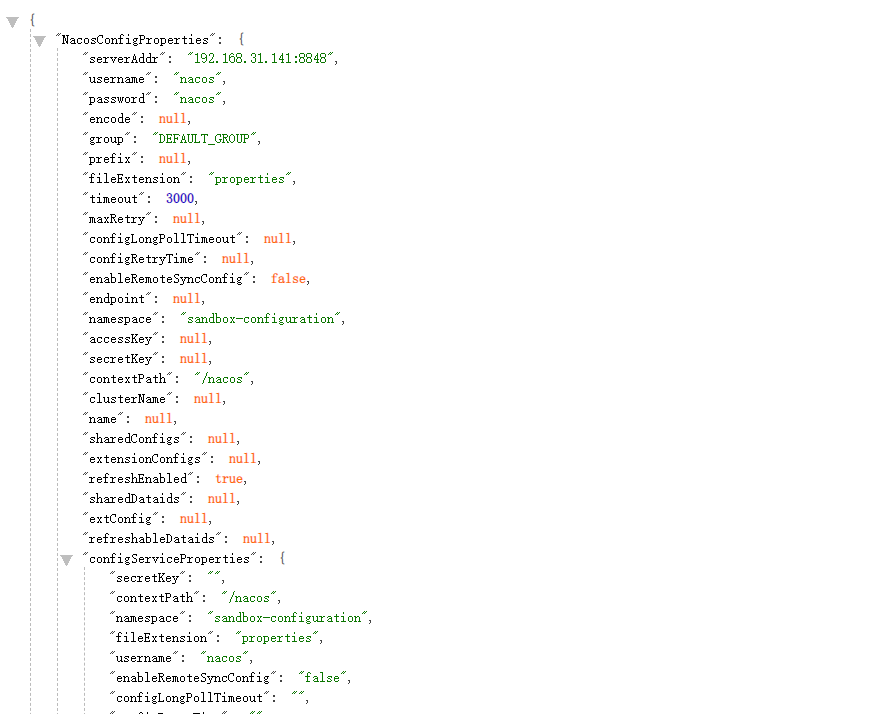
visit http://127.0.0.1:8081/actuator , view all monitoring points of the actor
 visit http://127.0.0.1:8081/actuator/nacos-config to view all monitoring points of the actor
WeChat official account