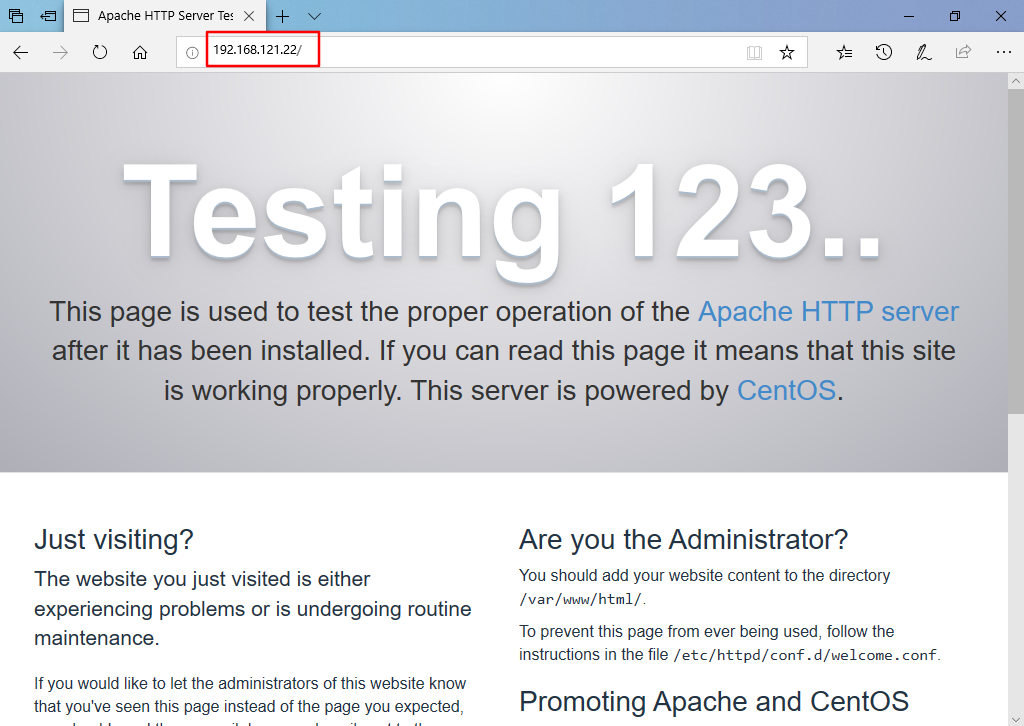
I Squid proxy server
Squid mainly provides cache acceleration and application layer filtering control functions
1. Working mechanism of the agency
Instead of the client requesting data from the website, you can hide the user's real IP address.
Save the obtained Web page data (static Web elements) to the cache and send it to the client so that it can respond quickly the next time the same data is requested.
2. Type of agent
1. Traditional agency
Using the Internet requires the client to specify the address and port of the proxy server.
2. Transparent agent
The client does not need to specify the address and port of the proxy server, but redirects Web access to the proxy service through the default route and firewall policy.
3. Reverse proxy
If the requested resource is cached in the Squid reverse proxy server, the requested resource is directly returned to the client; Otherwise, the reverse failing server will request resources from the background WEB server, and then return the requested response to the client. At the same time, it will also cache (statically) the response locally for use by the next requester.
II Squid proxy server installation
1. Compile and install Squid
Installation dependent environment
yum -y install gcc gcc-c++ make

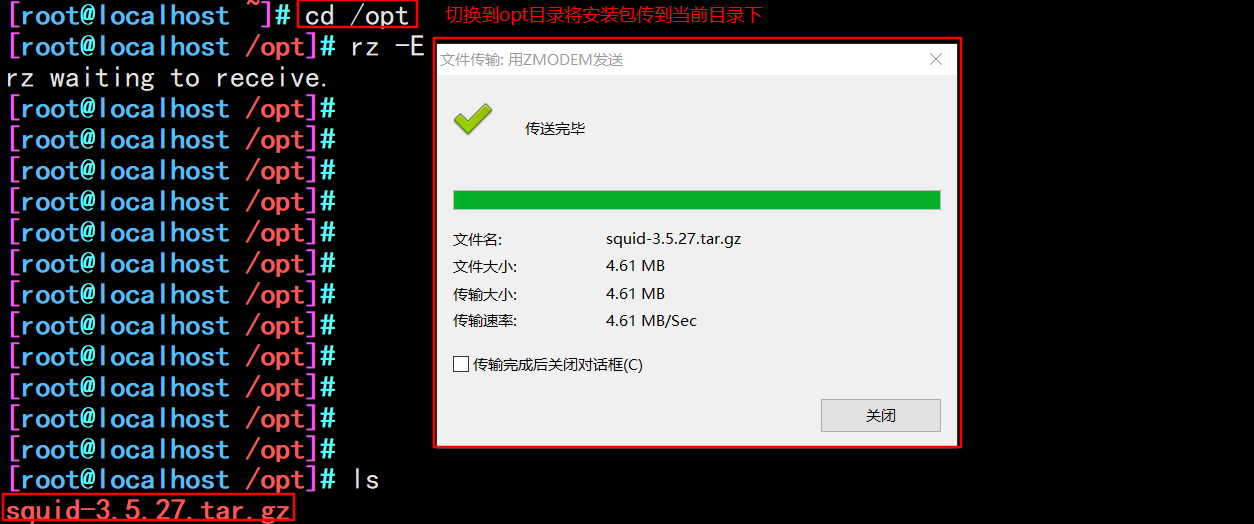
#Transfer the installation package to the / opt directory and unzip it
 cd /opt
tar zxvf squid-3.5.27.tar.gz

cd squid-3.5.27/
./configure \
--prefix=/usr/local/squid \ 						#Installation directory
--sysconfdir=/etc/ \ 								#Separately, modify the configuration file to the / etc directory
--enable-arp-acl \									#The MAC address can be set in the ACL for management to prevent IP spoofing
--enable-linux-netfilter \ 							#Using kernel filtering
--enable-linux-tproxy \ 							#Support transparent mode
--enable-async-io=100 \								#Asynchronous I/O to improve storage performance. The value can be modified
--enable-err-language="Simplify_Chinese" \ 			#Display language of error message
--enable-underscore \ 								#Allow underscores in URL s
--enable-poll \										#Use Poll() mode to improve performance
--enable-gnuregex									#Using GNU regular expressions

make && make install

#Create linked files and optimize paths
ln -s /usr/local/squid/sbin/* /usr/local/sbin#Create linked files and optimize paths
#Create program users, groups
useradd -M -s /sbin/nologin squid
#Change directory ownership
chown -R squid:squid /usr/local/squid/var/

2. Modify Squid's configuration file
vim /etc/squid.conf
----56 that 's ok--insert------
http_access allow all 					#Put on HTTP_ Before access deny all, any client is allowed to use the proxy service to control the top-down matching of rules
http_access deny all
http_port 3128							#Used to specify the address and port that the proxy service listens to (the default port number is 3128)
----61 that 's ok--insert------
cache_effective_user squid							#Add, specify the program user, which is used to set the account of initialization and runtime cache. Otherwise, the startup will not succeed
cache_effective_group squid							#Add, specify account basic group
coredump_dir /usr/local/squid/var/cache/squid 		#Specify cache file directory

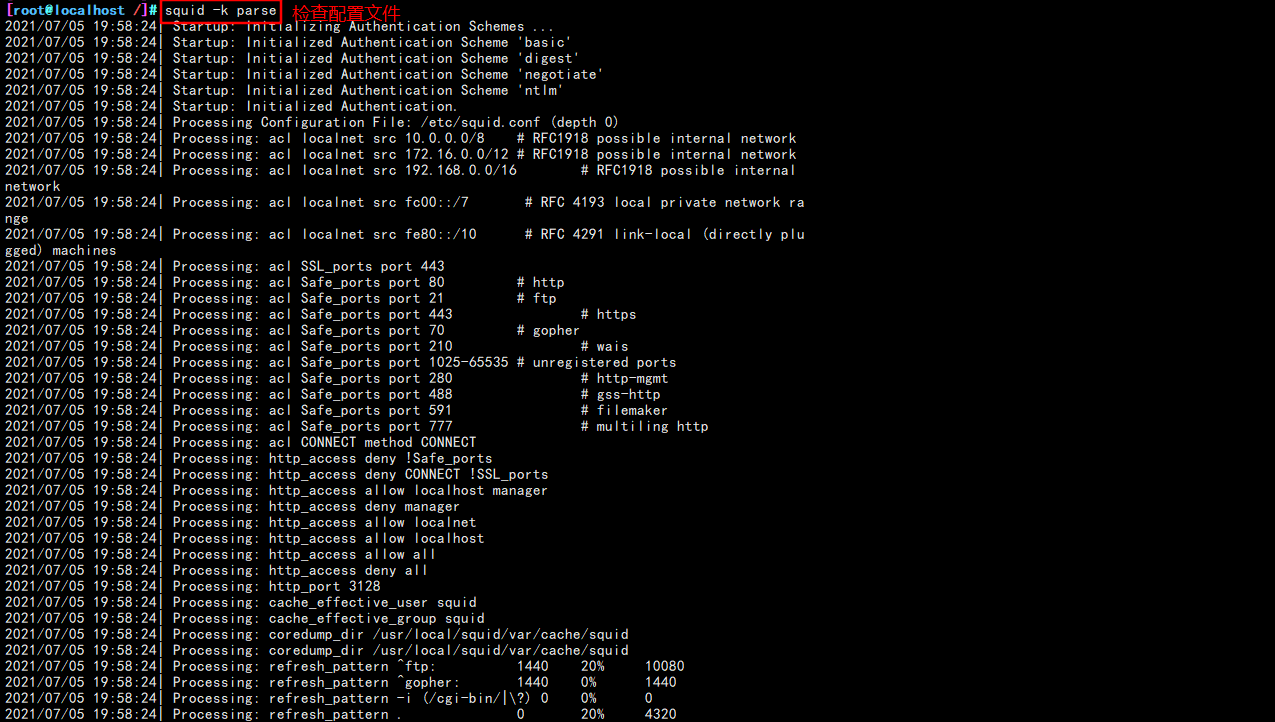
#Check configuration file
squid -k parse
#Initialize cache directory
squid -zX

#service squid start
squid

#Confirm that squid service is in normal listening state
netstat -anpt | grep squid

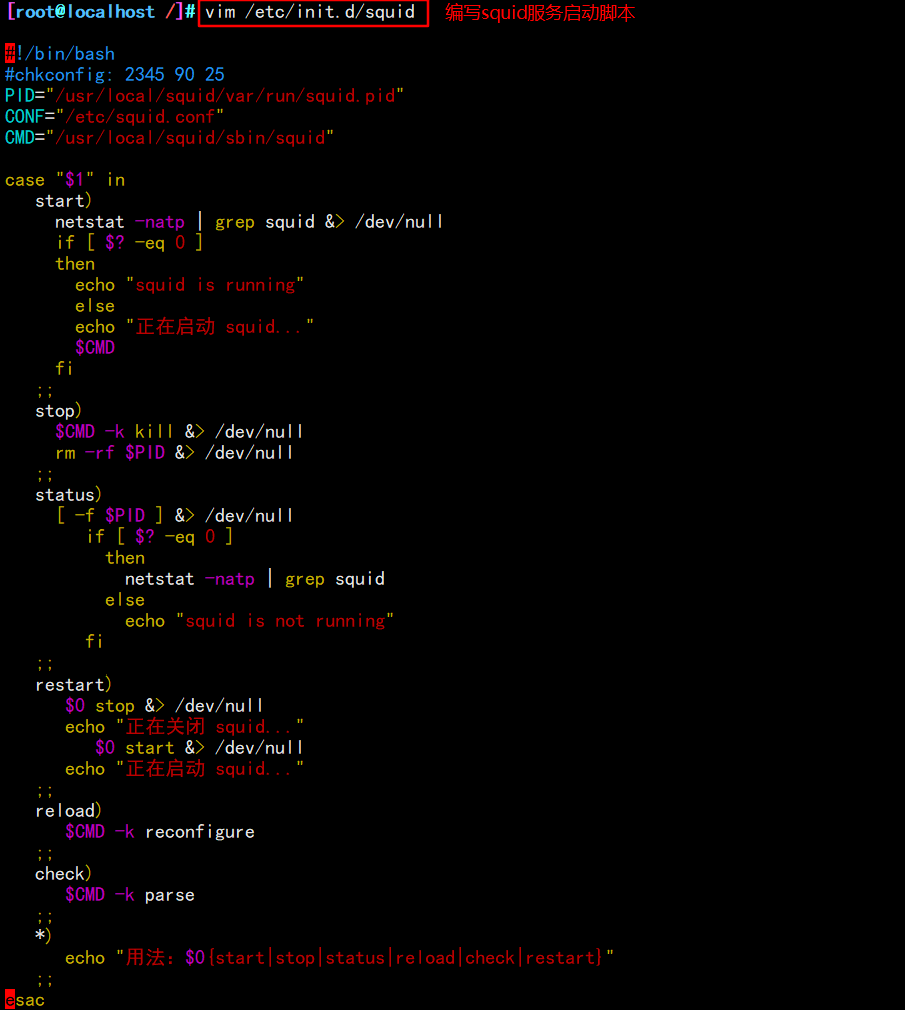
3. Write Squid service script
vim /etc/init.d/squid
#!/bin/bash
#chkconfig: 2345 90 25
PID="/usr/local/squid/var/run/squid.pid"
CONF="/etc/squid.conf"
CMD="/usr/local/squid/sbin/squid"

case "$1" in
   start)
     netstat -natp | grep squid &> /dev/null
     if [ $? -eq 0 ]
     then
       echo "squid is running"
       else
       echo "Starting squid..."
       $CMD
     fi
   ;;
   stop)
     $CMD -k kill &> /dev/null
     rm -rf $PID &> /dev/null
   ;;
   status)
     [ -f $PID ] &> /dev/null
        if [ $? -eq 0 ]
          then
            netstat -natp | grep squid
          else
            echo "squid is not running"
        fi
   ;;
   restart)
      $0 stop &> /dev/null
      echo "Closing squid..."
         $0 start &> /dev/null
      echo "Starting squid..."
   ;;
   reload)
      $CMD -k reconfigure
   ;;
   check)
      $CMD -k parse
   ;;
   *)
      echo "Usage: $0{start|stop|status|reload|check|restart}"
   ;;
esac
chmod +x /etc/init.d/squid
chkconfig --add squid
chkconfig --level 35 squid on				#Specify the service startup level. 3 is the character interface and 5 is the graphical interface

service squid restart						#Test service

III experiment
1. Build traditional agents
Server requirements:
| The server | operating system | IP address | Installation services |
|---|---|---|---|
| Squid server | CentOS 7 | 192.168.121.11 | Squid-3.5.28.tar.gz |
| Web1 server | CentOS 7 | 192.168.121.22 | httpd |
| Win 10 client | Windows | 192.168.121.100 | ---------------------------- |
① squid server
vim /etc/squid.conf
http_access allow all
http_access deny all
http_port 3128
cache_effective_user squid
cache_effective_group squid
#63 line insert
cache_mem 64 MB
#Specify the memory space used by the cache function to maintain frequently accessed WEB objects. The capacity is preferably a multiple of 4, in MB. It is recommended to set it to 1 / 4 of the physical memory
reply_body_max_size 10 MB
#The maximum file size that users are allowed to download, in bytes. When downloading a Web object that exceeds the specified size, a prompt of "request or access too large" will appear on the error page of the browser. The default setting of 0 means no restriction
maximum_object_size 4096 KB
#The maximum object size allowed to be saved to the cache space, in kilobytes. Files exceeding the size limit will not be cached, but will be forwarded directly to the user

#Modify firewall rules
iptables -F
iptables -I INPUT -p tcp --dport 3128 -j ACCEPT

② Web1 configuration
systemctl stop firewalld.service
setenforce 0
yum -y install httpd
systemctl start httpd
netstat -natp | grep 80

③ Client configuration (add agent)
Set up client win 10 IP:192.168.121.100
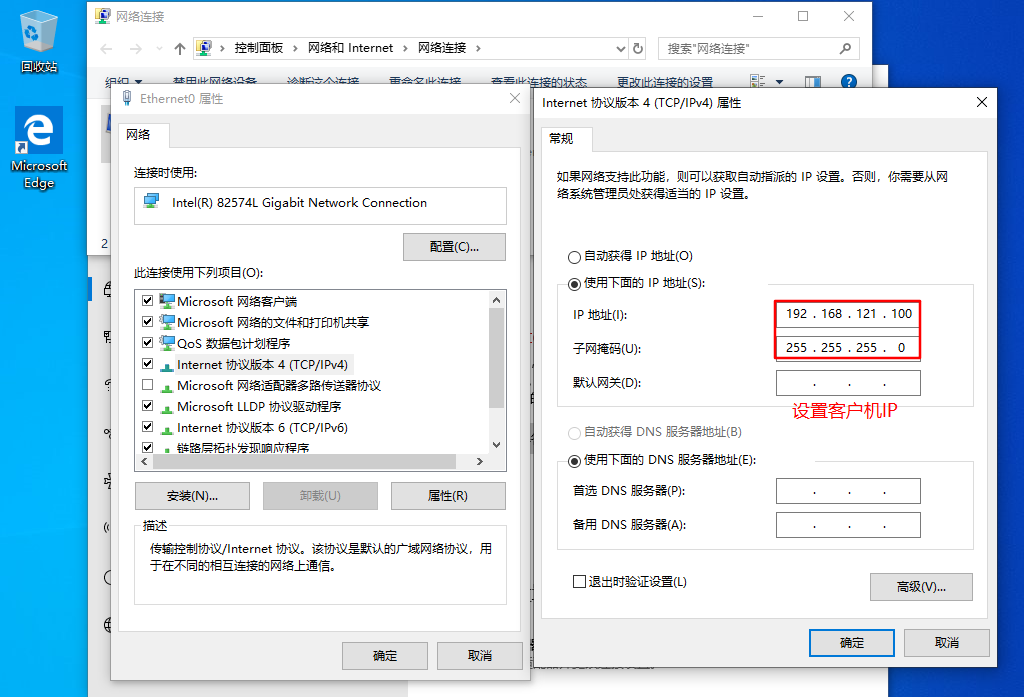
#Open the browser, tools – > Internet Options – > connection – > LAN settings – > open the proxy server (address: Squid server IP address, port: 3128)
#Accessing web1 IP using win10
#web1 server viewing access log information
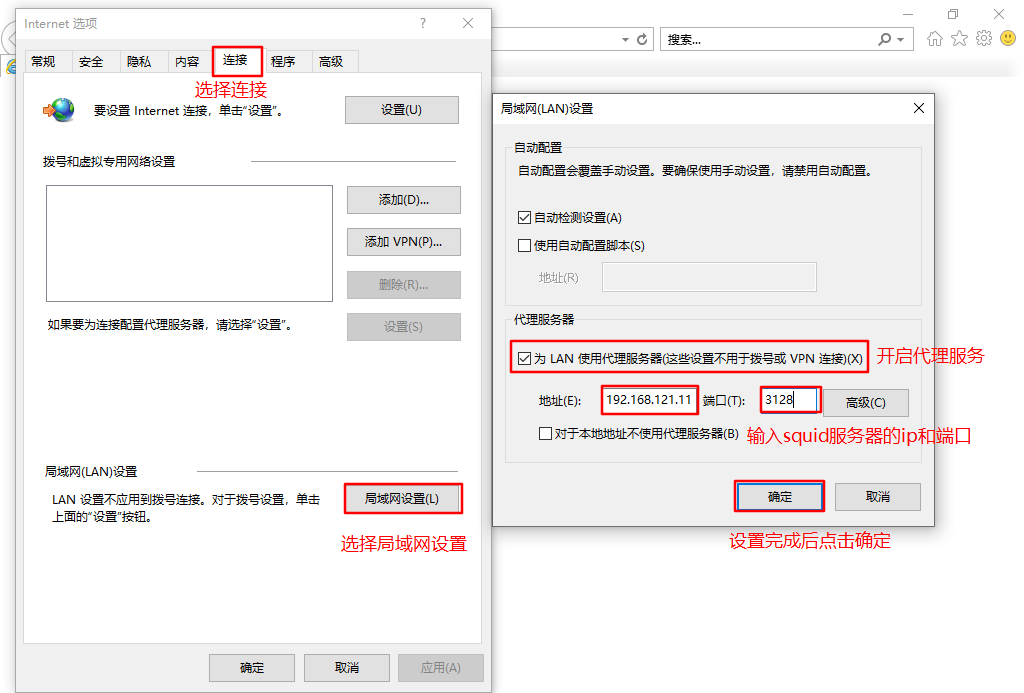
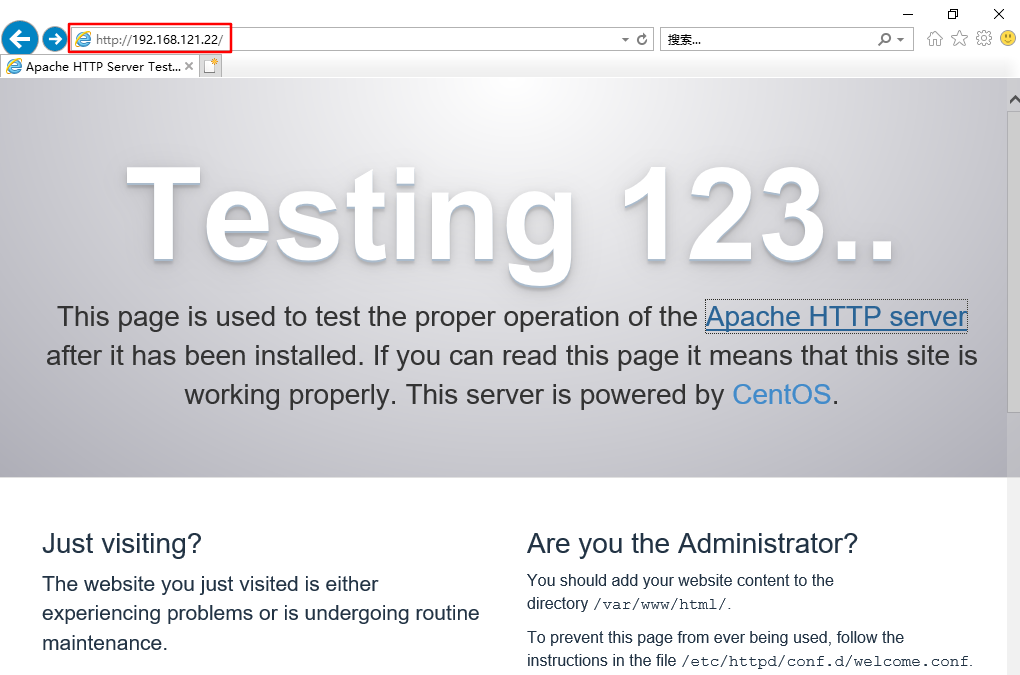
#Dynamically view the access log and observe the access IP
tail -f /var/log/httpd/access_log

2. Transparent agency
Server requirements:
| The server | operating system | IP address | Installation services |
|---|---|---|---|
| Squid server | CentOS | ens33 192.168.121.11 ens36 12.0.0.1 | squid-3.5.27.tar.gz |
| web1 server | CentOS | 192.168.121.22 | httpd |
| Win10 client | windows | 12.0.0.100 | ---------- |
1.Squid server configuration
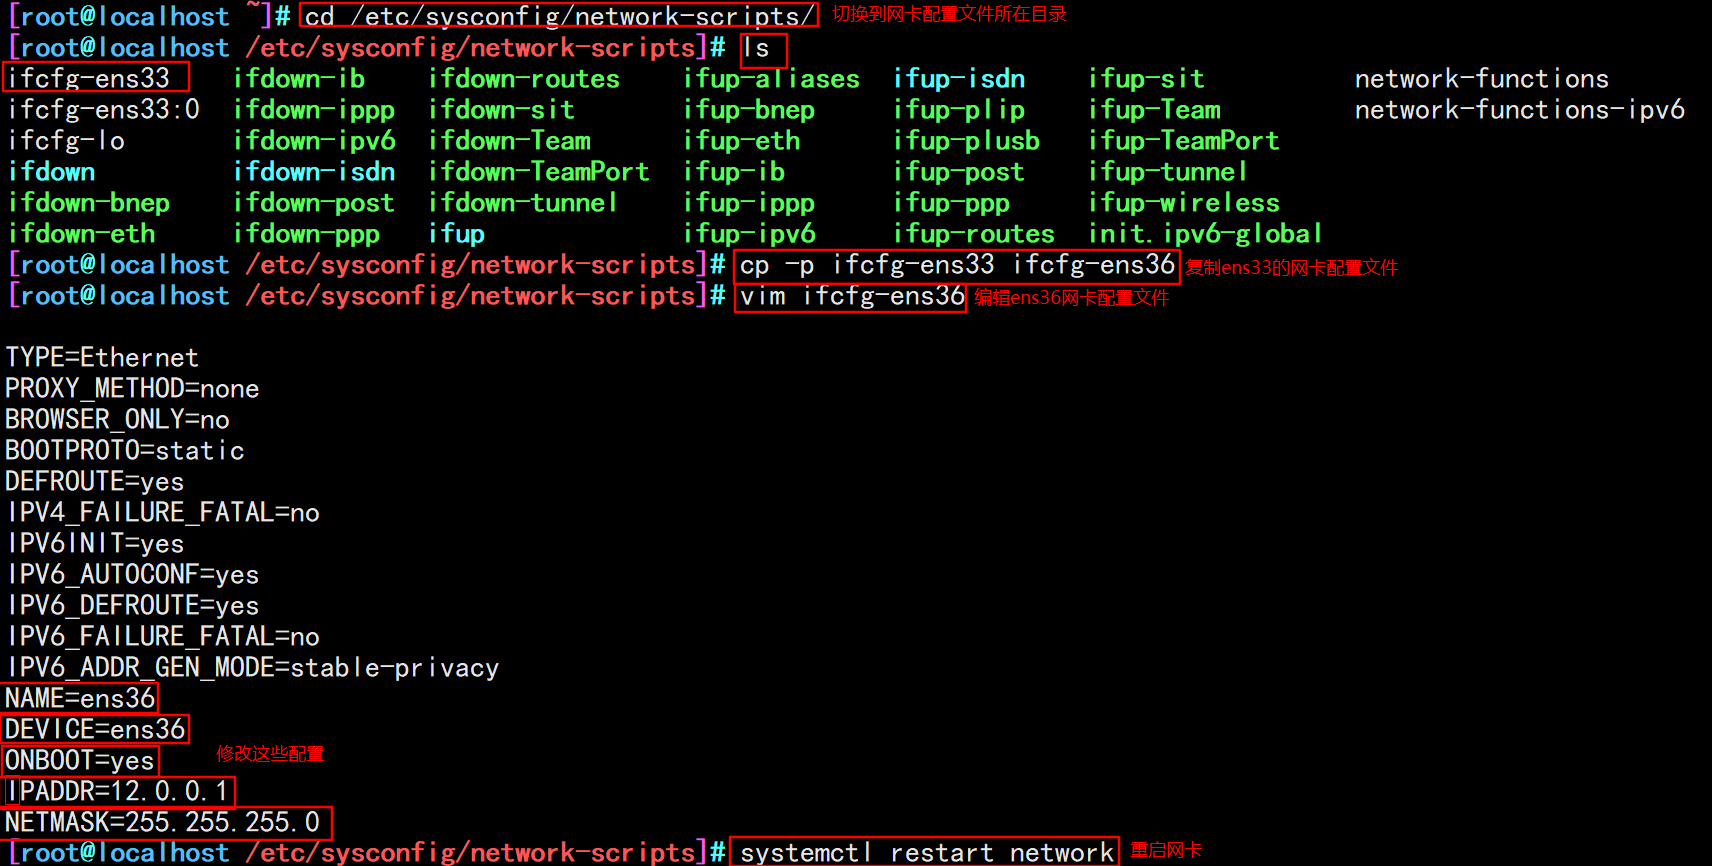
cd /etc/ sysconfig/network-scripts/
cp ifcfg-ens33 ifcfg-ens36
vim ifcfg-ens36
systemctl restart network
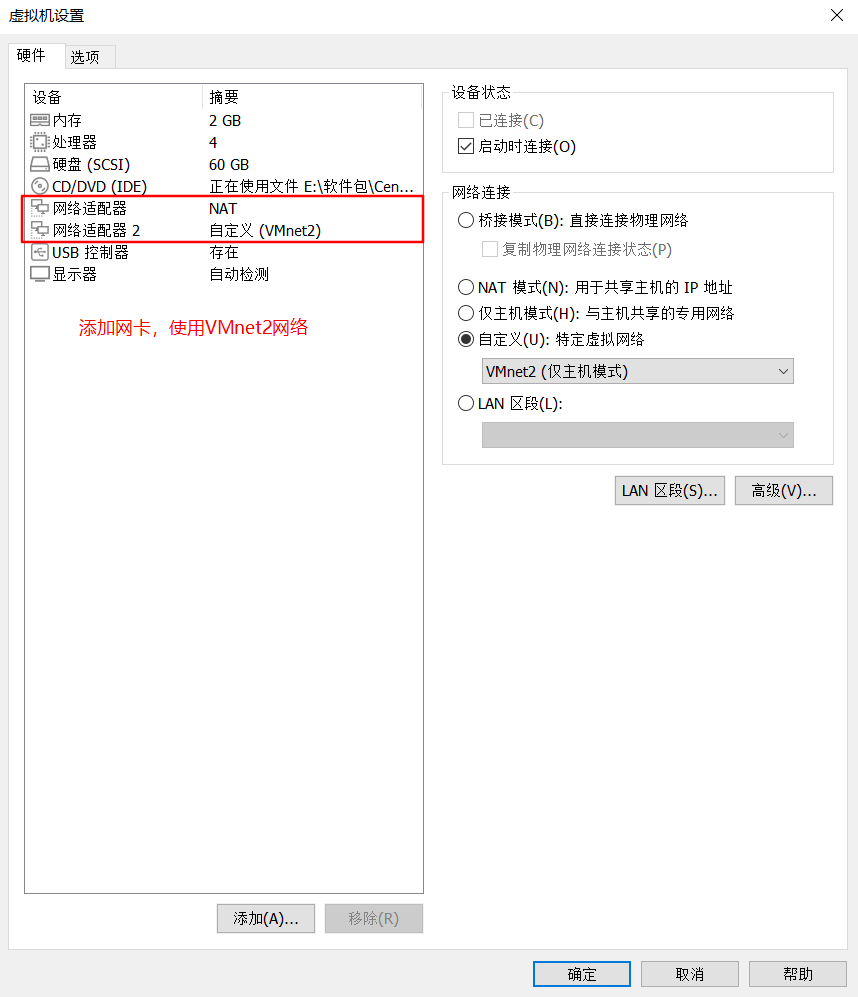
#In line 60, modify and add the IP address that provides intranet services, and support the transparent proxy option transparent
vim /etc/squid.conf
http_access allow all
http_access deny all
http_port 12.0.0.1:3128 transparent
systemctl restart squid

echo 'net.ipv4.ip_forward = 1' >> /etc/sysctl.conf
sysctl -P

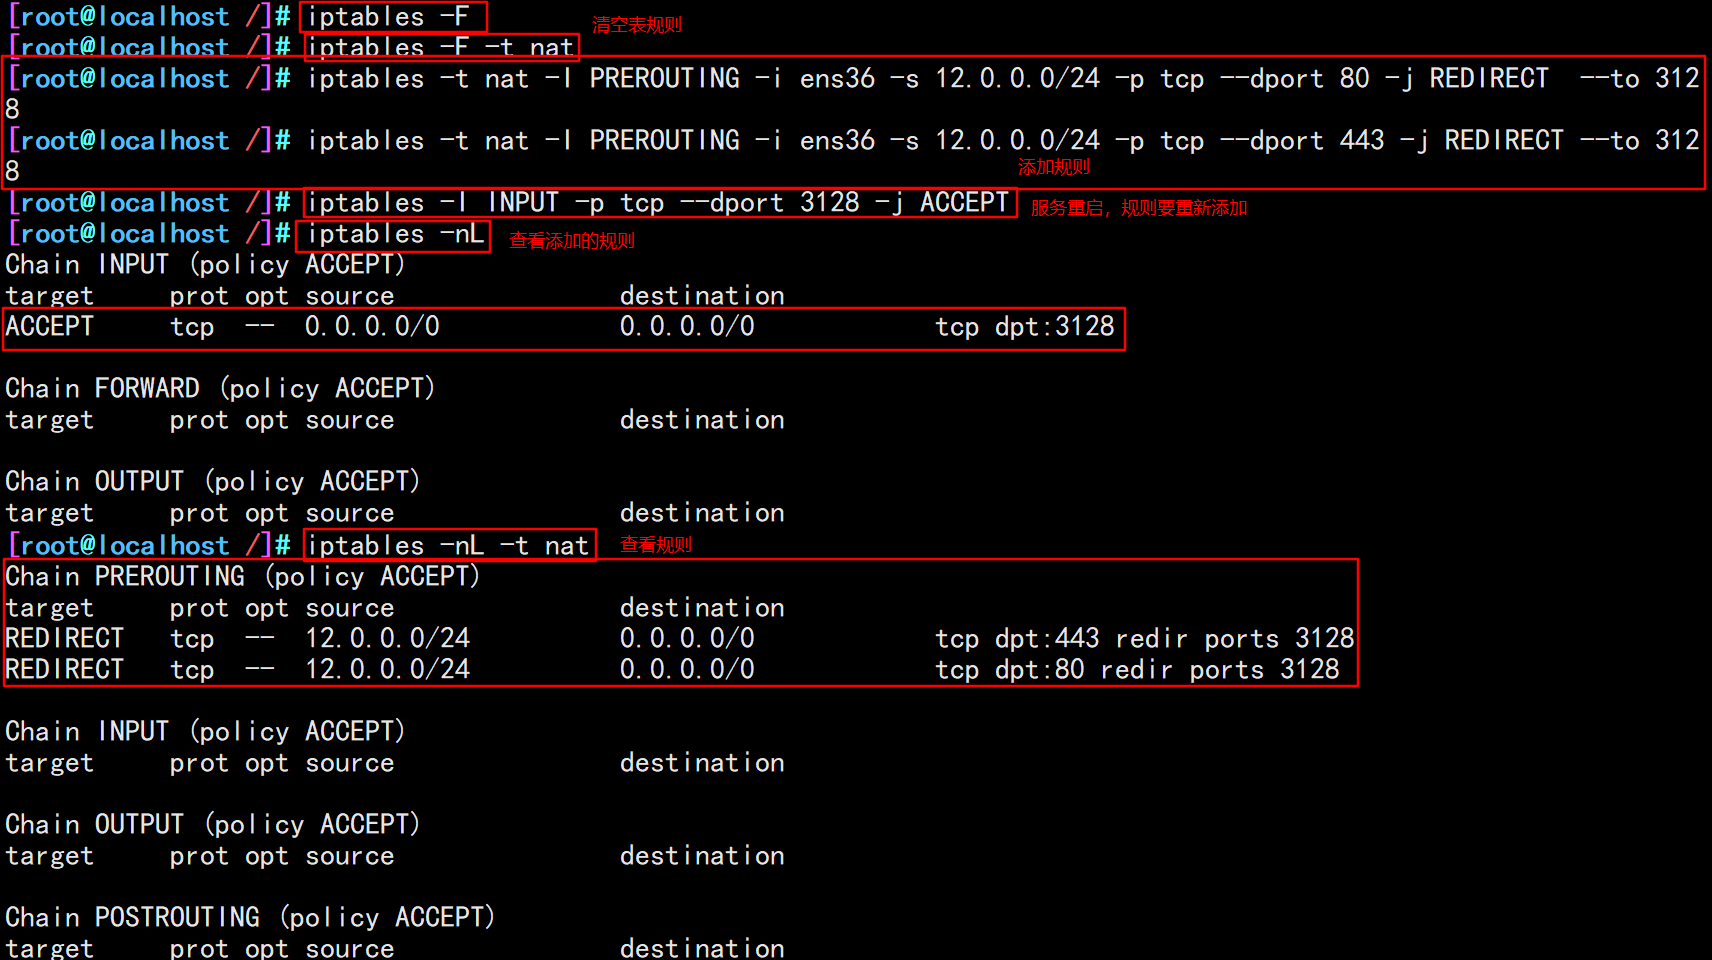
iptables -F
iptables -t nat - F
#Add firewall rules (redirect traffic from 12.0.0.0 network segment: port 80 / 443 to port 3128)
iptables -t nat -I PREROUTING -i ens36 -s 12.0.0.0/24 -p tcp --dport 80 -j REDIRECT  --to 3128
iptables -t nat -I PREROUTING -i ens36 -s 12.0.0.0/24 -p tcp --dport 443 -j REDIRECT --to 3128
#To restart, you need to configure the following rules
iptables -I INPUT -p tcp --dport 3128 -j ACCEPT
2. Add a static route to web1 server
route add -net 12.0.0.0/24 gw 192.168.121.11

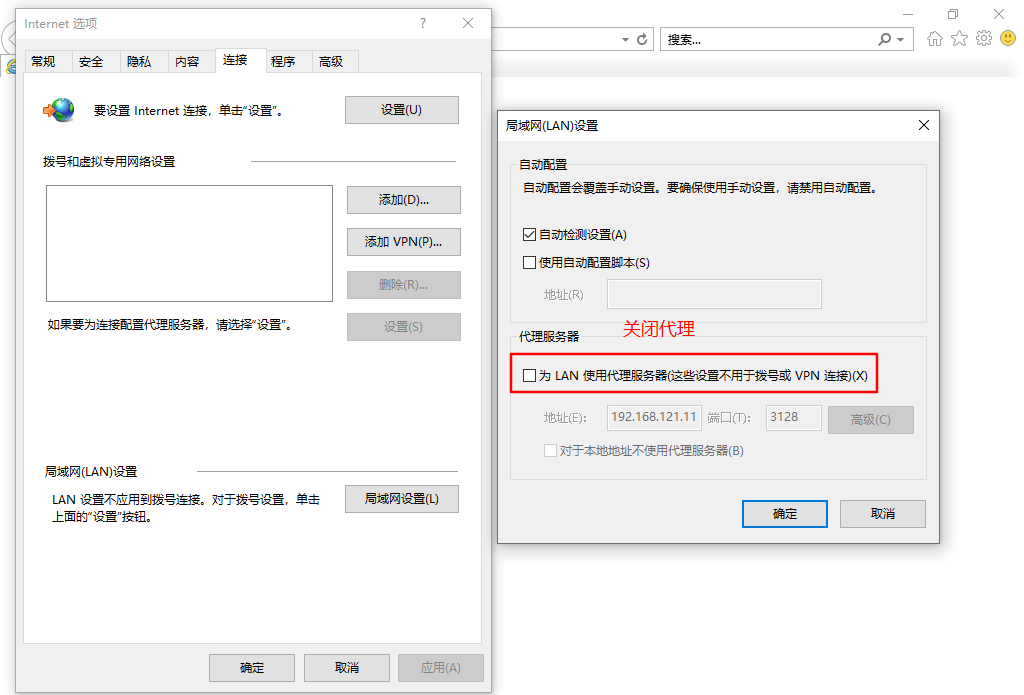
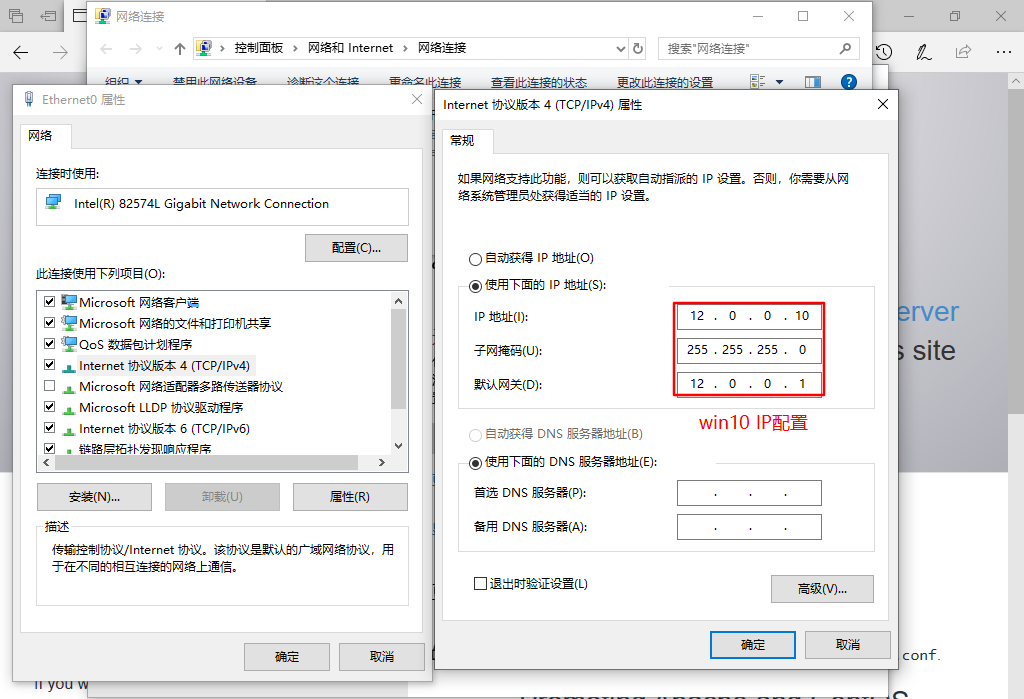
3. The client closes the proxy and modifies the win10 address to 12.0.0.0 network segment
#Access web1 server
tail -f /var/log/httpd/access_log
#It can be seen from the log content that the proxy server external network port 12.0.0.1 accesses the web server 12.0.0.12
