1, Download docker
stay Docker official website Find the corresponding mac download in.
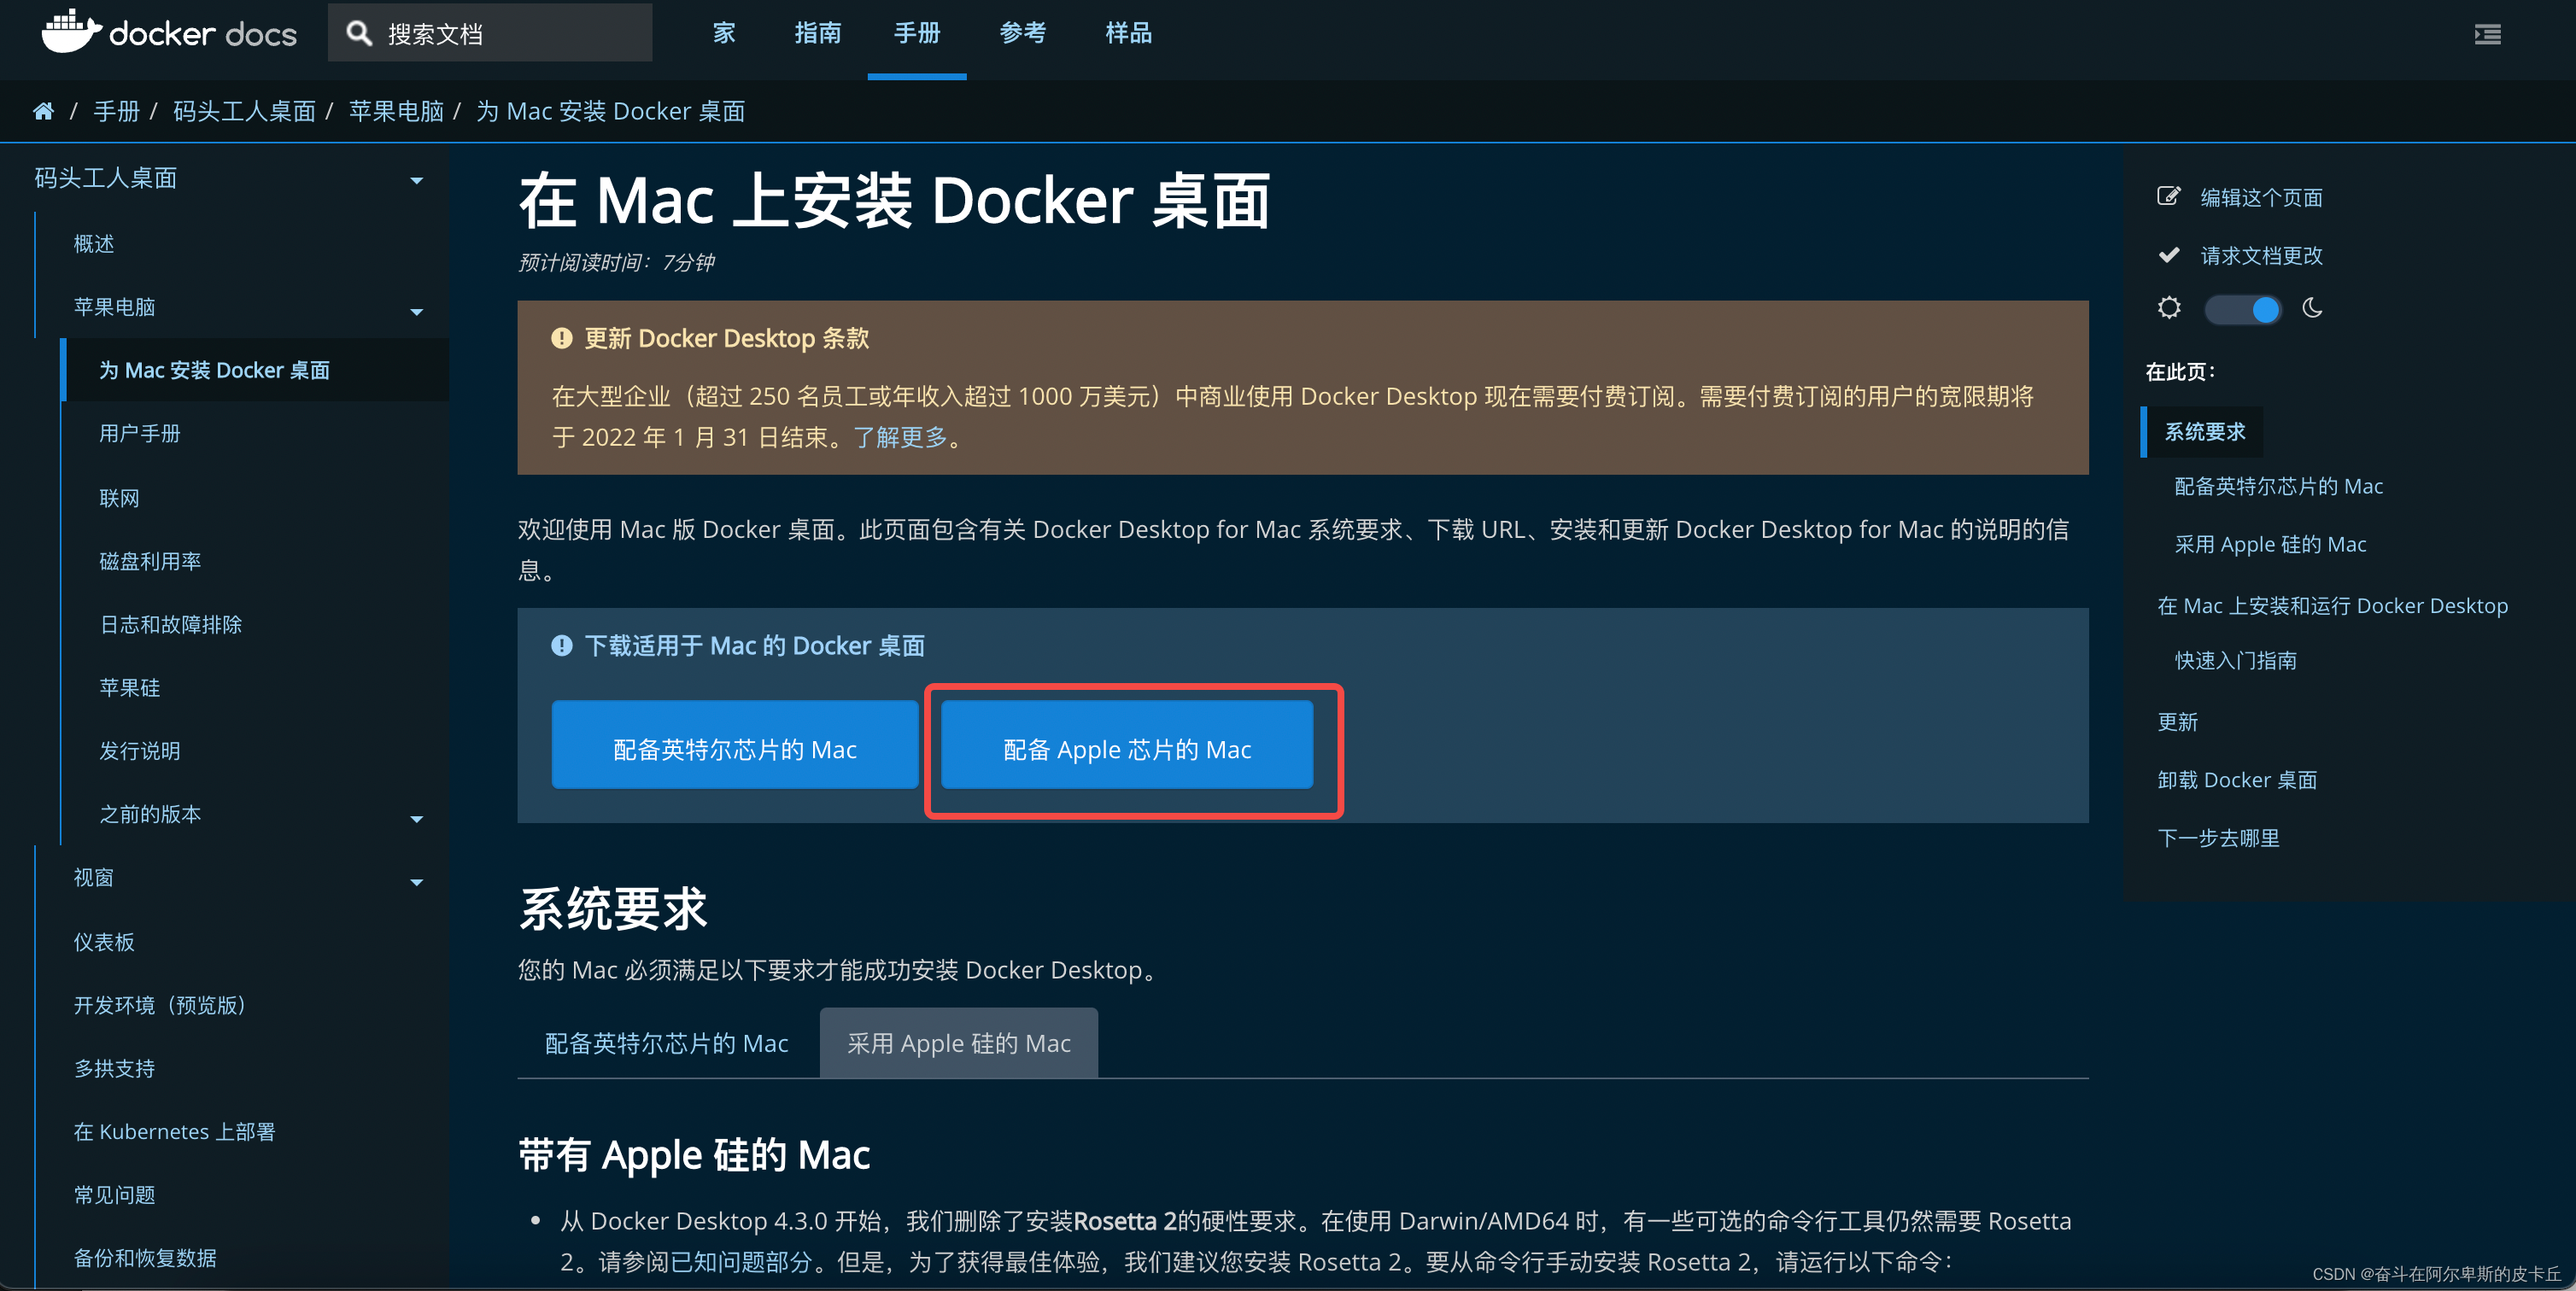
After clicking in, I choose the version of the corresponding chip of my computer and start downloading. I own m1 chip.
2, Install and run docker on MAC computer
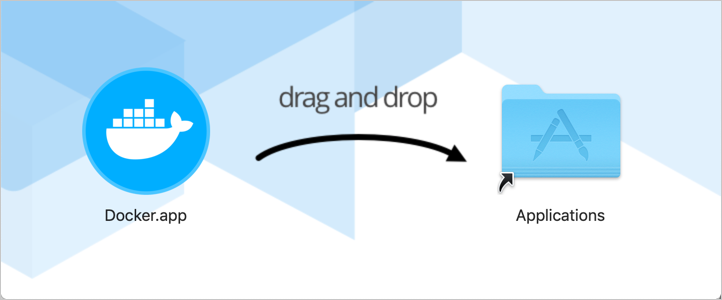
1. Double click Docker DMG open the installer and drag the Docker icon to the Applications folder.
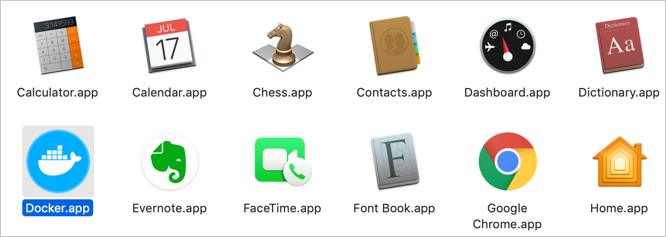
2. Double click Docker Appapplications folder to start Docker. In the following example, the Applications folder is in grid view mode.
3. Docker menu () displays the docker subscription service agreement window. It includes changes to the terms of use of Docker Desktop.
4. Click the check box to accept the updated terms, and then click accept to continue. After accepting the terms, Docker Desktop will start.
5. You can use docker -v in the terminal to view the current docker version, or docker ps to view the images currently owned by docker
3, Deploy flash project
1. First of all, this is my simple flash project

The code is as follows:
from flask import Flask

app = Flask(__name__)

@app.route('/')
def hello_world():  # put application's code here
    return 'Hello World!'


if __name__ == '__main__':
    app.run(host='0.0.0.0', port=8090, debug=False)
Note here that the host should be specified as 0.0.0.0
If not specified, the default is 127.0.0.1, which can only be accessed locally. This problem is solved by setting the host to 0.0.0.0.
2. Generate requirements txt
pip install freeze -> requirements.txt
To generate the required dependent package files
3. Write dockerFile file
Dockerfile is a text document that contains commands for combining images. You can use any command in the command line. Docker automatically generates images by reading instructions in dockerfile.
The docker build command is used to build an image from Dockerfile. You can use the - f flag in the docker build command to point to Dockerfile anywhere in the file system.
FROM python:3.7.3
# FROM: Specifies the basic image, which must be the first command
# FROM <image>:<tag>
# tag is optional. If this value is not used, the latest version of the basic image will be used
# tag is the version number

ADD . /flaskproject/
# ADD adds local files to the container, and tar files will be automatically decompressed (network compressed resources will not be decompressed). You can access network resources, similar to wget
# ADD source target
# Add ["< SRC >",... "< dest >"] is used to support paths containing spaces
# ADD hom* /mydir/          # Add all files starting with "hom"
# ADD hom?.txt /mydir/      # ?  Replace a single character, for example: "home.txt"
# ADD test relativeDir/     # Add "test" to 'workdir' / relativedir/
# ADD test /absoluteDir/    # Add "test" to / absoluteDir/

WORKDIR /flaskproject
# WORKDIR: working directory, similar to cd command
# Example:
# WORKDIR /a (at this time, the working directory is / a)
# WORKDIR b (at this time, the working directory is / a/b)
# WORKDIR c (at this time, the working directory is / a/b/c)
# Note: after setting the working directory through WORKDIR, the subsequent commands RUN, CMD, ENTRYPOINT, ADD, COPY and other commands in Dockerfile will be executed in this directory. When using docker run to RUN the container, you can override the working directory set during construction with the - w parameter.

RUN  pip install -i https://mirrors.aliyun.com/pypi/simple/ -r /flaskproject/requirement.txt
# RUN: command executed when building a mirror
# There are two command execution modes:
# shell execution
# Format: run < command >
# exec execution
# Format: RUN ["executable", "param1", "param2"]
# Example:
# RUN ["executable", "param1", "param2"]
# RUN apk update
# RUN ["/etc/execfile", "arg1", "arg1"]
# Note: the intermediate image created by the RUN instruction will be cached and used in the next build. If you do not want to use these cache images, you can specify the -- no cache parameter during construction, such as docker build -- no cache

WORKDIR service

CMD python3.7 app.py
# CMD: call after building the container, that is, when the container starts.
# Format:
# CMD ["executable","param1","param2"] (executable, priority)
# CMD ["param1","param2"] (if ENTRYPOINT is set, directly call ENTRYPOINT to add parameters)
# CMD command param1 param2 (execute shell internal command)
# Example:
# CMD echo "This is a test." | wc -
# CMD ["/usr/bin/wc","--help"]
# Note: CMD is different from RUN. CMD is used to specify the command to be executed when the container is started, while RUN is used to specify the command to be executed when the image is built.
Full code:
FROM python:3.7.3

ADD . /flaskproject/

WORKDIR /flaskproject

RUN  pip install -i https://mirrors.aliyun.com/pypi/simple/ -r /flaskproject/requirement.txt

WORKDIR service

CMD python3.7 app.py
4. Build dockerImage image
Execute in project documents
docker build -t flaskpro .
Note: this Yes, it means finding dockerfile in the current directory,
The syntax of docker build is
docker build [OPTIONS] PATH | URL | -
-f: specify the Dockerfile path to use;
– rm: delete the intermediate container after setting the image successfully;
– tag, -t: the name and label of the image, usually in the format of name:tag or name; You can set multiple labels for a mirror in a single build.
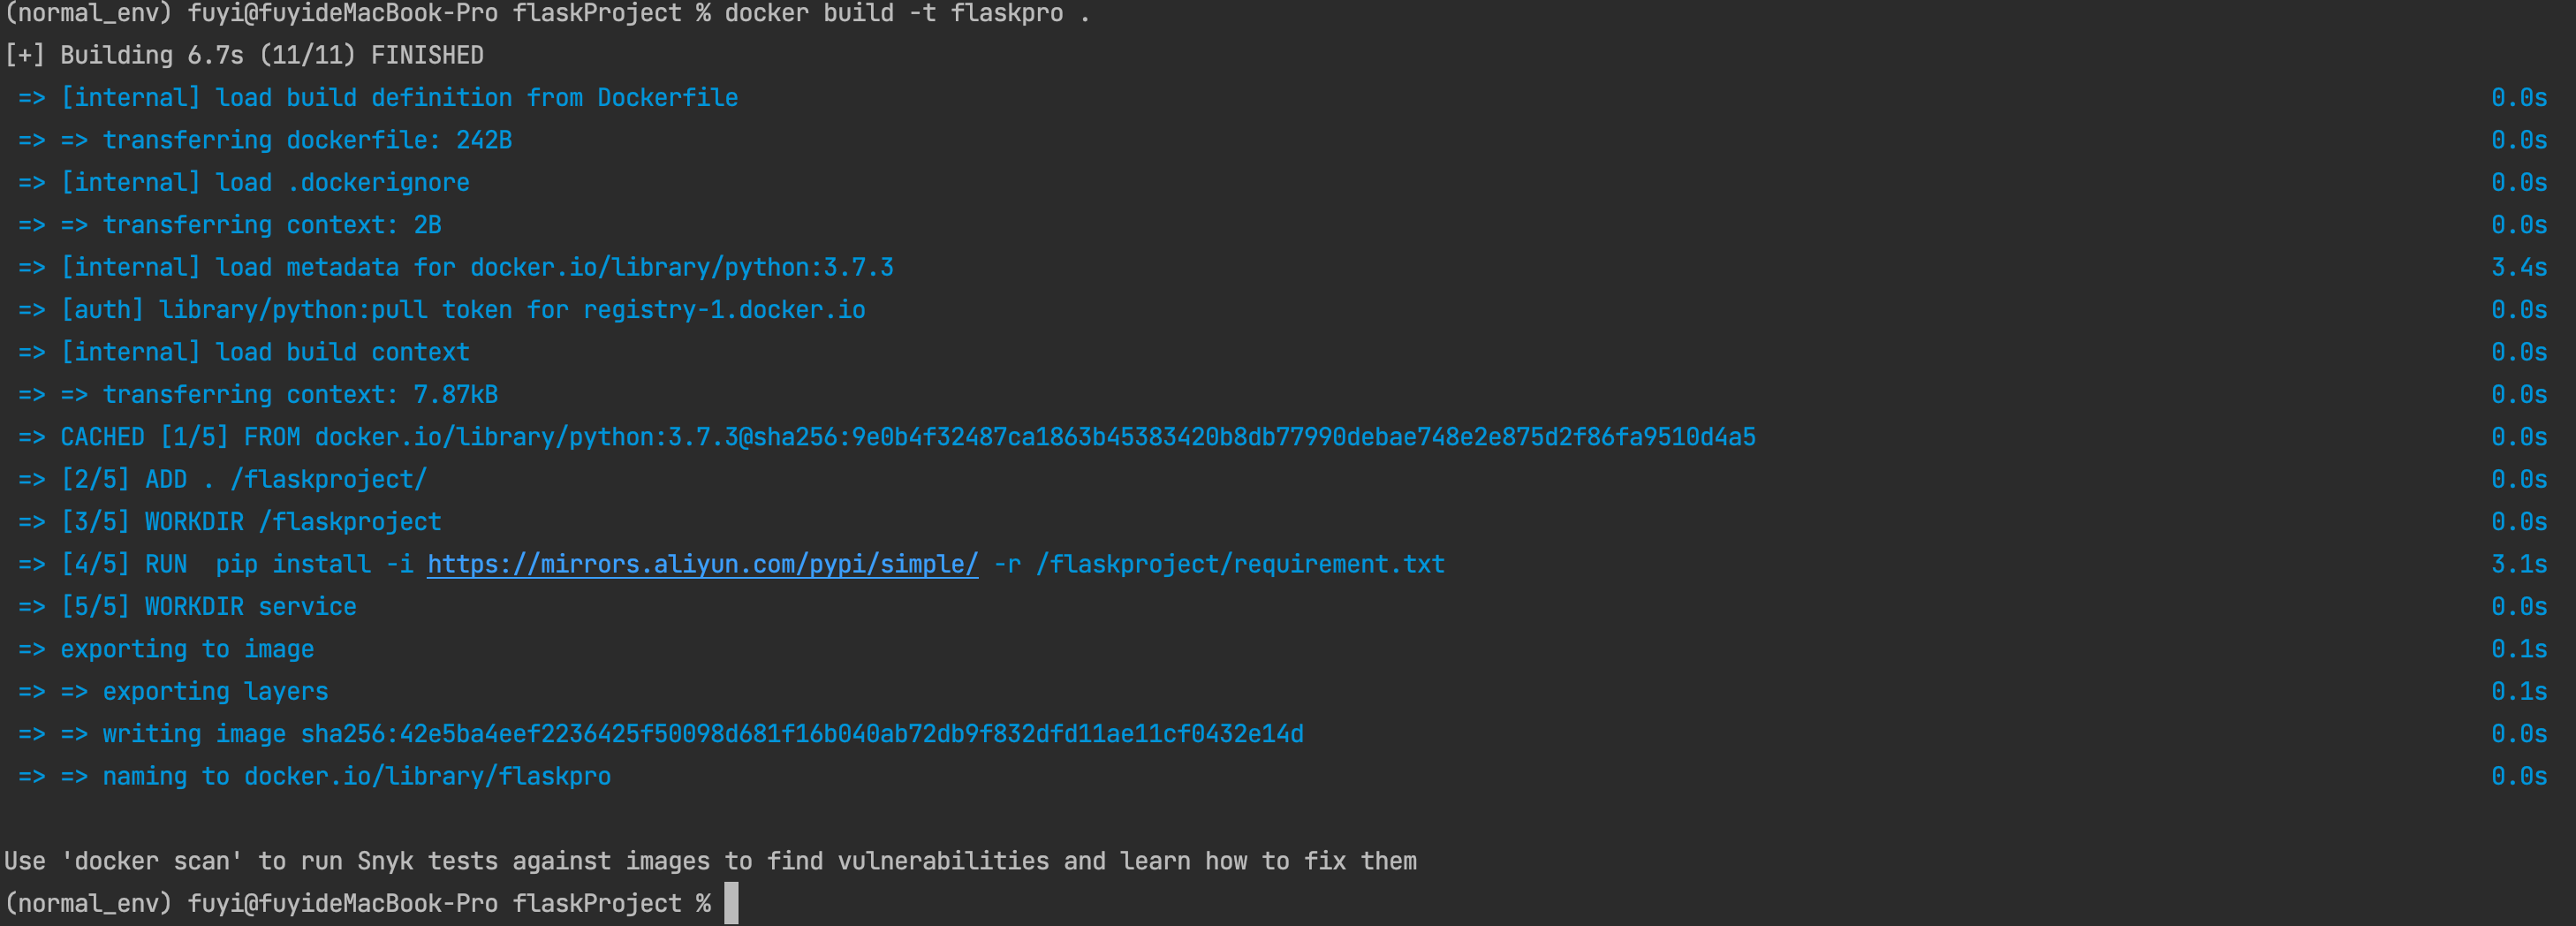
After the statement is run, docker will automatically build the python environment.
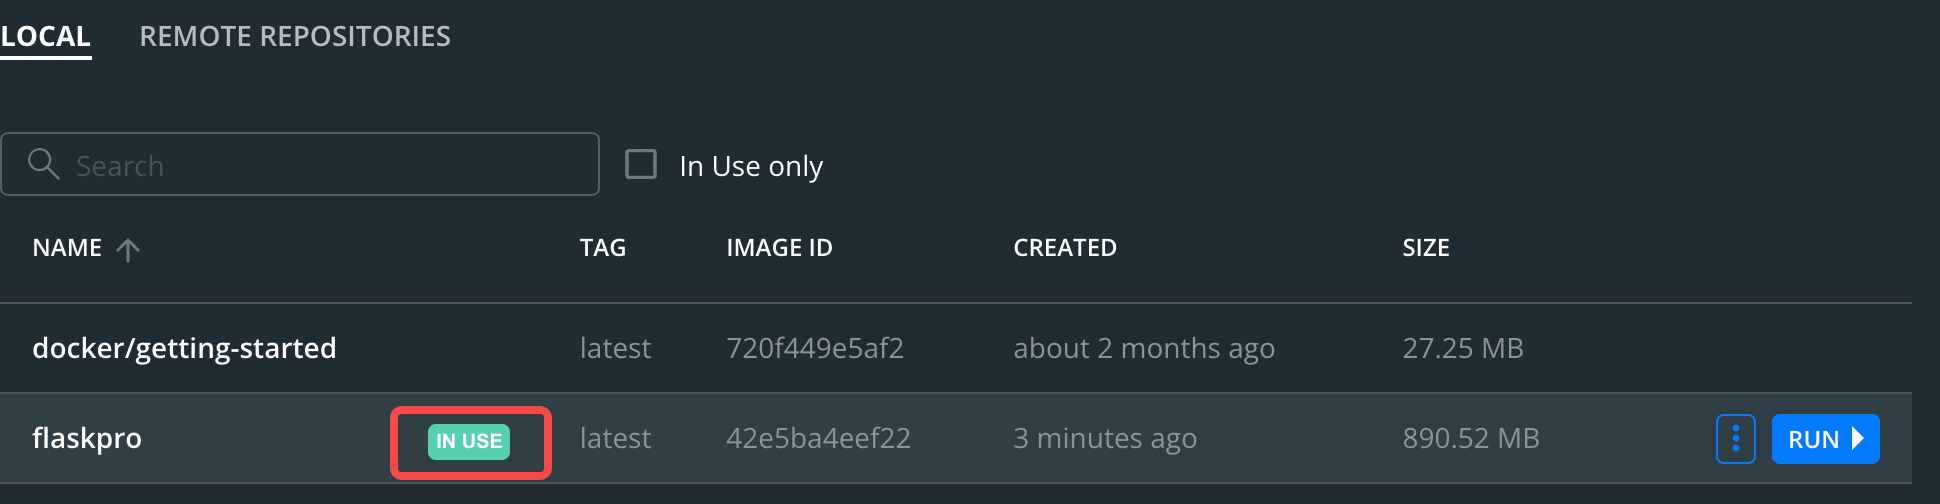
At the same time, the image we built also appeared in DockerDesktop.

5. Run docker image
docker run: create a new container and run a command
grammar
docker run [OPTIONS] IMAGE [COMMAND] [ARG...]
OPTIONS Description:
-a stdin: Specify the standard input / output content type, optional STDIN/STDOUT/STDERR Three items;

-d: Run the container in the background and return to the container ID;

-i: Run the container in interactive mode, usually with -t Simultaneous use;

-P: Random port mapping: the internal port of the container is randomly mapped to the port of the host

-p: Specify the port mapping in the format: host(host)port:Container port

-t: Reassign a pseudo input terminal to the container, usually with -i Simultaneous use;

--name="nginx-lb": Specify a name for the container;

--dns 8.8.8.8: Specifies the container to use DNS Server, which is consistent with the host by default;

--dns-search example.com: Specify container DNS Search the domain name, which is consistent with the host by default;

-h "mars": Specifies the name of the container hostname;

-e username="ritchie": Setting environment variables;

--env-file=[]: Read environment variables from the specified file;

--cpuset="0-2" or --cpuset="0,1,2": Bind container to specified CPU function;

-m :Set the maximum memory used by the container;

--net="bridge": Specify the network connection type of the container, support bridge/host/none/container: Four types;

--link=[]: Add a link to another container;

--expose=[]: Open a port or a group of ports;

--volume , -v: Bind a volume
Let's just use this statement here
docker run -p 8090:8090 -d flaskpro

Back to the DockerDesktop client, we found that there is an in use icon in images. We can click in to see the running image instance.
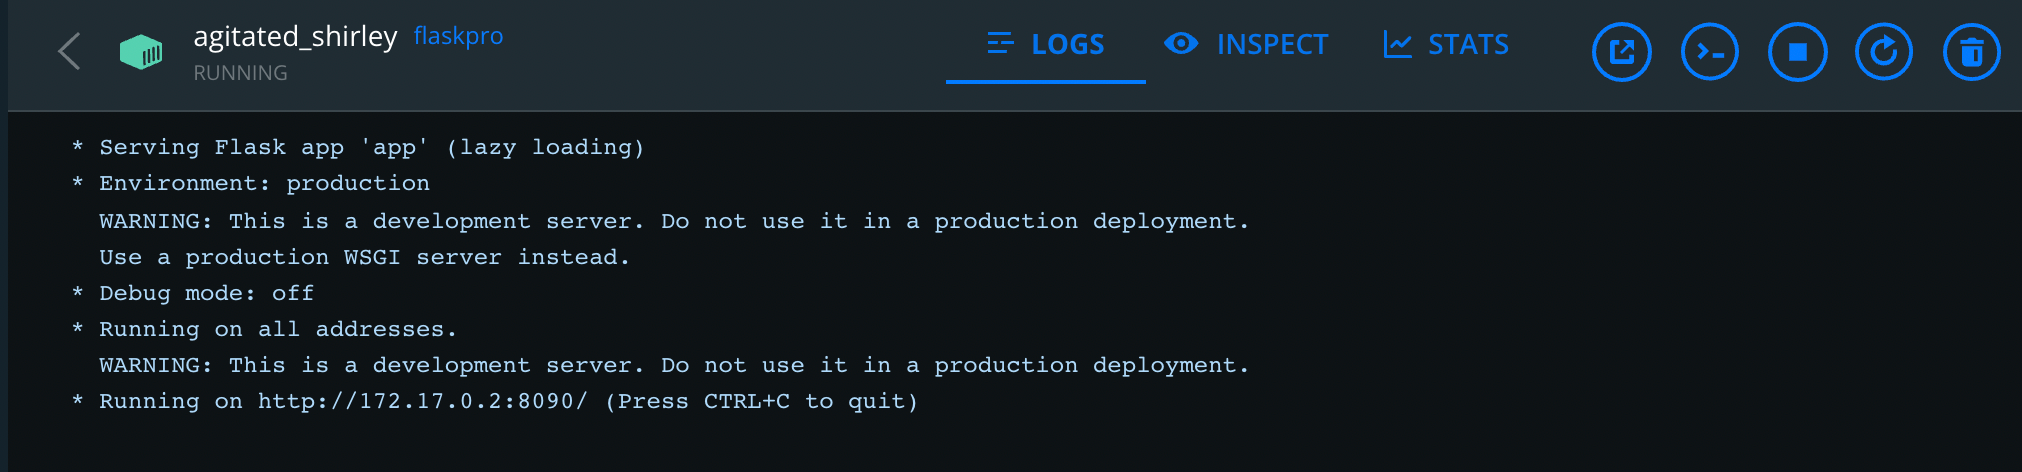
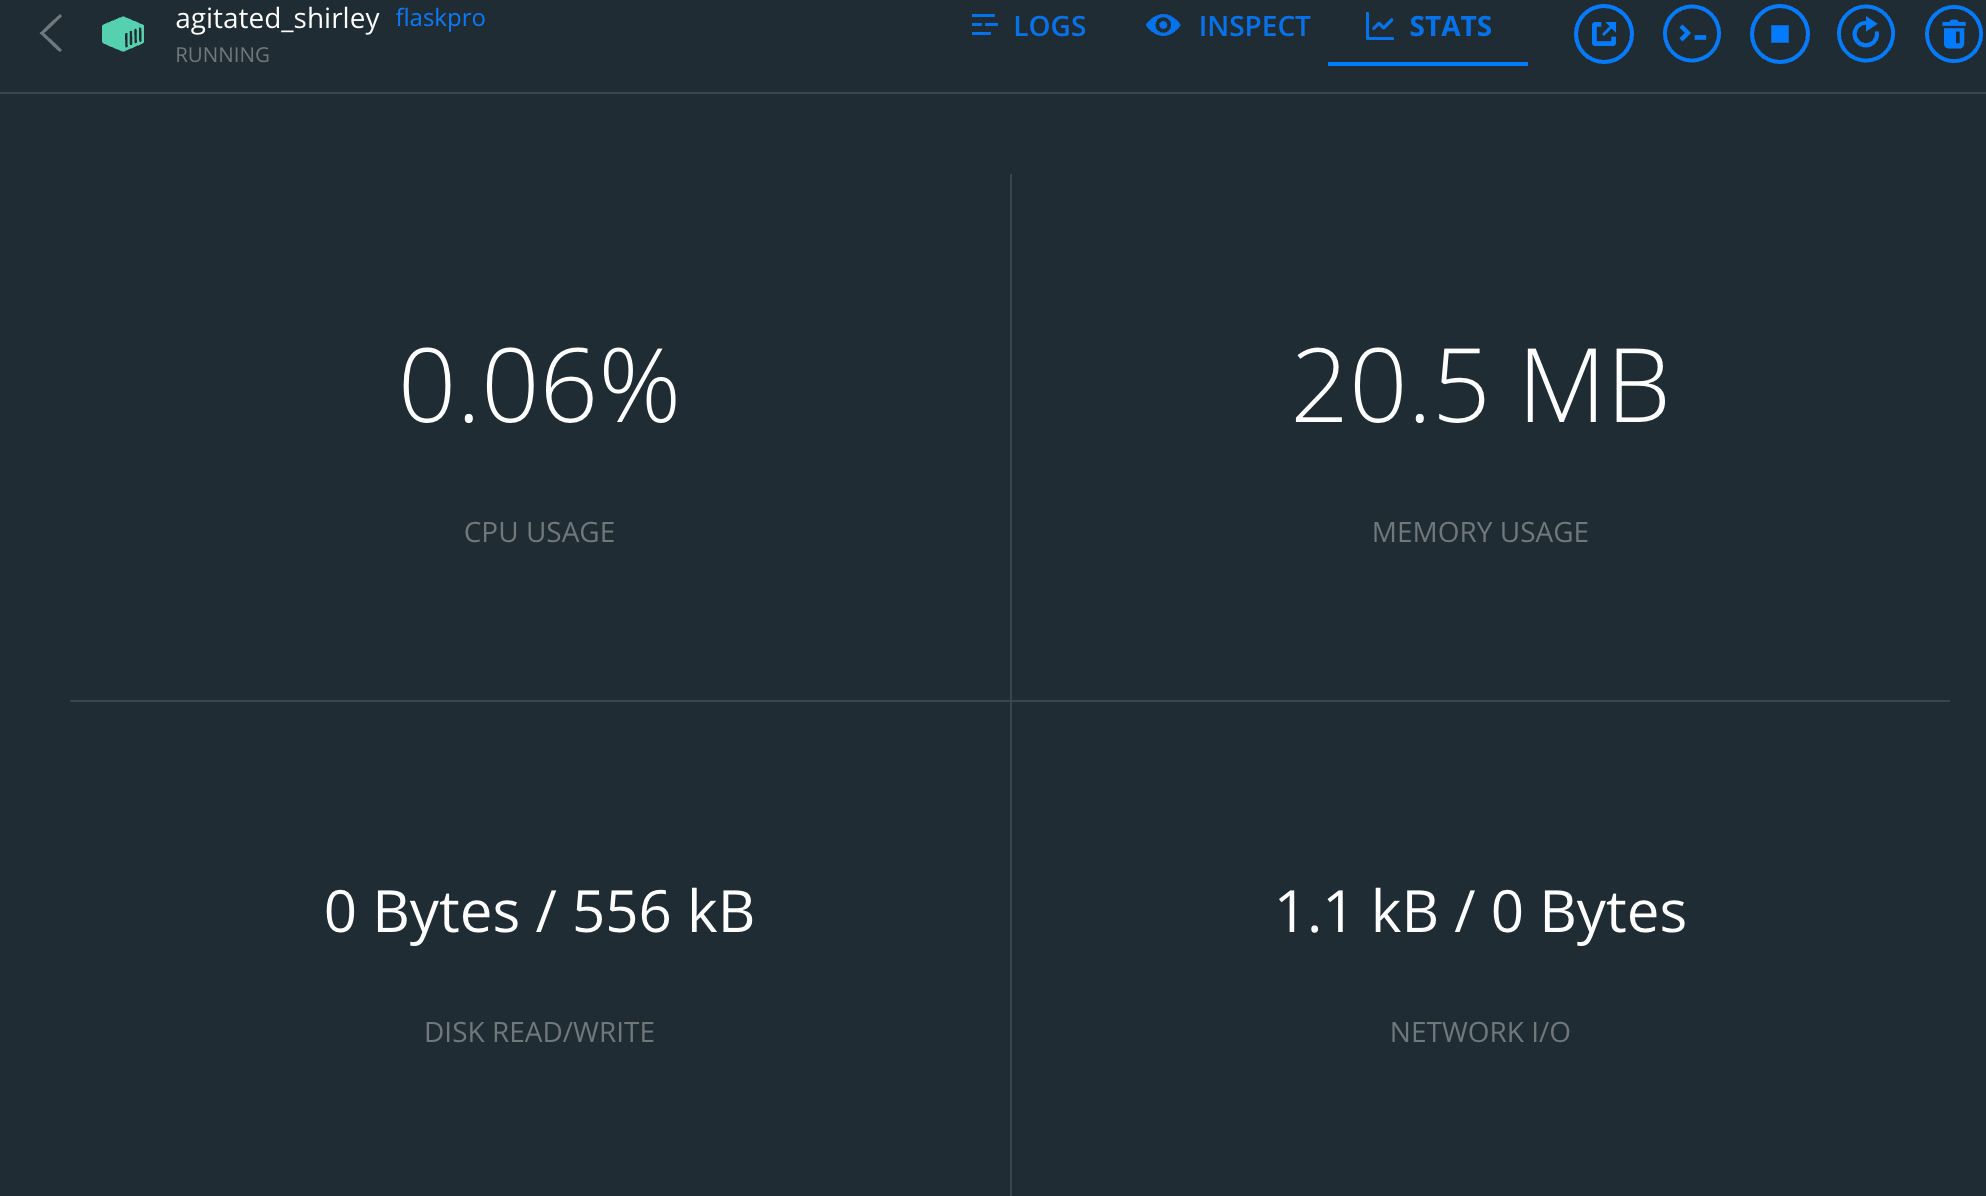
Click this instance again, and we can view its specific operation

There are three tabs. The first one is the terminal log
The second is the configuration details
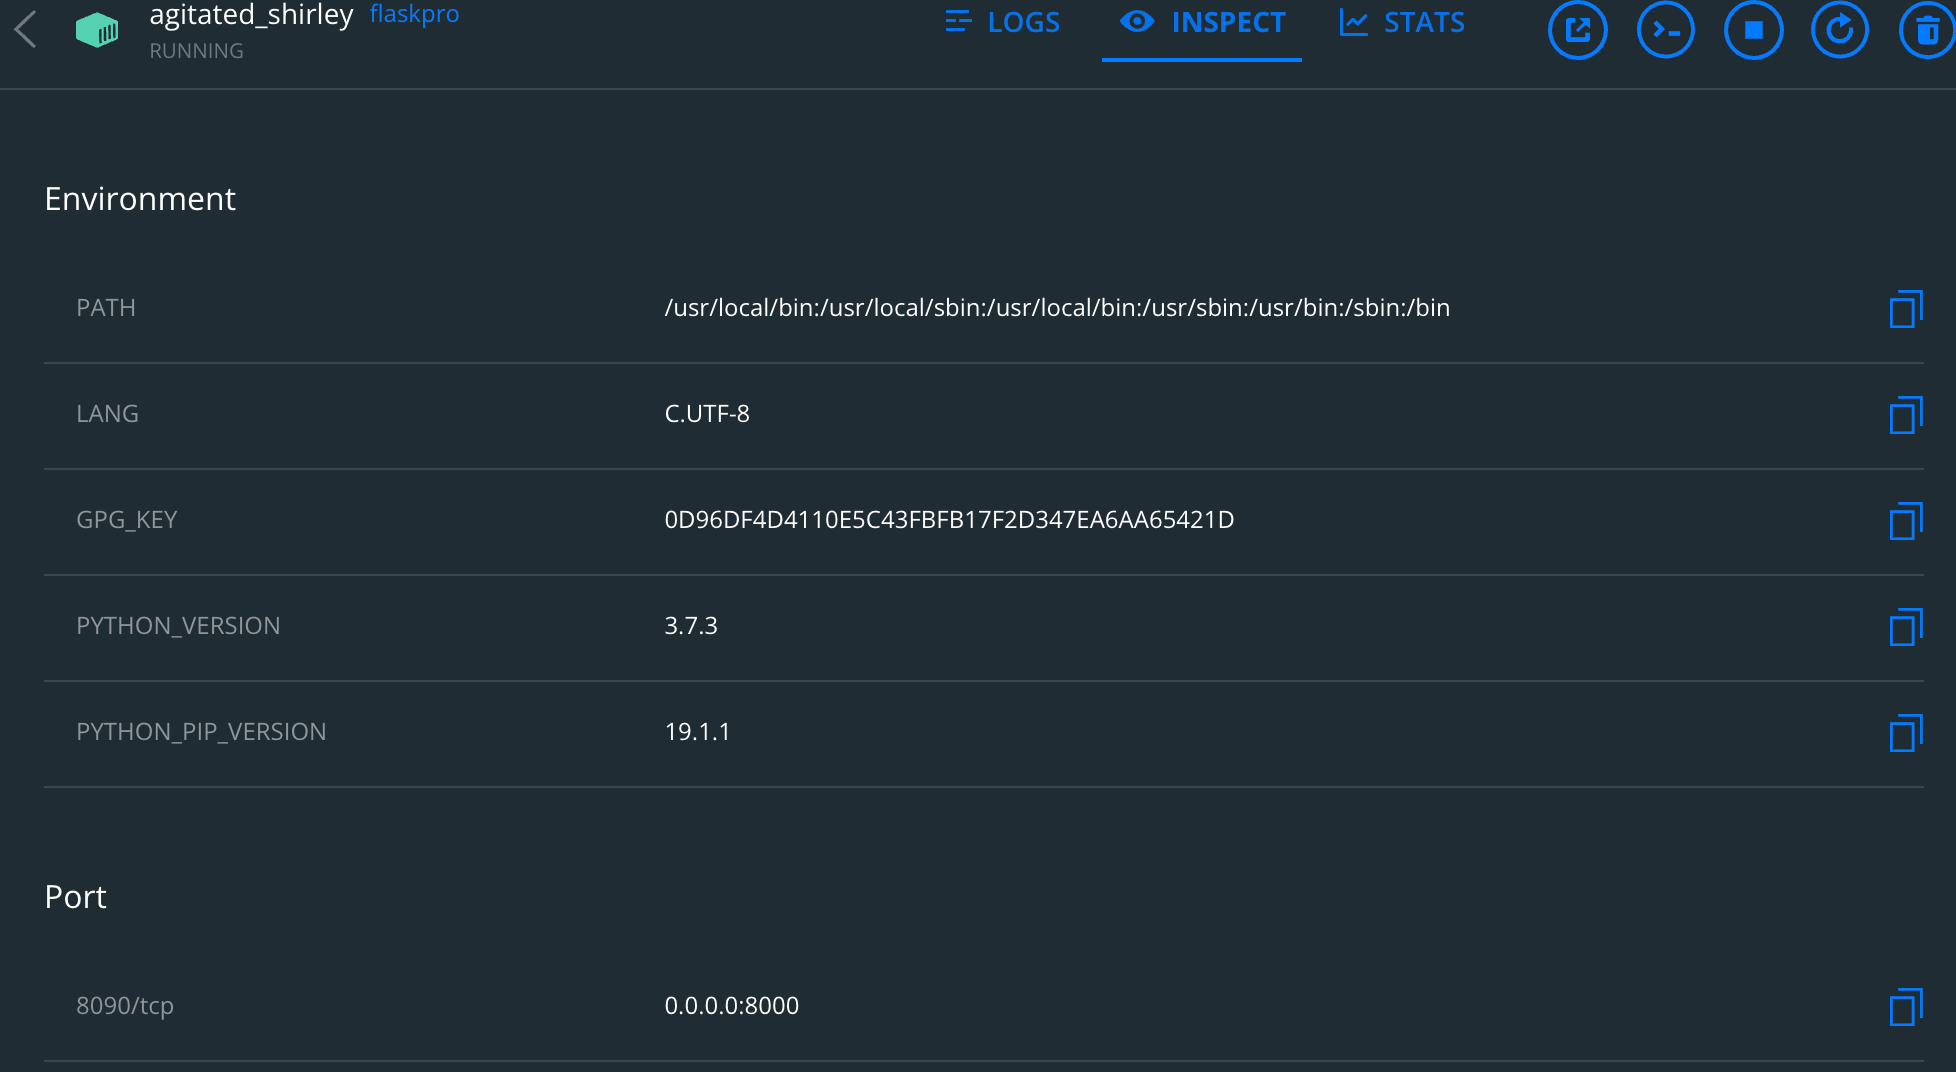
The third is the system resource status
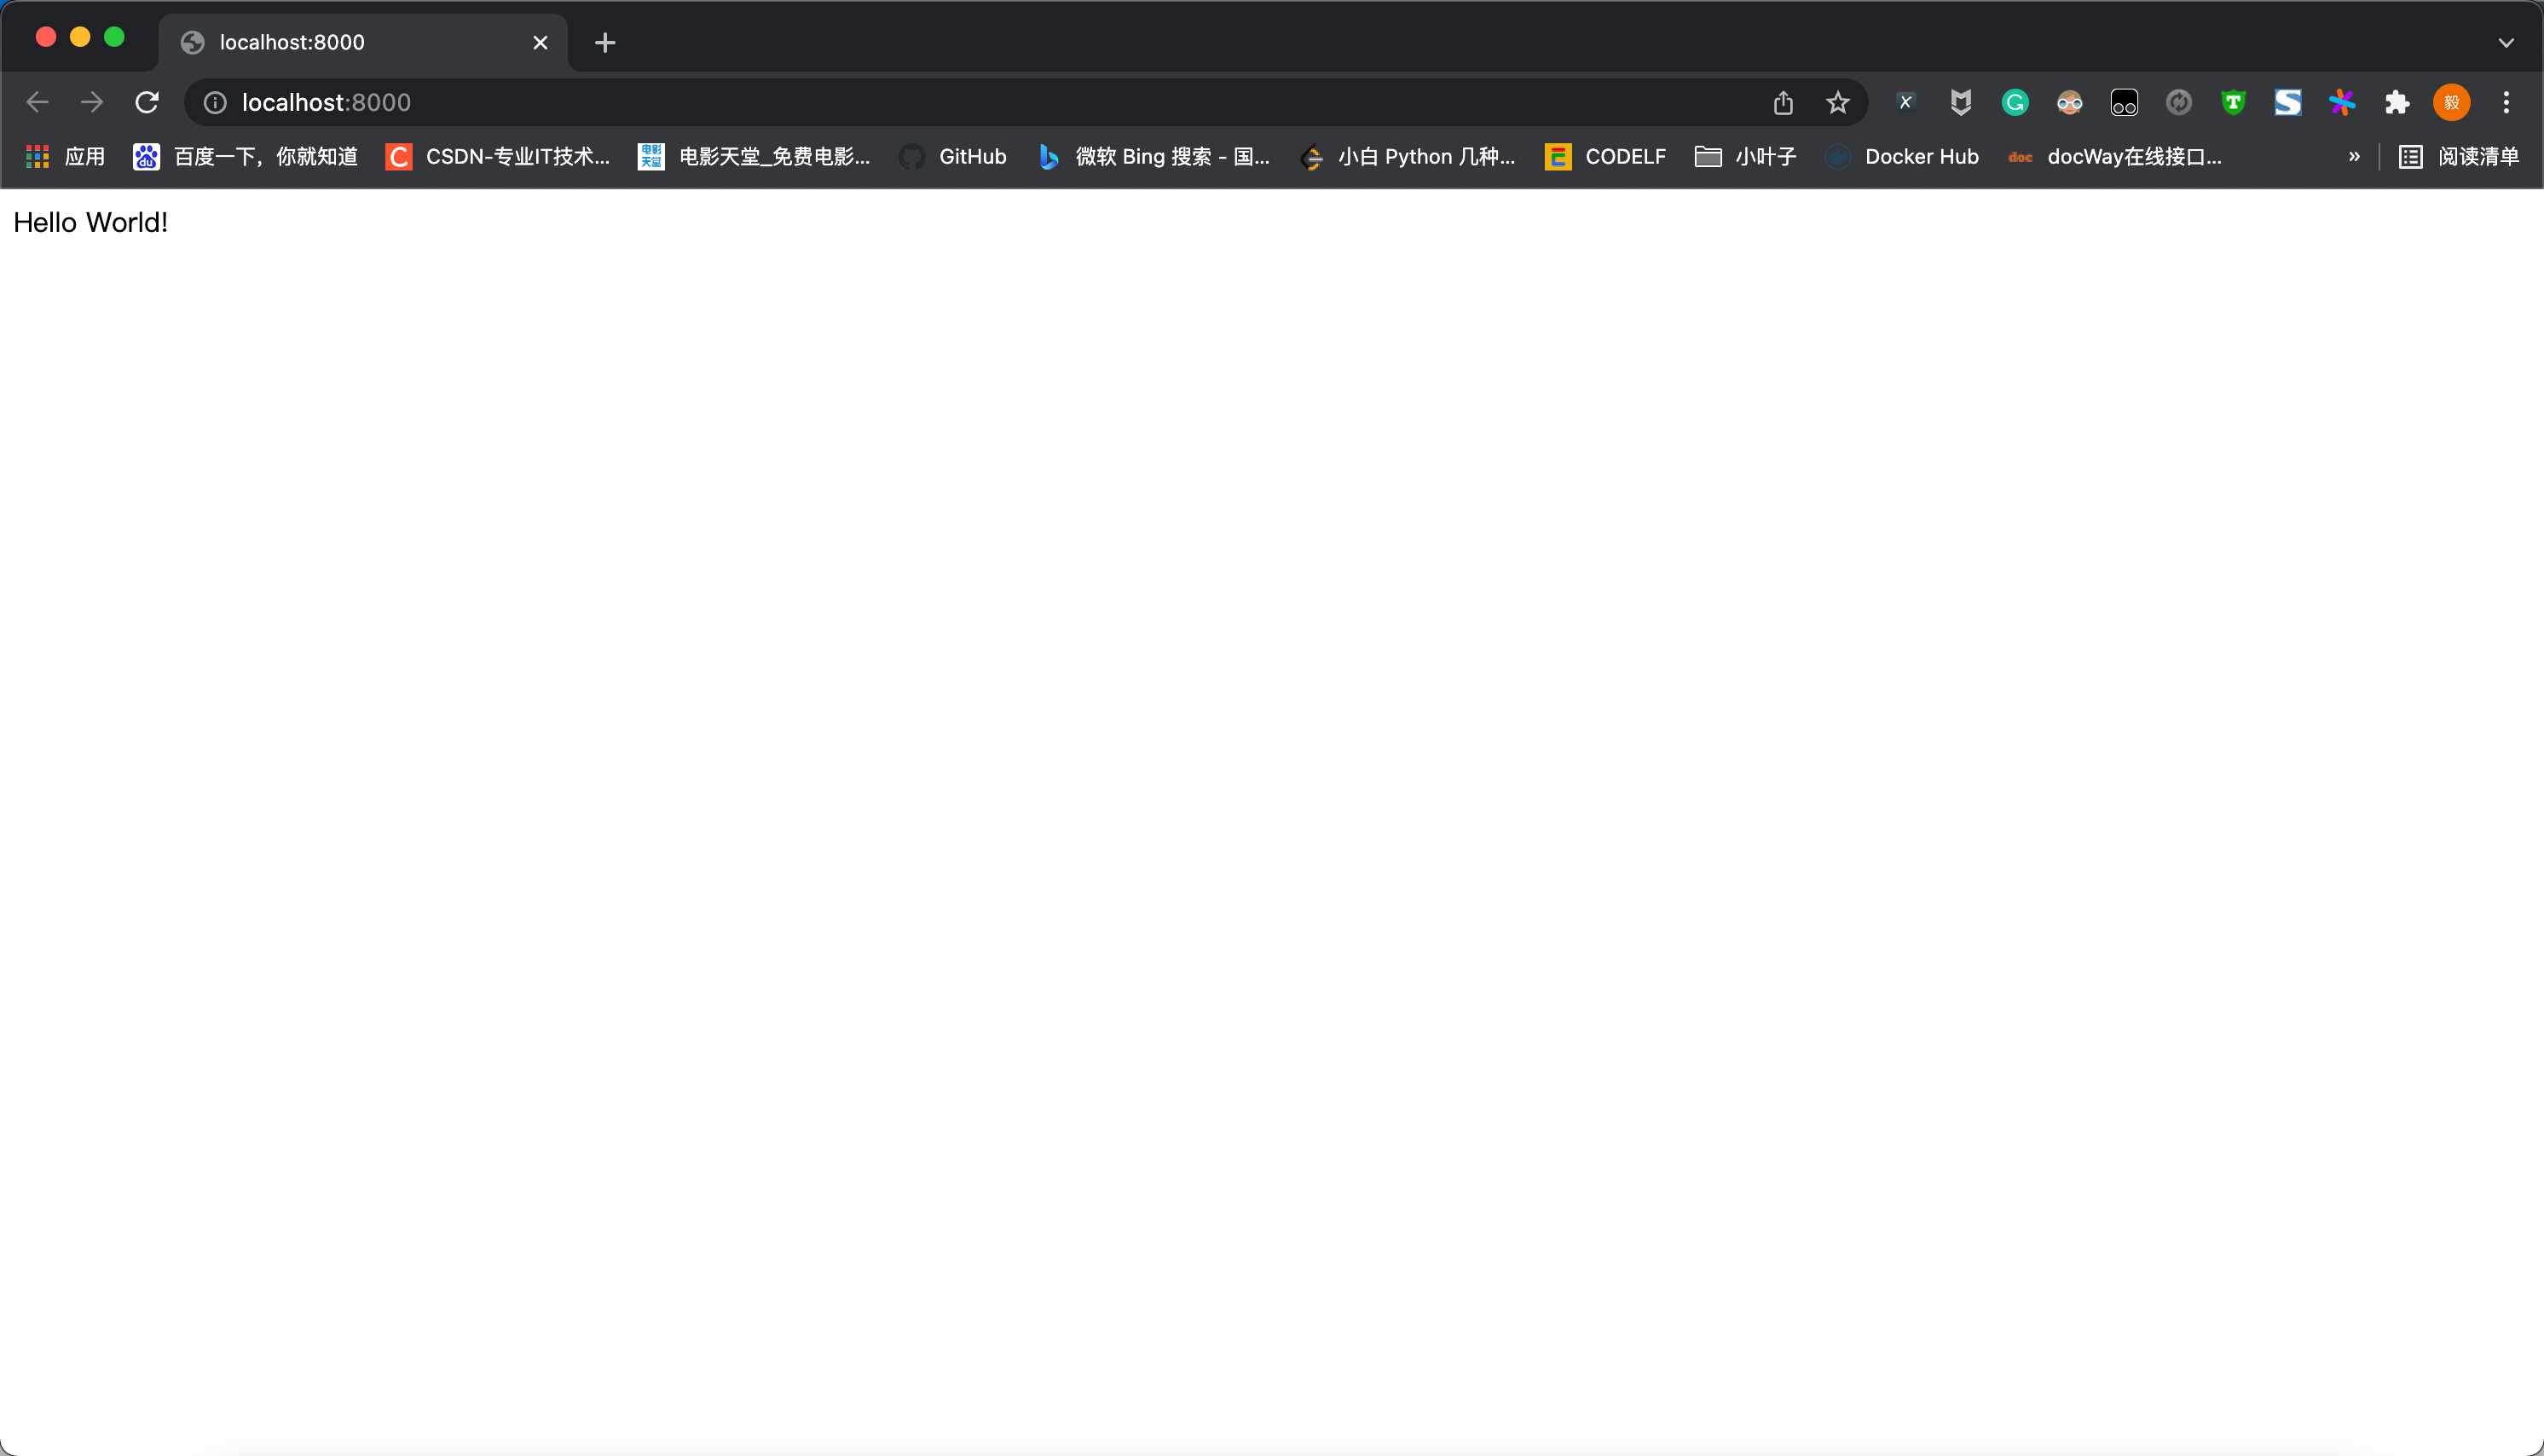
Then we can enter it in the browser address bar
localhost:8000 to access your project

For these buttons, the first is to open in the browser, the second is the terminal in the container, the third is to stop the container, the fourth is to restart, and the fifth is to delete
If you want to delete, you have to stop running image first
Other commands:
Stop the container in operation flaskpro
docker stop flaskpro

Restart container flaskpro
docker restart flaskpro