Let's see the effect demonstration first
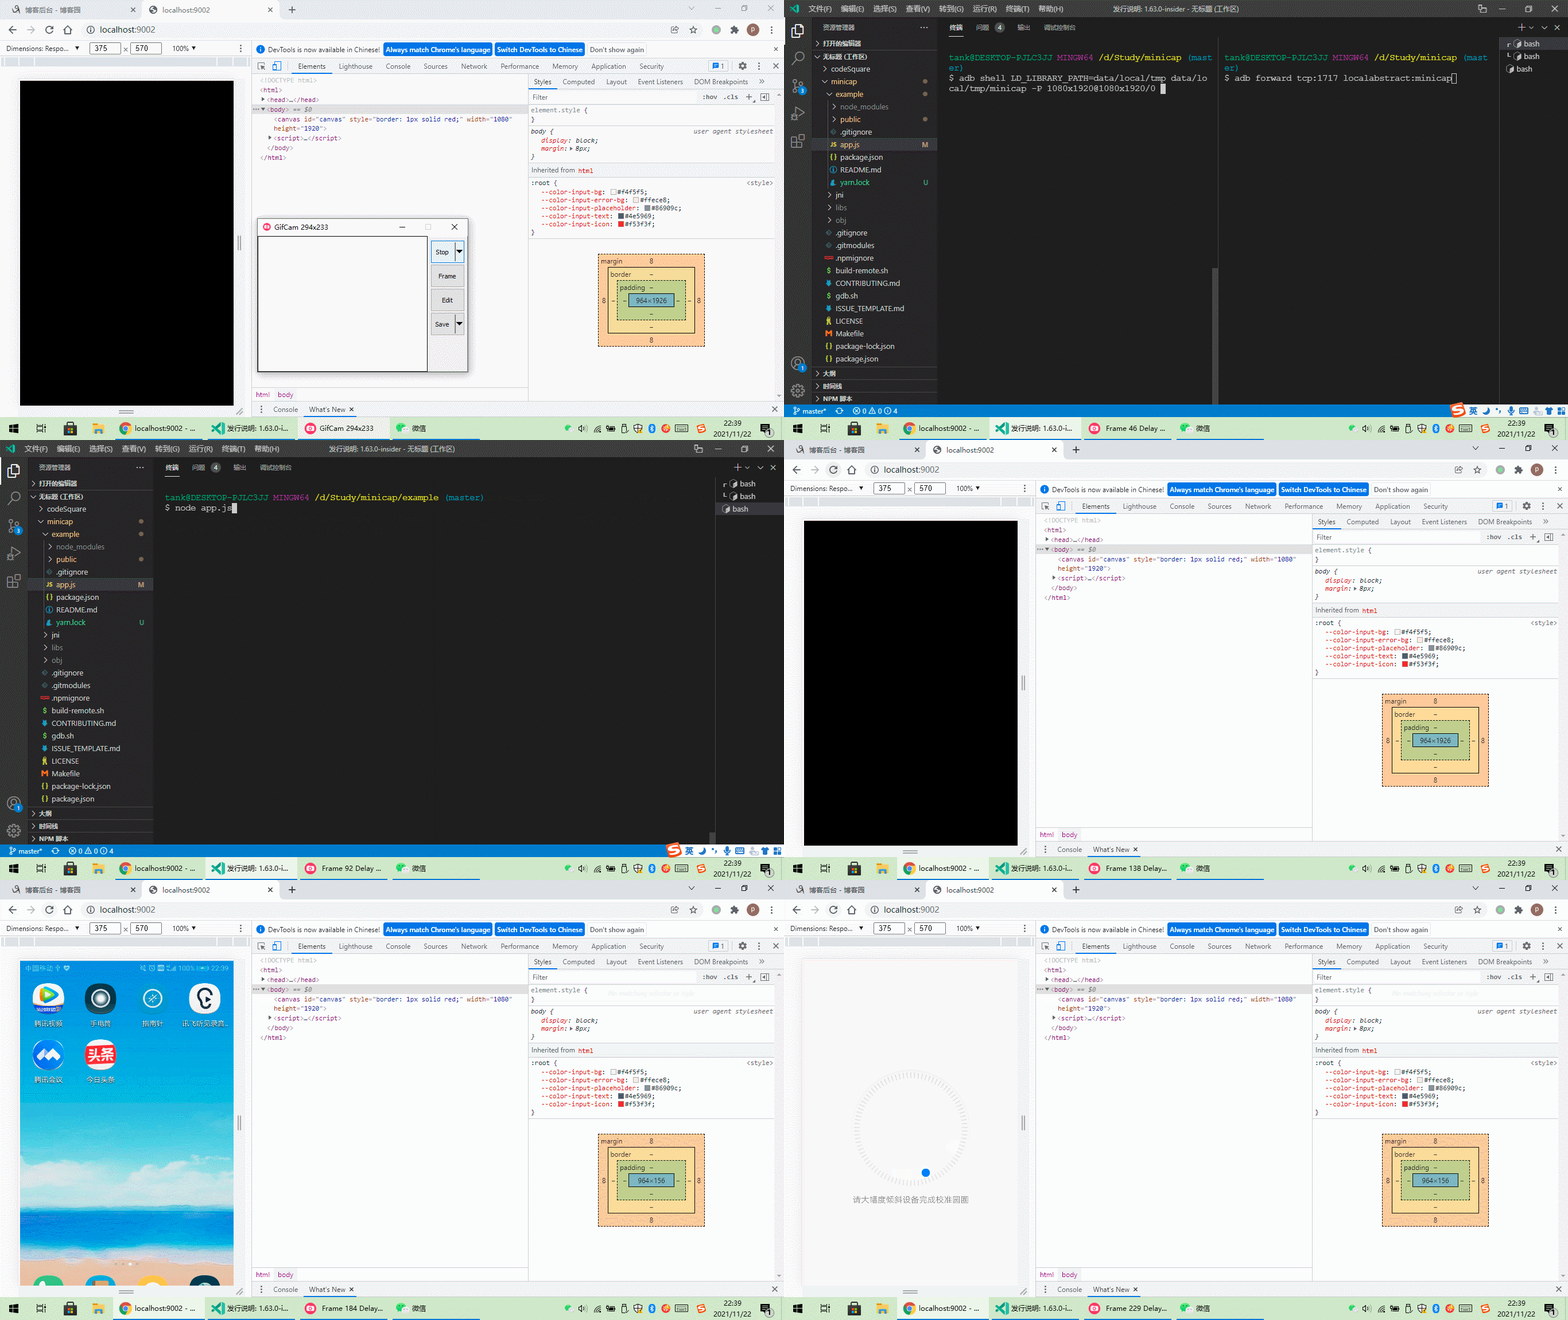
Next, I'll teach you how to achieve this effect.
Introduction to minicap
Minicap is an open source library that can remotely obtain Android screen images. It uses screen capture to obtain images on low version Android systems, and creates VirtualDisplay to obtain images on systems above Android 4.2. The performance is greatly improved. The core functions of minicap are implemented in minicap.so. If you want to carry out secondary development, you can directly reference it.
1.mincap Download
1.1 clone code
git clone https://github.com/openstf/minicap.git
cd minicap
git submodule init       // Initialize JNI / vendor / libjpeg turbo sub warehouse configuration
git submodule update // Update JNI / vendor / libjpeg turbo sub warehouse code
1.2 minicap warehouse directory structure
minicap
  |-example  Simple example client, connection minicap Server, convert to web display
  |-jni Source code, minicap For pure c/c++
  |  |-minicap A simple example server realizes the function of transmitting the captured frame through the network
  |  |-minicap-shared Core function library to capture pictures and notify listener Function of
  |  |  |-aosp Actual implementation
  |  |    |-libs Already compiled so library
  |  |      |-android-xx corresponding API Version is xx of so Library, the implementation method is different
  |  |    |-src source code
  |  |  |-mock Empty implementation
  |  |-vendor Dependent third party libraries
  |  |
  |-libs Compiled output directory
2.mincap compilation
2.1 download ndk-build
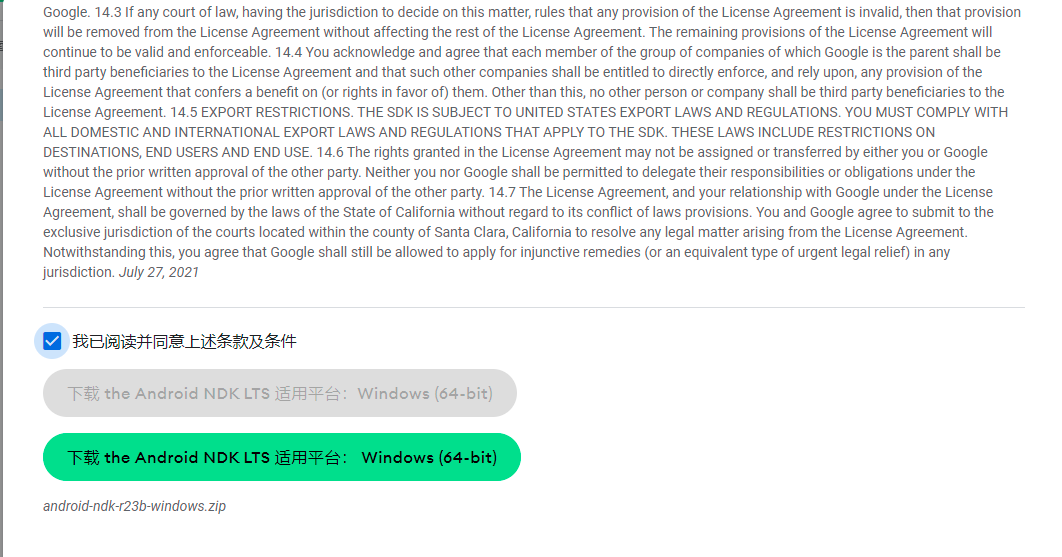
2.2 using NDK build Compiling the mincap installation package
2.2.1 download configuration adb
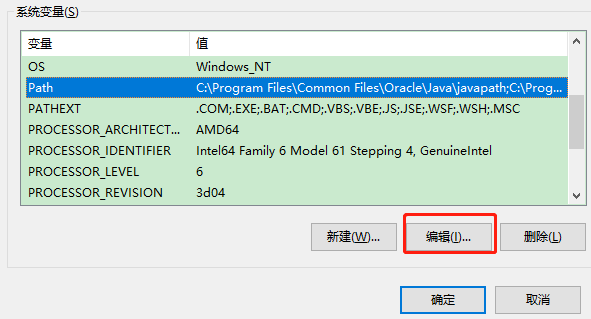
2) Add the adb path in the environment variable configuration, press Windows+R to open the run, enter sysdm.cpl, press enter, and the system properties dialog box pops up In advanced = = > environment variable = = > system variable = = > path, add the folder path of adb executable.
2.2.2 connecting equipment
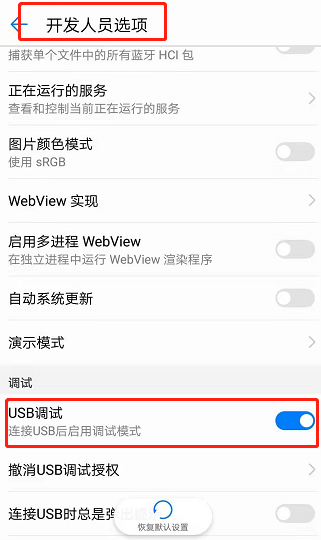
You need to turn on the debugger mode on the mobile phone Set = = > developer options = = > USB debugging. Open it. The developer options are under Android 4.2, which can be seen directly. It is hidden by default in Android 4.2 and above. The method to open the developer option is: open the setting = = > about the mobile phone, and click the version number 7 times in a row.
When debugging for the first time, the phone will pop up a query dialog box about whether to allow a computer to debug the phone in USB mode, and check allow this computer to debug.
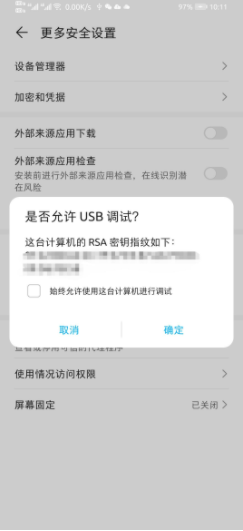
Then use the adb devices command to view the connected devices. If the device list is empty, you can try: 1) re open the USB debugging permission; 2) Revoke USB debugging permission and re empower; 3) Restart the phone
adb devices

2.2.3 view ABI(CPU instruction Architecture) supported by mobile phone CPU
Different Android phones use different CPUs and different The CPU supports different instruction sets. Each combination of CPU and instruction set has its own application binary interface, i.e ABI (full name: ApplicationBinary Interface)
adb shell getprop ro.product.cpu.abi

2.2.4 Get sdk of mobile device
adb shell getprop ro.build.version.sdk

2.2.5 Execute compilation
NDK build can be through app_ The platform parameter sets the target platform, which is android-14 by default. android-26(8.0) is specified here, which has no actual impact, because only the implementation of minicap shared is platform related, but we use the compiled library; Via APP_ABI can specify the instruction platform. If not specified, all armeabi-v7a, arm64-v8a, x86 and x86 will be compiled by default_ 64 platform.
After execution, minicap, minicap.so and minicap nopie files will be generated under libs/armeabi-v7a. Only minicap is actually used. The minicap.so generated here is an empty implementation.
ndk-build.cmd APP_PLATFORM=android-26 APP_ABI=arm64-v8a
3. Running minicap project example
3.1 run the server in example in minicap project
3.1.1 push the two compiled files to the mobile device
The so file must be minicap master \ JNI \ minicap shared \ AOSP \ LIBS \ android-26 \ arm64-v8a \ minicap.so, and the cpu architecture must match. Otherwise, it will be incompatible with the system and run with errors
adb push  libs/arm64-v8a/minicap data/local/tmp
adb push  jni/minicap-shared/aosp/libs/android-26/arm64-v8a/minicap.so data/local/tmp
3.1.2 setting file execution permission
adb shell chmod 777 data/local/tmp/minicap
adb shell chmod 777 data/local/tmp/minicap.so
3.1.3 obtaining android device resolution
adb shell wm size
3.1.4 start the server
# Test server availability
adb shell LD_LIBRARY_PATH=data/local/tmp data/local/tmp/minicap -P 1080x1920@1080x1920/0 -t

# Start the server
adb shell LD_LIBRARY_PATH=data/local/tmp data/local/tmp/minicap -P 1080x1920@1080x1920/0
3.1.5 use the adb tool to map the port of the server to 1717, and the port of the client node reading the data transmitted by the server is 1717
adb forward tcp:1717 localabstract:minicap
three point two Run the client in example in the minicap project
3.2.1 installation dependency
yarn
3.2.2 Start client
node app.js
Reference documents