preface
RabbitMQ is the message queue most used by Internet companies at present. It is commonly used in the following scenarios:- Asynchronous, decoupling
- Peak elimination, Pinggu
1, Installation mode
- Install via yum
- Download the installation package and install it in rpm mode (relevant dependencies need to be installed manually)
2, RPM mode installation
1. Install erlang
Rabbitmq is written in Erlang language, so it depends on the environment of Erlang. Pay attention to the version relationship between Erlang and rabbitmq.
View the corresponding relationship between RabbitMQ version and Erlang version: https://www.rabbitmq.com/which-erlang.html
| RabbitMQ version | Minimum and Maximum required Erlang/OTP |
|---|---|
| 3.8.16 | 23.2~24.x |
| 3.8.9 ~ 3.8.15 | 22.3~23.x |
| 3.8.4 ~ 3.8.8 | 21.3~23.x |
| 3.8.0 ~ 3.8.3 | 21.3~22.x |
| 3.7.19 ~ 3.7.27 | 21.3~22.x |
| 3.7.15 ~ 3.7.18 | 20.3~22.x |
| 3.7.11 ~ 3.7.14 | 20.3~21.x |
| 3.7.7 ~ 3.7.10 | 19.3~21.x |
| 3.7.0 ~ 3.7.6 | 19.3~20.x |
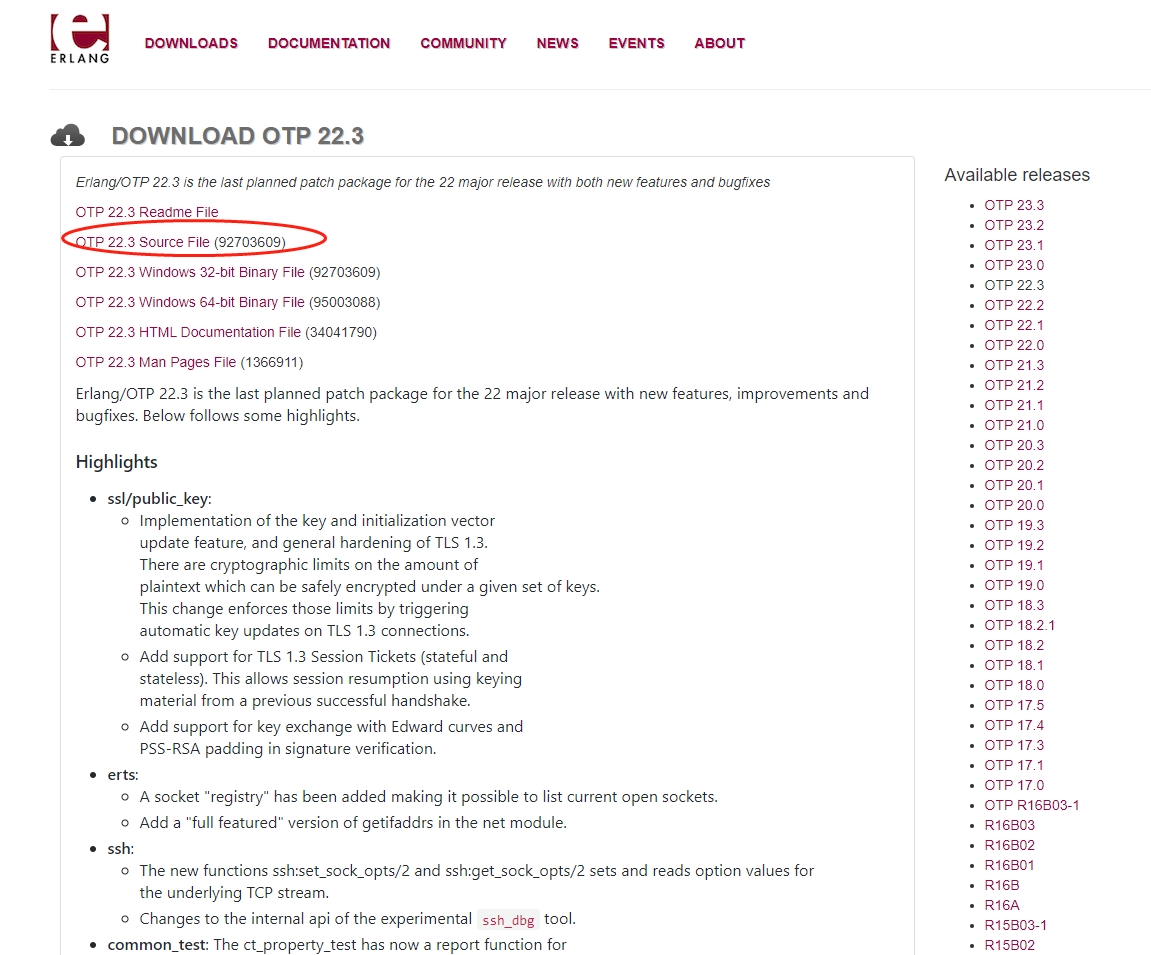
Go to the official website of Erlang and enter the Erlang download page. The official website link: https://www.erlang.org/
OPT download the specified version erlang: https://www.erlang.org/downloads/22.3
After downloading and uploading the server, create an erlang folder in the / usr/local directory, because the erlang compilation and installation is installed in bin and lib under / usr/local by default. Here, we install it into / usr/local/erlang to facilitate search and use.
mkdir -p /usr/local/erlang
1.1 dependencies required to install erlang
yum install make gcc gcc-c++ build-essential openssl openssl-devel unixODBC unixODBC-devel kernel-devel m4 ncurses-devel
1.2 compile and install Erlang
# Enter erlang directory
cd otp_src_22.3/
# compile
./configure  --prefix=/usr/local/erlang --without-javac
# Install erlang
make && make install
1.3 configuring Erlang environment variables
vim /etc/profile
Add Erlang environment variable
# Add the following configuration information
export ERLANG_HOME=/usr/local/erlang
export PATH=${ERLANG_HOME}/bin:${PATH}
Refresh configuration
source /etc/profile
1.4 create a soft chain
ln -s /usr/local/erlang/bin/erl /usr/local/bin/erl
1.5 viewing and installing erlang version
erl -version
2. Install RabbitMQ
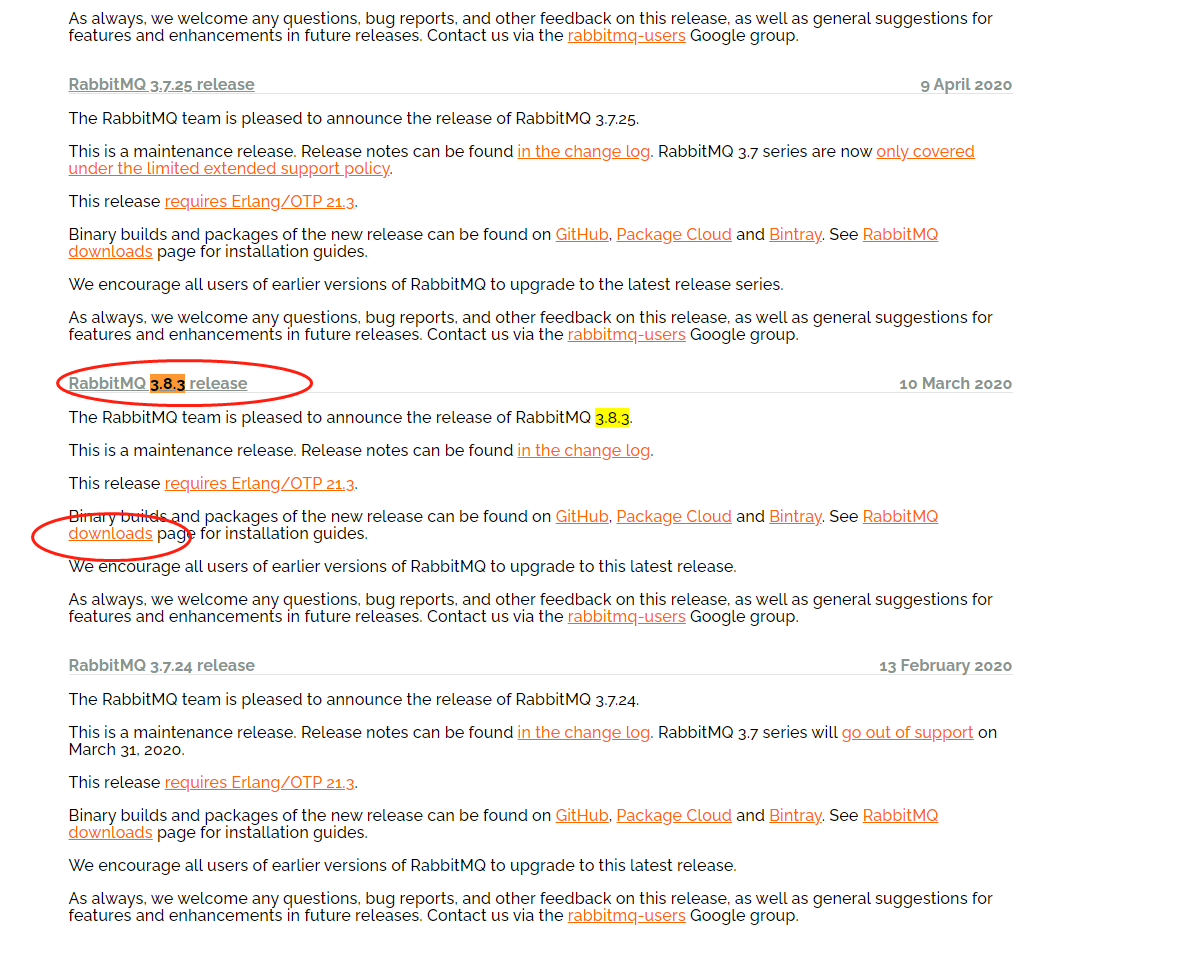
Enter the RabbitMQ official website and download the corresponding version of RabbitMQ. The official website link is: https://www.rabbitmq.com/
2.1 download and upload the server and unzip it
tar -zxvf rabbitmq-server-generic-unix-3.8.3.tar
2.2 configuring rabbitmq environment profile
vim /etc/profile
Add the following configuration information
export RABBITMQ_HOME=/Your path/rabbitmq_server-3.8.3
export PATH=${RABBITMQ_HOME}/sbin:${PATH}
Refresh configuration
source /etc/profile
2.3 open the web management interface plug-in
./rabbitmq-plugins enable rabbitmq_management
2.4 start rabbitmq
./rabbitmq-server -detached
2.5 add users and set access rights
The default login name and password are guest
# Add user
./rabbitmqctl add_user username password
# Delete a user
./rabbitmqctl delete_user username
# Add administrator role
./rabbitmqctl set_user_tags username administrator
# Configure vhost permissions
./rabbitmqctl set_permissions  -p  VHostPath  User  ConfP  WriteP  ReadP
2.6 setting rabbitmq startup and self startup
vi /usr/lib/systemd/system/rabbitmq.service
Create start. In the rabbitmq-3.8.3 directory sh
#!/bin/bash
export PATH=$PATH:/usr/local/erlang/bin
export HOME=/Your path/rabbitmq-3.8.3/rabbitmq_server-3.8.3
/Your path/rabbitmq_server-3.8.3/sbin/./rabbitmq-server
Add configuration (note that start.sh is created first)
[Unit]
Decription=rabbitmq
After=network.target

[Service]
Type=simple
ExecStart=/xxx/rabbitmq-3.8.3/start.sh
PrivateTmp=true

[Install]
WantedBy=multi-user.target
Enable boot
systemctl enable rabbitmq.service
Start service
systemctl start rabbitmq.service
Restart service
systemctl restart rabbitmq.service
Out of Service
systemctl stop rabbitmq.service
Prohibit startup
systemctl disable rabbitmq.service
3.RabbitMQ plug-in installation
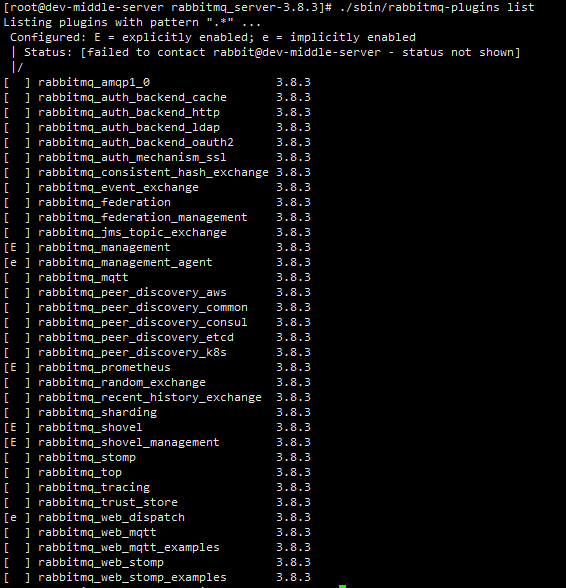
# see
./sbin/rabbitmq-plugins list
3.1 view the plug-ins installed by RabbitMQ
3.2 enable plug-ins
./sbin/rabbitmq-plugins enable xxx
3.3 disable plug-ins
./sbin/rabbitmq-plugins disable xxx