Note: This article mainly solves the problem that the picture is stretched when the picture of android startup page is full screen
Requirements:
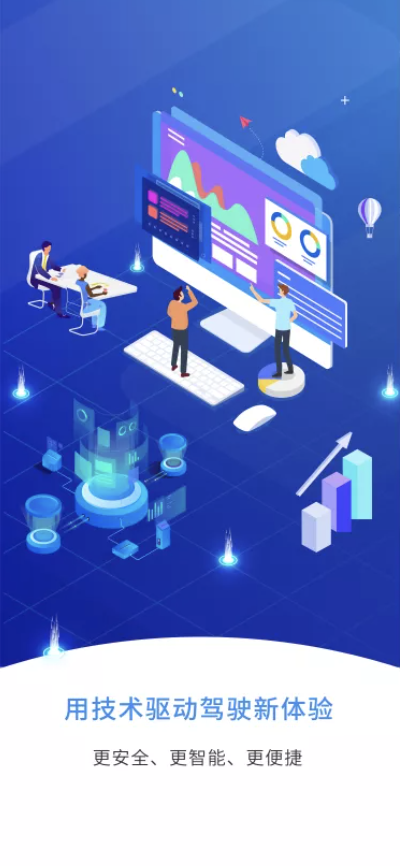
Recently, the app has been completely revised, and then the startup page has been replaced with a whole picture. The effect picture is as follows:

2. Question
At the beginning, I cut a whole picture, and then tested it under two testing machines. When starting:
① The font at the bottom is slightly deformed;
② There is a little compression in the vertical direction of the picture [this problem existed before the revision, and the test did not mention this problem, but during this revision, I want to further optimize it, and I feel that the experience of two pictures is not very good at startup];
3. Settle
(it should be noted that the size of the picture on the startup page also affects the adaptation of different mobile phones. At present, the size of the picture I choose is 1125 × 1884 size, which is placed in the mipmap xxhdpi folder. This size is OK on the current company's testing machine)
Problem ① solution:
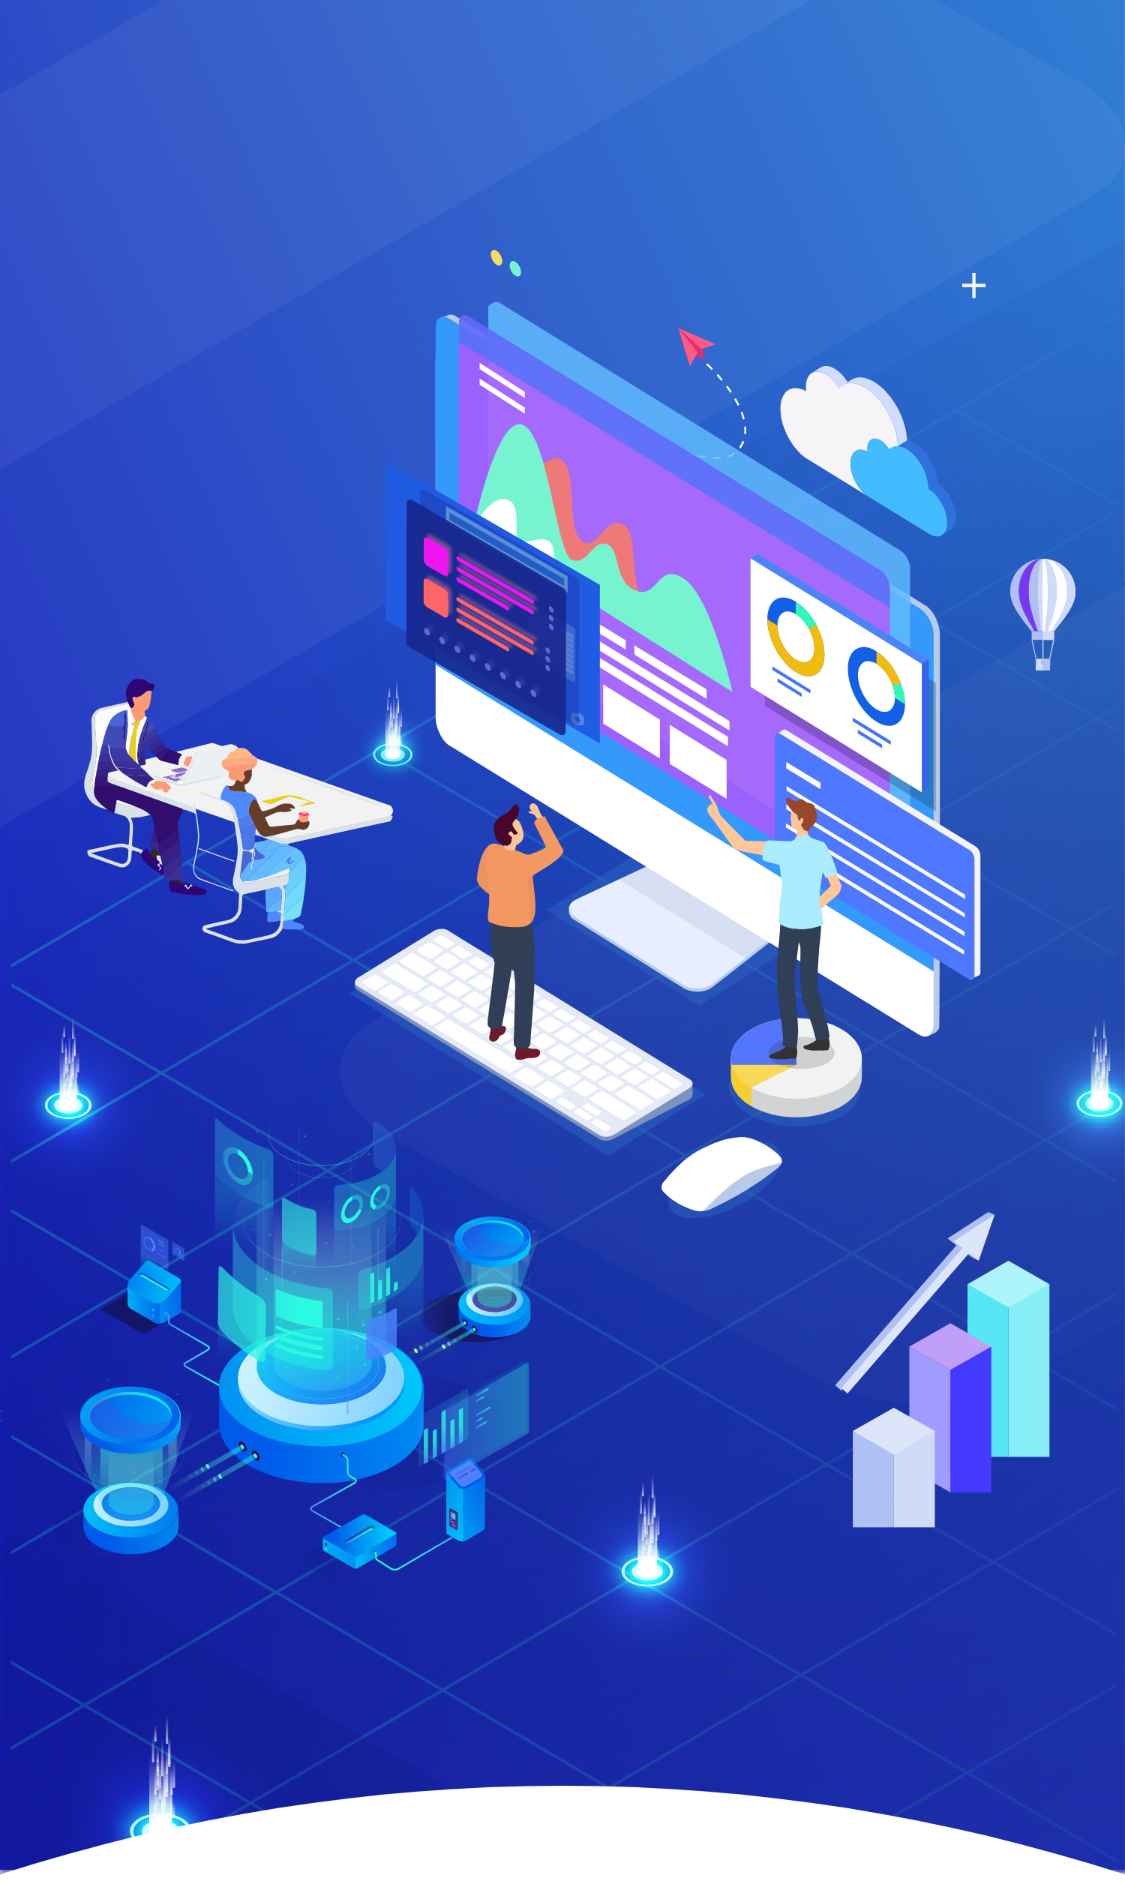
In order to prevent the font in the lower part from deformation, the design cuts the effect picture into two parts, the picture part above and the pure text part below. The cut-off picture is as follows:


For further optimization, the picture can be adapted to. 9
② solution:
The picture is compressed. After many tests, it is found that the immersive effect is set in the Activity, so the picture is not displayed in full screen. The immersive effect is removed from the code, and then in styles Set the theme of the startup page in XML to make the layout occupy the space of the status bar
Manifest file code
   <activity
            android:name=".ui.other.SplashActivity"
            android:enabled="false"
            android:alwaysRetainTaskState="true"
            android:theme="@style/SplashTheme"
            android:screenOrientation="portrait">
            <intent-filter>
                <action android:name="android.intent.action.MAIN" />
               <category android:name="android.intent.category.LAUNCHER" />
            </intent-filter>
        </activity>
Subject file code
    <!--android9.0 Start page full screen adaptation-->
    <!--!!!Note that it is modified here and remember to synchronize values-v27 Style file inside-->
    <style name="SplashTheme" parent="@style/Theme.AppCompat.Light.NoActionBar">
        <item name="windowNoTitle">true</item>
        <item name="windowActionBar">false</item>
        <item name="android:windowFullscreen">true</item>
        <item name="android:windowContentOverlay">@null</item><!--This property is currently unknown-->

        <item name="android:windowIsTranslucent">false
        </item><!--Immersion transparent status bar is optional. Whether the window is translucent or not. Set the effect of the status bar. This value will also affect the status effect-->
        <item name="android:windowDisablePreview">false
        </item><!--Cold start is the attribute used. The preview when the window is not visible is true Click when app The icon will slow down-->
       <item name="android:windowBackground">@drawable/layer_launch2</item><!--Replace the picture that starts the white screen-->
        <!--<item name="android:windowBackground">@mipmap/ic_splash_logo</item>--><!--Replace the picture that starts the white screen-->

        <!-- At 5.0 After that, one is added windowDrawsSystemBarBackgrounds Property to indicate whether this window is responsible for drawing the system bar background,
        We set it to false,So when it draws windowBackground When you're ready, you'll be there NavigationBar above.-->
        <item name="android:windowDrawsSystemBarBackgrounds">false</item>
        <item name="android:windowTranslucentStatus">true</item><!--This line of code causes the layout to occupy the status bar space-->

    </style>
Then fit Android 8 For models above 0 [corresponding api version 27], create the values-27 folder, and then create styles in this folder XML file

Styles in the values-27 folder The XML code is as follows:
<?xml version="1.0" encoding="utf-8"?>
<resources>
    <!--android9.0 Start page full screen adaptation-->
    <style name="SplashTheme" parent="@style/Theme.AppCompat.Light.NoActionBar">
        <item name="windowNoTitle">true</item>
        <item name="windowActionBar">false</item>
        <item name="android:windowFullscreen">true</item>
        <item name="android:windowContentOverlay">@null</item>
        <item name="android:windowIsTranslucent">false
        </item><!--Immersion transparent status bar is optional. Whether the window is translucent or not. Set the effect of the status bar. This value will also affect the status effect-->
        <item name="android:windowDisablePreview">false
        </item><!--Cold start is the attribute used. The preview when the window is not visible is true Click when app The icon will slow down-->
        <item name="android:windowBackground">@drawable/layer_launch2</item><!--Replace the picture that starts the white screen-->
       <!-- <item name="android:windowBackground">@mipmap/ic_splash_logo</item>--><!--Replace the picture that starts the white screen-->

        <!-- Android P Heterosexual screen adaptation can achieve a comprehensive screen effect -->
        <item name="android:windowLayoutInDisplayCutoutMode">shortEdges</item>

        <!-- At 5.0 After that, one is added windowDrawsSystemBarBackgrounds Property to indicate whether this window is responsible for drawing the system bar background,
We set it to false,So when it draws windowBackground When you're ready, you'll be there NavigationBar above.-->
        <item name="android:windowDrawsSystemBarBackgrounds">false</item>
        <item name="android:windowTranslucentStatus">true</item><!--This line of code causes the layout to occupy the status bar space-->
    </style>
</resources>
The file adds a line of code to adapt the android concave convex screen
<item name="android:windowLayoutInDisplayCutoutMode">shortEdges</item>
Google provides three display modes for the display of bangs
// By default, the bangs area is not available for full screen pages, and non full screen pages can be used
public static final int LAYOUT_IN_DISPLAY_CUTOUT_MODE_DEFAULT = 0;
// Allow page to extend to fringe area
public static final int LAYOUT_IN_DISPLAY_CUTOUT_MODE_SHORT_EDGES = 1;
// Fringe areas are not allowed
public static final int LAYOUT_IN_DISPLAY_CUTOUT_MODE_NEVER = 2;
Add Android: windowslayoutindisplaycutoutmode property to the theme to specify the display mode
During cold start, in order to prevent white screen or waiting time, a default picture [that is, the picture on the start page] is added
<item name="android:windowBackground">@drawable/layer_launch2</item><!--Replace the picture that starts the white screen-->
Take another look at the configuration of the startup page image in the SplashActivity layout file
<?xml version="1.0" encoding="utf-8"?>
<android.support.constraint.ConstraintLayout
    xmlns:android="http://schemas.android.com/apk/res/android"
    xmlns:app="http://schemas.android.com/apk/res-auto"
    android:layout_width="match_parent"
    android:layout_height="match_parent">

    <ImageView
        android:layout_width="match_parent"
        android:layout_height="match_parent"
        android:src="@drawable/layer_launch2"
        android:scaleType="fitXY"
        app:layout_constraintBottom_toBottomOf="parent"
        app:layout_constraintLeft_toLeftOf="parent"
        app:layout_constraintRight_toRightOf="parent"
        app:layout_constraintTop_toTopOf="parent" />

</android.support.constraint.ConstraintLayout>
It can be found that there are actually two pictures when the app is started, one is a friendly picture during cold start, and the other is a picture of the real startup page. If the adaptation is not good, the background picture during cold start will not perfectly overlap with the picture of SplashActivity, that is, there will be picture compression or the effect of putting two pictures on it. Of course, because there is no advertising space in the app, the ImageView in SplashActivity uses the default image. If the advertising image requested by the network is used, there will be no overlap. Even so, the cold start image should also have the effect of full screen adaptation. Looking back, let's first look at the current problem, the problem of image stretching
First, it is necessary to adapt the banged screen to mobile phones above android P;
Second, do not set the immersive effect of the code in the Activity;
(3) create a layer list and a layer list picture in the drawable folder;
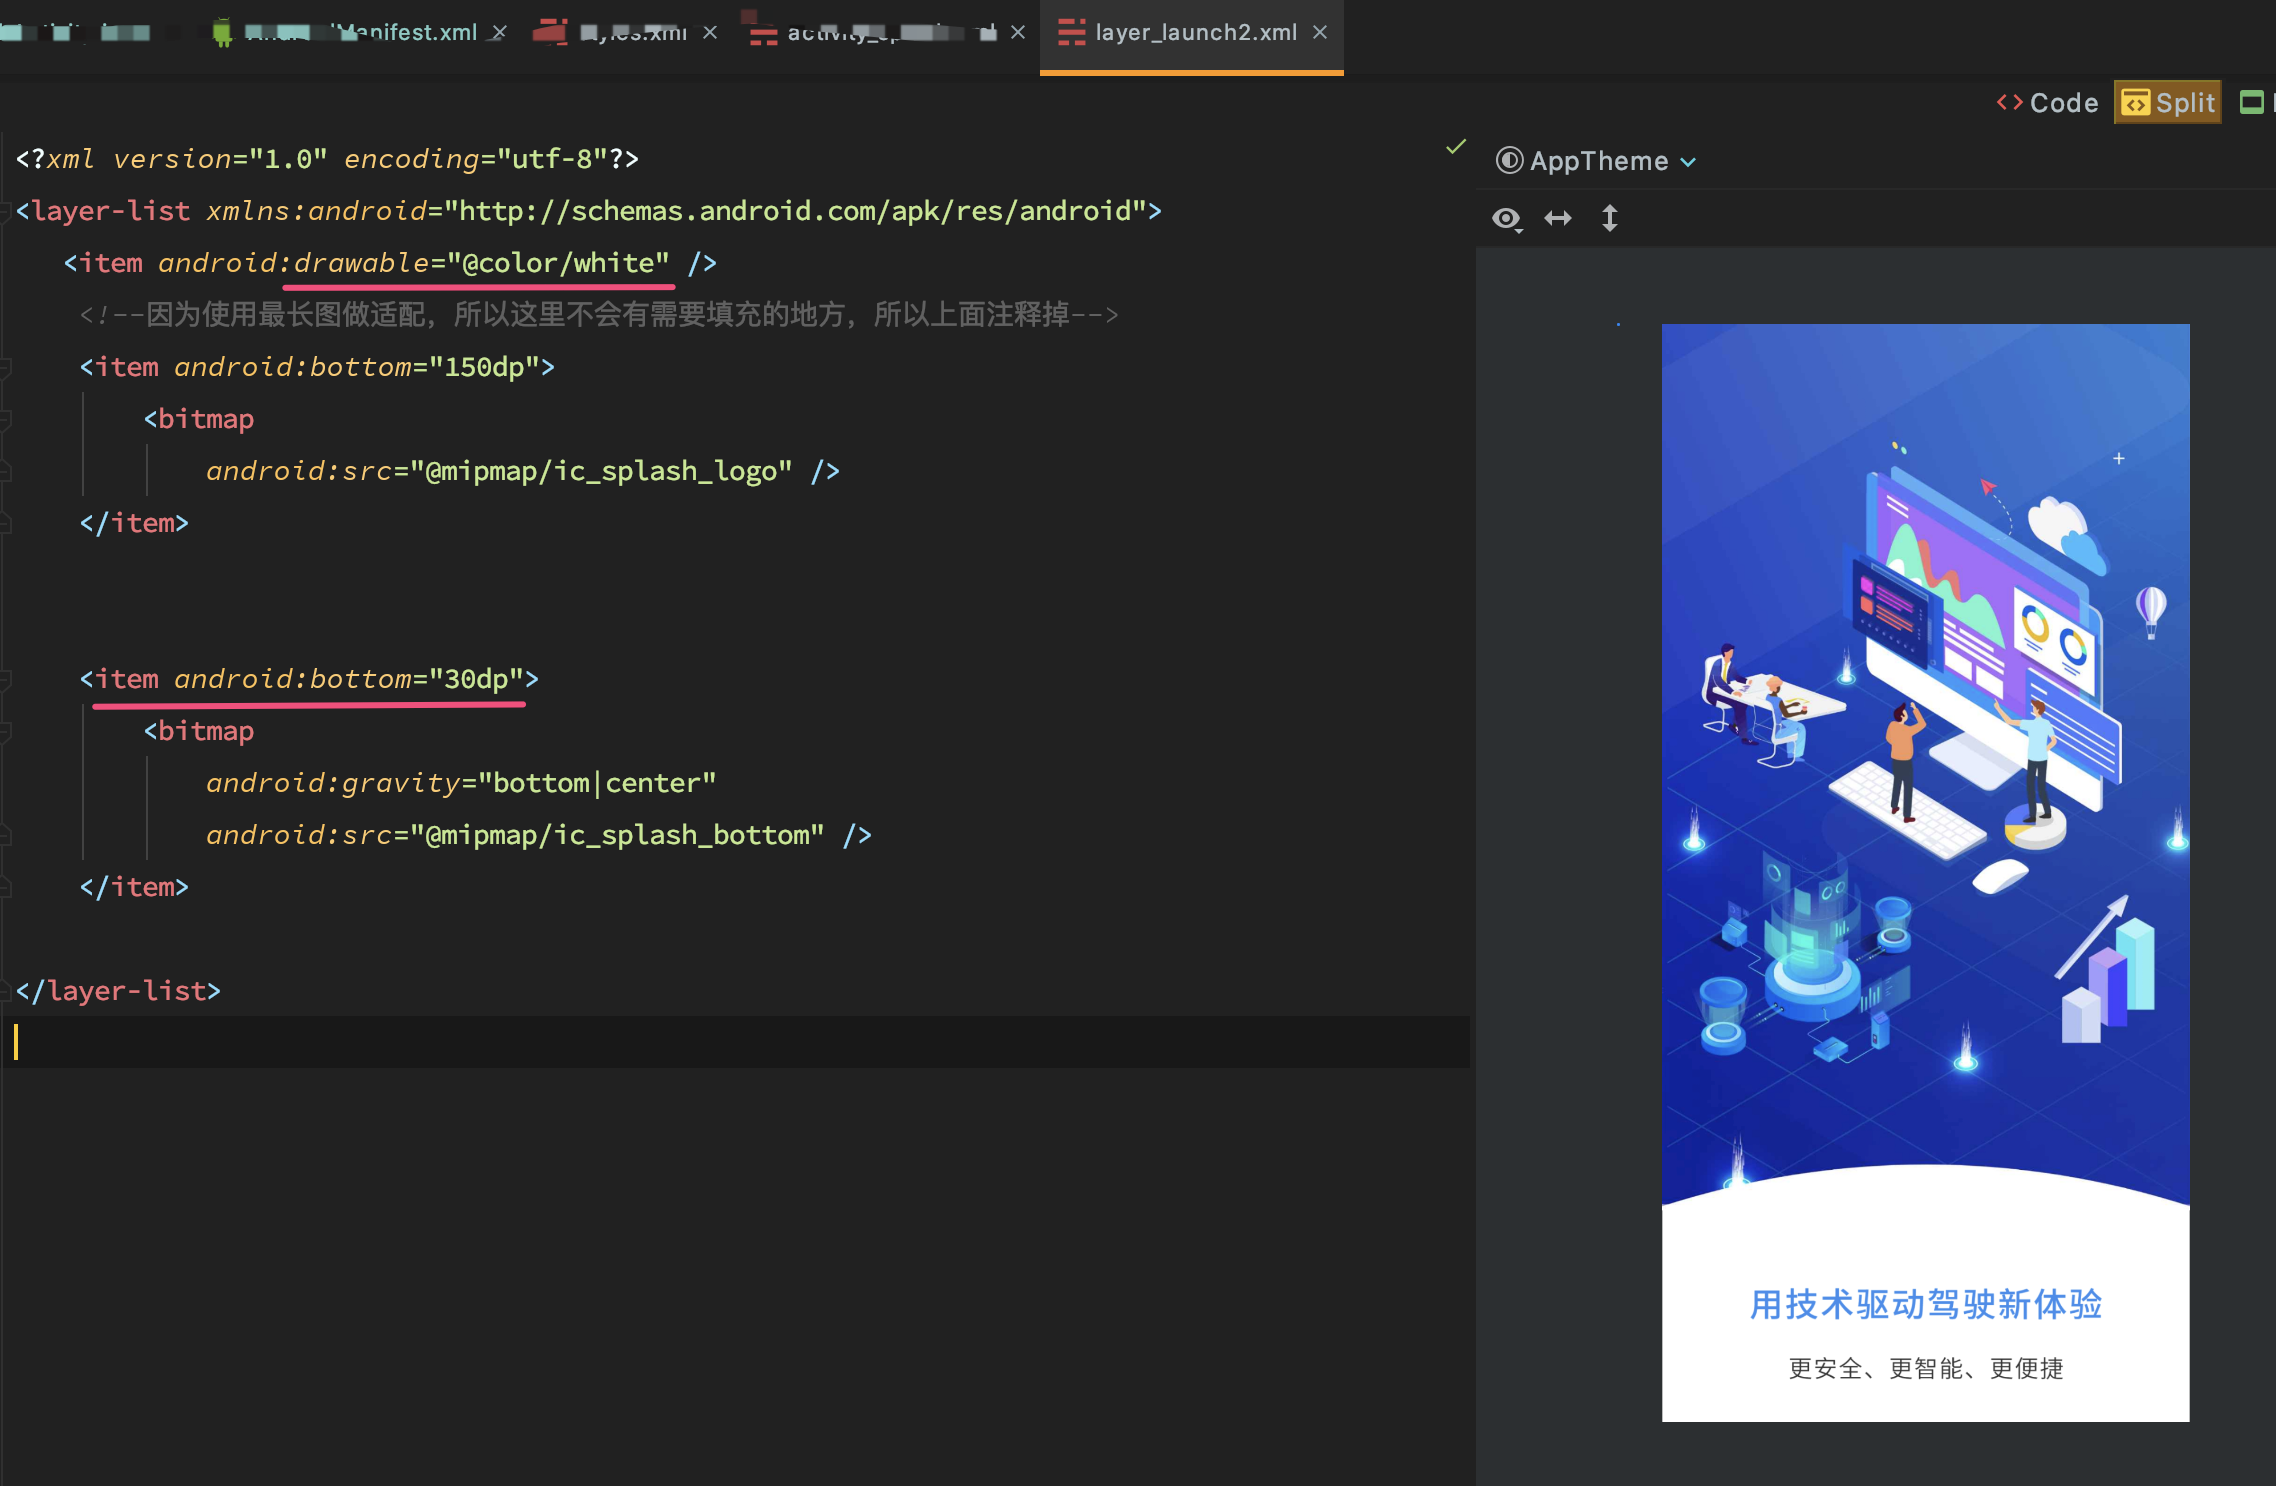
layer_ launch2. The XML code is as follows:
<?xml version="1.0" encoding="utf-8"?>
<layer-list xmlns:android="http://schemas.android.com/apk/res/android">
   <item android:drawable="@color/white" />
    <!--Because the longest graph is used for adaptation, there is no place to fill here, so it is noted above-->
    <item android:bottom="150dp">
        <bitmap
            android:src="@mipmap/ic_splash_logo" />
    </item>


    <item android:bottom="30dp">
        <bitmap
            android:gravity="bottom|center"
            android:src="@mipmap/ic_splash_bottom" />
    </item>

</layer-list>
The corresponding renderings are as follows

It can be found that in fact, the first layer is a white background, the second layer is a cut of the upper part, and 150dp is set from the bottom. 150dp is the height reserved to show the problem at the bottom. This size can be set by yourself. The third layer is set to center the bottom of the picture, and then 30dp from the bottom. The final effect is realized through the effect of three-layer superposition, Generally, the images of the startup page are realized through this layer list, so the adaptation effect will be better
So far, the problem that the picture is stretched when the android startup page picture is full screen has been solved!
4. Summary
As a programmer with professional ethics, we still need to solve the defects in the code, especially for the "Facade" of the startup page. The code processing logic of the startup page is actually in these aspects: cut size selection, theme file configuration [bangscreen adaptation], drawable file creation and processing, and immersive effect processing.