catalogue
Spring bootadmin configures the online log viewing function
This build process is based on springboot 2.4.9 and springbootadmin 2.3.1
Spring bootadmin server setup
The first step is to build a standard spring boot project.
Step 2: modify POM XML file and add the corresponding jar
    <properties>
        <java.version>1.8</java.version>
        <spring-boot-admin.version>2.3.1</spring-boot-admin.version>
    </properties>
    <dependencies>
        <dependency>
            <groupId>org.springframework.boot</groupId>
            <artifactId>spring-boot-starter-web</artifactId>
        </dependency>
        <dependency>
            <groupId>org.springframework.boot</groupId>
            <artifactId>spring-boot-starter-test</artifactId>
            <scope>test</scope>
        </dependency>
        <dependency>
            <groupId>org.springframework.boot</groupId>
            <artifactId>spring-boot-starter-security</artifactId>
        </dependency>
        <dependency>
            <groupId>de.codecentric</groupId>
            <artifactId>spring-boot-admin-starter-server</artifactId>
            <version>${spring-boot-admin.version}</version>
        </dependency>
        <dependency>
            <groupId>org.springframework.boot</groupId>
            <artifactId>spring-boot-starter-actuator</artifactId>
        </dependency>
    </dependencies>
Step 3: modify the yml file
server:
  port: 8000
spring:
  application:
    name: admin-server
  security:
    user:
      name: admin
      password: admin

#Actuator configuration: expose sensitive paths. By default, sensitive paths are not exposed
management:
  endpoints:
    web:
      exposure:
        # Expose xxx endpoints. If multiple endpoints need to be exposed, separate them with; To expose all endpoints, use '*'
        include: "*"
  endpoint:
    health:
      # Are health check details displayed
      show-details: ALWAYS

# info information will be displayed on the server side of SpringBootAdmin, where the data in the pom file is taken
info:
  version: @project.version@
  groupId: @project.groupId@
  artifactId: @project.artifactId@
Step 4: open the spring bootadmin annotation
@EnableAdminServer
@SpringBootApplication
public class SpringadminApplication {

    public static void main(String[] args) {
        SpringApplication.run(SpringadminApplication.class, args);
    }

}
So far, the simple server side of spring bootadmin has been built and can be started.
If we need to add a login account and password to the server, we need to add the following classes to the project.
Step 5: add the server login security authentication configuration
import de.codecentric.boot.admin.server.config.AdminServerProperties;
import org.springframework.context.annotation.Configuration;
import org.springframework.security.config.annotation.web.builders.HttpSecurity;
import org.springframework.security.config.annotation.web.builders.WebSecurity;
import org.springframework.security.config.annotation.web.configuration.EnableWebSecurity;
import org.springframework.security.config.annotation.web.configuration.WebSecurityConfigurerAdapter;
import org.springframework.security.web.authentication.SavedRequestAwareAuthenticationSuccessHandler;
import org.springframework.security.web.csrf.CookieCsrfTokenRepository;

@EnableWebSecurity
@Configuration(proxyBeanMethods = false)
public class AdminSecurityConfig extends WebSecurityConfigurerAdapter {

    private final String adminContextPath;

    public AdminSecurityConfig(AdminServerProperties adminServerProperties) {
        this.adminContextPath = adminServerProperties.getContextPath();
    }

    @Override
    protected void configure(HttpSecurity http) throws Exception {
        // @formatter:off
        SavedRequestAwareAuthenticationSuccessHandler successHandler = new SavedRequestAwareAuthenticationSuccessHandler();
        successHandler.setTargetUrlParameter("redirectTo");
        successHandler.setDefaultTargetUrl(adminContextPath + "/");

        http.authorizeRequests()
                .antMatchers(adminContextPath + "/assets/**").permitAll()
                .antMatchers(adminContextPath + "/login").permitAll()
                .antMatchers(adminContextPath + "/instances/**").permitAll()
                .anyRequest().authenticated()
                .and()
                .formLogin().loginPage(adminContextPath + "/login").successHandler(successHandler).and()
                .logout().logoutUrl(adminContextPath + "/logout").and()
                .httpBasic().and()
                .csrf()
                .csrfTokenRepository(CookieCsrfTokenRepository.withHttpOnlyFalse())
                .ignoringAntMatchers(
                        adminContextPath + "/instances",
                        adminContextPath + "/actuator/**"
                );
        // @formatter:on
    }

    @Override
    public void configure(WebSecurity web) {
        web.ignoring().antMatchers("/actuator/**");
    }
}
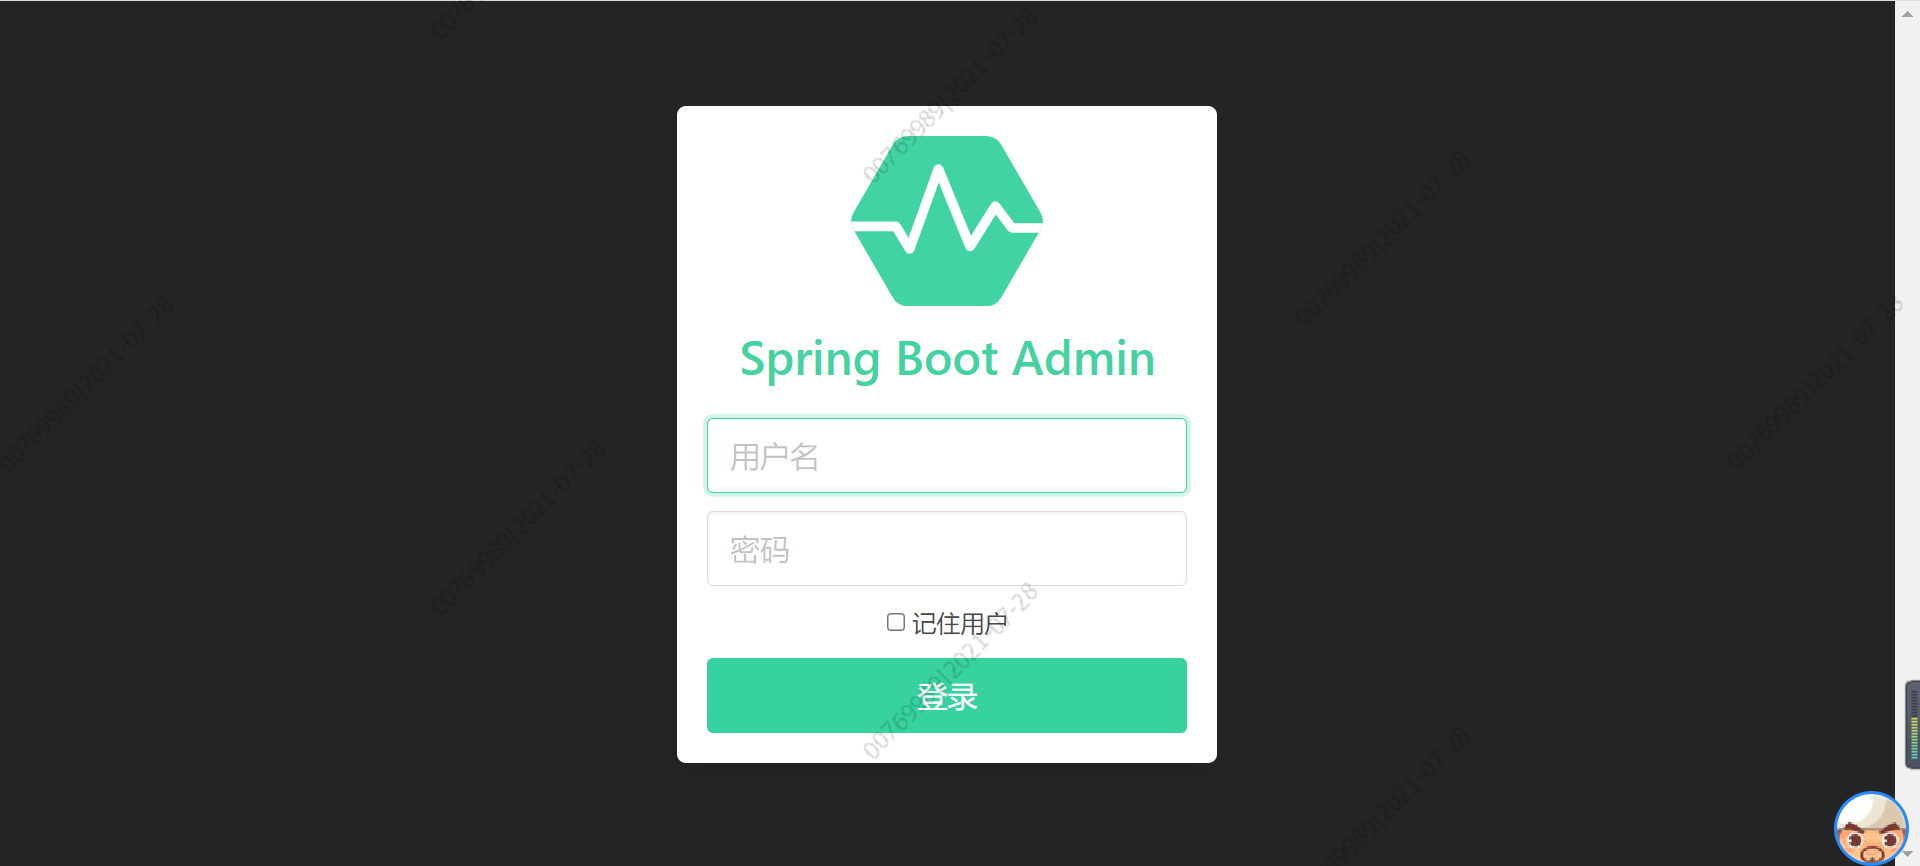
Start service access http://localhost:8000 , enter the account and password you set to log in.

springbootadmin client setup
This end is our server, which needs to be monitored. The need for transformation basically lies in the configuration, which does not have a great impact on the project.
The first step is to introduce the related jar s. Here we call spring boot admin The version should be consistent with the server side as much as possible.
<properties>
    <spring-boot-admin.version>2.3.1</spring-boot-admin.version>
</properties>
<dependency>
    <groupId>org.springframework.boot</groupId>
    <artifactId>spring-boot-starter-actuator</artifactId>
</dependency>
<dependency>
    <groupId>de.codecentric</groupId>
    <artifactId>spring-boot-admin-starter-client</artifactId>
    <version>${spring-boot-admin.version}</version>
</dependency>
The second step is to modify the yml file
management:
  endpoints:
    web:
      exposure:
        include: '*'
  endpoint:
    health:
      show-details: ALWAYS
spring:
  boot:
    admin:
      client:
        #Deployment address of spring bootadmin server side server
        url: http://localhost:8000
        instance:
          prefer-ip: true
        username: admin
        password: admin
Step 3: judge whether the project has access to shreo permission verification or other interception and filtering strategies. If so, please filter the health address of springbootadmin. If not, please ignore this step. Let's take shrio as an example
@Bean("shiroFilter")
    public ShiroFilterFactoryBean shiroFilter(SecurityManager securityManager) {
        ShiroFilterFactoryBean shiroFilter = new ShiroFilterFactoryBean();
        shiroFilter.setSecurityManager(securityManager);
        shiroFilter.setLoginUrl("/login.html");
        shiroFilter.setUnauthorizedUrl("/");
        Map<String, String> filterMap = new LinkedHashMap<>();
        filterMap.put("/swagger/**", "anon");
        filterMap.put("/v2/api-docs", "anon");
        filterMap.put("/swagger-ui.html", "anon");
        filterMap.put("/webjars/**", "anon");
        filterMap.put("/swagger-resources/**", "anon");
        filterMap.put("/statics/**", "anon");
        filterMap.put("/login.html", "anon");
        filterMap.put("/sys/login", "anon");
        filterMap.put("/favicon.ico", "anon");
        filterMap.put("/captcha.jpg", "anon");
        // Filter the health check, otherwise the monitoring center cannot go online
        filterMap.put("/actuator/**", "anon");
        filterMap.put("/**", "authc");
        shiroFilter.setFilterChainDefinitionMap(filterMap);
        return shiroFilter;
    }
After completing the above operations, start the service and log in http://localhost:8000/ (the address of the server side of spring bootadmin) you can see that your service has been healthy.
Spring bootadmin configures the online log viewing function
The following configurations are carried out on the client side and do not need to be modified on the server side
The first step is to add related jar s
<dependency>
    <groupId>org.slf4j</groupId>
    <artifactId>slf4j-api</artifactId>
    <version>1.7.25</version>
</dependency>
Step 2, in application Add logback spring.com to the YML peer folder XML configuration file, the red font content is modified according to your actual situation, and the app is modified_ Name and log_ The value value of home can be modified according to your own situation. If it is a Windows local test address, please change it to the corresponding drive letter.
<?xml version="1.0" encoding="UTF-8"?>
<configuration>
       <property name="APP_Name" value="springbootTest" />
   <contextName>${APP_Name}</contextName>
    <!--Define the storage address of the log file LogBack The relative path is used in the configuration of. Please configure the path as required-->
    <property name="LOG_HOME" value="/data/springbootadmin/logs" />

    <!-- Rendering classes dependent on color logs -->
    <conversionRule conversionWord="clr" converterClass="org.springframework.boot.logging.logback.ColorConverter" />
    <conversionRule conversionWord="wex" converterClass="org.springframework.boot.logging.logback.WhitespaceThrowableProxyConverter" />
    <conversionRule conversionWord="wEx" converterClass="org.springframework.boot.logging.logback.ExtendedWhitespaceThrowableProxyConverter" />
    <!-- Color log format -->
    <property name="CONSOLE_LOG_PATTERN"
              value="adminTest >> ${CONSOLE_LOG_PATTERN:-%clr(%d{yyyy-MM-dd HH:mm:ss.SSS}){faint} %clr(${LOG_LEVEL_PATTERN:-%5p}) %clr(${PID:- }){magenta} %clr(---){faint} %clr([%15.15t]){faint} %clr(%-40.40logger{39}){cyan} %clr(LN:%L){faint} %m%n${LOG_EXCEPTION_CONVERSION_WORD:-%wEx}}" />

    <!-- console output  -->
    <appender name="STDOUT" class="ch.qos.logback.core.ConsoleAppender">
        <encoder class="ch.qos.logback.classic.encoder.PatternLayoutEncoder">
            <pattern>${CONSOLE_LOG_PATTERN}</pattern>
            <charset>utf8</charset>
        </encoder>
    </appender>

    <!-- Generate log files on a daily basis -->
    <appender name="FILE"  class="ch.qos.logback.core.rolling.RollingFileAppender">
        <file>${LOG_HOME}/output.log</file>
        <rollingPolicy class="ch.qos.logback.core.rolling.TimeBasedRollingPolicy">
            <!--The file name of the log file output-->
            <FileNamePattern>${LOG_HOME}/output-%d{yyyy-MM-dd}.log</FileNamePattern>
            <!--Log file retention days-->
            <MaxHistory>30</MaxHistory>
        </rollingPolicy>
        <encoder class="ch.qos.logback.classic.encoder.PatternLayoutEncoder">
            <!--Format output:%d Indicates the date,%thread Represents the thread name,%-5level: The level is displayed 5 characters wide from the left%msg: Log messages,%n Is a newline character-->
            <pattern>%d{yyyy-MM-dd HH:mm:ss.SSS} [%thread] %-5level %logger{50}:%L - %msg%n</pattern>
        </encoder>
    </appender>

    <!-- show parameters for hibernate sql For Hibernate customized -->
    <logger name="org.hibernate.type.descriptor.sql.BasicBinder"  level="WARN" />
    <logger name="org.hibernate.type.descriptor.sql.BasicExtractor"  level="WARN" />
    <logger name="org.hibernate.SQL" level="WARN" />
    <logger name="org.hibernate.engine.QueryParameters" level="DEBUG" />
    <logger name="org.hibernate.engine.query.HQLQueryPlan" level="WARN" />

    <!--myibatis log configure-->
    <logger name="com.apache.ibatis" level="WARN"/>
    <logger name="java.sql.Connection" level="WARN"/>
    <logger name="java.sql.Statement" level="WARN"/>
    <logger name="java.sql.PreparedStatement" level="WARN"/>
    <logger name="org.apache.shiro" level="WARN"/>
    <!--You can add your own monitored packages  -->
    <logger name="com.xxx.xxx" level="WARN"/>


    <!-- Log output level, note: if not written<appender-ref ref="FILE" /> ,Will lead to springbootadmin Cannot find file, unable to view log -->
    <root level="INFO">
        <appender-ref ref="STDOUT" />
        <appender-ref ref="FILE" />
    </root>
</configuration>
Step 3: modify the project yml file. Configure the parameters of the log file according to the time version
logging:
    file:
     name: /data/springbootadmin/logs/output.log
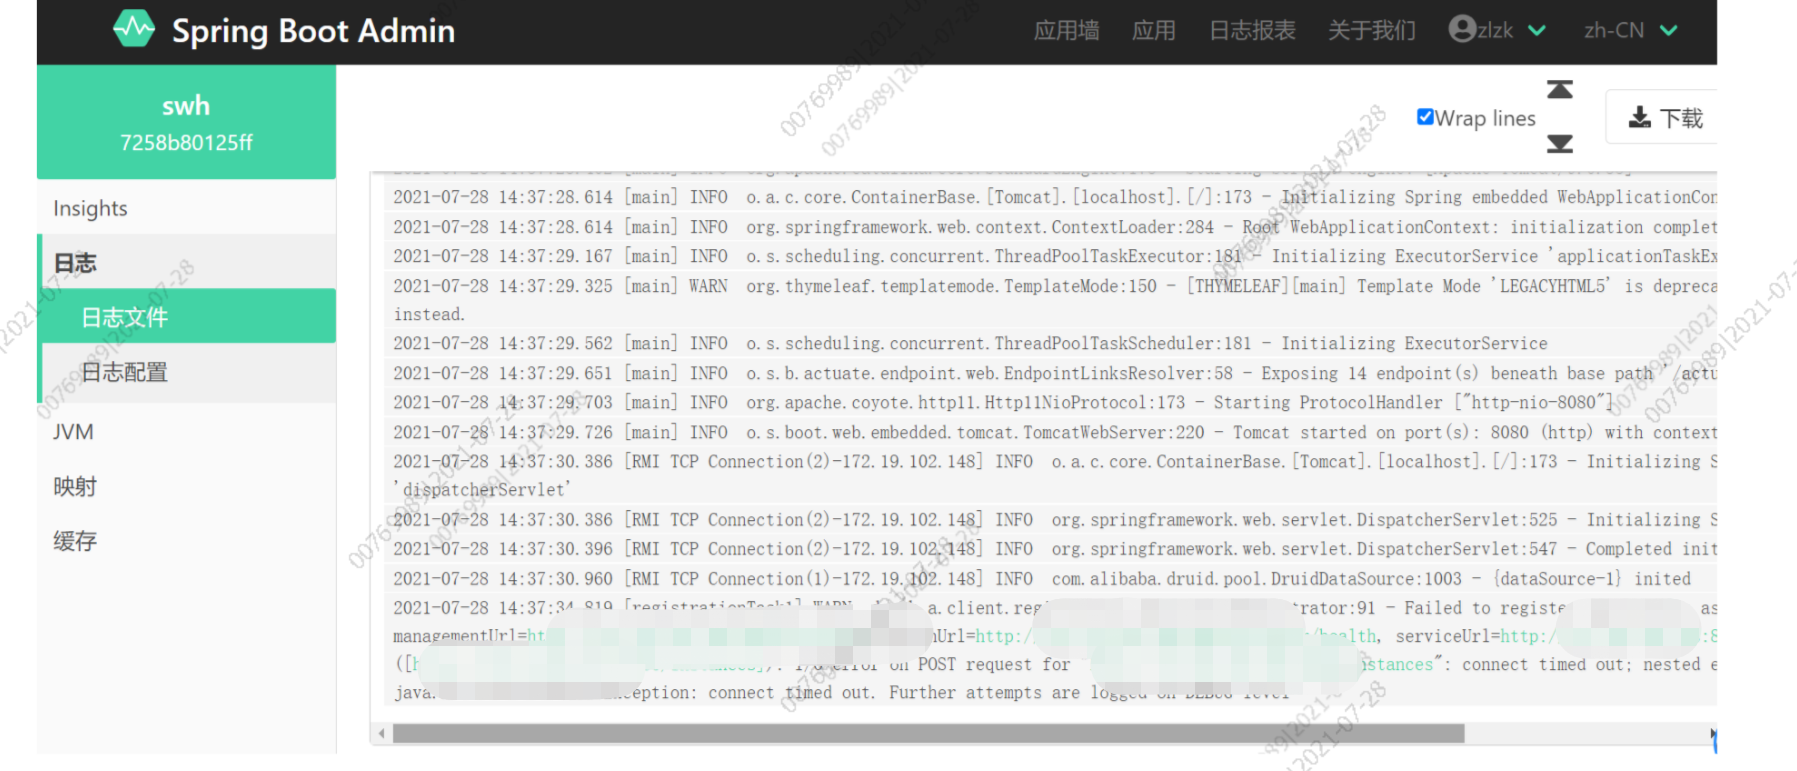
After completing the above steps, restart the service to see the following effects

So far, the construction process is all over!