background
Because there is no graphical interface on the Linux command line, all settings are completed in the form of text, and the most important user setting is bashrc file. Bashrc configuration file is very important, which is equivalent to the setting options of graphical interface. Many times, the command cannot be found and XXX is missing, which may be related to this. If bashrc modifies the error, it will have a serious impact. The following system introduces bashrc files.
bashrc: execute this file for each user running the bash shell. When the bash shell is opened, the file is read, where rc is short for "run configure". In each user's home directory, we use the ls -a command, and we will see four hidden files starting with bash.
$ ll -a .bash*
-rw-------. 1 meta bio 25K Nov 19 20:51 .bash_history
-rw-r--r--. 1 meta bio 18 Nov 9 2019 .bash_logout
-rw-r--r--. 1 meta bio 141 Nov 9 2019 .bash_profile
-rw-r--r--. 1 meta bio 1.7K Sep 9 14:30 .bashrc
Different bashrc configurations will have completely different effects. My configuration file is mainly divided into three parts: alias, PS variable and export. Next, let me introduce my bashrc configuration for reference only.
1, Alias section
Alias is mainly used to set some aliases to simplify some long commands and option parameters, such as "less -S". You have to type seven characters at a time, abbreviated as le, and two characters are enough. The following are some common alias commands that can be added to bashrc.
# .bashrc
# User specific aliases and functions
alias rm='rm -i'
alias cp='cp -i'
alias mv='mv -i'
alias df='df -h'
alias du='du -skh'
alias grep='grep --color'
alias ls='ls -hF --color=tty' # classify files in colour
alias dir='ls --color=auto --format=vertical'
alias ll='ls -lh -rt --file-type' # long list
alias l='ls -CF' #
alias lla='ls -a -l'
alias e='exit'
alias le='less -S'
alias d='display'
alias t='top -u $USER'
rm and cp are in the default interactive mode, which is provided by the system. You can also define some commands yourself, but note that they cannot be mixed with other commands.
2, PS part
2.1 modifying PS variables
PS variable in Linux system is used to control command line settings. PS means Prompt String, which means command prompt. You can see PS1, PS2, PS3, PS4, etc. The most important one is PS1. PS2 is used to set the secondary prompt. You can personalize the command line by modifying the settings in PS, but these are strange symbols that are not easy to understand.
\d : Set date
\H : Full host name
\h : Take only the first name in the host name
\t : The display time is in 24-hour format, such as: HH: MM: SS
\T : The display time is in 12 hour format
\A : The display time is in 24-hour format: HH: MM
\@: Display time in 12 hour format: am/pm
\u : Account name of current user
\v : BASH Version information for
\w : Full working directory name
\W : Displays the last directory name
\# : which order was issued
\$ : Prompt character, if yes root User, prompt is # , ordinary users$
We only select the required part and add it to the command line. It is generally the user name, time and working directory.
[meta@localhost meta]$ export PS1="\u \t \w \n[        DISCUZ_CODE_3        ]quot;
meta 09:25:28 /User/meta
$
Here, we select four parts: user name (\ u), time (\ t), working directory (\ w), line feed plus $), separated by spaces. The interface is much clearer. If you want to add other content, just add it directly.
2.2 setting colors
After selecting the display content, you can add colors to each part to distinguish. Linux command line terminal color is displayed by some numbers. The format is "[\ e[F;Bm]... [\ e[0m], where" F "is the font color, No. 30-37," B "is the background color, No. 40-47, and [\ e[0m] is the end of color setting".
Foreground background color
------------
30 40 black
31 41 gules
32 42 green
33 43 Yellow
34 44 blue
35 45 Purplish red
36 46 Turquoise blue
37 47 white
With these contents, we can add colors.
User name section:\[\e[31;1m\] \u \[\e[0m\]
Time part:\[\e[32;1m\] \t \[\e[0m\]
Working directory section:\[\e[34;1m\] \w \[\e[0m\]
$Partial settings:\n\[\e[31;1m\] $ \[\e[0m\]
Each setting is divided into three parts. The color [\ e[F;Bm] is set in the front, in which the number represents the specific color. Here, we don't want the background color, give a number 1, then the second part is the previous user name (\ u), time (\ t), working directory (\ w), line feed plus $), and finally the end part [\ e[0m], which is added with many "\" for escape.
Case template
Here are some templates.
Template I:
meta 10:02:38 /User/meta
$ export PS1="\[\e[31;1m\]\u\[\e[0m\] \[\e[32;1m\]\t\[\e[0m\]\[\e[34;1m\]\w\[\
e[0m\]\n\[\e[31;1m\]$ \[\e[0m\]"
meta 10:02:46 /ifs1/User/meta
$
Template II:
meta 10:07:02 /User/meta
$ export PS1="\[\e[35;1m\]\u\[\e[0m\] \[\e[36;1m\]\t \[\e[0m\]\[\e[32;1m\]\w\[
\e[0m\]\n\[\e[31;1m\]$ \[\e[0m\]"
meta 10:07:06 /ifs1/User/meta
$
Template III:
meta 10:11:33 /User/meta
$ export PS1="\[\e[33;1m\]\u\[\e[0m\] \[\e[35;1m\]\t \[\e[0m\]\[\e[36;1m\]\w\[
\e[0m\]\n\[\e[32;1m\]$ \[\e[0m\]"
meta 10:11:36 /ifs1/User/meta
$
If you want the setting to work permanently, you need to write this variable to bashrc file.
if [ -f /etc/bashrc ]; then
. /etc/bashrc
fi
if [ "$TERM" = "xterm" ]
then
export PS1="\[\e[31;1m\]\u\[\e[0m\] \[\e[32;1m\]\t \[\e[0m\]\[\e[34;1m\]\w\[\
e[0m\]\n\[\e[31;1m\]$ \[\e[0m\]"
else
export PS2="\[\e[31;1m\]\u\[\e[0m\] \[\e[32;1m\]\t \[\e[0m\]\[\e[34;1m\]\w\[\
e[0m\]\n\[\e[31;1m\]$ \[\e[0m\]"
fi
3, export section
Export is the most important part. This part is to modify the behavior of some default variables of the system. For example, clicking the env command will display all environment variables of the current account, of which the more important is the PATH variable. After export, the system will reconfigure the default environment variables after each login. In addition to PATH, you can also modify perl module directory, python module directory and other configurations.
export PATH="$PATH:./:/usr/bin:$PATH"
export PATH="$PATH:/Software/bin/:$PATH"
export PERL5LIB="/Software/biosoft/tRNAscan-SE-1.3.1/"
# added by Miniconda3 installer
export LD_LIBRARY_PATH="/Software/boost-1.60.0-py27_3/lib/"
4, PATH variable
4.1 introduction to path variable
The PATH variable is the default program PATH of the Linux system. When the command line is clicked, the system will find the program from the directory set in the PATH variable, and the PATH variable will also be searched when the which command is searched. Common software in Linux system cannot find "command not found..." Most of them are caused by the fact that the PAHT variable is not set successfully. The PATH variable can greatly facilitate the use of the software. There is no need to use the full PATH. You can run directly using the software name in any directory, otherwise you need to use the full PATH all the time.
Displays the current default software path
echo $PATH
which bwa
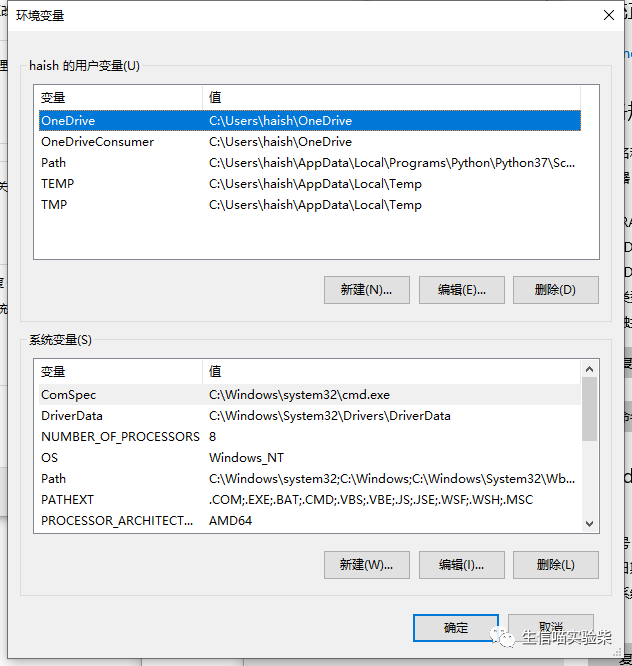
There is also a PATH variable under windows system.
4.2 modifying the PATH variable
The PATH variable will contain multiple software paths. When you enter a command on the command line, such as ls, the software will automatically search for the software with the same name from the PATH of the PATH variable in sequence. If it is found, run it directly; If not, go to the next directory, and so on. When all directories cannot be found, "command not found..." will be prompted. Be careful when modifying the PATH variable. You need to back up a copy in advance. If the setting is wrong, you can restore it again.
First, back up
cp ~/.bashrc ~/.bashrc.bak
 open vim modify
vim ~/.bashrc
 Add path to PATH Variable, you can add in a row or create a new row
export PATH="$PATH:./:/usr/bin:/Software/bin/:$PATH"
Refresh settings
source ~/.bashrc
4.3 creating program shortcuts
After knowing how to add the PAHT variable, you can directly add the installation directory of biological software to the PATH variable, but there are many paths of biological software, and you can't add every software installation directory to the PATH variable, which is not an efficient way. A better solution is to create a biosoft directory and a bin directory in the system, (bin stands for binary executable program). The software is installed in the biosoft directory. Only link each software executable program to the bin directory. Finally, add the full PATH of the bin directory to the PATH variable. Each time you install a new program later, you only need to link the software to the bin directory. This process is equivalent to creating a desktop shortcut for windows system Way.
Create software installation directory and shortcut directory
mkdir ~/biosoft ~/bin
 take bin Add directory to.bashrc Document PATH Variable
export PATH="$PATH:~/bin/:$PATH"
Link executable to bin In the directory
ln -s biosoft/ont-guppy-cpu/bin/guppy_basecaller ~/bin
ln -s biosoft/ont-guppy-cpu/bin/guppy_barcoder ~/bin
ln -s biosoft/ont-guppy-cpu/bin/guppy_aligner ~/bin
 Automatic replenishment operation guppy_basecaller
guppy_basecaller
5, Update configuration
After modifying the configuration and confirming that there is no problem, save and exit vim. These settings will not work immediately. You need to log in again or refresh.
First, back up
cp ~/.bashrc ~/.bashrc.bak
 open vim modify
vim ~/.bashrc
 Save exit, refresh settings
source ~/.bashrc
6, Restore initial configuration
If bashrc is modified incorrectly, many commands cannot be used. At this time, you need to restore to the original settings. You can restore the previous backup or copy the system. Because the copied cp command cannot be found at this time, the full path needs to be used.
Restore backup
cp ~/.bashrc.bak ~/.bashrc
 You can also restore to system initialization
cp /etc/skel/.bashrc ~/.bashrc
 Select overwrite original file
Written at the end: the basic chapter of this secondary letter covers everything from linux system to software use. While children's shoes are learning, don't forget to share, collect and click the articles. Only with the amount of reading can we have the power to update.