catalogue
2. Install vscode and Microsoft front-end development artifact.
3. Create a new project folder, choose a name at will, here we call it, and then open it with vscode
5. Enter npm init at the terminal, as follows, and then keep pressing enter.
6. You will get a package JSON, like this
7. Install TypeScript globally and confirm which version is installed
9. Create project files and folders
1. In/ Add webpack.com under src/client / folder common. js
2. In/ Add webpack.com under src/client / folder dev.js
3. In package Add a script to the JSON file to start the webpack development server:
4. Finally, we can run our project by entering the following command line at the terminal
preface
Recently, after leaving the game company, the actual combat tutorial of layabox project has been suspended from updating, but some functions actually used in game development will be updated in their spare time.
Now, due to the direction of building aluminum formwork, it is natural to use the previous development experience in home decoration software company. The new project plans to adopt three JS + webgl to do some 3D development. Considering the problems of later function expansion and code reconstruction, typescript language is planned to be used in the actual project. As for the benefits of typescript language, I won't introduce it here. After all, large companies are using it. In order to ensure the robustness of the code, it is undoubtedly the best choice for multi person development projects.
OK, no more nonsense. Let's build a project framework first:
Before that, you may need to make some preparations:
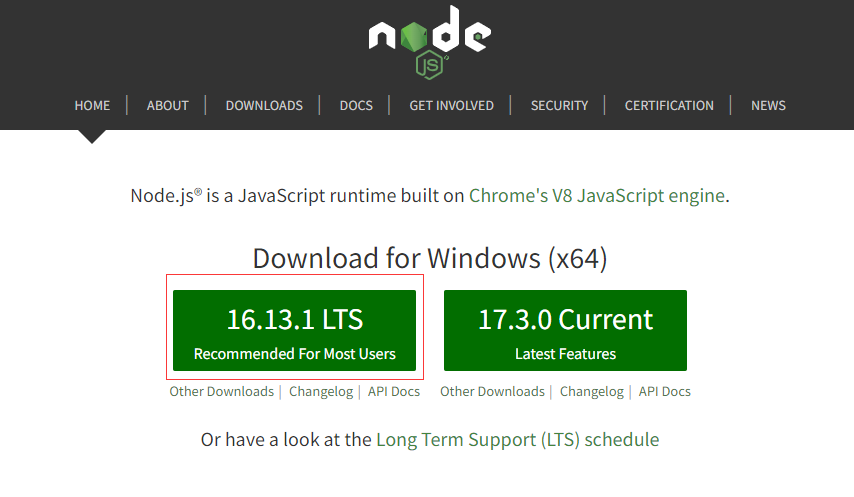
1. Install node js
Download address: Node.jsNode.js® is a JavaScript runtime built on Chrome's V8 JavaScript engine. https://nodejs.org/en/
Just select the LTS version.
2. Install vscode and Microsoft front-end development artifact.
Visual Studio Code - Code Editing. Redefined https://code.visualstudio.com/
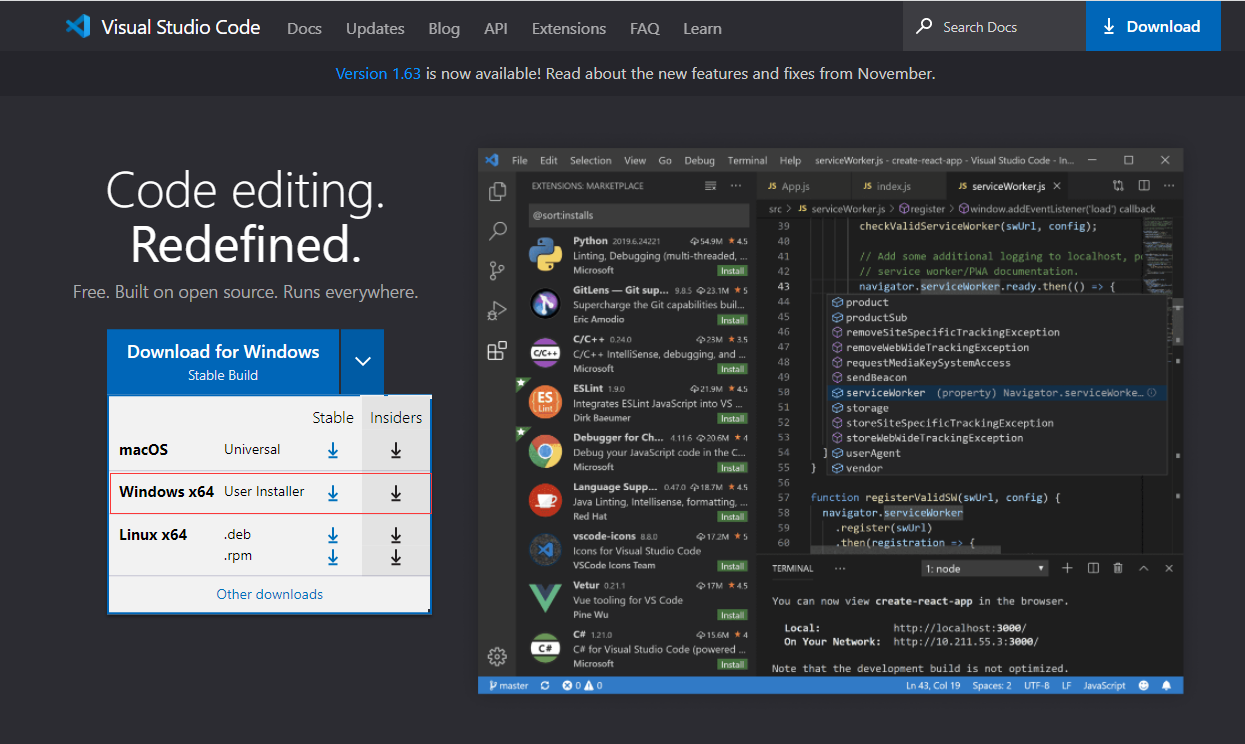
Just go directly to window x64.
3. Create a new project folder, choose a name at will, here we call it < three TS >, and then open it with vscode
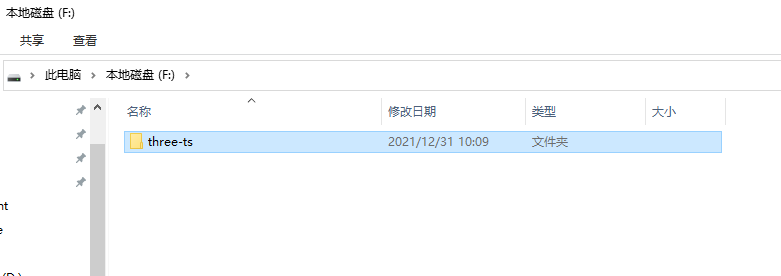
4. vscode opens the project. As shown below, all you need to do is click the terminal to create a new terminal
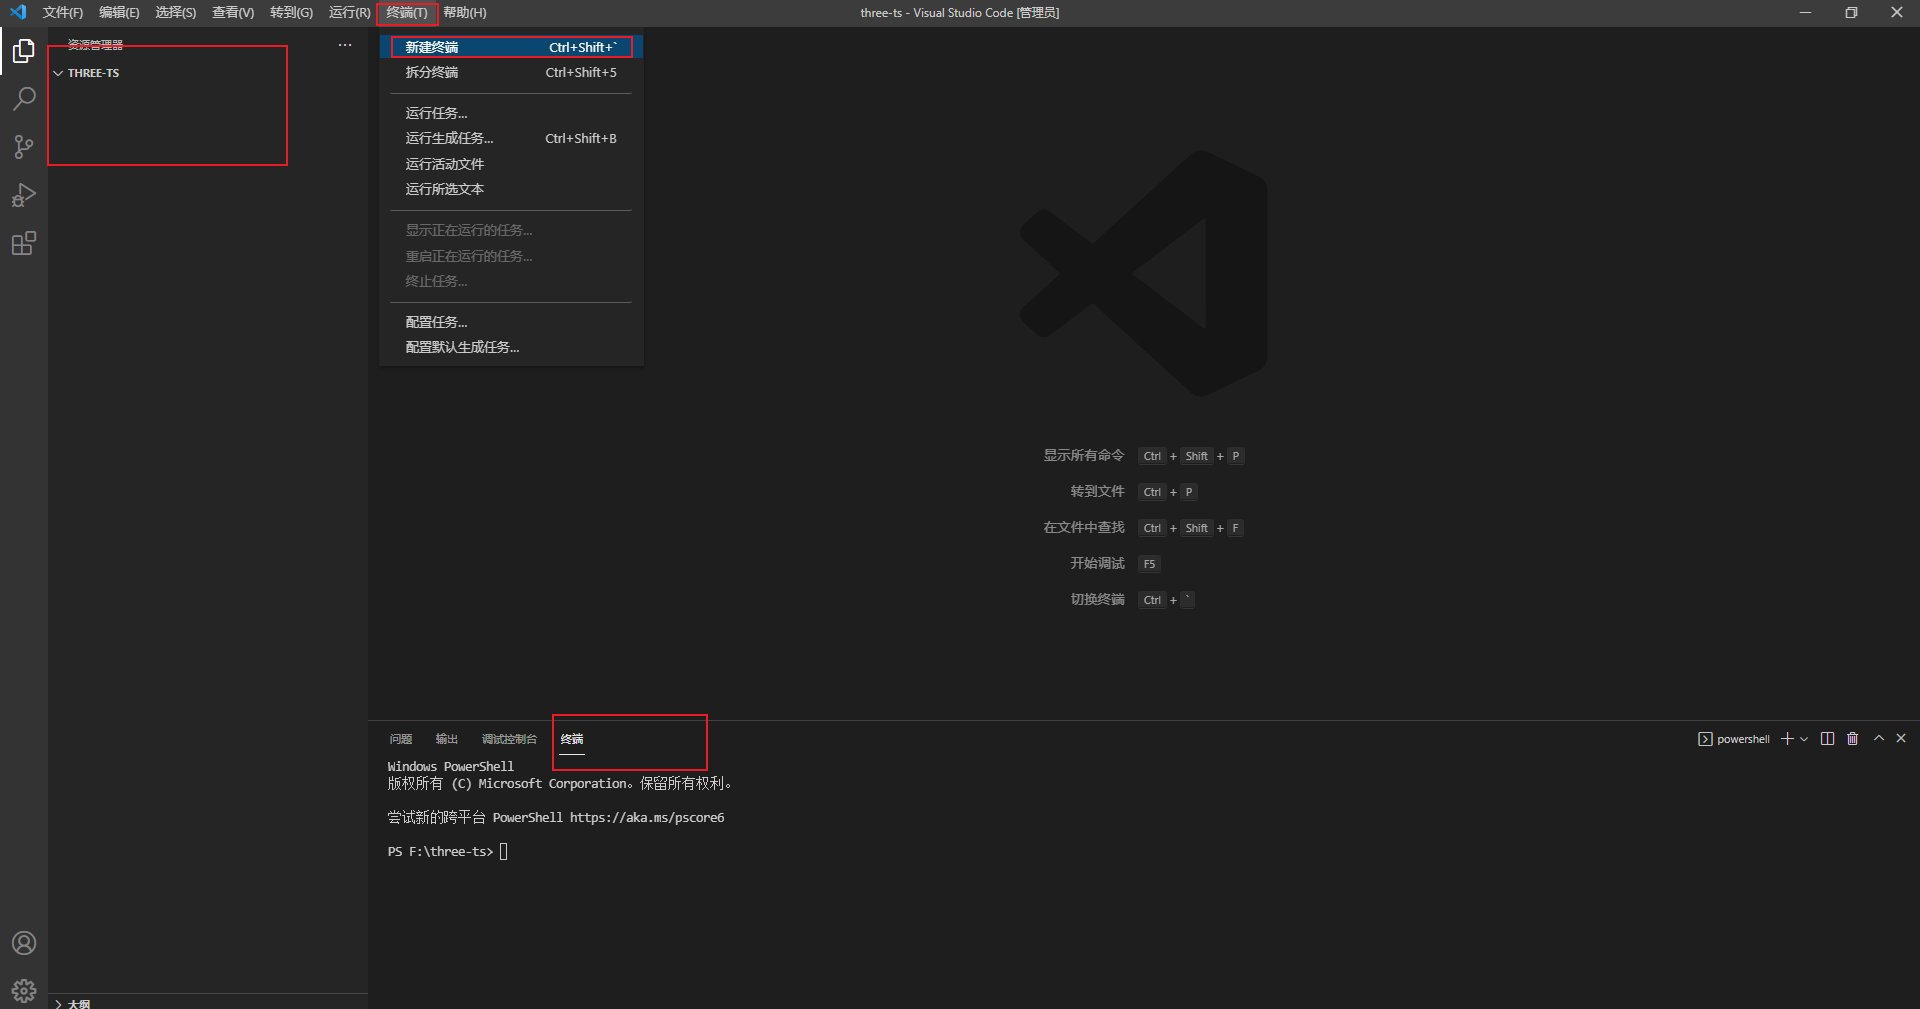
5. Enter npm init at the terminal, as follows, and then keep pressing enter.

6. You will get a package JSON, like this
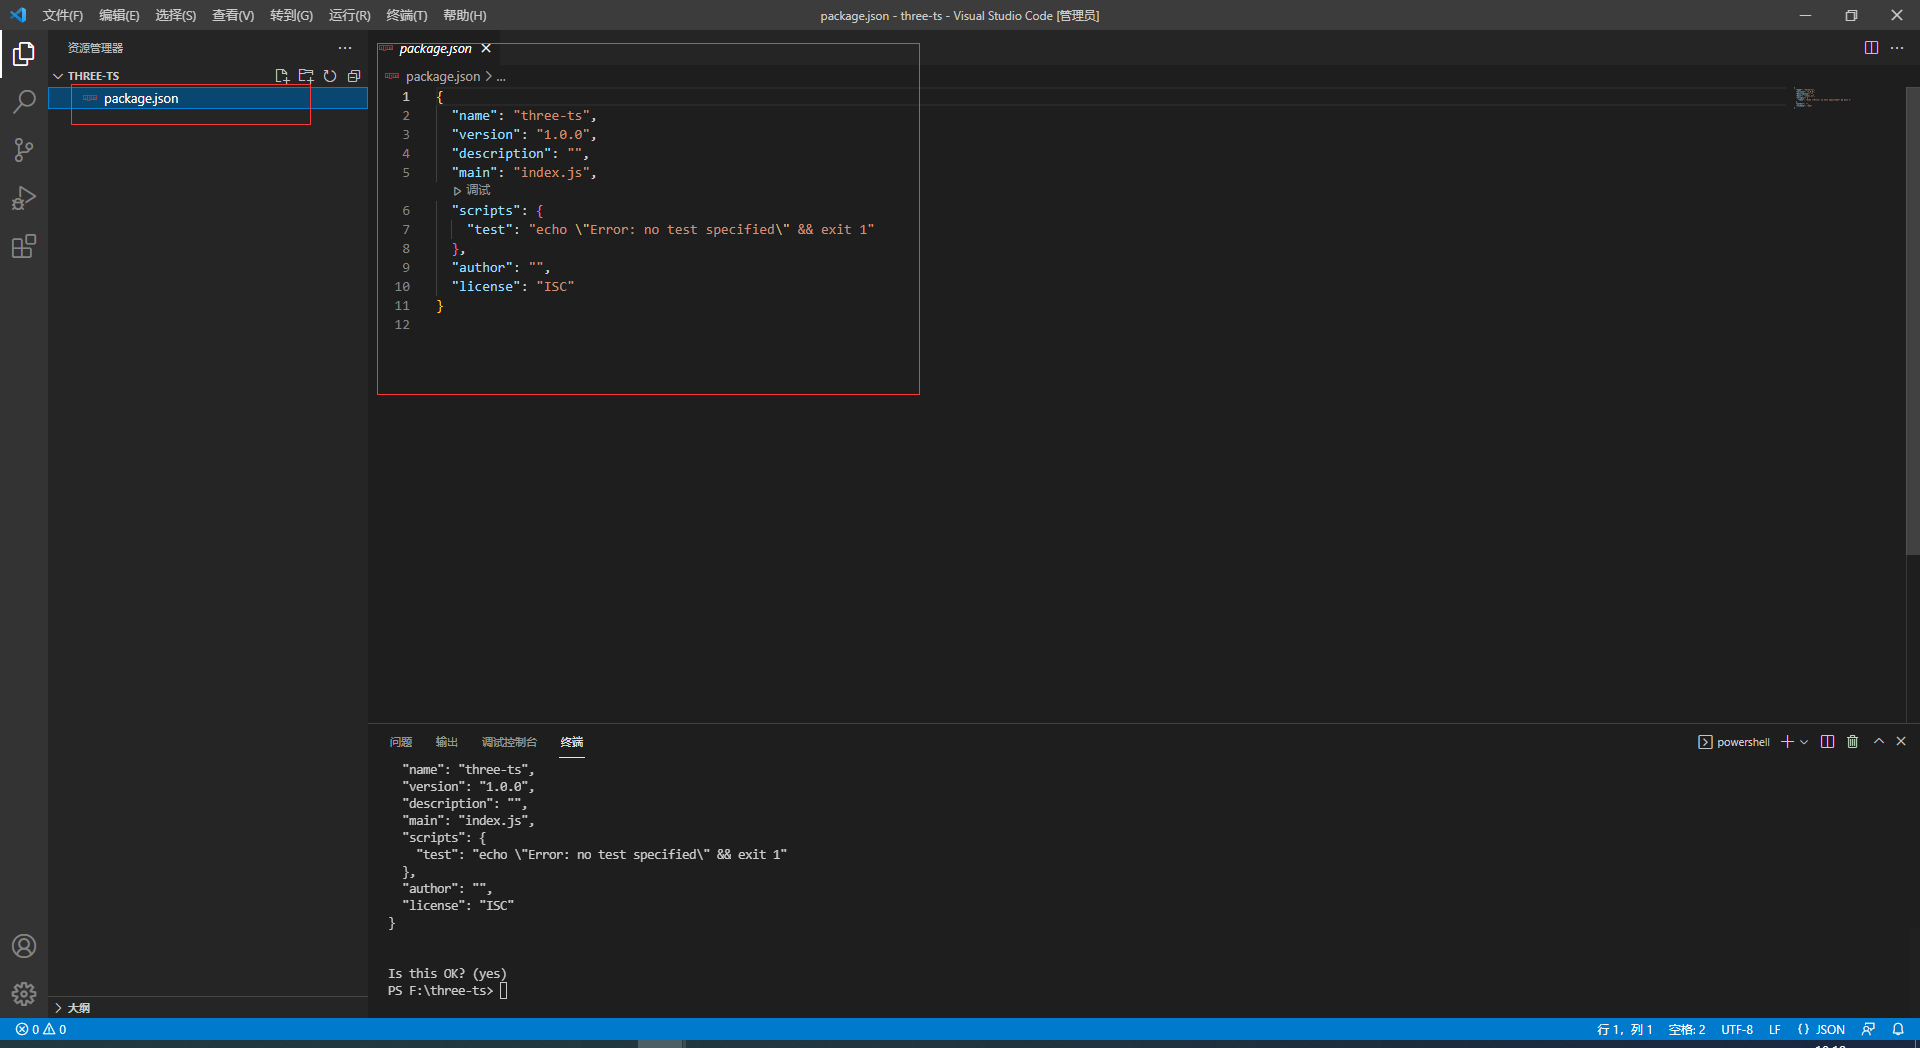
7. Install TypeScript globally and confirm which version is installed
Enter the following code at the terminal
npm install -g typescript
tsc -v
Troubleshooting:
The following errors may occur when entering tsc -v at the terminal:

You have many options, such as selecting the classic Windows CMD prompt in the plus sign on the right side of the terminal, or using TSC CMD options:
tsc.cmd -v
8. Install three JS Library
Enter at the terminal:
npm install three --save-dev
9. Create project files and folders
- Create a folder named dist under three ts
- Create a new folder named clinet under dist
- Add # index. In the # dist/client folder HTML file
<!DOCTYPE html>
<html lang="en">
    <head>
        <meta charset="utf-8" />
        <meta name="viewport" content="width=device-width, initial-scale=1" />
        <title>Three.js TypeScript</title>
        <style>
            body {
                overflow: hidden;
                margin: 0px;
            }
        </style>
    </head>

    <body>
        <script type="module" src="bundle.js"></script>
    </body>
</html>- Create a new folder in the project named {sr
- Create the folder clinet under src
- In folder/ src/client , add a client named , client New file for TS +
import * as THREE from 'three'

const scene = new THREE.Scene()

const camera = new THREE.PerspectiveCamera(
    75,
    window.innerWidth / window.innerHeight,
    0.1,
    1000
)
camera.position.z = 2

const renderer = new THREE.WebGLRenderer()
renderer.setSize(window.innerWidth, window.innerHeight)
document.body.appendChild(renderer.domElement)

const geometry = new THREE.BoxGeometry()
const material = new THREE.MeshBasicMaterial({
    color: 0x00ff00,
    wireframe: true,
})

const cube = new THREE.Mesh(geometry, material)
scene.add(cube)

window.addEventListener('resize', onWindowResize, false)
function onWindowResize() {
    camera.aspect = window.innerWidth / window.innerHeight
    camera.updateProjectionMatrix()
    renderer.setSize(window.innerWidth, window.innerHeight)
    render()
}

function animate() {
    requestAnimationFrame(animate)

    cube.rotation.x += 0.01
    cube.rotation.y += 0.01

    render()
}

function render() {
    renderer.render(scene, camera)
}

animate()- Also in the folder/ Add a file named tsconfig. Config in src/client New file for JSON
{
    "compilerOptions": {
        "moduleResolution": "node",
        "strict": true
    },
    "include": ["**/*.ts"]
}
npm install @types/three --save-dev
The project structure is as follows:
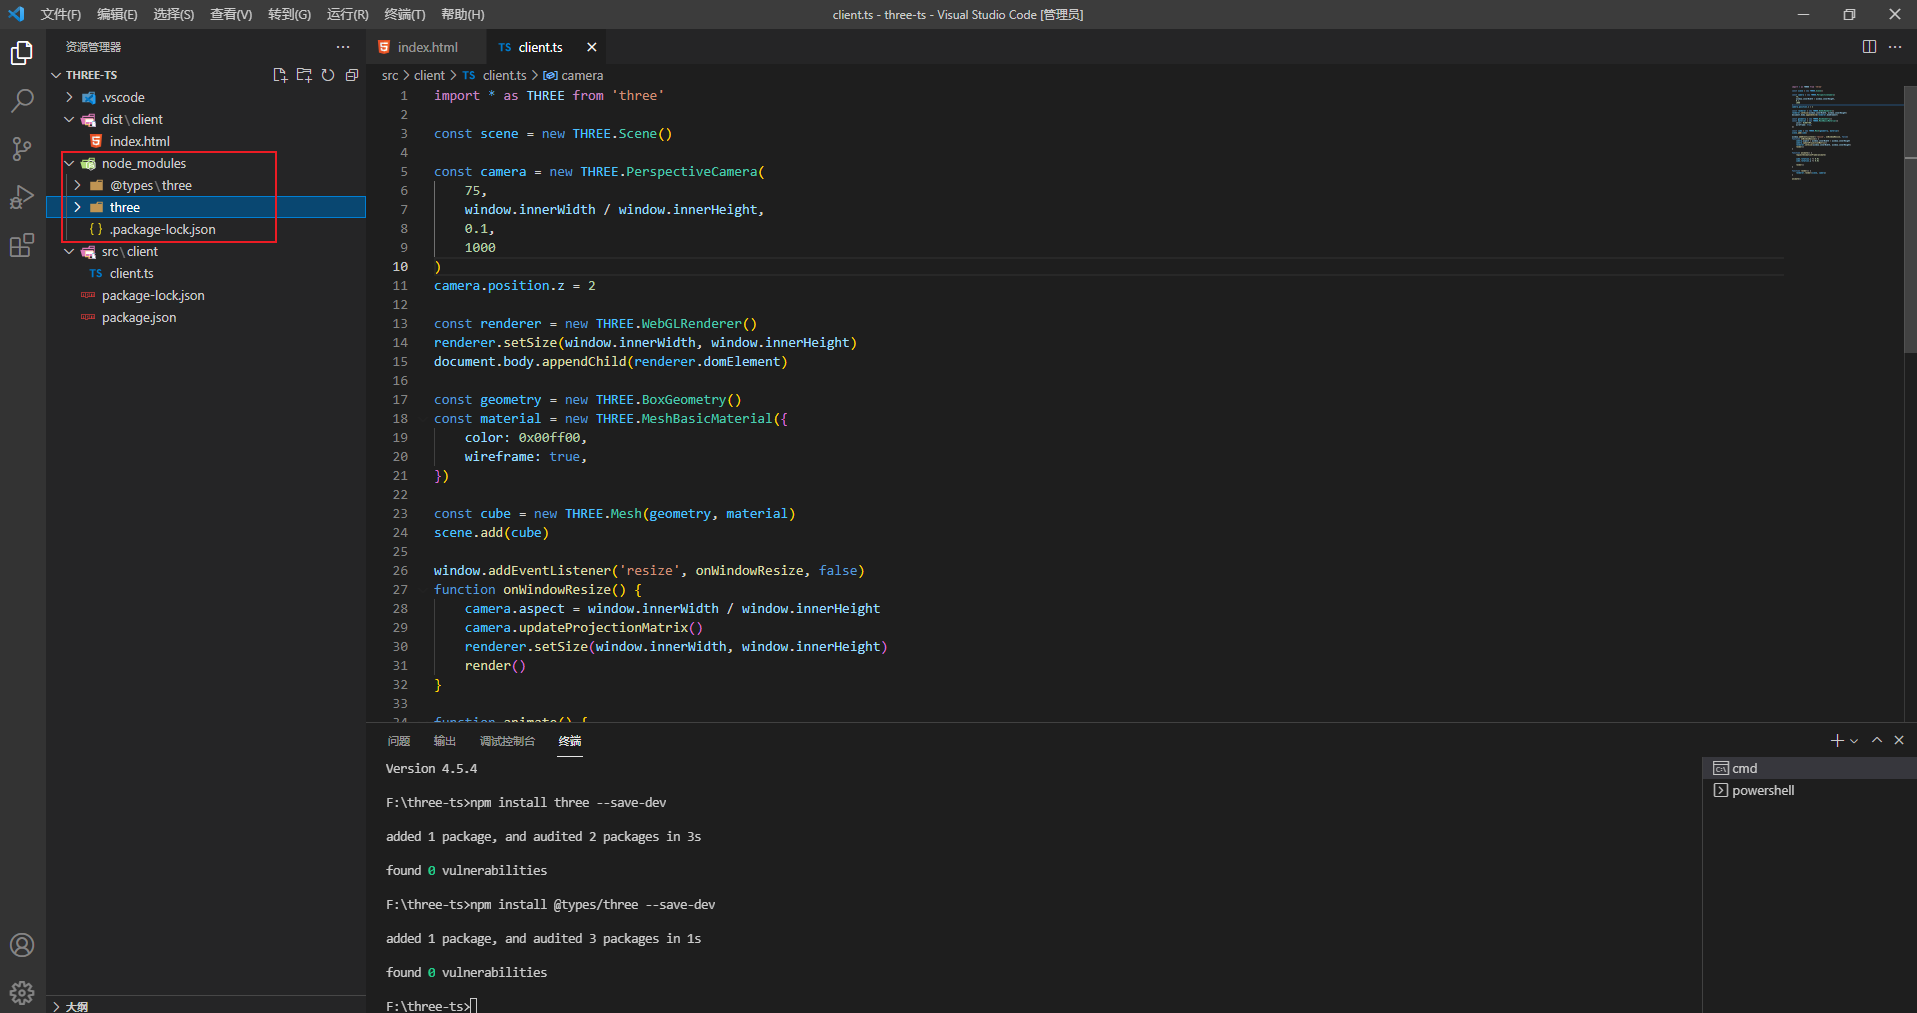
10. Next, configure webpack
Several modules need to be installed to use Webpack effectively.
Enter at the terminal:
npm install webpack webpack-cli webpack-dev-server webpack-merge ts-loader --save-dev
- webpack: contains the core of bundling code into development and production versions.
- Webpack cli: command line tool used to run webpack.
- Webpack dev server: an HTML server that will load our code and provide HMR functionality during the development phase.
- Webpack merge: a webpack tool library that allows you to split a webpack configuration into multiple files.
- TS loader: module rules for handling TypeScript files.
In addition to the above, we also need to be on the} node_ Install TS loader in the modules folder to provide a local copy of the {TypeScript:
npm install typescript --save-dev
You can now add some Webpack configurations to your project.
1. In/ Add webpack.com under src/client / folder common. js
const path = require('path')

module.exports = {
    entry: './src/client/client.ts',
    module: {
        rules: [
            {
                test: /\.tsx?$/,
                use: 'ts-loader',
                exclude: /node_modules/,
            },
        ],
    },
    resolve: {
        extensions: ['.tsx', '.ts', '.js'],
    },
    output: {
        filename: 'bundle.js',
        path: path.resolve(__dirname, '../../dist/client'),
    },
}
2. In/ Add webpack.com under src/client / folder dev.js
const { merge } = require('webpack-merge')
const common = require('./webpack.common.js')
const path = require('path');

module.exports = merge(common, {
    mode: 'development',
    devtool: 'eval-source-map',
    devServer: {
        static: {
            directory: path.join(__dirname, '../../dist/client'),
        },
        hot: true,
    },
})
3. In package Add a script to the JSON file to start the webpack development server:
{
    "name": "three.js-typescript-tutorial",
    "version": "1.0.0",
    "description": "",
    "scripts": {
        "dev": "webpack serve --config ./src/client/webpack.dev.js",
        "test": "echo \"Error: no test specified\" && exit 1"
    },
    "author": "",
    "license": "ISC",
    "dependencies": {},
    "devDependencies": {
        "@types/three": "^0.130.0",
        "three": "^0.130.1",
        "ts-loader": "^9.2.5",
        "typescript": "^4.3.4",
        "webpack": "^5.51.1",
        "webpack-cli": "^4.8.0",
        "webpack-dev-server": "^4.0.0",
        "webpack-merge": "^5.8.0"
    }
}
4. Finally, we can run our project by entering the following command line at the terminal
npm run dev
Like this:
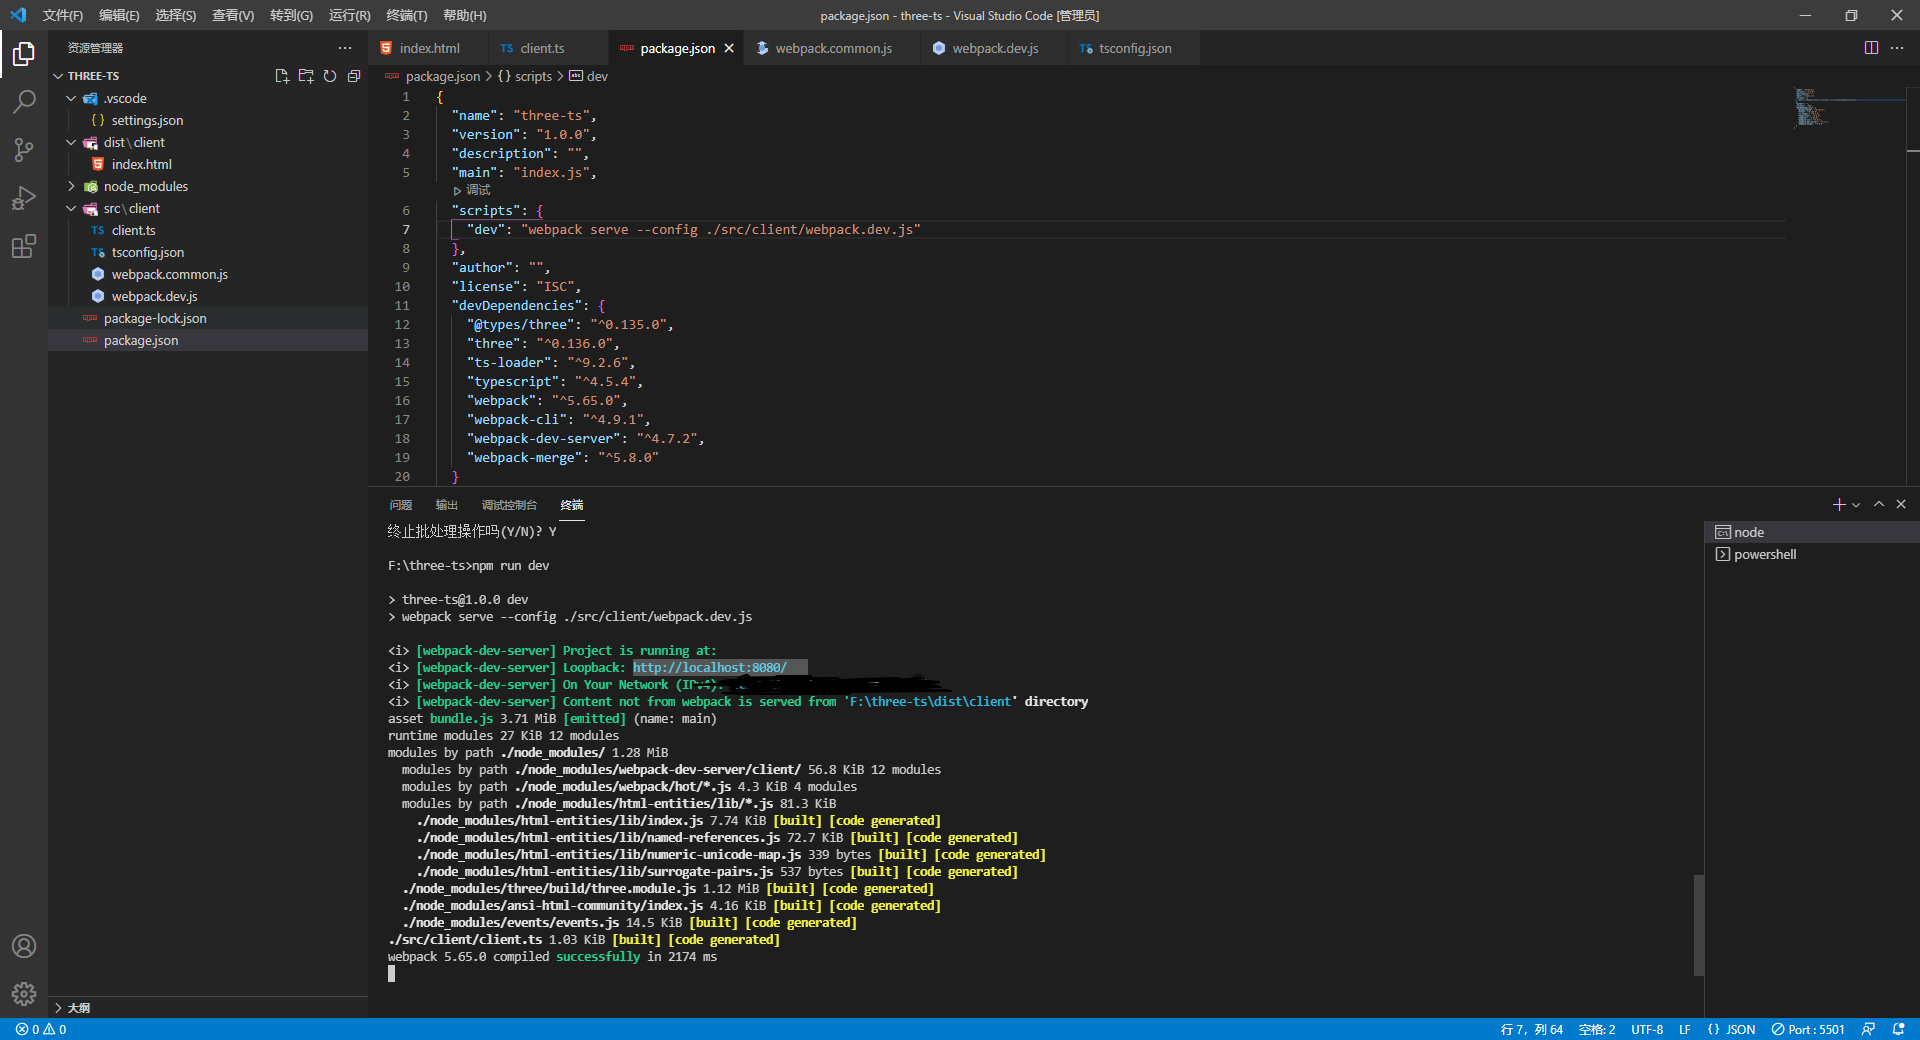
5. Finally, ctrl + left click
http://localhost:8080/  http://localhost:8080/
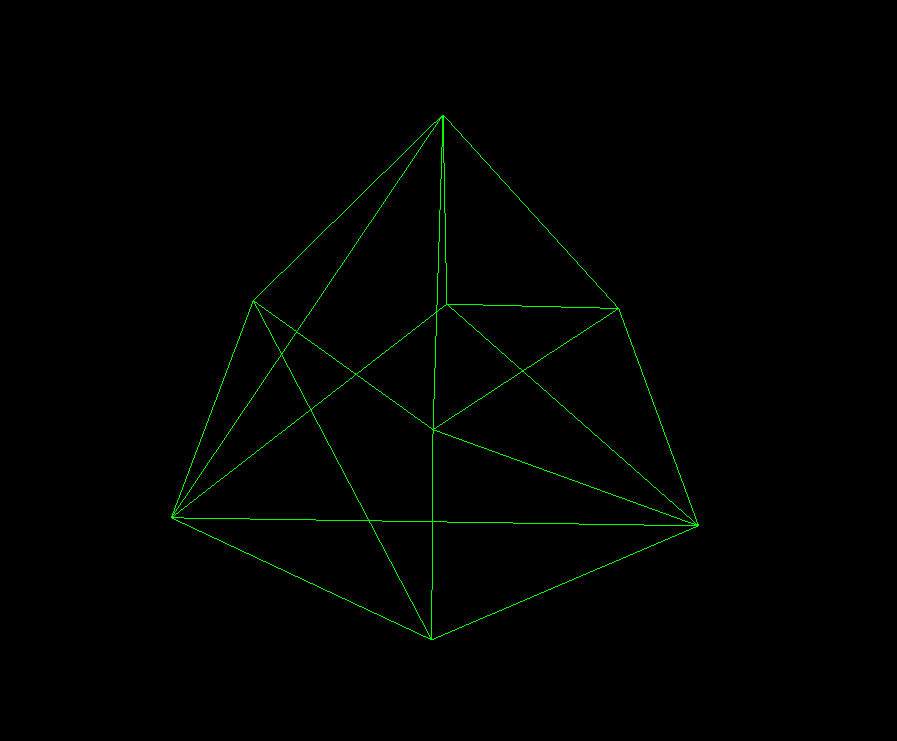
You can see the following. After that, in the next section, we will use ts to write the actual project code.
