cuckoo installation and configuration
1, Main functions of cuckoo
Cuckoo is a security mechanism to isolate and execute unknown and untrusted software. Malware analysis sandbox is generally used to automatically and dynamically execute untrusted software in an isolated environment, and then extract the process behavior, network behavior, file behavior and other dynamic behaviors during its operation. Security researchers can conduct more in-depth analysis of malicious software according to these behavior analysis results. Cuckoo is an open source automated malware analysis system written in Python. Its main functions include:
• track and record all calls of malware;
• malware file behavior: the behavior of creating new files, modifying files, deleting files, reading files or downloading files during the execution of malware;
• obtain the memory image of malware;
• record the network traffic of malware in PCAP format;
• obtain screenshots during malware execution;
• obtain a full memory image of the client executing the malware
The file types that Cuckoo can analyze include but are not limited to:
• Windows executable
• DLL files
• PDF files
• MS Office files
• URL s and HTML files
• PHP script files
• CPL documents
• VB script files
• ZIP package
• JAR files
• Python script files
• APK documents
• ELF files
2, Computer configuration
Physical machine: win 10
Virtual machine software: VMware Workstation Pro 15x
Target machine for installing cuckoo sandbox: Ubuntu 16.4
Target in cuckoo: win xp
3, cuckoo installation
1) Replace source
Open the terminal and enter the command:
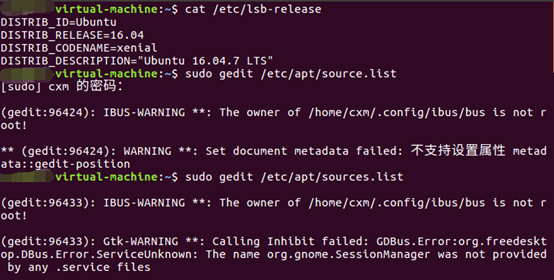
sudo gedit /etc/apt/sources.list
Copy and paste the following sources.
deb-src http://archive.ubuntu.com/ubuntu xenial main restricted
deb http://mirrors.aliyun.com/ubuntu/ xenial main restricted
deb-src http://mirrors.aliyun.com/ubuntu/ xenial main restricted multiverse universe
deb http://mirrors.aliyun.com/ubuntu/ xenial-updates main restricted
deb-src http://mirrors.aliyun.com/ubuntu/ xenial-updates main restricted multiverse universe
deb http://mirrors.aliyun.com/ubuntu/ xenial universe
deb http://mirrors.aliyun.com/ubuntu/ xenial-updates universe
deb http://mirrors.aliyun.com/ubuntu/ xenial multiverse
deb http://mirrors.aliyun.com/ubuntu/ xenial-updates multiverse
deb http://mirrors.aliyun.com/ubuntu/ xenial-backports main restricted universe multiverse
deb-src http://mirrors.aliyun.com/ubuntu/ xenial-backports main restricted universe multiverse
deb http://archive.canonical.com/ubuntu xenial partner
deb-src http://archive.canonical.com/ubuntu xenial partner
deb http://mirrors.aliyun.com/ubuntu/ xenial-security main restricted
deb-src http://mirrors.aliyun.com/ubuntu/ xenial-security main restricted multiverse universe
deb http://mirrors.aliyun.com/ubuntu/ xenial-security universe
deb http://mirrors.aliyun.com/ubuntu/ xenial-security multiverse
Then enter the commands sudo apt get update and sudo apt get upgrade, which may take a long time.
If a device lock problem occurs, you can solve this problem with the command sudo rm /var/lib/apt/lists/lock.

2) Install cuckoo dependency
Terminal input command:
sudo apt-get install git mongodb libffi-dev build-essential python-django python python-dev python-pip python-pil python-sqlalchemy python-bson python-dpkt python-jinja2 python-magic python-pymongo python-gridfs python-libvirt python-bottle python-pefile python-chardet tcpdump -y

Tcpdump (information collection of data):
sudo setcap cap_net_raw,cap_net_admin=eip /usr/sbin/tcpdump
getcap /usr/sbin/tcpdump
After installing pydeep, you can now download it from the physical machine. After moving it to ubuntu, the download website is: http://sourceforge.net/projects/ssdeep/files/ssdeep-2.13/ssdeep-2.13.tar.gz/download -O ssdeep-2.13.tar.gz
Or use the command to download at the virtual machine terminal:
sudo wget http://sourceforge.net/projects/ssdeep/files/ssdeep-2.13/ssdeep-2.13.tar.gz/download -O ssdeep-2.13.tar.gz
The download is completed through tar -zxvf ssdeep-2.13 tar. Unzip GZ, enter the ssdeep directory, and then execute the command:
sudo ./configure ,sudo make ,sudo make install

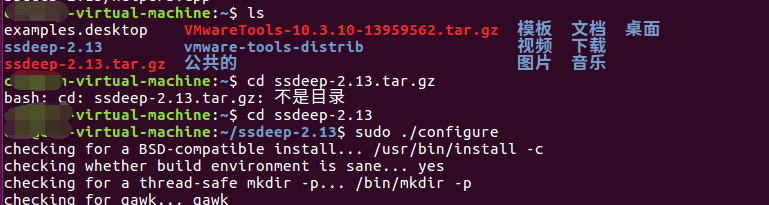


Then ssdeep -V checks whether the installation is successful. If the version information appears, it is successful.

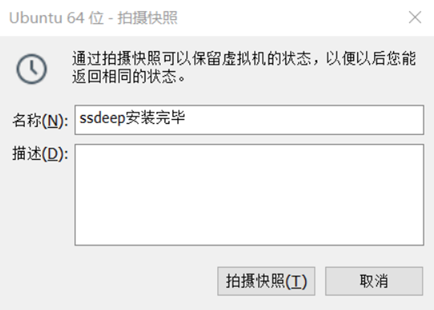
To prevent subsequent errors, you can add a snapshot retention state. Virtual machine - > snapshot - > take snapshot.
Install Volatility
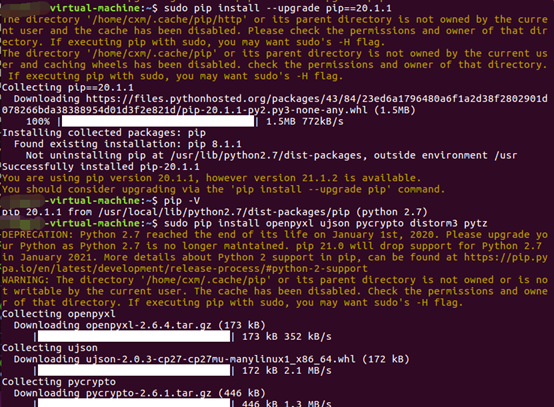
Since the 21.0 version of PIP after 2021.1 no longer supports python2 7, and python2 is used here 7. Therefore, the pip21 version cannot be installed. Install the specified version of PIP.
sudo pip install – upgrade pip==20.1.1. If the installation is successful, the version information will be displayed through pip -V.
sudo pip install openpyxl ujson pycrypto distorm3 pytz
git clone https://github.com/volatilityfoundation/volatility.git
cd volatility
sudo python setup.py build
sudo python setup.py install
Confirm that volatility is installed correctly
python vol.py -h
After that, the version of vol will appear. Take a snapshot and save the state to prevent subsequent errors.

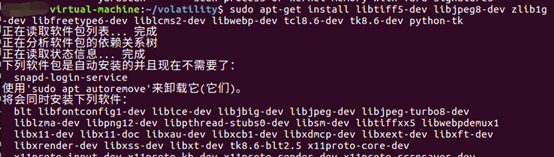
To start installing cuckoo, install the dependencies first
sudo apt-get install libtiff5-dev libjpeg8-dev zlib1g-dev libfreetype6-dev liblcms2-dev libwebp-dev tcl8.6-dev tk8.6-dev python-tk
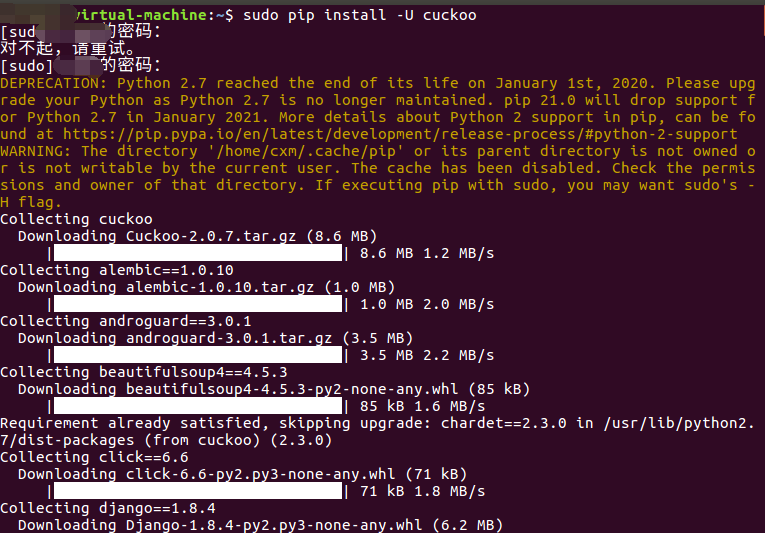
After pip installation, the snapshot is saved.
sudo pip install -U cuckoo
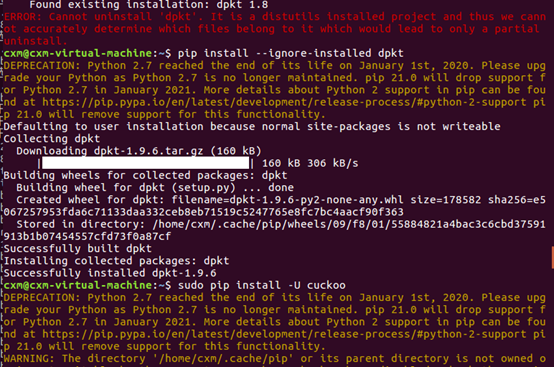
An error is found here. Execute the command according to the error content
pip install –ignore-installed dpkt
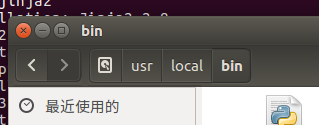
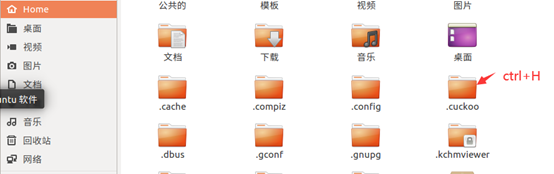
Under the ubuntu folder, press and hold ctrl+h to see if there is any/ If there is no cuckoo file, execute the following statement
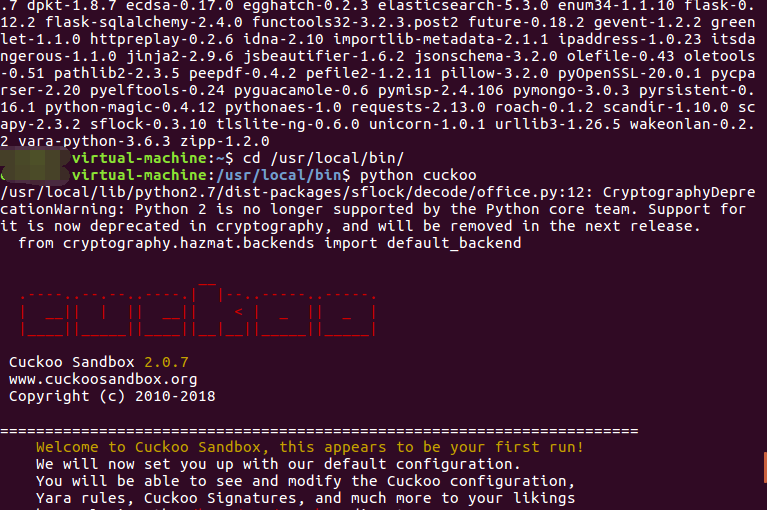
cd /home/usr/local/bin /, found in this directory.
python cuckoo
cd /home
cuckoo -d
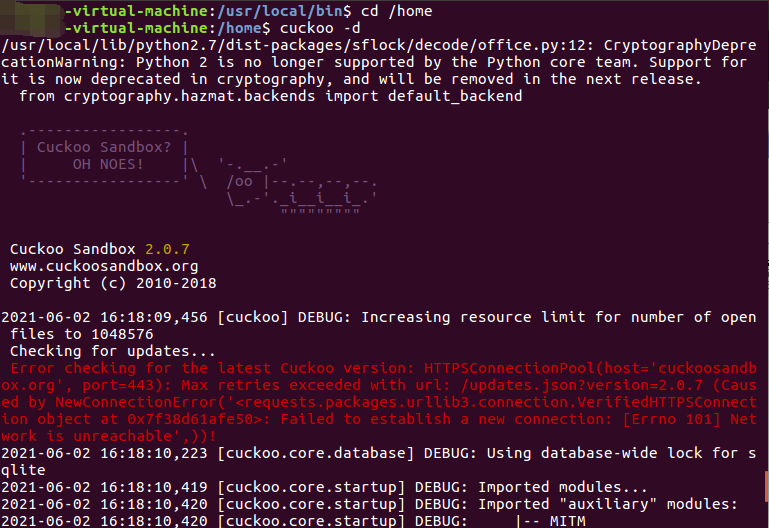
There is an error here, but it does not affect. Just configure the file later.
3) guest client configuration
Install virtualbox6 0
cat /etc/lsb-release
sudo gedit /etc/apt/sources.list
Add source
deb https://download.virtualbox.org/virtualbox/debian xenial contrib
Add public key and update
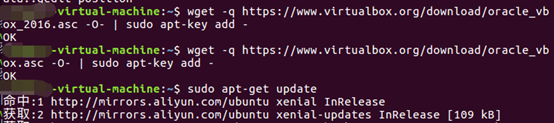
wget -q https://www.virtualbox.org/download/oracle_vbox_2016.asc -O- | sudo apt-key add -
wget -q https://www.virtualbox.org/download/oracle_vbox.asc -O- | sudo apt-key add –
sudo apt-get update
install
sudo apt-get install virtualbox-6.0

After the installation is successful, start the virtualbox with root permission, because the virtualbox with non root permission cannot be monitored by cuckoo.
sudo virtualbox

A window will pop up automatically and click new virtual machine

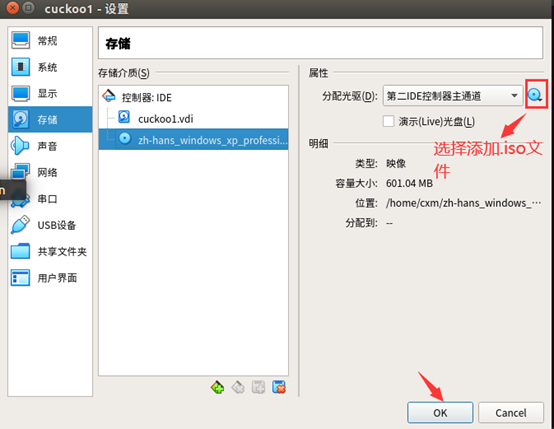
It's better to change the name to "cuckoo1", which is convenient for the later VirtualBox The modification of conf is also convenient for the startup after cuckoo. Then click Settings - > storage - > select a virtual disc file, import the disc (the image of win xp), and save the modified installation image.
Then start
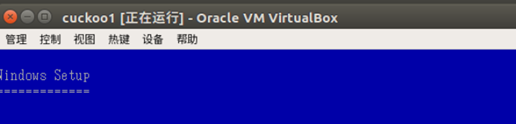
This process is the same as window xp installation, turning off automatic updates and firewalls.
Set the network card after completion
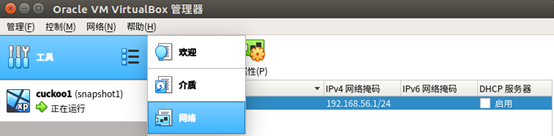
Set the virtual machine network, click Edit - > virtual network editor, and set it to NAT mode
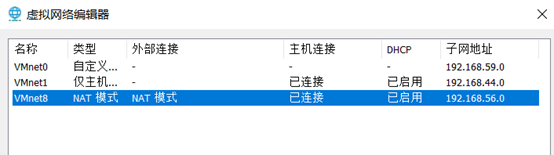
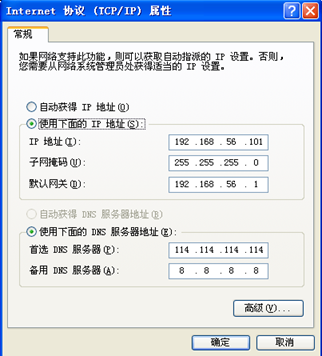
The Guest client network is as follows:
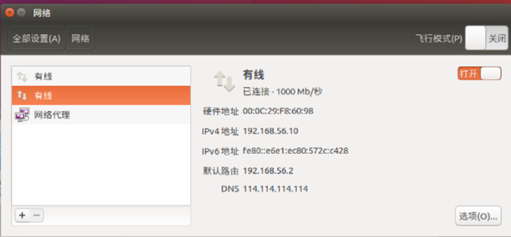
Ubuntu network settings
Click Settings - > search network in the upper right corner
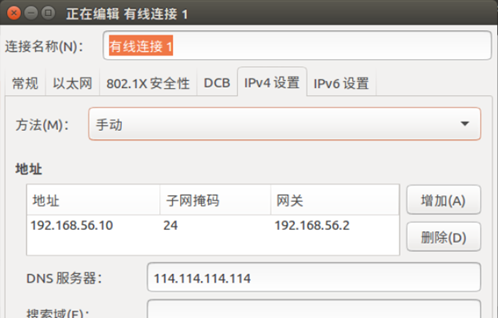
Click option to modify
After configuration, restart the network
sudo -i
sysctl -w net.ipv4.ip_forward=1
echo 1 > /proc/sys/net/ipv4/ip_forward
gedit /etc/sysctl.conf #Remove net.ipv4.ip_forward=1 Former#Number, save
sysctl -p /etc/sysctl.conf
Configure iptables
iptables -A FORWARD -o eth0 -i vboxnet0 -s 192.168.56.0/24 -m conntrack --ctstate NEW -j ACCEPT
 iptables -A FORWARD -m conntrack --ctstate ESTABLISHED,RELATED -j ACCEPT
iptables -A POSTROUTING -t nat -j MASQUERADE
sudo gedit /etc/network/interfaces
add to
pre-up iptables-restore < /etc/iptables.rules
post-down iptables-save > /etc/iptables.rules
The instruction runs in sudo
Terminal input sudo GEDIT / etc / resolv conf
Change nameserver 127.0.0.1 to nameserver 114.114.114.114
Download and install python2 and PIL
Configure the guest client
1. Create a new share folder under home in Ubuntu environment cuckoo/agent/agent. Copy python2. Py, and then open sudo in share to download python2 7 and PIL can also be downloaded from the physical machine and dragged into the virtual machine
sudo wget https://www.python.org/ftp/python/2.7.13/python-2.7.13.msi
sudo wget http://effbot.org/media/downloads/PIL-1.1.7.win32-py2.7.exe
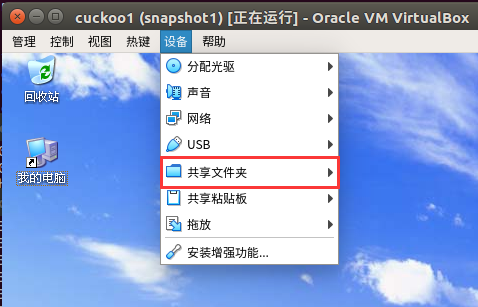
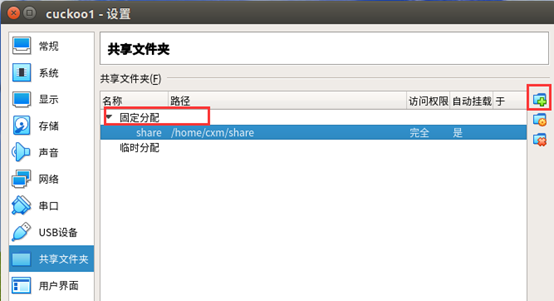
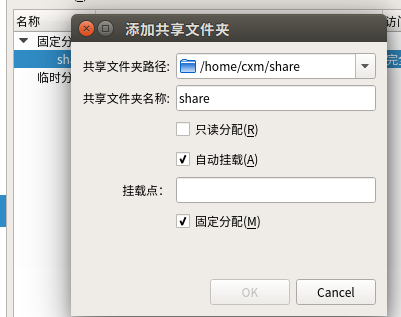
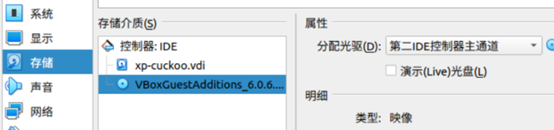
2. Install virtualbox enhancements to share folders in virtualbox
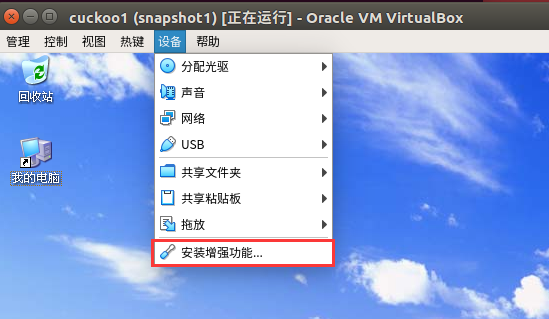
Install all the way, and then add the shared folder path.
Change start sequence
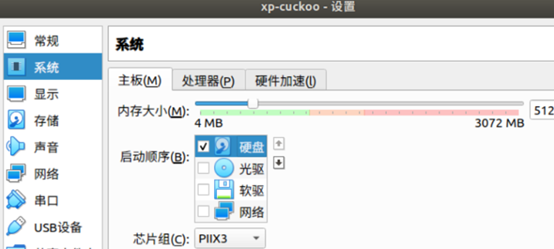
Click Save to check whether the disk is a newly generated disk. If not, manually remove win xp and select the newly generated disk.
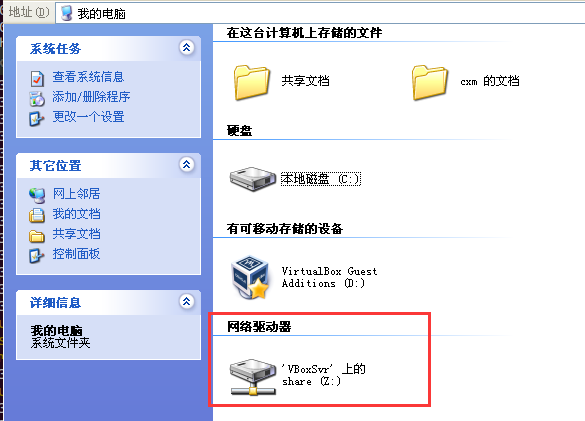
Start the win xp virtual machine, click my computer, and find an additional network drive. There is a shared folder in it. First install python2 7 and PIL.
Configure agent
Put agent Py suffix changed to agent pyw
Add agent Copy PYW to the C: \ Python 27 \ folder and double-click to run it (there is no response)
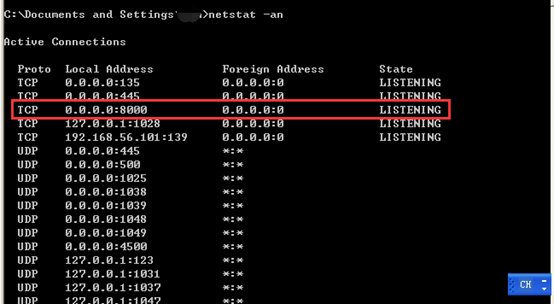
Open cmd and enter netstat -an to check whether the local 8000 port is listening
If port 8000 is listening, it means that this xp virtual machine can be called by cuckoo.
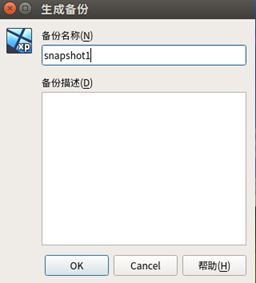
Generate a virtual box backup here. Click control - > generate backup. The name is snapshot1.
4) Configure cuckoo
Yes Modify the configuration file in cuckoo/conf /
cuckoo.conf:
machinery = virtualbox
[resultserver]
ip = 192.168.56.1 #This is the IP address of the host
port = 2042 #leave default unless you have services running
auxiliary.conf:
[sniffer]
enabled = yes
#Specify the path to your local installation of tcpdump. Make sure this
#path is correct.
tcpdump = /usr/sbin/tcpdump
virtualbox.conf:
machines = cuckoo1
[cuckoo1] It defaults to cuckoo1
label = cuckoo1
platform = windows
ip = 192.168.56.101 # IP address of the guest
snapshot = snapshot1
interface = vboxnet0
reporting.conf:
[mongodb]
enabled = yes
Restart, open the terminal and enter sudo cuckoo -d
If there is no error message, open another terminal for input
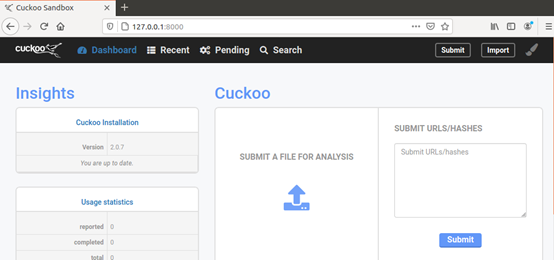
sudo cuckoo web runserver
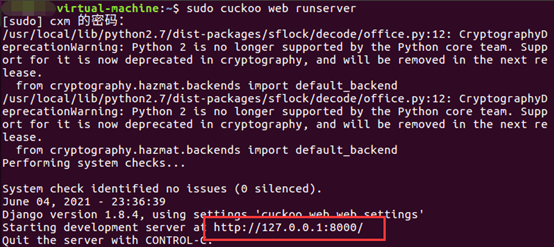
The appearance of this interface indicates that it is successful and can be accessed in the browser http://127.0.0.1:8000/ Just enter.