Write before:
It is recommended that ubuntu be installed in dual system mode, and virtual machines are not recommended. Strange errors will occur, resulting in failure to configure the environment.
This tutorial uses Ubuntu 18 04. For dual system installation, please search the tutorial installation by yourself.
My graduation project is about the reconstruction of slam dense three-dimensional point cloud, because I haven't touched this aspect before, from a completely novice Xiaobai to a "novice". I have encountered various bottlenecks and stepped on many pits. I hereby re record the whole process of slam configuration and provide a fool's teaching step and super foundation, For later students to better study rather than spend energy on environmental configuration. Of course, this is also the only way for other projects in the future. This configuration only provides the original orbslam2 configuration method. If you want to add dense point clouds or refine mapping or positioning or~~ ~ algorithms, you need to make your own efforts.
Recommend an introductory book: visual slam14 talk from theory to practice, Gao Xiang
1. Replace the image download source (Alibaba or Tsinghua)
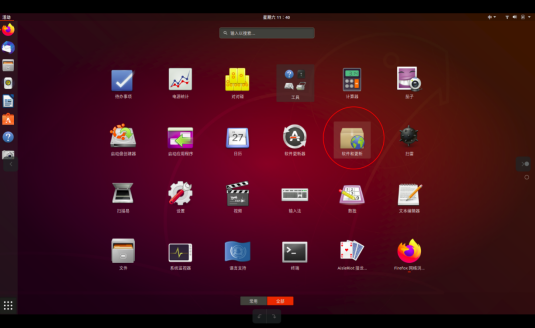
(1) Enter the menu in the lower left corner of the desktop

(2) After entering the menu, find and open "software and updates"
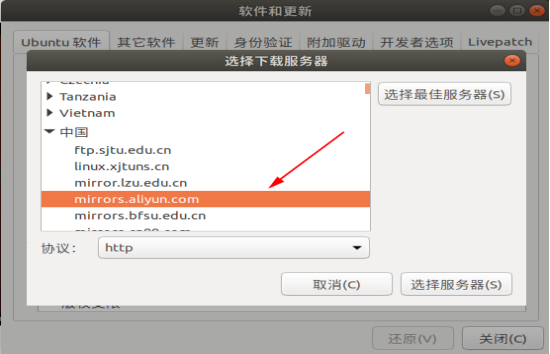
(3) After opening, find "other sites" in the "download from" drop-down box, click to enter, select the alicloud image (or Tsinghua mirror or Huawei cloud, Huawei seems to be faster, and Huawei I later used is very fast), and then click to select the server to complete the setting. If the setting is successful, you will find that the address of the download from option changes to the alicloud image address.
2. Download some necessary tools and software
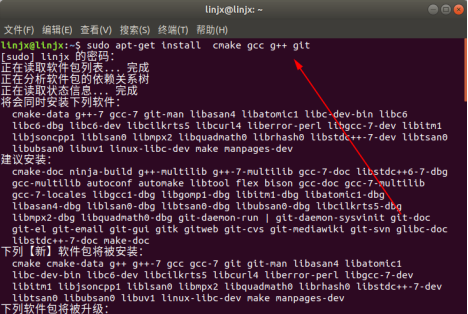
(1) Open the terminal (shortcut key Alt+Ctrl+T), enter the following instructions and press "enter", and the following interface will appear. cmake and gcc are used to compile programs, g + + is the compiler of c + +, git is used to modify and view codes, and VIM is used to download projects to the computer
sudo apt-get install cmake gcc g++ git vim
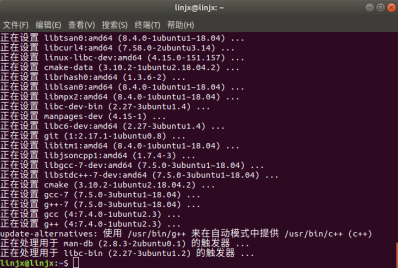
(2) When the continue option appears, enter Y and press enter to agree to continue.

(3) The installation is completed successfully. The following interface appears
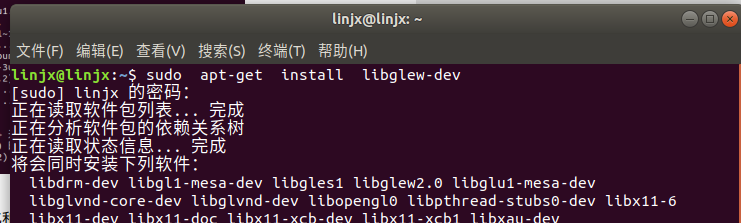
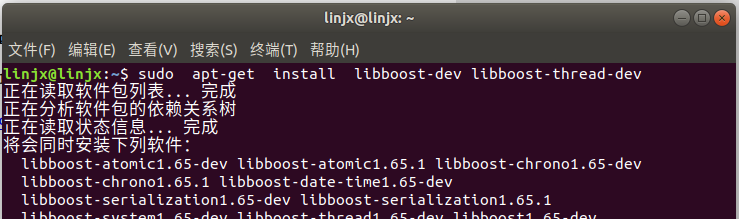
(4) Enter the following instructions to install the Pangolin visualization and user interface and its dependencies (enter line by line and enter line by line)
sudo  apt-get  install  libglew-dev
sudo  apt-get  install  libboost-dev libboost-thread-dev
sudo  apt-get  install  libboost-filesystem-dev
sudo  apt-get  install  libpython2.7-dev
sudo  apt-get  install  build-essential
The previous three are examples:

___________________________________________________________________________
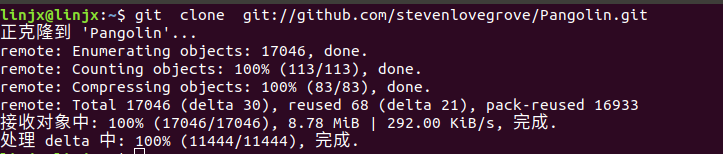
Download pangolin from github, enter the command line by line at the terminal and press enter
git clone https://github.com/stevenlovegrove/Pangolin.git
If the command of git clone is executed slowly, or the network is poor, the download timeout is caused
resolvent:
1. Replace https with git
2. Change the network to mobile hotspot 5G or 4G
3. Combination of the two methods
4. Go to github to download the compressed package directly and decompress it
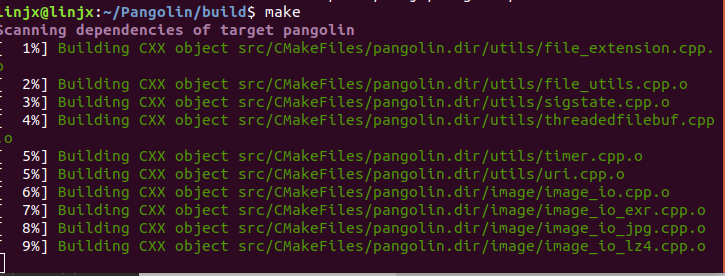
cd  Pangolin
mkdir  build
cd  build
cmake ..
Because I have created a folder, the prompt that I can't create a folder appears. Readers will follow the normal order

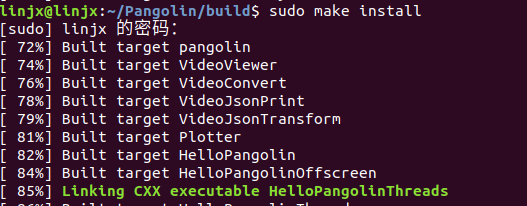
After cam completes, enter make, and the progress% appears
make
Continue to enter:
sudo make install
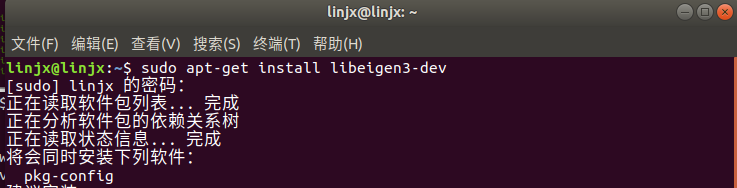
(5) Install Eigen3, an open source linear library that can perform matrix operations
sudo apt-get install libeigen3-dev
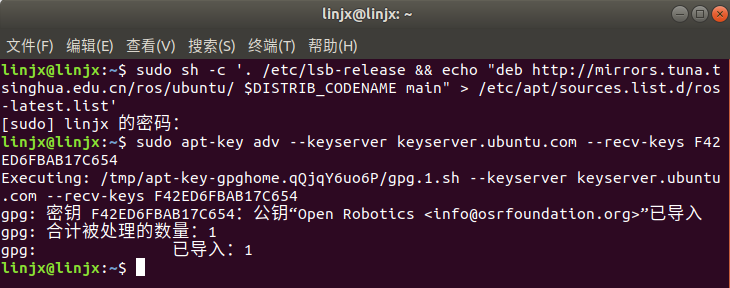
3. Install ROS
sudo sh -c 'echo "deb http://packages.ros.org/ros/ubuntu $(lsb_release -sc) main" > /etc/apt/sources.list.d/ros-latest.list'

sudo apt-key adv --keyserver 'hkp://keyserver.ubuntu.com:80' --recv-key C1CF6E31E6BADE8868B172B4F42ED6FBAB17C654

!Copy it all. Don't lose anything!
sudo apt update
sudo apt install ros-melodic-desktop-full((it takes a little longer and needs to wait for a while)

sudo rosdep init
Possible errors:

Solution: enter the command
sudo apt install python-rosdep2
Enter again
sudo rosdep init
success

Continue to enter the following command:
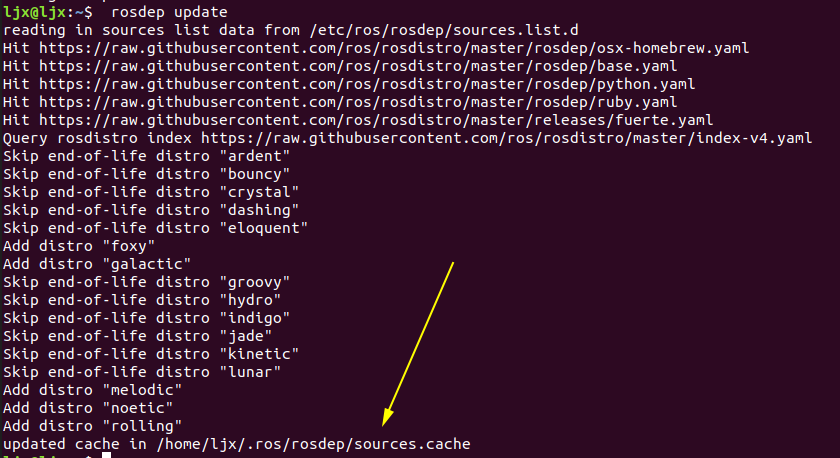
rosdep update
There is a problem: one or more timeout times out (this problem can be solved at least in a short time, or it can't be solved for several days. Be prepared. I hope you are the son of God and succeed at one time!)

terms of settlement
try1. The root of the problem is the network problem. Be patient and try it indefinitely. You will succeed in the end. Don't lose heart and train your mind. Or go to Taobao to solve about 15 yuan. I haven't tried the effect.
try2. Execute the following command once
sudo apt-get update
sudo apt-get install python-rosdep
rosdep update
***try3.*** Solution for the majority of netizens: here are two, and there are many. You can look at other blogs and try them all
Method 1
Method 2
In the morning, it seems that the net is better.
Finally, after nearly a hundred attempts, this touching scene appeared: the sentence of arrow indicates success
Install rosinstall
sudo apt-get install python-rosinstall
Load environment settings file
source /opt/ros/melodic/setup.bash
Create and initialize the working directory ROS and use a ROS specific build system called catkin. In order to use it, the user needs to create and initialize the catkin working directory, as shown below. This setting only needs to be set once unless the user creates a new working directory.
mkdir -p ~/catkin_ws/src
cd ~/catkin_ws/src
catkin_init_workspace
Currently, there are only src directories and cmakelists Txt file is in the catkin working directory. Use catkin_ Use the make command to build
cd ~/catkin_ws/
catkin_make
Set environment variables:
sudo apt install net-tools
gedit ~/.bashrc
Add the following two lines of code at the end of the pop-up text:
source /opt/ros/melodic/setup.bash
source ~/catkin_ws/devel/setup.bash
After completion, save and close, and enter in the terminal:
source ~/.bashrc
Now that the ros installation is complete, proceed to the test:
input
roscore
Possible problems:
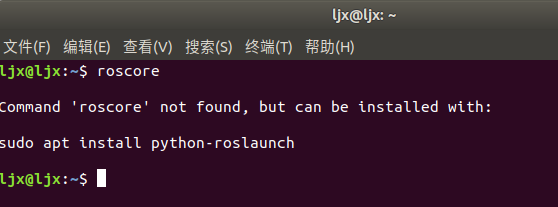
terms of settlement:
Check to see if the package is installed
cd /opt/ros/melodic/bin
ls
If no roscore is found, install it and enter in the bin directory:
sudo apt-get install ros-melodic-desktop
Enter ls to view again. roscore is found. Success

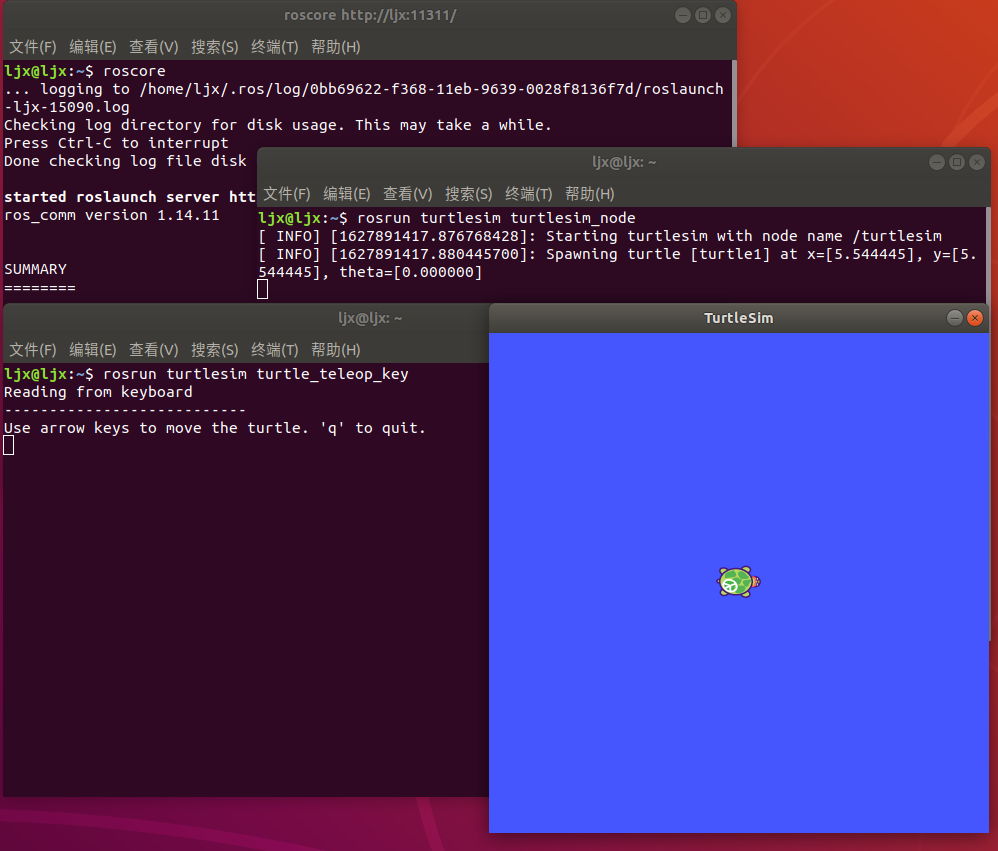
After solving the problem, open three terminals (warm tip: create a new terminal method: in the menu bar - > file - > new window or right-click the "terminal" icon to create a new terminal)
Enter and execute separately: (enter one and execute one)
roscore

rosrun turtlesim turtlesim_node

rosrun turtlesim turtle_teleop_key
Effect: the pop-up turtle indicates that the installation is successful. Click the third terminal with the mouse, and then press the up, down, left and right buttons. The turtle will swim!
4. Install the small camera SDK
Refer to the official website: Small camera sdk
Input:
git clone https://github.com/slightech/MYNT-EYE-D-SDK.git
cd MYNT-EYE-D-SDK
make init
make init unplug the camera once after this line of command is executed

Unplug the camera once and continue to enter:
make all
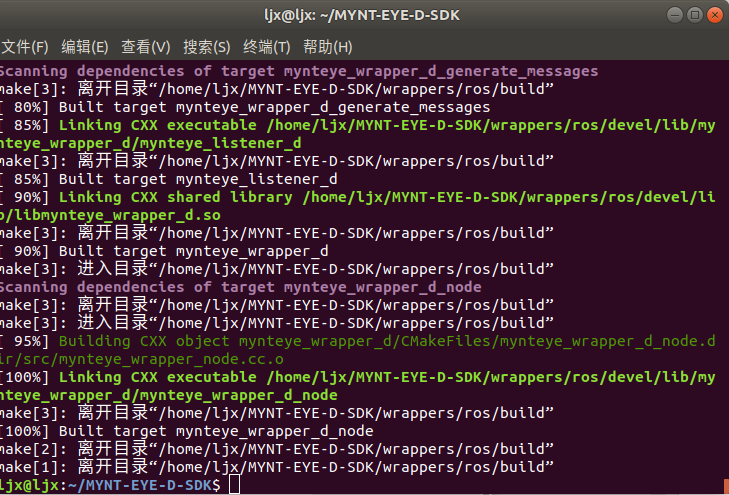
After sdk installation, test:
When opening the sdk folder, right-click "open in terminal" to enter
./samples/_output/bin/get_stereo_image
The image appears.
Click any image window and press q to exit.
5. Install orbslam2
Xiaomi camera comes with an appropriate orbslam version, which can be downloaded directly from the official website. Subsequent algorithms and experiments can be further studied based on this version.
1. Install glog, a log library. If it is not installed, orbslam will prompt an error
git clone https://github.com/google/glog
sudo apt-get install autoconf automake libtool
cd glog
./autogen.sh
Error: no Autogen The SH file is not found when you open the folder. It may be a version problem

solve:
Open the file and delete the glog folder you just downloaded
Enter from new:
git clone git://github.com/boboxxd/glog.git
Open the glog folder and find Autogen SH, success
cd glog
./autogen.sh
./configure
make
sudo make install
2. Download orbslam2
git clone https://github.com/slightech/MYNT-EYE-ORB-SLAM2-Sample.git
3. Add the environment variable of ros
gedit ~/.bashrc
Add at the end
export ROS_PACKAGE_PATH=${ROS_PACKAGE_PATH}:/home/Your username/MYNT-EYE-ORB-SLAM2-Sample/Examples/ROS

If you don't know the path, open the folder of orbslam2 sample, find the ros folder in example, and right-click the attribute to view the path.
Save and close after adding, enter:
source ~/.bashrc
4. Compile orbslam2
cd MYNT-EYE-ORB-SLAM2-Sample
chmod +x build.sh
./build.sh
chmod +x build_ros.sh
./build_ros.sh
5. Run binocular program test
cd You're looking for a camera sdk Folder for
make ros
source ./wrappers/ros/devel/setup.bash
roslaunch mynteye_wrapper_d orb_slam2.launch
Open another terminal input:
cd MYNT-EYE-ORB-SLAM2-Sample

rosrun ORB_SLAM2 mynteye_d_stereo ./Vocabulary/ORBvoc.txt ./config/mynteye_d_stereo.yaml true /mynteye/left/image_mono /mynteye/right/image_mono
Successful operation: (press ctrl+c on the second orbslam2 sample terminal to exit)
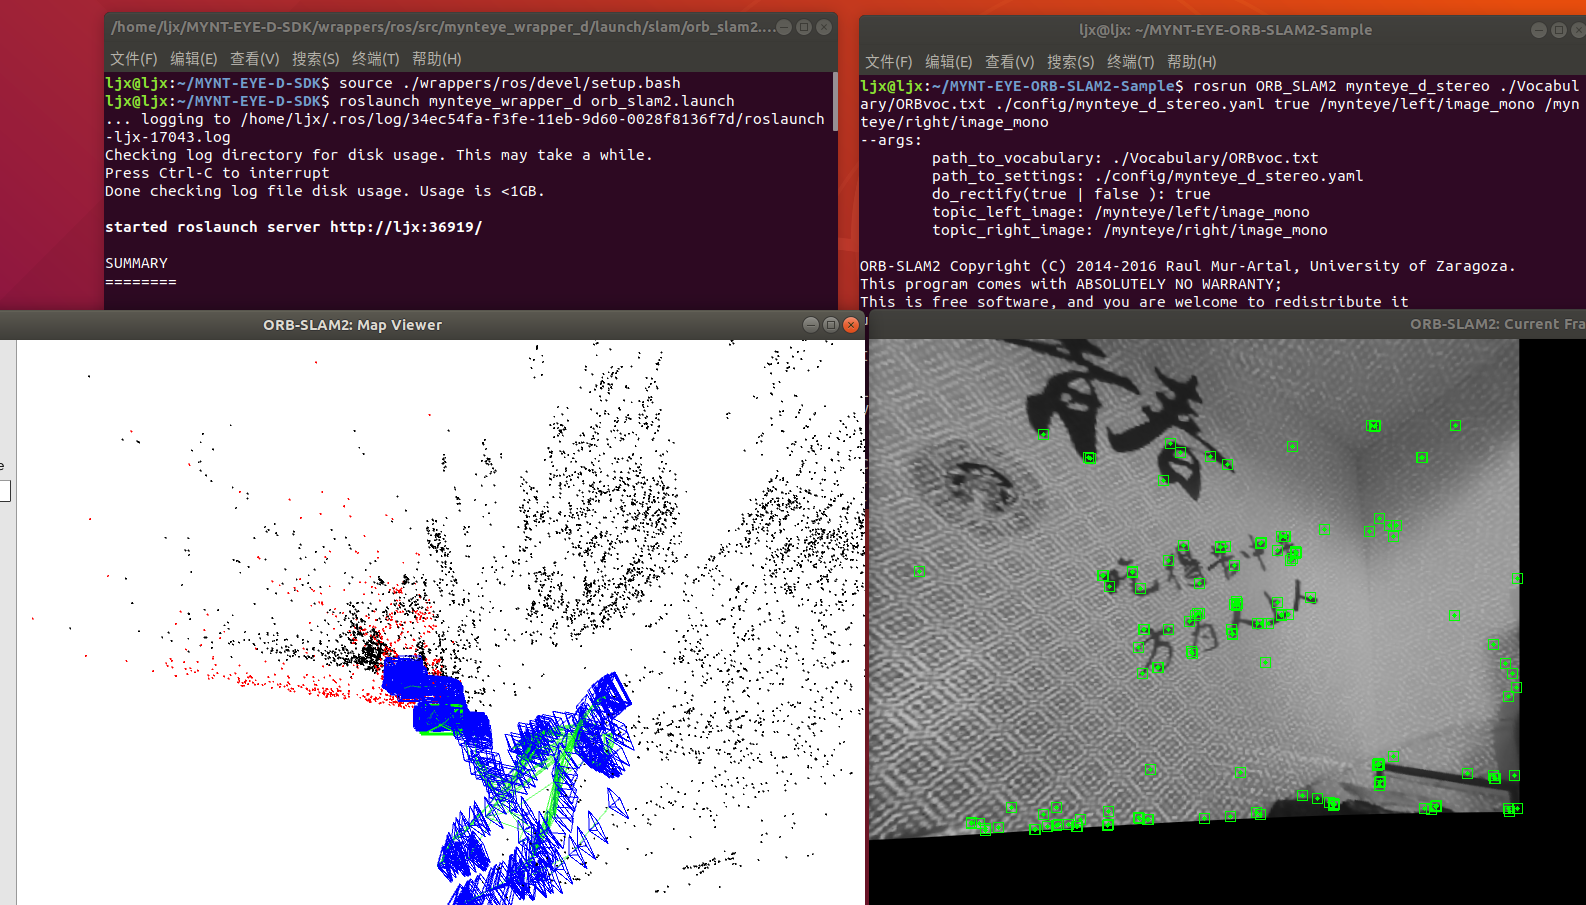
So far, the orbslam2 environment has been configured successfully. You can carry out some research and experiments on this basis!