For the installation of Ubuntu 16.04.5, please refer to: http://blog.51cto.com/3241766/2323927
In this paper, the control node and calculation node of openstack are virtual machines newly built on esxi. The specific configuration is as follows:
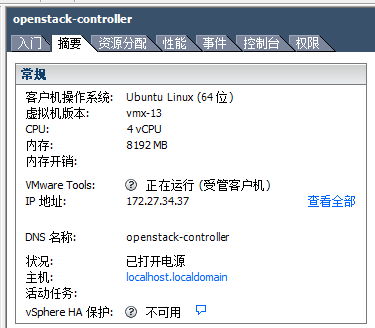
Control node configuration:
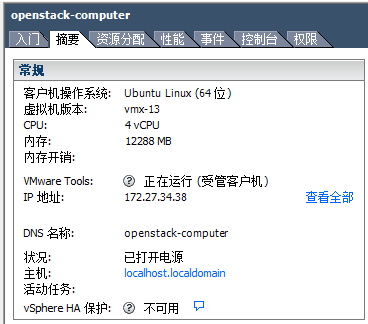
Compute node configuration:
The installation steps of the control node and the calculation node are the same, but the configuration in step 6 is different. In the actual installation process, the control node should be installed first and then the calculation node. This paper takes the calculation node installation as an example to record the construction process.
1.pip installation
root@openstack-computer:~# pip
The program 'pip' is currently not installed. You can install it by typing:
apt install python-pip
root@openstack-computer:~# apt install -y python-pip
2. Code download
root@openstack-computer:~# git clone https://git.openstack.org/openstack-dev/devstack -b stable/pike

3. Create user stack
root@openstack-computer:~# ll
total 36
drwx------  4 root root 4096 Nov 29 17:02 ./
drwxr-xr-x 23 root root 4096 Nov 29 16:32 ../
-rw-------  1 root root   49 Nov 29 16:47 .bash_history
-rw-r--r--  1 root root 3106 Oct 23  2015 .bashrc
drwx------  2 root root 4096 Nov 29 16:47 .cache/
drwxr-xr-x 17 root root 4096 Nov 29 17:02 devstack/
-rw-r--r--  1 root root  148 Aug 17  2015 .profile
-rw-------  1 root root 3413 Nov 29 16:51 .viminfo
-rw-------  1 root root  128 Nov 29 16:47 .Xauthority
root@openstack-computer:~# devstack/tools/create-stack-user.sh
Creating a group called stack
Creating a user called stack
Giving stack user passwordless sudo privileges
4. Modify pip source
root user modifies pip source
root@openstack-computer:~# mkdir ~/.pip
root@openstack-computer:~# view ~/.pip/pip.conf
[global]
trusted-host=mirrors.aliyun.com
index-url=https://mirrors.aliyun.com/pypi/simple/
stack user modifies pip source
root@openstack-computer:~# su - stack
stack@openstack-computer:~$ mkdir ~/.pip
stack@openstack-computer:~$ view ~/.pip/pip.conf
[global]
trusted-host=mirrors.aliyun.com
index-url=https://mirrors.aliyun.com/pypi/simple/
5. Move the devstack directory
Move the devstack directory from root's home directory to / opt/stack
root@openstack-computer:~# mv devstack /opt/stack
root@openstack-computer:~# chown -R stack:stack /opt/stack/devstack
6. Create a new profile
Control node:
[[local|localrc]]
MULTI_HOST=true
# management & api network
HOST_IP=172.27.34.37
LOGFILE=/opt/stack/logs/stack.sh.log
# Credentials
ADMIN_PASSWORD=admin
MYSQL_PASSWORD=secret
RABBIT_PASSWORD=secret
SERVICE_PASSWORD=secret
SERVICE_TOKEN=abcdefghijklmnopqrstuvwxyz
# enable neutron-ml2-vlan
disable_service n-net
enable_service q-svc,q-agt,q-dhcp,q-l3,q-meta,neutron,q-lbaas,q-fwaas
Q_AGENT=linuxbridge
ENABLE_TENANT_VLANS=True
TENANT_VLAN_RANGE=3001:4000
PHYSICAL_NETWORK=default
LOG_COLOR=True
LOGDIR=$DEST/logs
SCREEN_LOGDIR=$LOGDIR/screen
# use TryStack git mirror
GIT_BASE=http://git.trystack.cn
NOVNC_REPO=http://git.trystack.cn/kanaka/noVNC.git
SPICE_REPO=http://git.trystack.cn/git/spice/spice-html5.git
The ip address of the control node is 172.27.34.37, and the admin password is admin, which will be used for web login later
Calculation node:
stack@openstack-computer:~$ view /opt/stack/devstack/local.conf
[[local|localrc]]

MULTI_HOST=true
# management & api network
HOST_IP=172.27.34.38

# Credentials
ADMIN_PASSWORD=admin
MYSQL_PASSWORD=secret
RABBIT_PASSWORD=secret
SERVICE_PASSWORD=secret
SERVICE_TOKEN=abcdefghijklmnopqrstuvwxyz

# Service information
SERVICE_HOST=192.168.104.10
MYSQL_HOST=$SERVICE_HOST
RABBIT_HOST=$SERVICE_HOST
GLANCE_HOSTPORT=$SERVICE_HOST:9292
Q_HOST=$SERVICE_HOST
KEYSTONE_AUTH_HOST=$SERVICE_HOST
KEYSTONE_SERVICE_HOST=$SERVICE_HOST

ENABLED_SERVICES=n-cpu,q-agt,neutron
Q_AGENT=linuxbridge
ENABLE_TENANT_VLANS=True
TENANT_VLAN_RANGE=3001:4000
PHYSICAL_NETWORK=default

# vnc config
NOVA_VNC_ENABLED=True
NOVNCPROXY_URL="http://$SERVICE_HOST:6080/vnc_auto.html"
VNCSERVER_LISTEN=$HOST_IP
VNCSERVER_PROXYCLIENT_ADDRESS=$VNCSERVER_LISTEN

LOG_COLOR=True
LOGDIR=$DEST/logs
SCREEN_LOGDIR=$LOGDIR/screen

# use TryStack git mirror
GIT_BASE=http://git.trystack.cn
NOVNC_REPO=http://git.trystack.cn/kanaka/noVNC.git
SPICE_REPO=http://git.trystack.cn/git/spice/spice-html5.git

enable_service placement-api
HOST_IP=172.27.34.38 is the computing node IP
7. Deploy openstack
stack@openstack-computer:~/devstack$ ./stack.sh
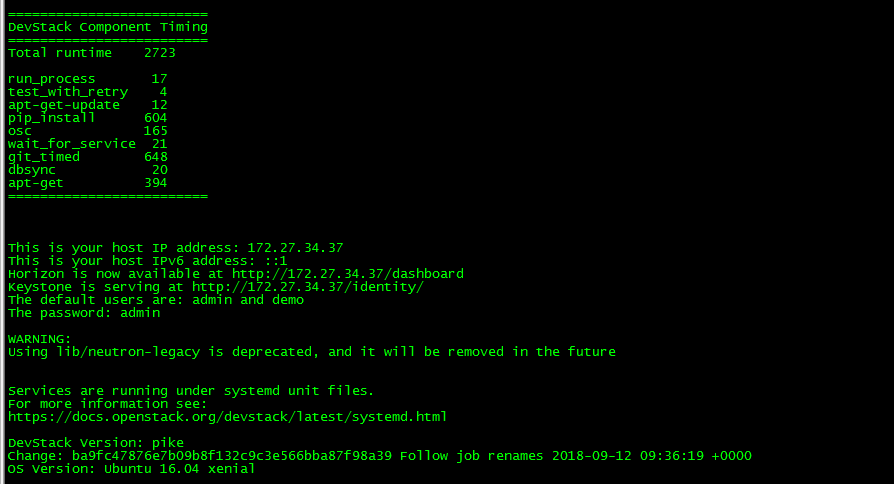
Control node installation completed:
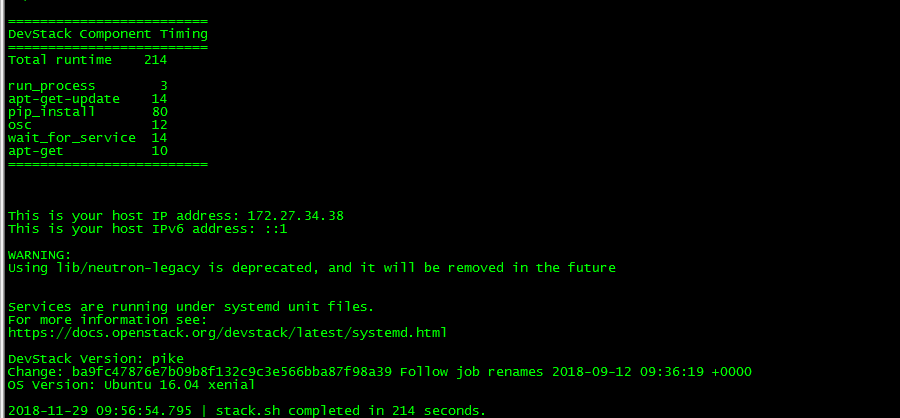
Calculation node installation completed:
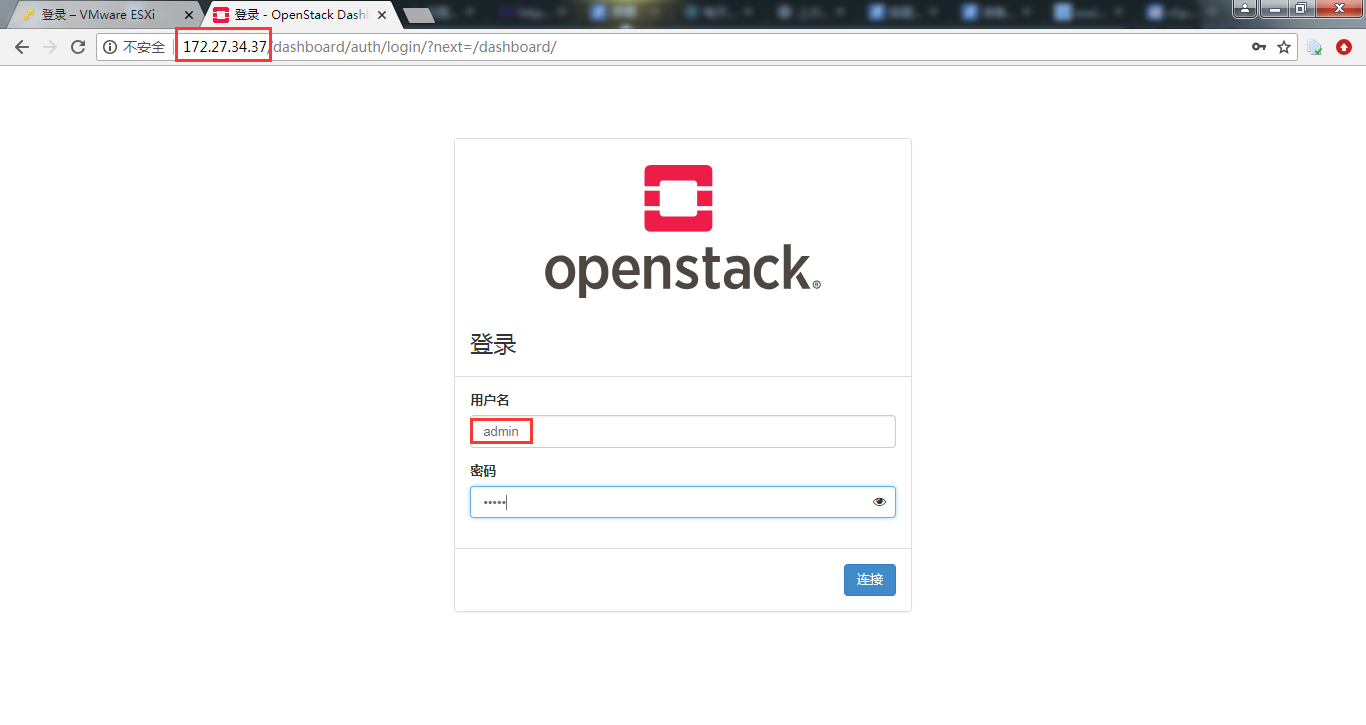
Landing web
The address is http://172.27.34.37, and the user name and password are admin/admin in the configuration file
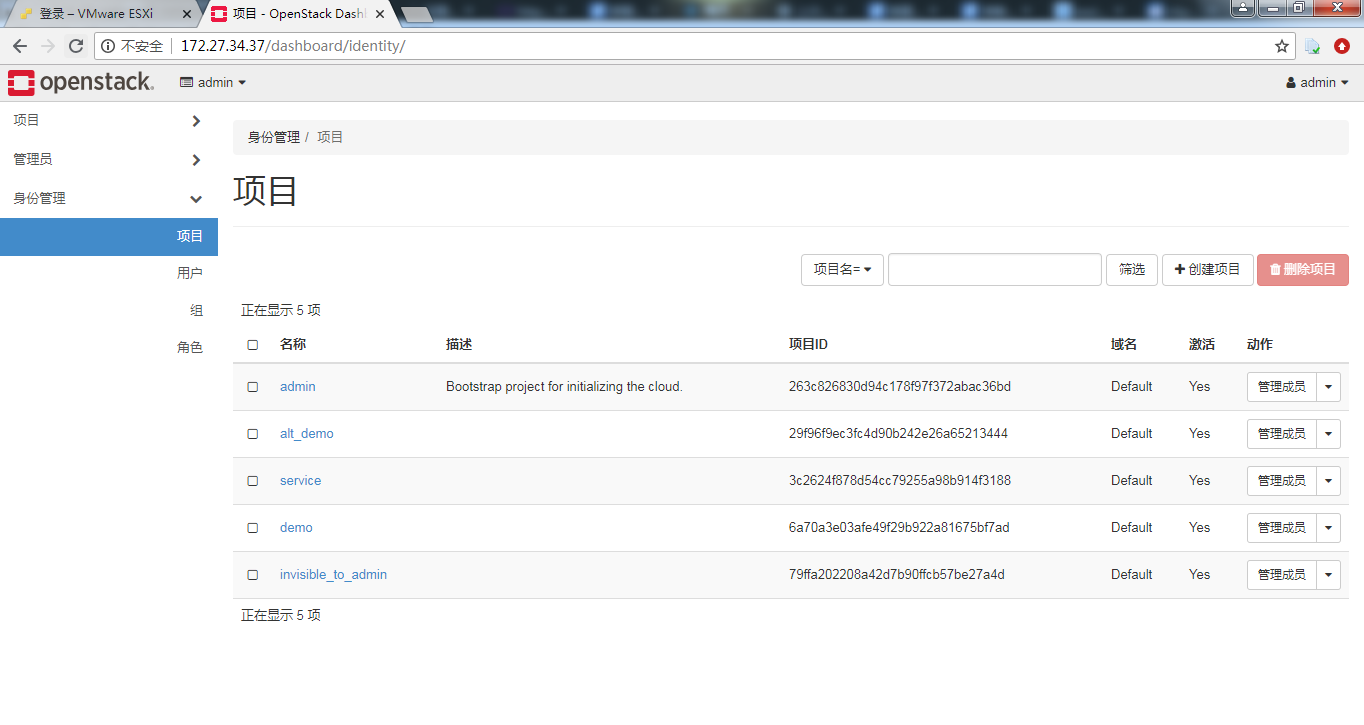
This completes the openstack installation.